Create a Cute Little Tiger in Illustrator

Email Newsletter
Weekly tips on front-end & UX.
Trusted by 182,000+ folks.

 Custom Web Forms for Angular, React, & Vue. Your backend.
 Celebrating 10 million developers


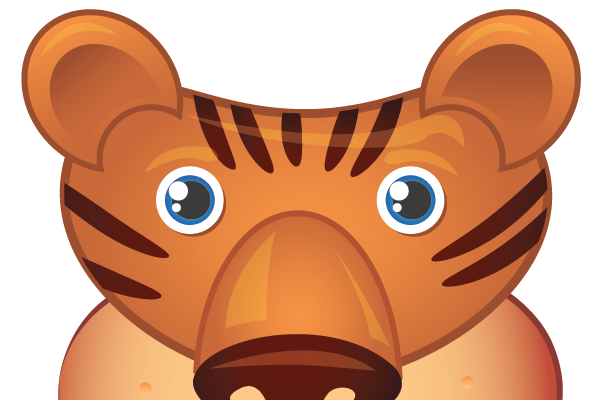
The tiger is one of the coolest animals in the earth. It’s a very powerful, dangerous, yet fascinating animal. In this tutorial, we will be drawing the tiger, but we will be doing it a little bit different. Instead of portraying the tiger as a savage and mean creature, I will teach you how to draw a cute little tiger that you will be able to use in your projects, as a desktop wallpaper, etc.
You will also learn lots of Illustrator techniques as well. This is the perfect tutorial for year 2010, the year of the tiger. So what are we waiting for? Let’s begin, r-r-r-r…
Step 1: Set Up
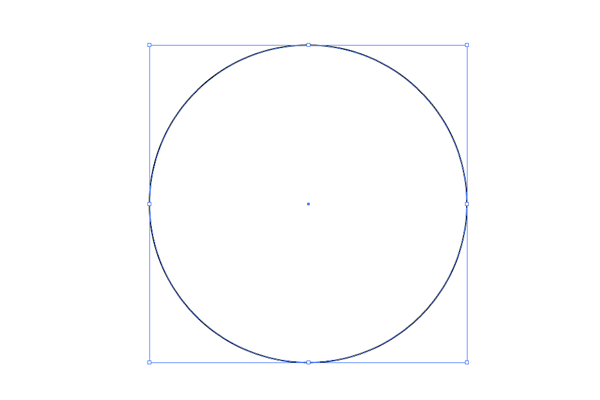
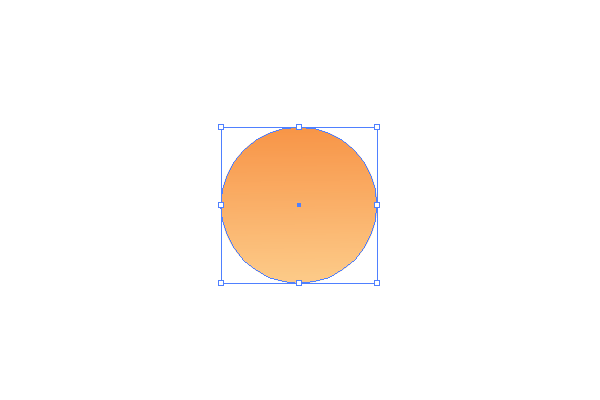
Open Illustrator and set up a new document. Rename “Layer 1” to “Head”. Select the ellipse Tool (L) and draw a circle.
Step 2: Head
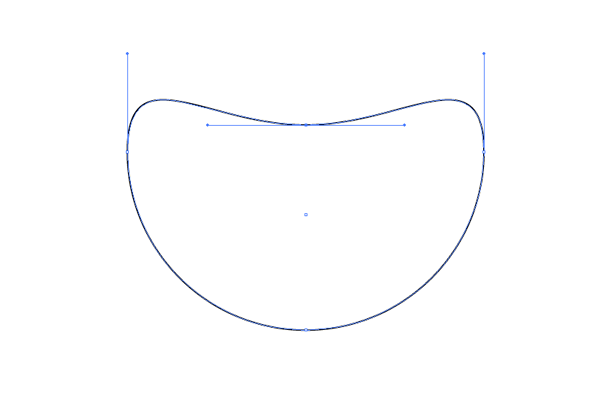
With the Direct Selection Tool (A) click on the top anchor point to select it and drag in down to modify your circle like this.
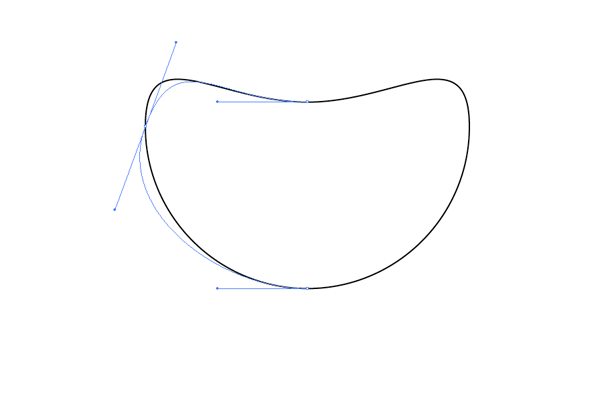
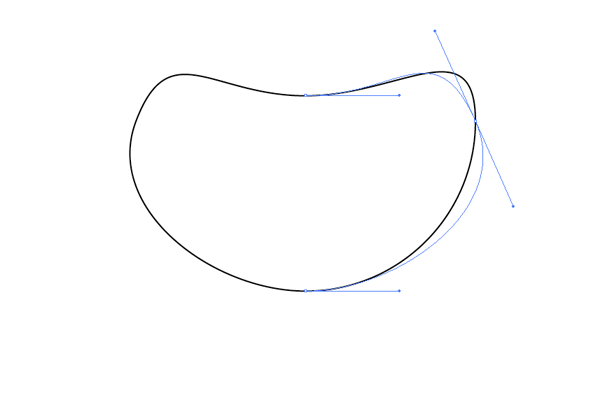
Select the left anchor point and rotate the handles so the path will look more rounded. Do the same thing to the right anchor point.
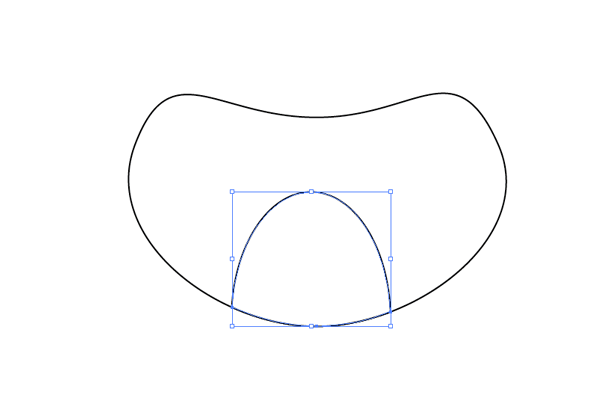
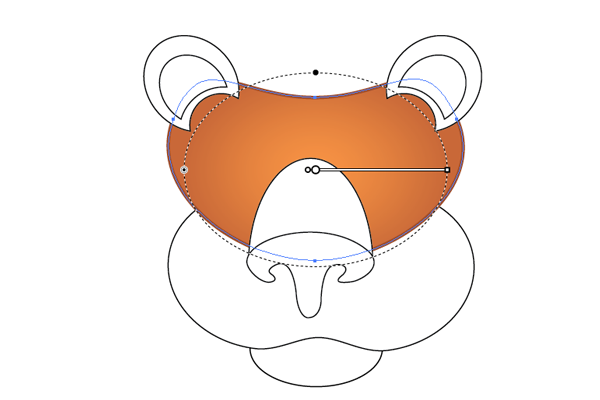
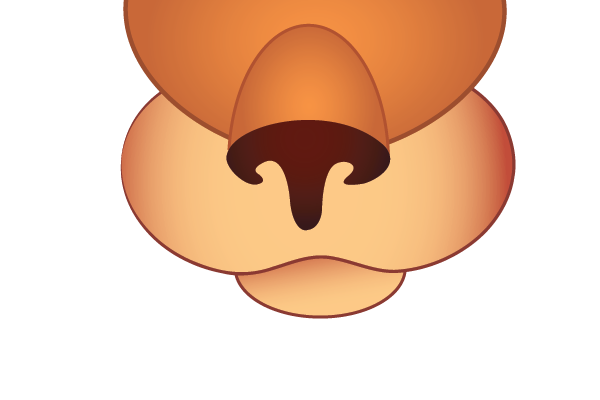
Step 3: Nose
Make a copy of the head path. Select the Ellipse Tool and draw an ellipse on the top of the head shape.

Select this ellipse and the head path copy that we’ve made by shift clicking and pressing the Intersect button in the pathfinder palette.
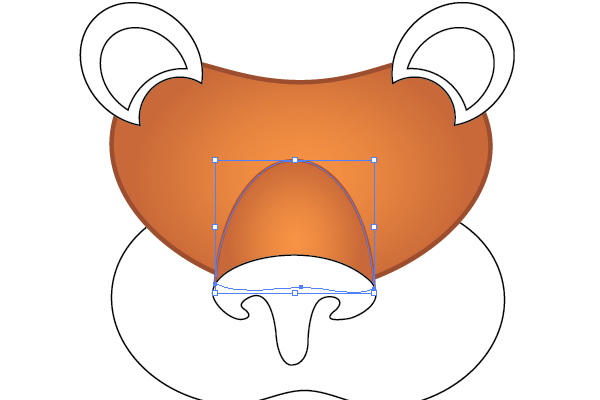
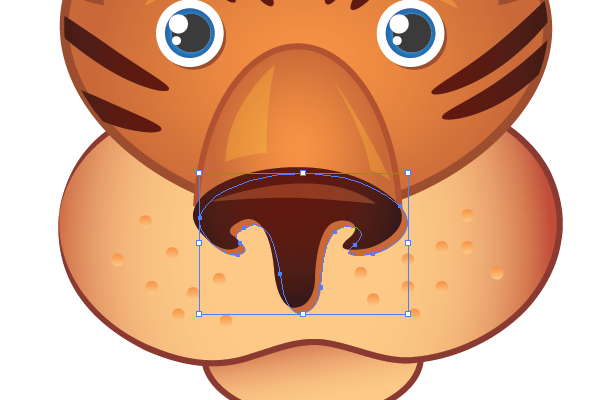
With the Pen Tool (P) try to draw nostrils path as you see below.
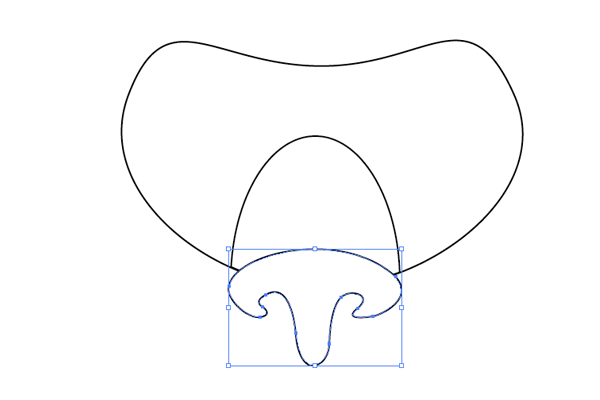
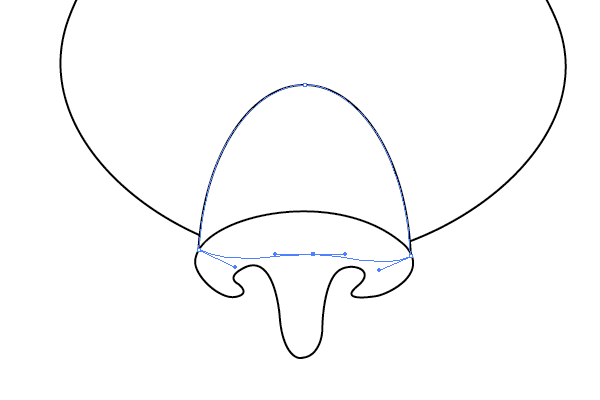
Move the nose path down a little.
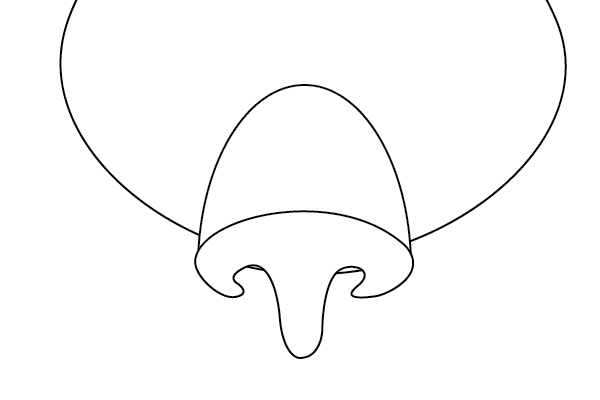
Select the lowest anchor point of the nose path and move it up to hide it behind the nostrils path.
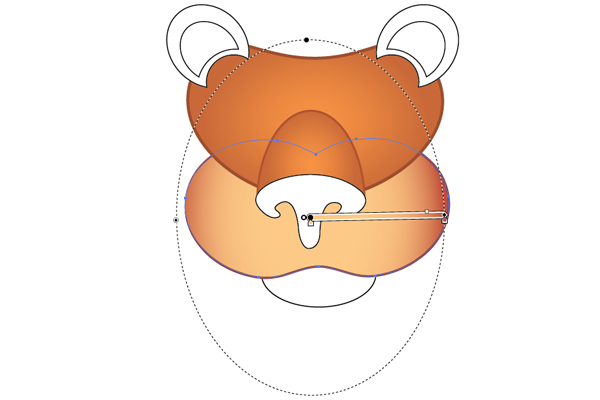
Step 4: Cheeks
Draw an ellipse and rotate it 8 degrees counterclock-wise.
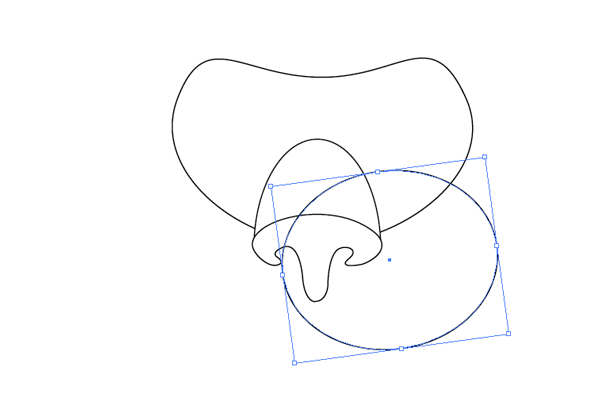
Press Shift + Ctrl + [ to send it back.
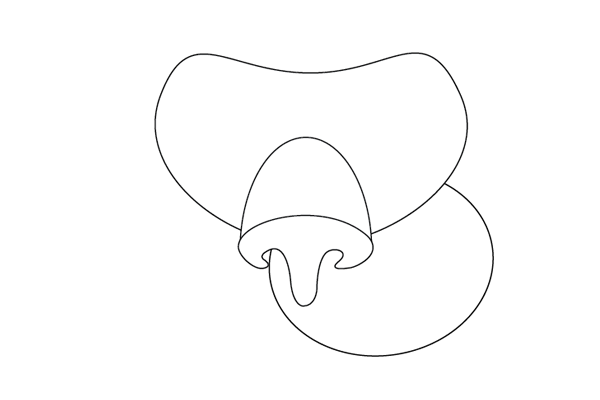
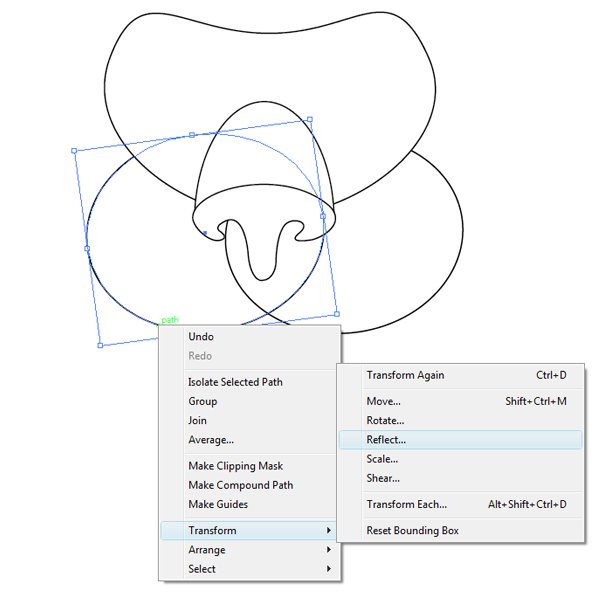
Make a copy of this path, move it to the left and reflect.
Select both paths and press the Unite button in the Pathfinder palette.
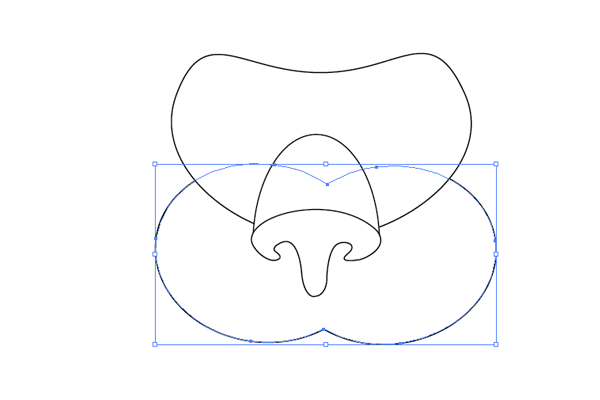
With the Direct Selection Tool (A) select the anchor point that connects the two cheeks path and convert it to a smooth anchor point and then make the path more narrow.
Step 5: Chin
For the chin, draw another small ellipse and press Shift + Ctrl + [ to send it back.
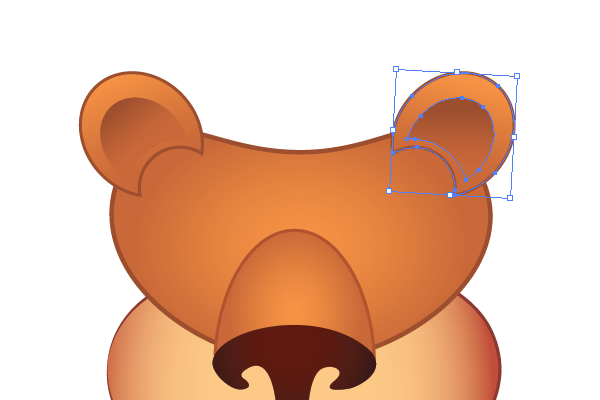
Step 6: Ears
Draw an ellipse and rotate it counter-clock-wise about 50 degrees.
Draw a circle that intersects this ellipse and then press the Minus Front button in the pathfinder to extract this circle from the main ear path.
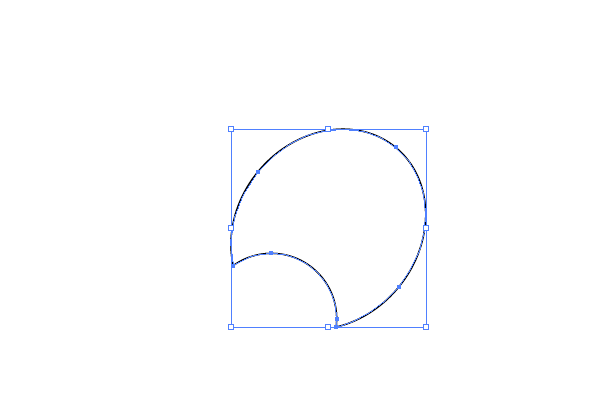
With the resulting path selected, go to Object > Path > Offset Path and create a smaller copy of this path inside it by entering negative Offset values.
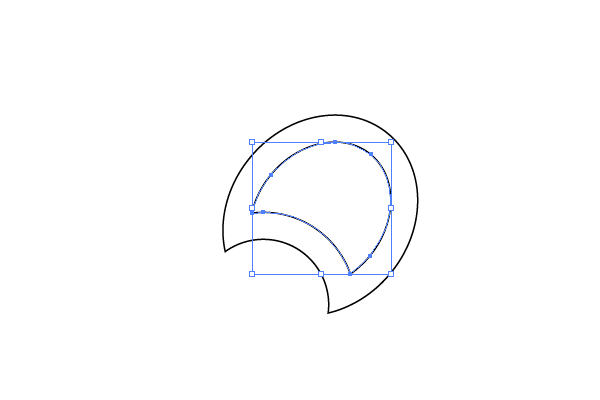
Move the resulting path down and to the left.
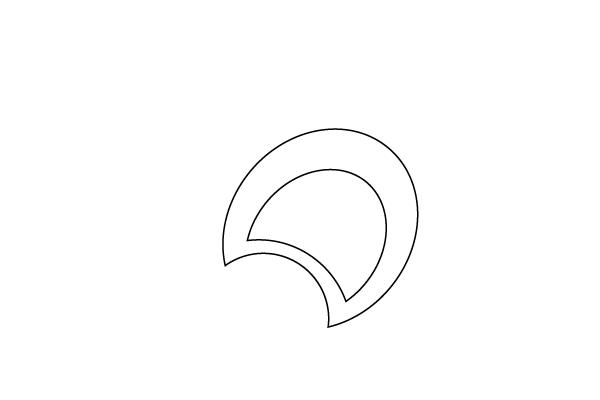
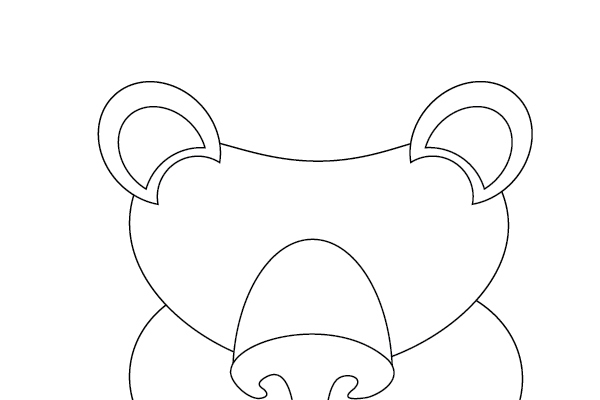
Place the ear on the tiger’s head, create a reflection of it and place it on the left side.
Step 7: Adding Color
Select the head path and give it a radial gradient from #F79442 to #C86735 and a 3pt #9E4D2A stroke. Adjust the position and Aspect Ration of the gradient.
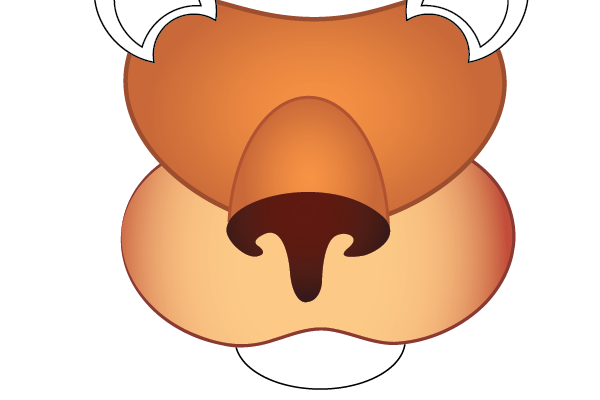
Apply the same gradient to the nose using the eyedropper Tool (I) but give it a 2pt stroke with #B3512B.
On the cheek path apply a radial gradient from #C24B37 to #FCCB88 and a 0.25pt Tapered stroke (#8C372F) .
Select the nostrils path and give it a gradient fill from #341214 to #60180C.
Apply the same gradient and stroke that we used for the cheeks to the chin but make it linear this time.
Select the biggest shape of the ear and Eyedropper tool and then click on the head path to apply the same settings to it. Select the smaller path, make it have no stroke and give it a linear gradient from #9E4D2A to #C86735.
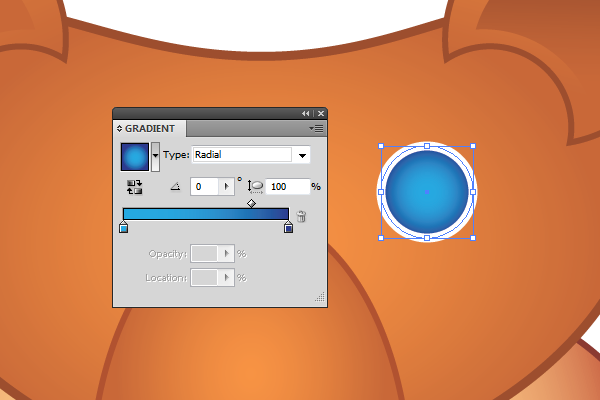
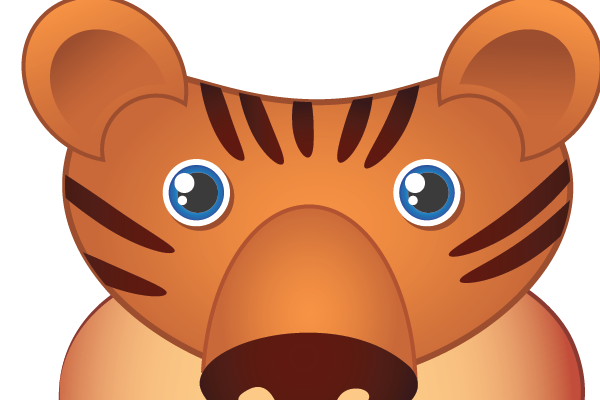
Step 8: Eyes
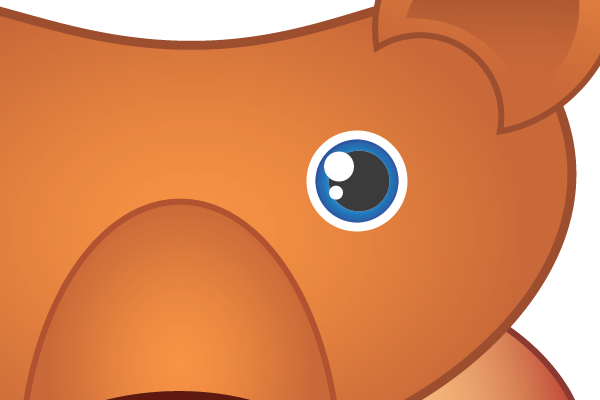
Draw a circle, give it a 2pt white stroke and a radial gradient from #2B3990 to #27AAE1.
Create another, smaller circle. That way, their centers coincide and then fill it with 90% gray.
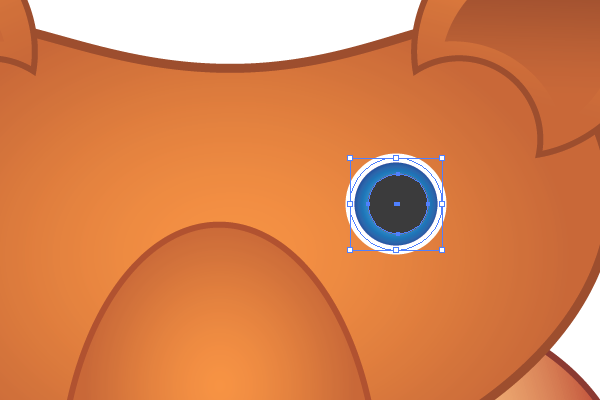
Draw two highlights, those will be two white circles, one a little bigger than the first.
Make a copy of this eye.
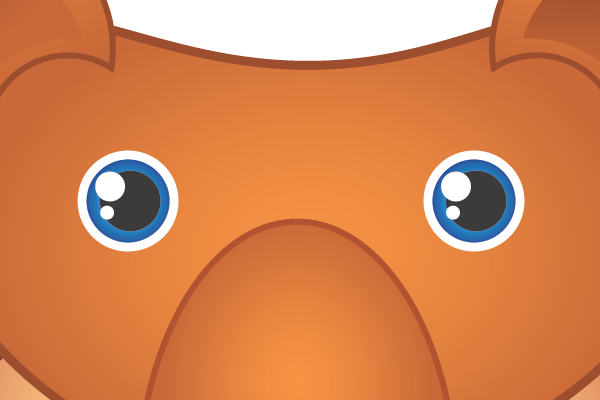
Draw small shadow under the eyes by making copies of the biggest paths and pasting them back.

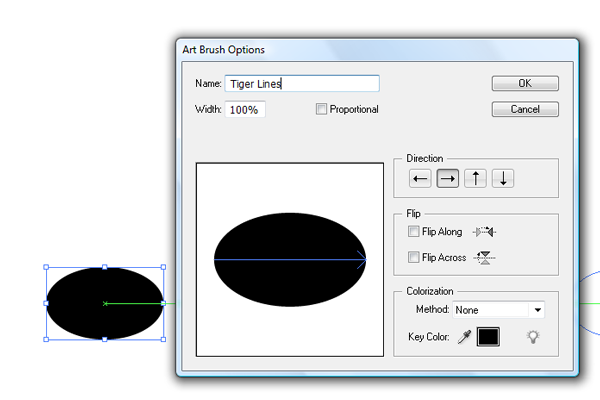
Step 9: Tiger Pattern
Draw a small black ellipse with no stroke and drag it into brush palette, check the “New Art Brush” and click ok. Name the new brush “Tiger Lines” and leave all setting with their default values.
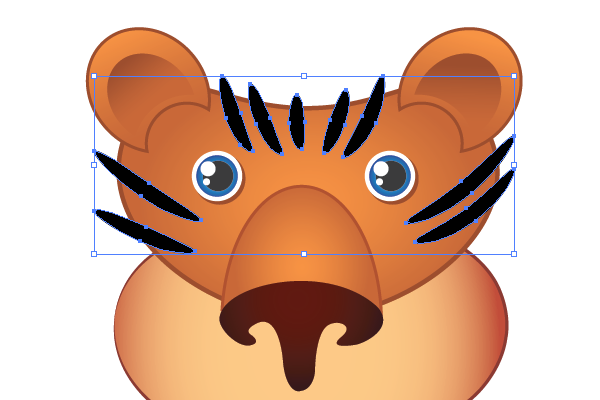
Now, Select the Pen Tool (P) and draw some lines with no fill, where you want your tiger to have lines.
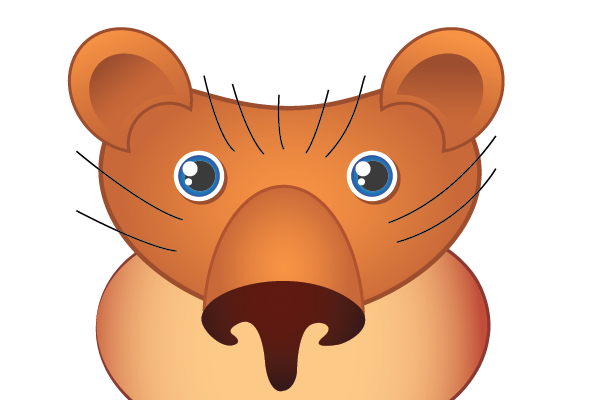
Select all these lines and click on the newly created brush in the brushes palette.
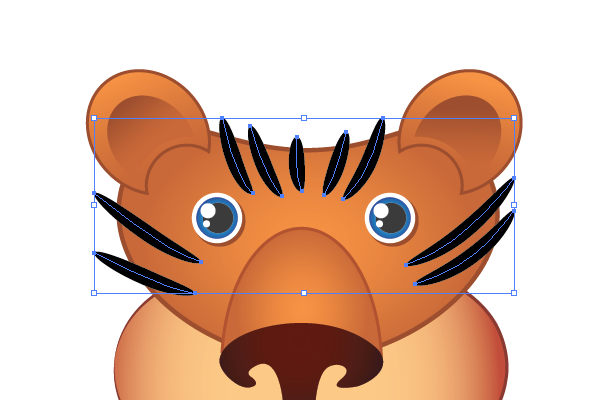
With the lines still selected go to Object > Expand Appearance to expand the lines.
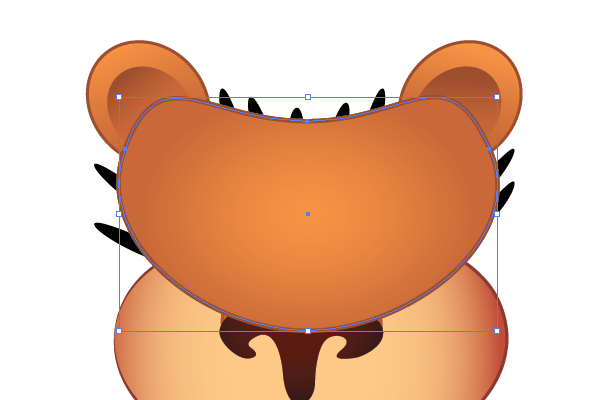
Select the head path, make a copy of it and bring it to front.
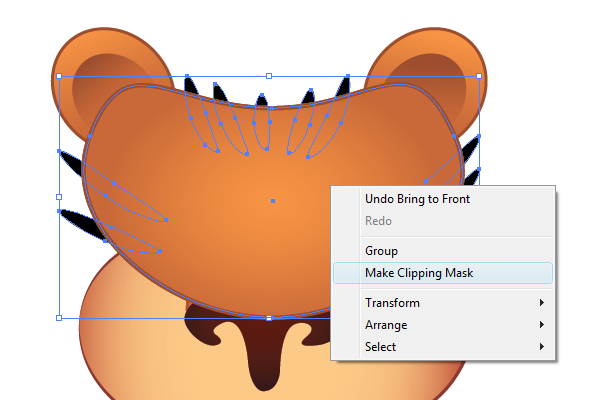
By shift-clicking, select the copy and all expanded lines, right-click on the copy of the head path and select Make Clipping Mask.
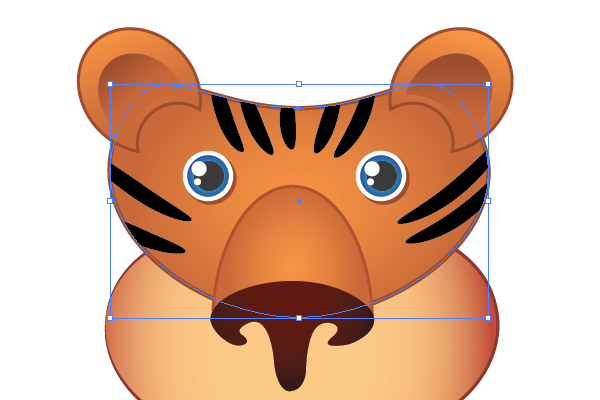
Select all lines and apply a linear gradient from #341214 to #60180C to them.
Step 10: Cheeks Details
Draw a small circle and give it a vertical, linear gradient from #F79442 to #FCCB88 .
Make lots of copies of this circle and place these copies on the cheeks.
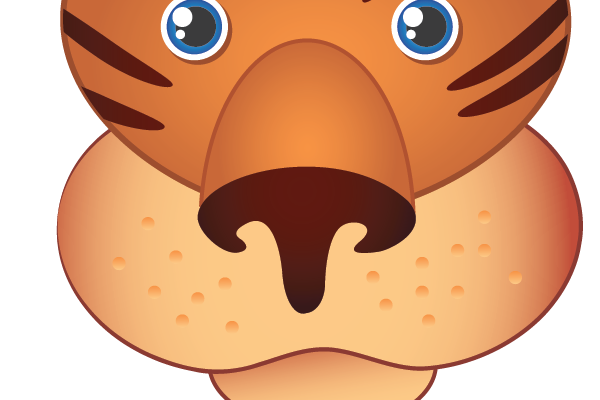
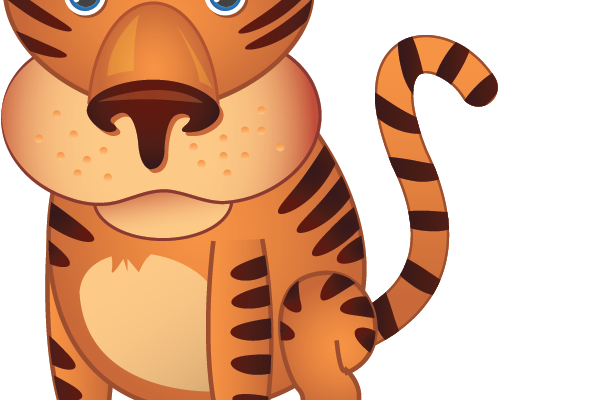
Step 11: Face Shadows and Highlights
Select the Pen Tool and draw highlights on the tiger’s face, eyebrow, nose and ears. Fill these paths with #FCCB88 .

Set the Blending mode to Soft Light.
Select the nostrils path, press Ctrl + C and Ctrl + B to create a copy behind it. Move the copy down a little and to right and fill it with #C86735.
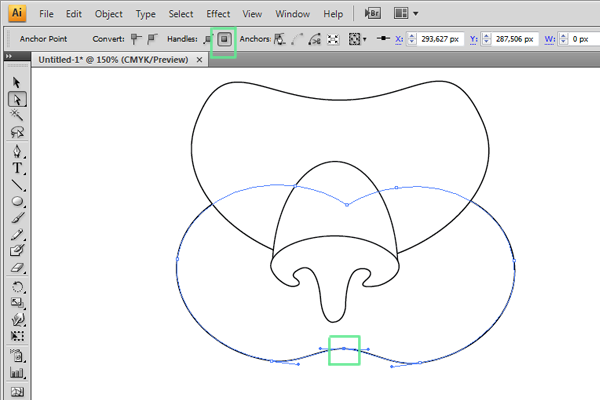
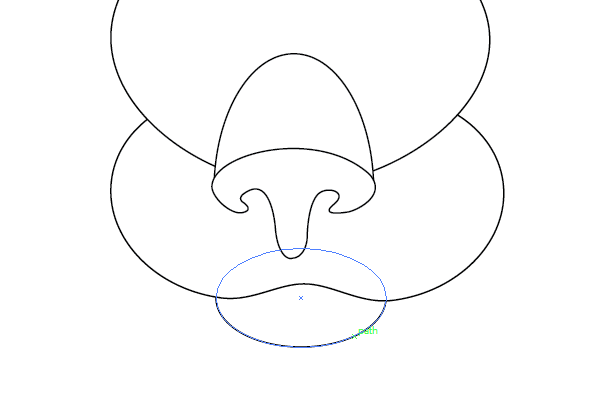
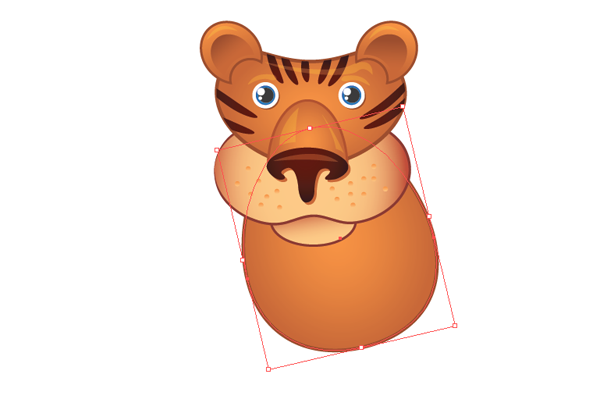
Step 11: Body
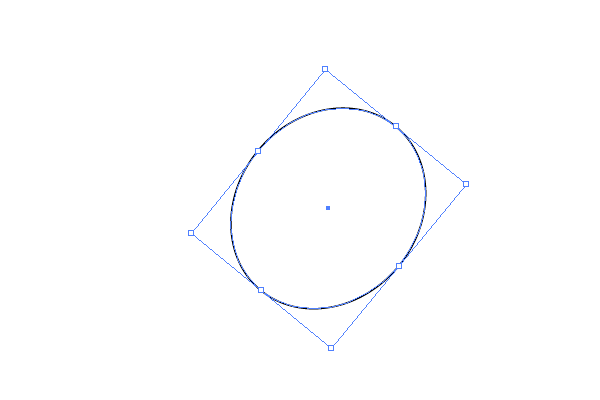
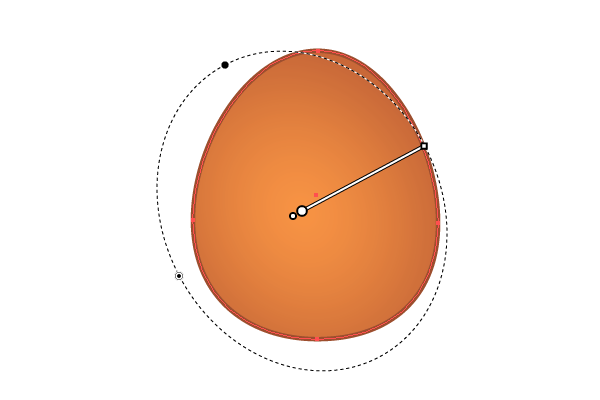
Create a new layer, name it “Body” and drag in under the “Head” layer. Use Pen Tool or Ellipse Tool to create an egg-like path and fill it with the same gradient that we’ve used for the head but adjust its position and angle.
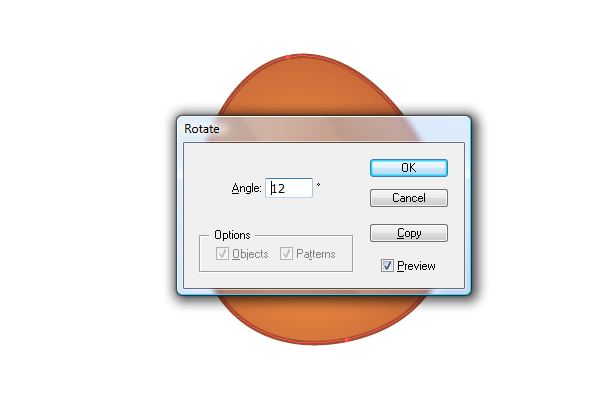
Select the Rotate Tool (R), hold down the Alt key and click on the center of the body shape to bring up the options dialog box. Check preview, set 12 as Angle value and hit OK.
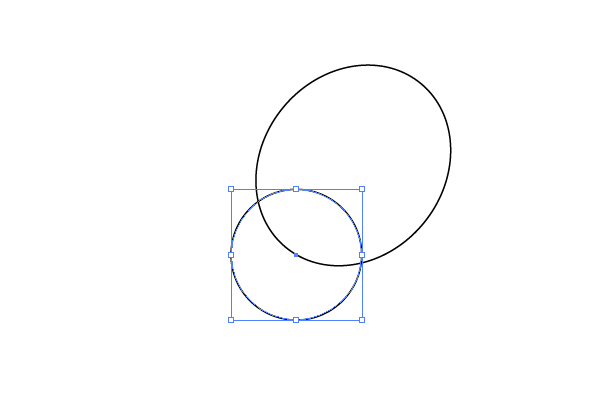
Place this path under the head.
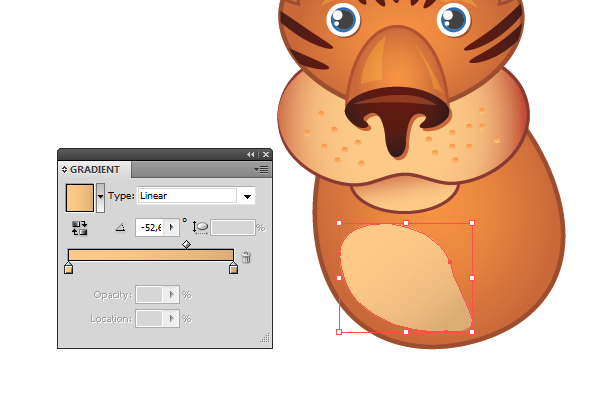
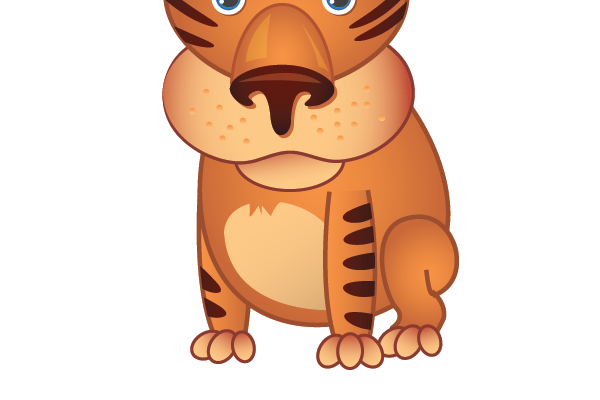
Step 12: Belly
Our tiger has a big bright spot on his belly. Take the Pen Tool and draw it. Pay attention only to the left side of the spot because the right edge will be covered by a hand. Apply a gradient from #FCCB88 to #DBAD75 and no stroke.
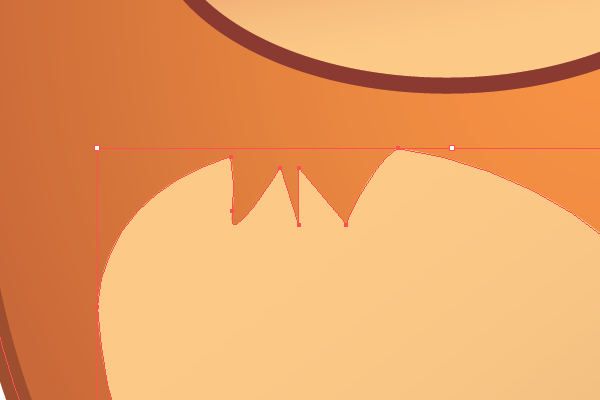
Extract a small part of the top of the belly path to add some detail to it.
 ## Step 13: Hands
Select the Pen Tool and draw an open path for the hand. Select the Eyedropper Tool and lick on the body path to apply the same setting to the hand, but make the gradient linear this time and adjust the angle.
## Step 13: Hands
Select the Pen Tool and draw an open path for the hand. Select the Eyedropper Tool and lick on the body path to apply the same setting to the hand, but make the gradient linear this time and adjust the angle.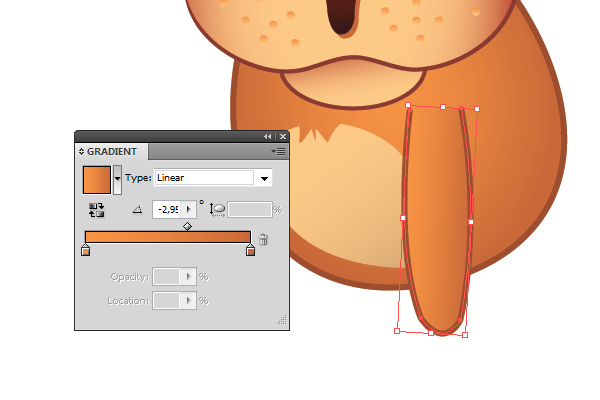
Drag a copy of this hand to the left and press Shift + Ctrl + [ to send it back under the body path.
Repeat step 9 to draw lines on the tiger’s hands.
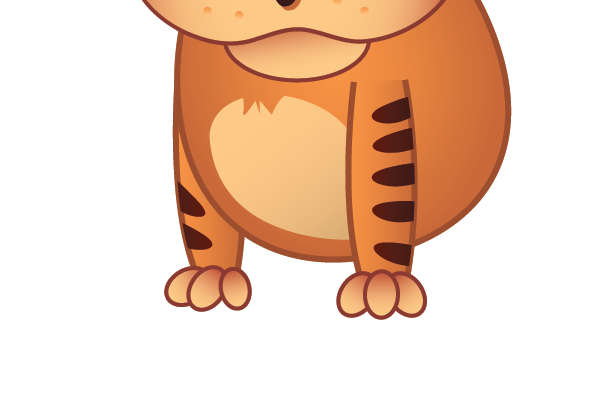
For the fingers, draw six ellipses with the same settings as the chin path and arrange them on the hands.
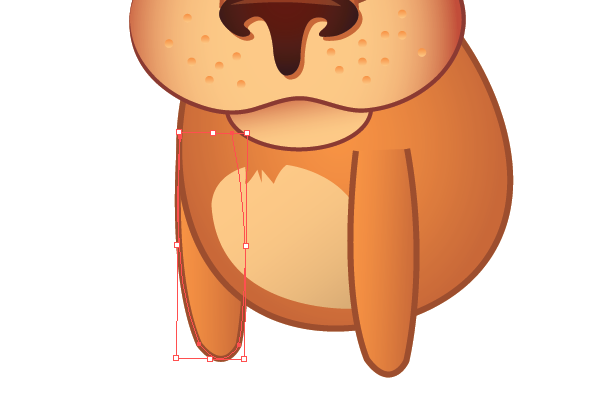
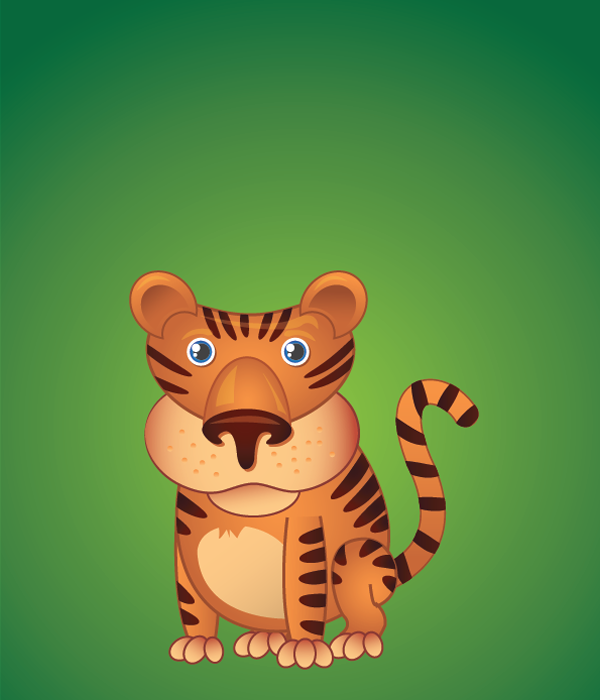
Step 14: Legs
Select the Pen Tool and try to draw a legs path. This will probably take a couple of tries before you get the needed result.
Make a copy of the right hand fingers and place them on the leg.
Make a copy of the whole leg, drag the copy to the left a little and press Shift + Ctrl + [ to send it back.
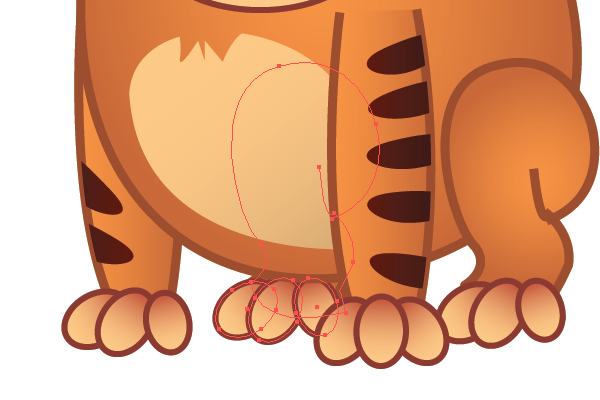
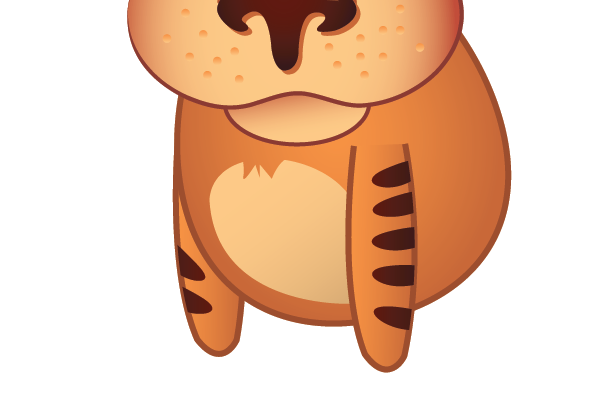
Repeat Step 9 and draw lines on the right leg.

Now, draw some more lines to the body, but make them bigger.

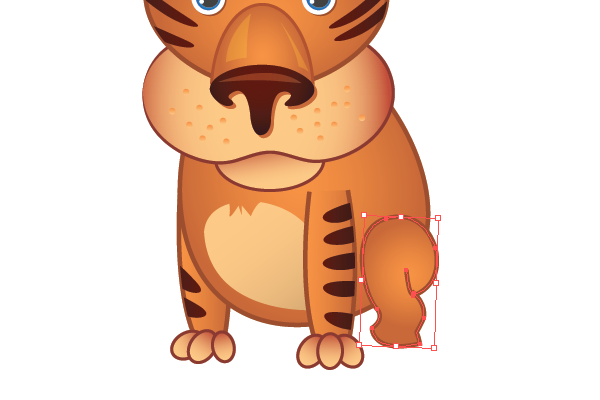
Step15: Tail
Our tiger looks pretty good already but he won’t be a real tiger without a tail. Create a new layer and name it “Tail”. Drag it under the “Body” layer. Select the Pen Tool and draw the ttail path. Give it a 20pt stroke of any color.
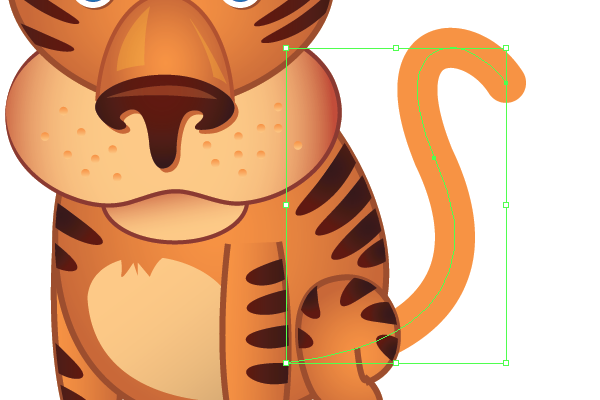
Expand it, (go to Object >Expand), select the Eyedropper Tool and click on the body path. Make it linear and position it vertically.
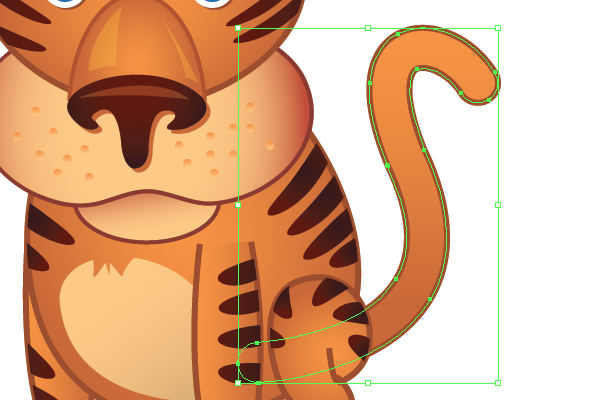
Repeat Step 9 one again and draw lines on the tail.
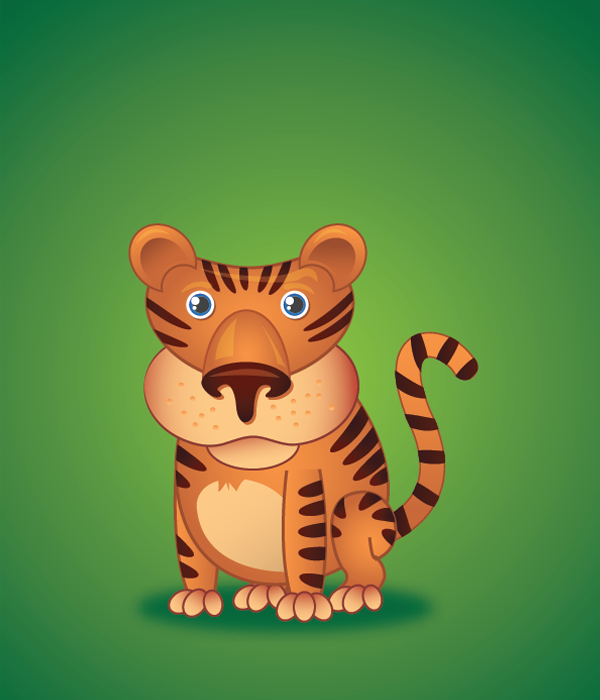
Step 16: Background
Create a new layer under the “Tail” and name it “background”. Select the Rectangle Tool (M) and draw a rectangle with the same dimensions as your art board and fill it with a radial gradient from #99CA3C to #006838.
Lock this sublayer. Draw an ellipse under the tiger and fill it with #006838. Go to Effect > Blur > Gaussian Blur and set the Radius to 30 pixels.
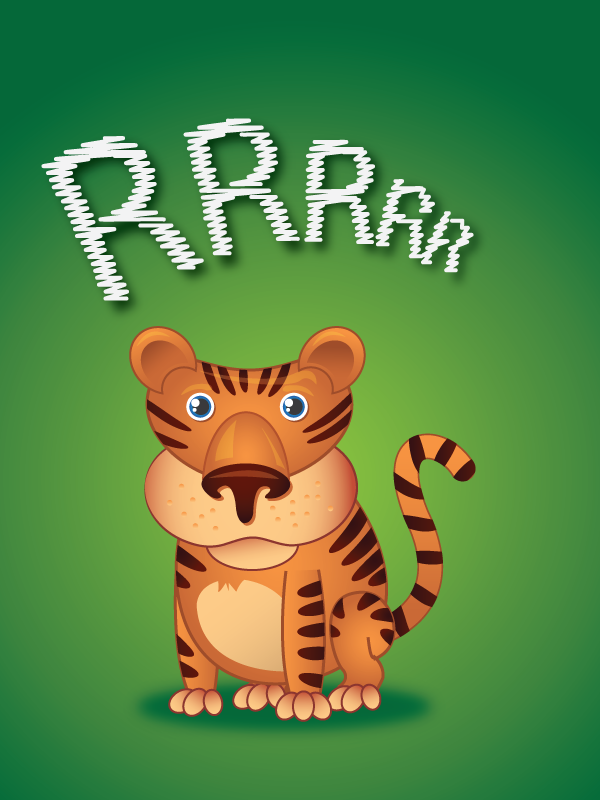
Step 17: Text
Add some text to your Illustration and we’re done!
Thank you for reading the tutorial. If you have any questions about the tutorial, please leave your comments below.
We’d love to hear your comments about this tutorial. Please leave some feedback about your opinion on this tiger tutorials.
Further Reading on SmashingMag:
- Drawing A Cartoon In Illustrator
- How To Create A Dramatic Vector Illustration
- 40 Excellent Adobe Illustrator Tutorials
- Beautiful Illustrations By Photoshop Artists Around The World


