Sassy Z-Index Management For Complex Layouts

Email Newsletter
Weekly tips on front-end & UX.
Trusted by 182,000+ folks.

 Custom Web Forms for Angular, React, & Vue. Your backend.

 Celebrating 10 million developers
Because z-index is contextual, once you start using it, it can be easy for other elements to start requiring it as well. Finding z-index: 99999 rules scattered throughout a website is not uncommon, but the infamous 99999 was simply born of frustration. It is often misused as an easy way to force an element above everything else, but z-indexes are not always so straightforward. It is also not entirely scalable: What if you need to add something on top of that?
Another common strategy is to increment z-index values by double digits, so that you have room to insert other elements later, but that doesn’t solve the problem of keeping track of them all, and it doesn’t scale well when you want to add ones in between.
Every z-index instance raises a number of questions:
- Why does this element have this z-index value? What does it mean in the context of every other element?
- Where does it fit in the order and context of other z-index values? If I increase this one, which others are affected?
- If I add an element to the stacking order, which z-index values do I have to increase accordingly?
Using Sass To Maintain Order
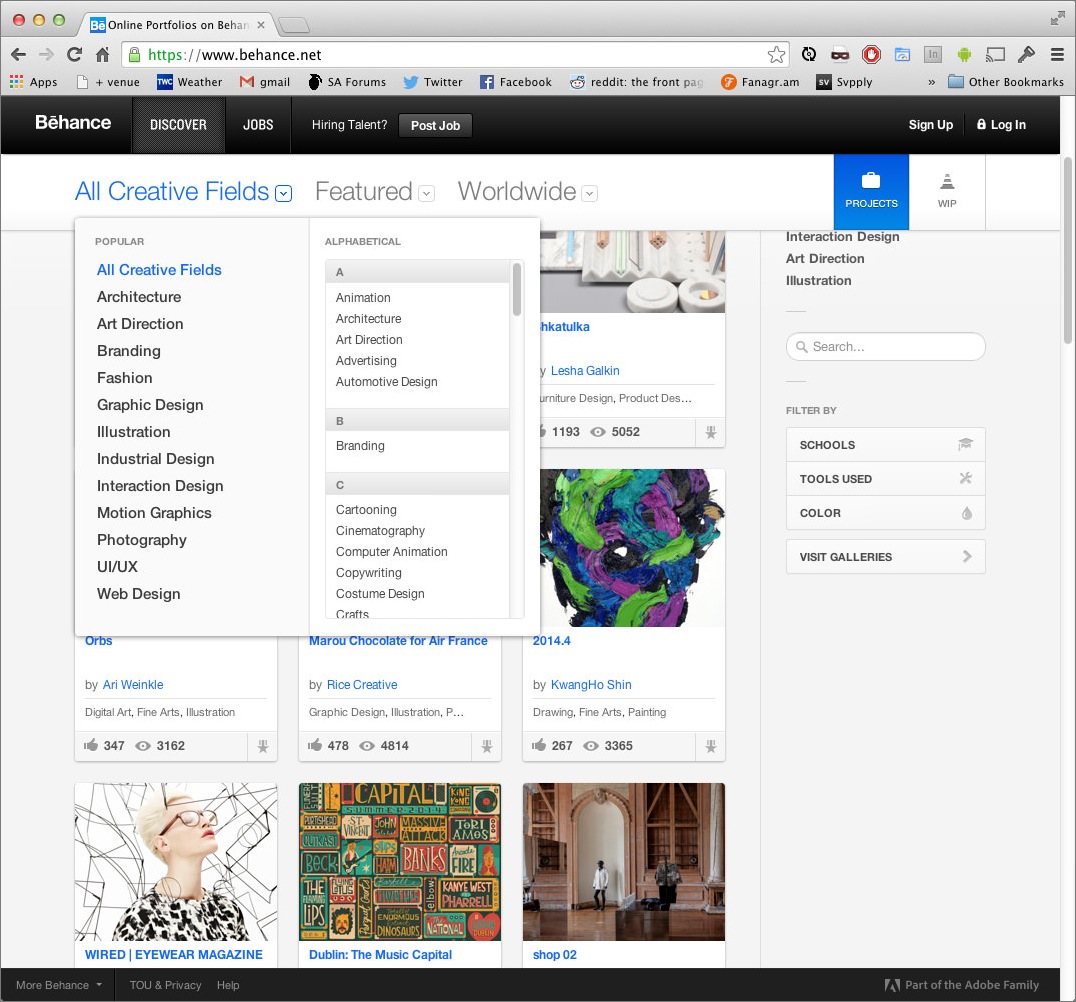
With Sass, controlling all of the factors above is easy using lists. Let’s use Behance’s home page as an example:
$elements: project-covers, sorting-bar, modals, navigation;
This list represents the order in which we want our elements to appear, from lowest to highest, with each index, or position, in the array representing the z-index of that element. We can use the Sass index function to assign a z-index value to each element.
For example:
.project-cover {
   z-index: index($elements, project-covers);
}
This would print out:
.project-cover {
   z-index: 1;
}
This is because project-cover is the first element in the list, at index 1, and the lowest element in our z-index stacking order. Let’s write the Sass for the rest of the items in our list:
.sorting-bar {
   z-index: index($elements, sorting-bar);
}
.modal {
   z-index: index($elements, modals);
}
.navigation {
   z-index: index($elements, navigation);
}
Now, our compiled CSS would look like this:
.project-cover {
   z-index: 1;
}
.sorting-bar {
   z-index: 2;
}
.modal {
   z-index: 3;
}
.navigation {
   z-index: 4;
}
Now you can apply the class to your elements accordingly. But what if we want to add an element to the existing stacking order? Suppose we wanted to add a tooltip that appears when the visitor hovers over a username, above the project covers but below everything else.
$elements: project-covers, user-tooltip, sorting-bar, modals, navigation;
Because the z-index values of the sorting bar, modals and navigation have changed in the list (they had values of 2, 3 and 4 but now are 3, 4 and 5), our compiled CSS will automatically adjust their z-index values using their new positions. Let’s add this new line of Sass:
.user-tooltip {
   z-index: index($elements, user-tooltip);
}
This will make the compiled CSS look like this:
.user-tooltip {
   z-index: 2;
}
.sorting-bar {
   z-index: 3;
}
.modal {
   z-index: 4;
}
.navigation {
   z-index: 5;
}
Scaling The Solution Across Stacking Contexts
Suppose our layout is even more complex, with multiple stacking contexts and stacking orders. (Remember that in order for an element’s z-index value to have an effect, its position must not be static. This is what creates a new stacking context, giving any children of the element a stacking order specific to its parent.) In this case, one linear list might not be sufficient. Instead, we can create as many lists as we need, each of which would be considered one context.
$elements: project-covers, user-tooltip, sorting-bar, modals, navigation;
$modal-elements: fields, form-controls, errors, autocomplete-dropdown;

.modal {
   z-index: index($elements, modals);

   .field {
      z-index: index($modal-elements, fields);
   }
   .form-controls {
      z-index: index($modal-elements, form-controls);
   }
   .error {
      z-index: index($modal-elements, errors);
   }
   .autocomplete-dropdown {
      z-index: index($modal-elements, autocomplete-dropdown);
   }

} /* .modal */
This compiles to:
.modal {
   z-index: 4;
}
.modal .field {
   z-index: 1;
}
.modal .form-controls {
   z-index: 2;
}
.modal .error {
   z-index: 3;
}
.modal .autocomplete-dropdown {
   z-index: 4;
}
Scaling The Solution Across A Website
The most important requirement of this technique is sticking to it. Any rogue hard-coded z-index values could compromise the integrity of those derived from your list. Because of this, you might find that you need to maintain the z-index order across several pages of a website. The simplest solution is to create a partial containing your site-wide lists, which you can then include anywhere you need it. (You might already have a partial that you include everywhere that stores variables for your website’s colors, font sizes, etc. — this is the same idea.)
_zindex.scss
$elements: project-covers, user-tooltip, sorting-bar, modals, navigation;
$modal-elements: fields, form-controls, errors, autocomplete-dropdown;
mypage.scss
@import '_zindex.scss'

.modal {
   z-index: index($elements, modals);
}
Combining or modifying global lists per individual page is also possible. You can import your partial and then use Sass’ list functions (or other advanced ones) to modify as needed. For example:
@import '_zindex.scss'

$modal-elements: append($modal-elements, close-button);
$elements: insert-nth($elements, sidebar-filters, 3);

.modal .close-button {
   z-index: index($modal-elements, close-button);
}
.sidebar-filter {
   z-index: index($elements, sidebar-filter);
}
This Sass would add a “Close” button to the end of the modal stacking order and insert birds into the main stacking order of the page it’s included on, all without affecting other pages that use the _zindex.scss partial.
Error-Reporting
Always check for errors in your code to avoid mistakes. For example, if you tried to get the z-index value of an item not in your list, you might find an unexpected output:
.objects {
   z-index: index($elements, thing-not-in-my-list);
}
.objects {
   z-index: false;
}
Because false isn’t a valid value for z-index, we don’t want it in our compiled code. We can stop this from happening by making a custom function that acts as a proxy to the call to list and that uses Sass’ @warn to tell us whether something has gone wrong.
@function z($list, $element) {

   $z-index: index($list, $element);

   @if $z-index {
      @return $z-index;
   }

   @warn 'There is no item "#{$element}" in this list; choose one of: #{$list}';
   @return null;
}
This function takes the same arguments as index, but before it returns the value, it checks that we are requesting something that exists in the list. If the value exists, then it returns the result of the index call, just like before. If the value does not exist, then two things happen:
- A warning is printed telling you that the item you’re requesting is not in the list, and the values of the list are printed so that you can see what to choose from.
- The value returned is
null, which tells Sass not to print out the rule at all.
.objects {
   z-index: false;
}
… the z-index would not get printed at all. As a bonus, if it was the only rule in your rule set, then Sass would not even print the selector, thereby minimizing unnecessary output.
Conclusion
Keeping track of stacking contexts and orders in CSS is hard, but variables in preprocessors make it much easier. There are many ways to handle it, but the approach we’ve looked at here is intended to be the most straightforward and require the least amount of maintenance, by using simple lists of items in the order they should appear. And because Sass lists and functions are so powerful, you have endless possibilities for expanding this technique to be as comprehensive as you need!
Resources
- “The Z-Index CSS Property: A Comprehensive Look,” Louis Lazaris
- “What No One Told You About Z-Index,” Philip Walton
- “Handling Z-Index,” Chris Coyier
- “The Stacking Context,” Paolo Lombardi
- “Script Functions,” Sass documentation
- “Advanced Sass List Functions,” Kitty Giraudel
Further Reading
- The Z-Index CSS Property: A Comprehensive Look
- Extending In Sass Without Creating A Mess
- What Everyone Should Know About The Process Behind App Design
- Stronger, Better, Faster Design with CSS3


