The Right Tool For The Job: Picking The Best Prototyping Software For Your Project

Email Newsletter
Weekly tips on front-end & UX.
Trusted by 182,000+ folks.
 Claim Your Free Spot!
 SurveyJS: White-Label Survey Solution for Your JS App


 Register Free Now
Prototyping tools have become an important resource for us designers — allowing us to document multiple states of a single screen, including animations, transitions and microinteractions that are hard to represent in static documentation.
Companies that pay attention to this trend have started to build prototyping tools to address this need; and today we’re seeing a plethora of tools emerge on a regular basis. But which should you pick? More importantly, what questions should you ask yourself and your team to make sure you choose the right one?
“What tool should I use?” has become one of the most frequent questions in online forums, design meetups and blogs. It’s turned into quite a passionate debate — and designers tend to quickly argue for a certain tool or application.
The truth is that no solution is one size fits all. More and more, designers need to have a range of tools at their disposal, to understand the pros and cons of each, and to be able to quickly decide on the most appropriate workflow for the given context.
Several steps go into the evaluation process. Experienced professionals and team managers are able to pick the right tool for the job fairly quickly — as soon as they are briefed on a new project and understand where the prototype will be used.
Below, we will explore five steps to decide on the right prototyping tool for your project: from defining the goals, to understanding the requirements and context, to evaluating the options available. The objective is to guide designers who are making that decision for the first time or who are faced with a project with unique requirements and constraints.
Before getting our hands dirty with building the prototype, we need to think about why we are doing it. What problem is the prototype trying to solve? Why do we believe it will help the project at that particular moment?
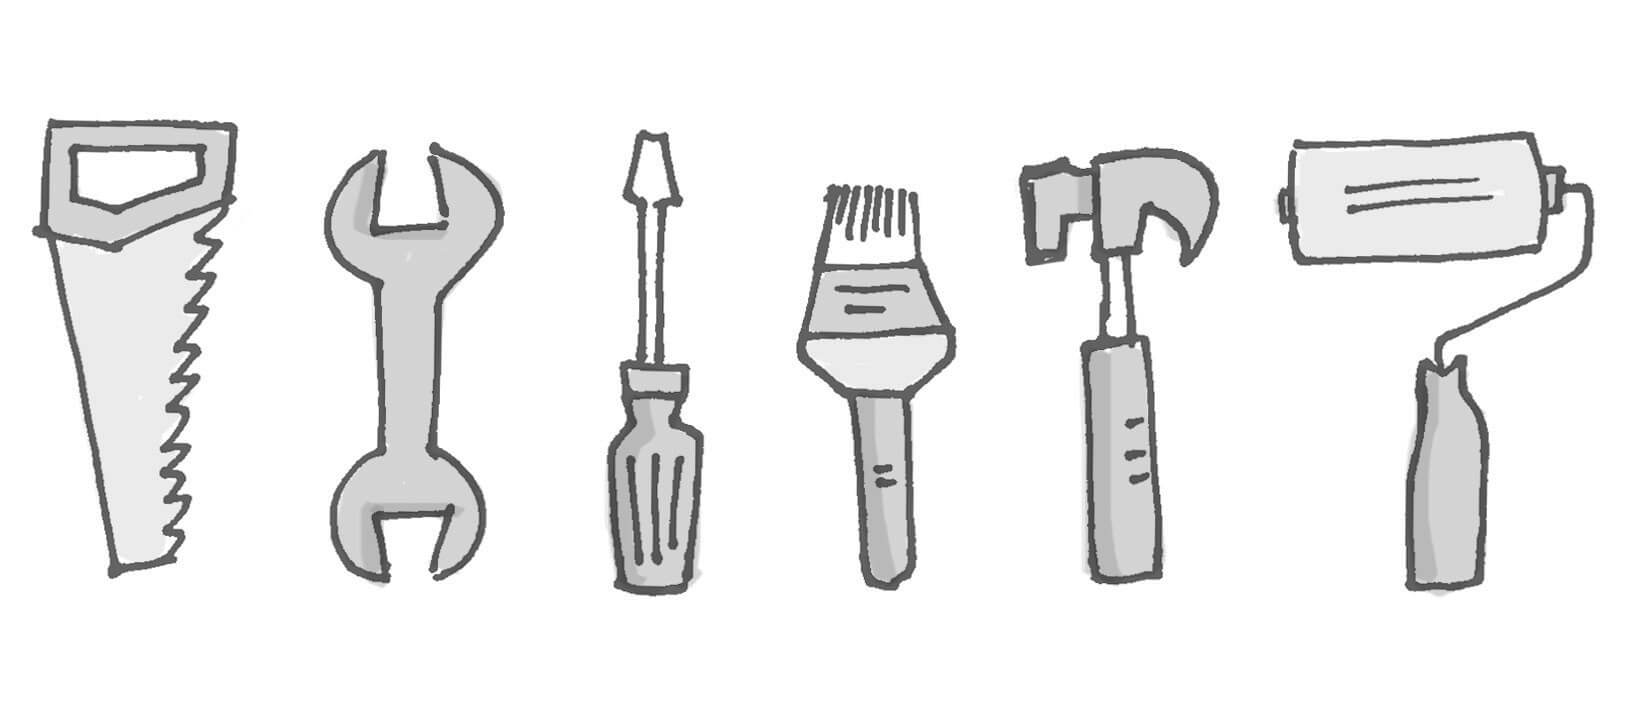
1. Do You Really Need A Prototyping Tool?
Being able to tangibly show how a product is supposed to work while it is still being designed has unquestionable benefits to the project, and it enables designers to think about interactions in the most dynamic and real way possible. We live in a world of vivid, interactive interfaces that are hard to replicate outside of their live environment — and interactive prototypes do a really great job of emulating that experience.
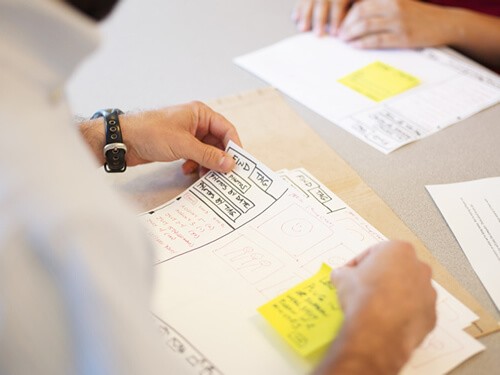
But in some cases, a prototyping tool is not really necessary. When the project is in its earliest stages and all you want to do is validate a concept, a paper prototype is often more effective at representing how the product is supposed to work. Paper prototypes eliminate the need for spending time with software (and, in some cases, learning how to use it), while allowing for quick, low-fidelity iterations of the design that are focused more on testing a concept than on validating specific usability issues.
In other cases, rather than creating a standalone prototype with dedicated software, the best thing to do is to start building the product in the final programming language. When building a website, some people start with an HTML prototype right away. Frameworks such as Bootstrap can help you create a responsive website quite quickly, and in some cases it does not require advanced technical knowledge. Keep in mind that the type of code that gets written for an HTML prototype is almost always discarded, because it is written quickly and possibly by non-experts.
Before spending energy trying to select the right software for the job, discuss with the team whether an interactive prototype is really the best solution and what type of prototype will best deliver on that project’s particular needs.
2. Define The Objectives
Defining the goal of the prototype can help you think through the level of fidelity and functionality needed — which directly informs the choice of prototyping tool.
The chart below gives an overview of some common reasons for creating a prototype in the design phase. These categories are not exhaustive, and in some cases the same prototype can serve different areas, but the framework can be used as a starting point to prioritize the prototype’s goals.
Which of the following is your key objective?
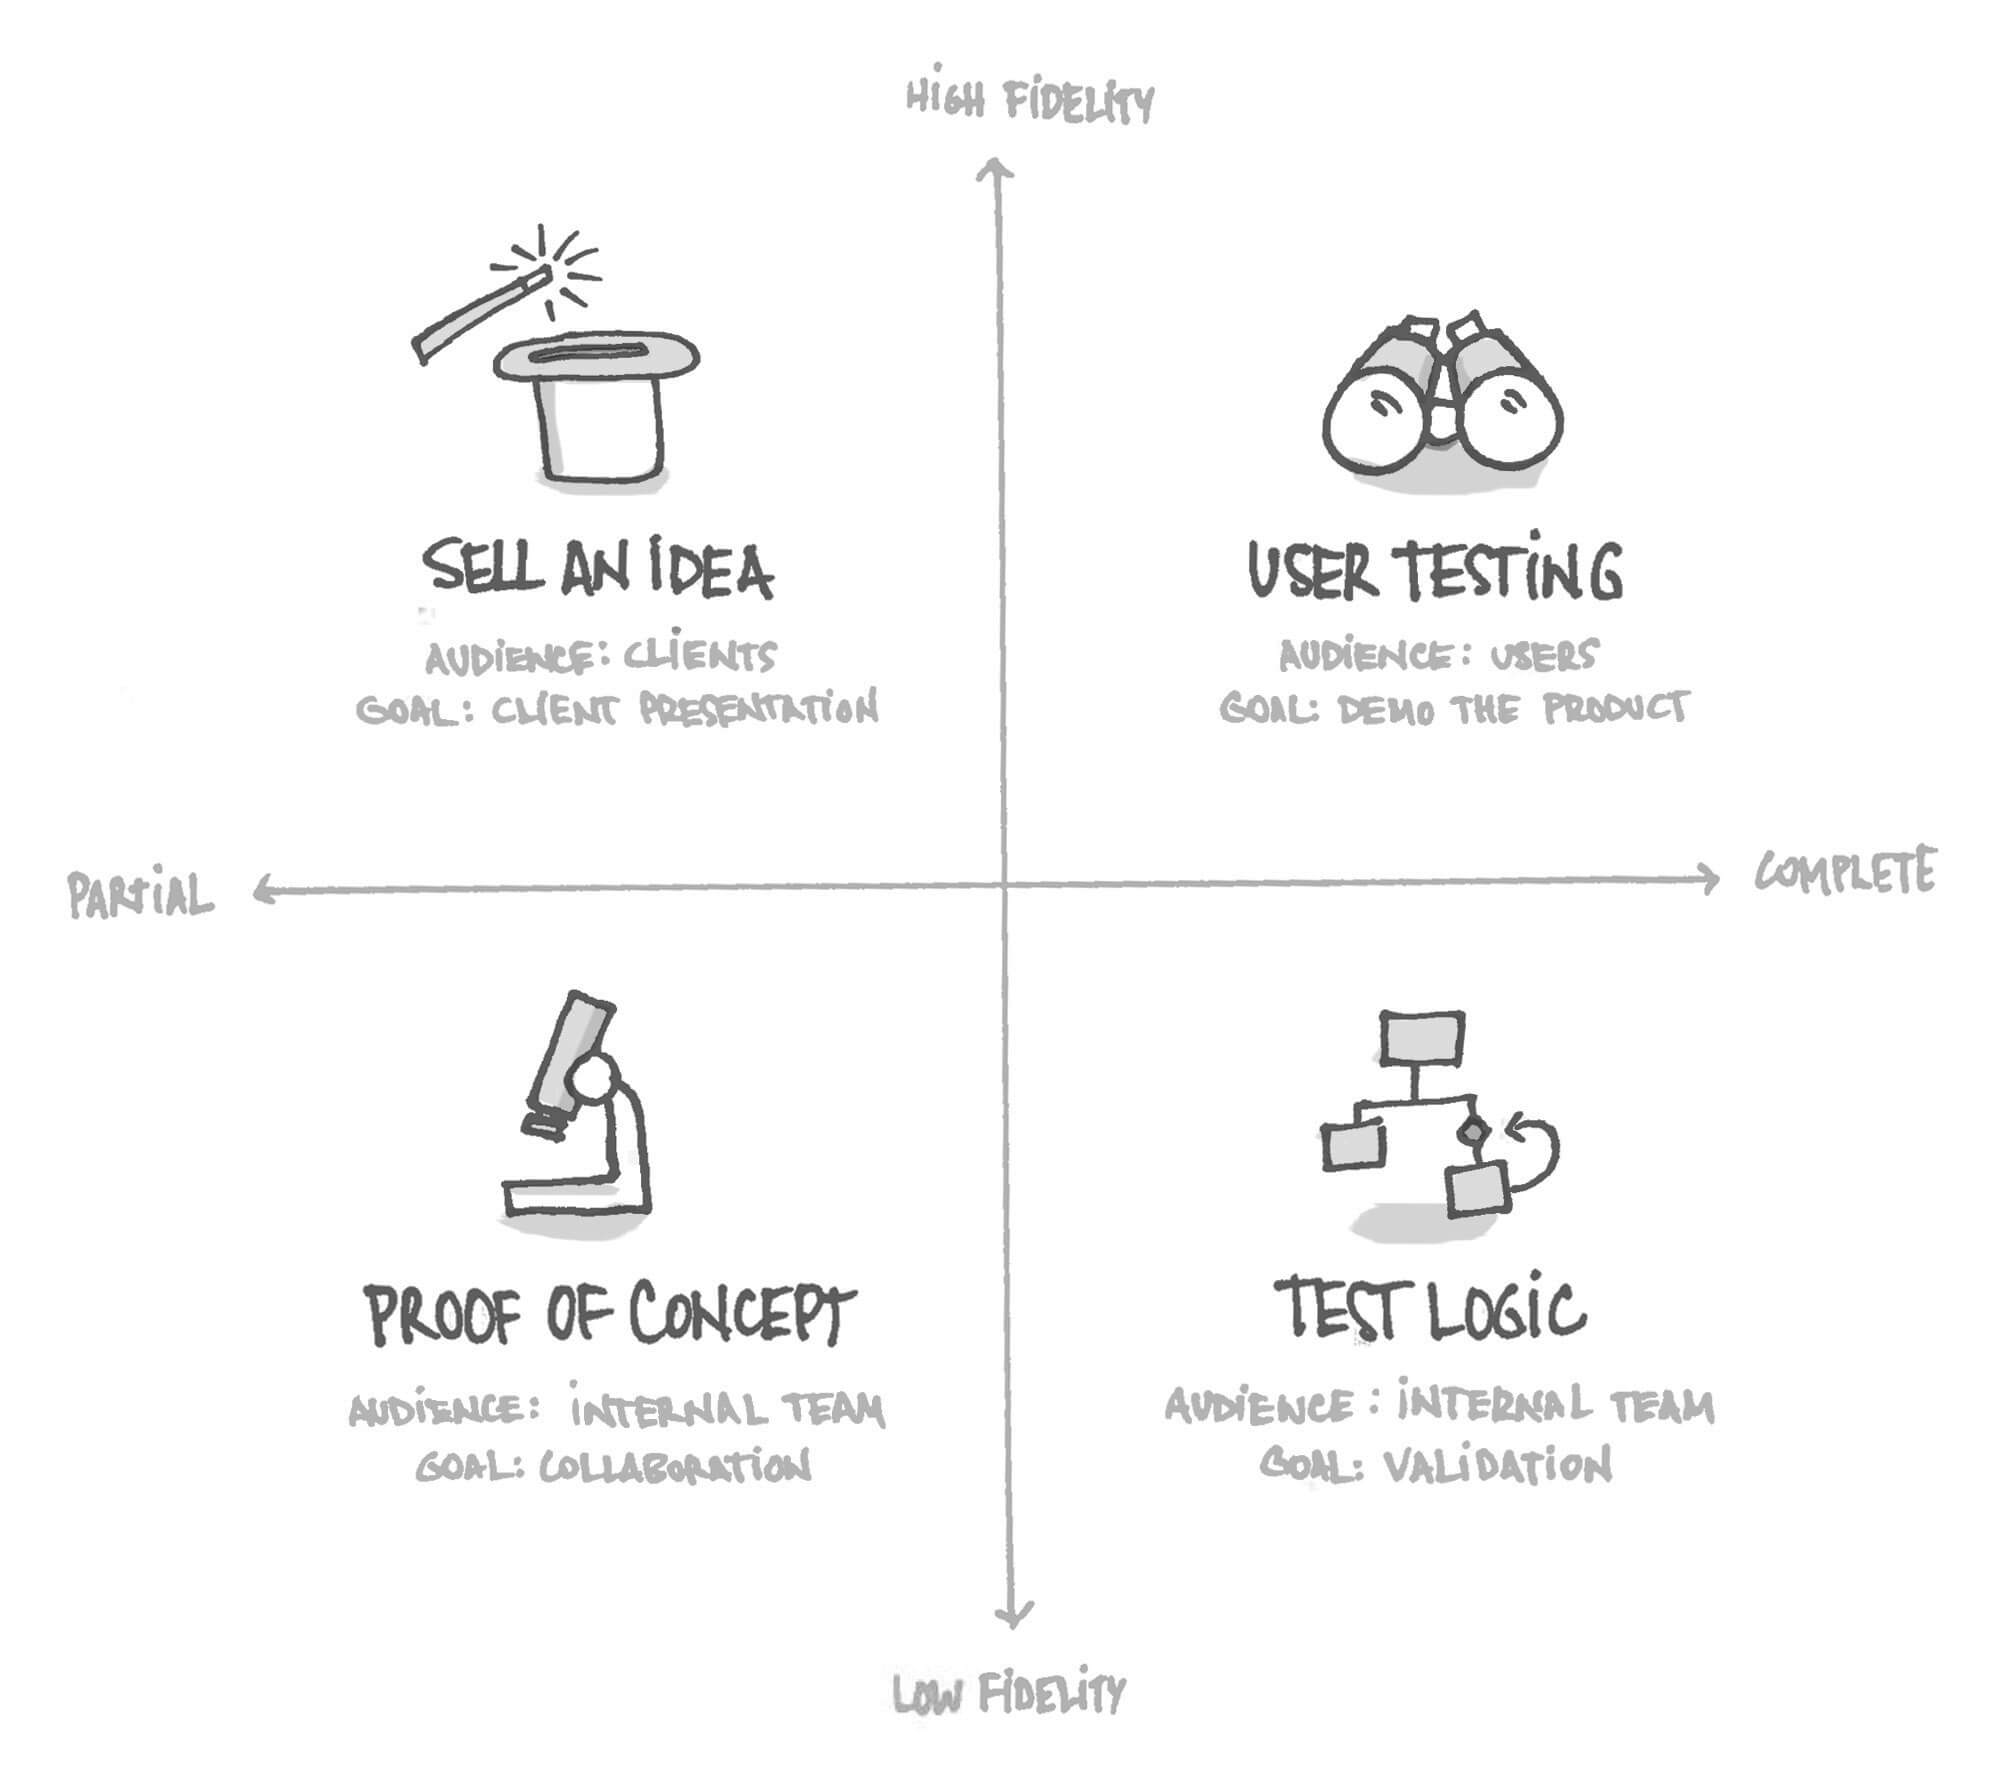
- To sell an idea in a client presentation. Prototypes are incredibly helpful for bringing concepts to life. They are also a great sales tool for pitching ideas to clients and important stakeholders; visualizing an idea in interactive form can help them “dream big.” In such cases, the prototype’s functionality tends to be shallower, representing only the core features and user flows that help to sell the idea. The scope of the product doesn’t need to be fully represented in the prototype, but some visual polish will make a big impact. Keep in mind that a sales-oriented prototype often needs to be thrown away when the actual user-centered design phase starts.
- To test the experience with users. Putting prototypes in front of users is an important part of what we do as designers when advocating for the best possible user experience. The sooner you can gather feedback to correct course, the better. Prototypes for user testing tend to be a bit more refined — although paper prototypes also work well when the product is in its early stages. The prototype needs to be as robust as the complexity of the tasks you are assigning to users during the testing session.
- To prove a concept internally. Sometimes a prototype is used only as an internal proof of concept — you have an idea and want to make sure it really works or feels right. A quick prototype will help you shop the idea around with multiple stakeholders before you invest time and effort in designing the entire product or feature.
- To test logic and feasibility. In some cases, the team really needs to test whether a feature is feasible before moving into development. The prototype can function as a living document, to be used in discussions between designers and developers, as well as a sandbox environment for testing ideas and integration of functionality.
The diagram above can give you a head start on defining the goals for your prototype. But keep in mind that the level of fidelity will vary according to the context. Putting a low-fidelity prototype in front of users and clients is perfectly normal, especially if you’re looking for early feedback on a concept.
3. Understand The Requirements
Once the high-level goal of the prototype is defined, it’s time to look into more specific issues that will inform your decision, such as those related to software, hardware, timing and resources.
A common mistake designers make at the beginning of a project is to jump right into their favorite prototyping tool, without taking the time to meet with the team and discuss the context in which that prototype will be built, shared and visualized. Changing your mind will be hard if you’ve invested many hours in building a first version of the prototype.
Meet with your team and go through some of the questions below. Involve project managers, designers and developers in the discussion — the group as a whole will need to answer most of the questions in the list, taking into consideration requirements such as timeline, budget, skill set and technical compatibility.
Depending on how different factors are configured, a prototype can take different forms. You might be able to get away with hand sketches and wireframes, for example. In some cases, an unpolished, hacked-up HTML and CSS combo will do. In other cases, you’ll need to create a richer, more polished prototype to really understand whether and how a given interaction will work.
Scope: Prototyping Flows Vs. Interactions
Common questions:
- Are you trying to demonstrate a flow with a series of steps, or are you representing a more contained interaction?
- What is the most important part of the flow or interaction that you need to prototype in order to get the idea across? What is the size of the screen where that experience will happen?
The world of prototyping tools can be pretty easily divided into two groups: tools that allow you to emulate user flows, and tools that are more focused on representing specific interaction.
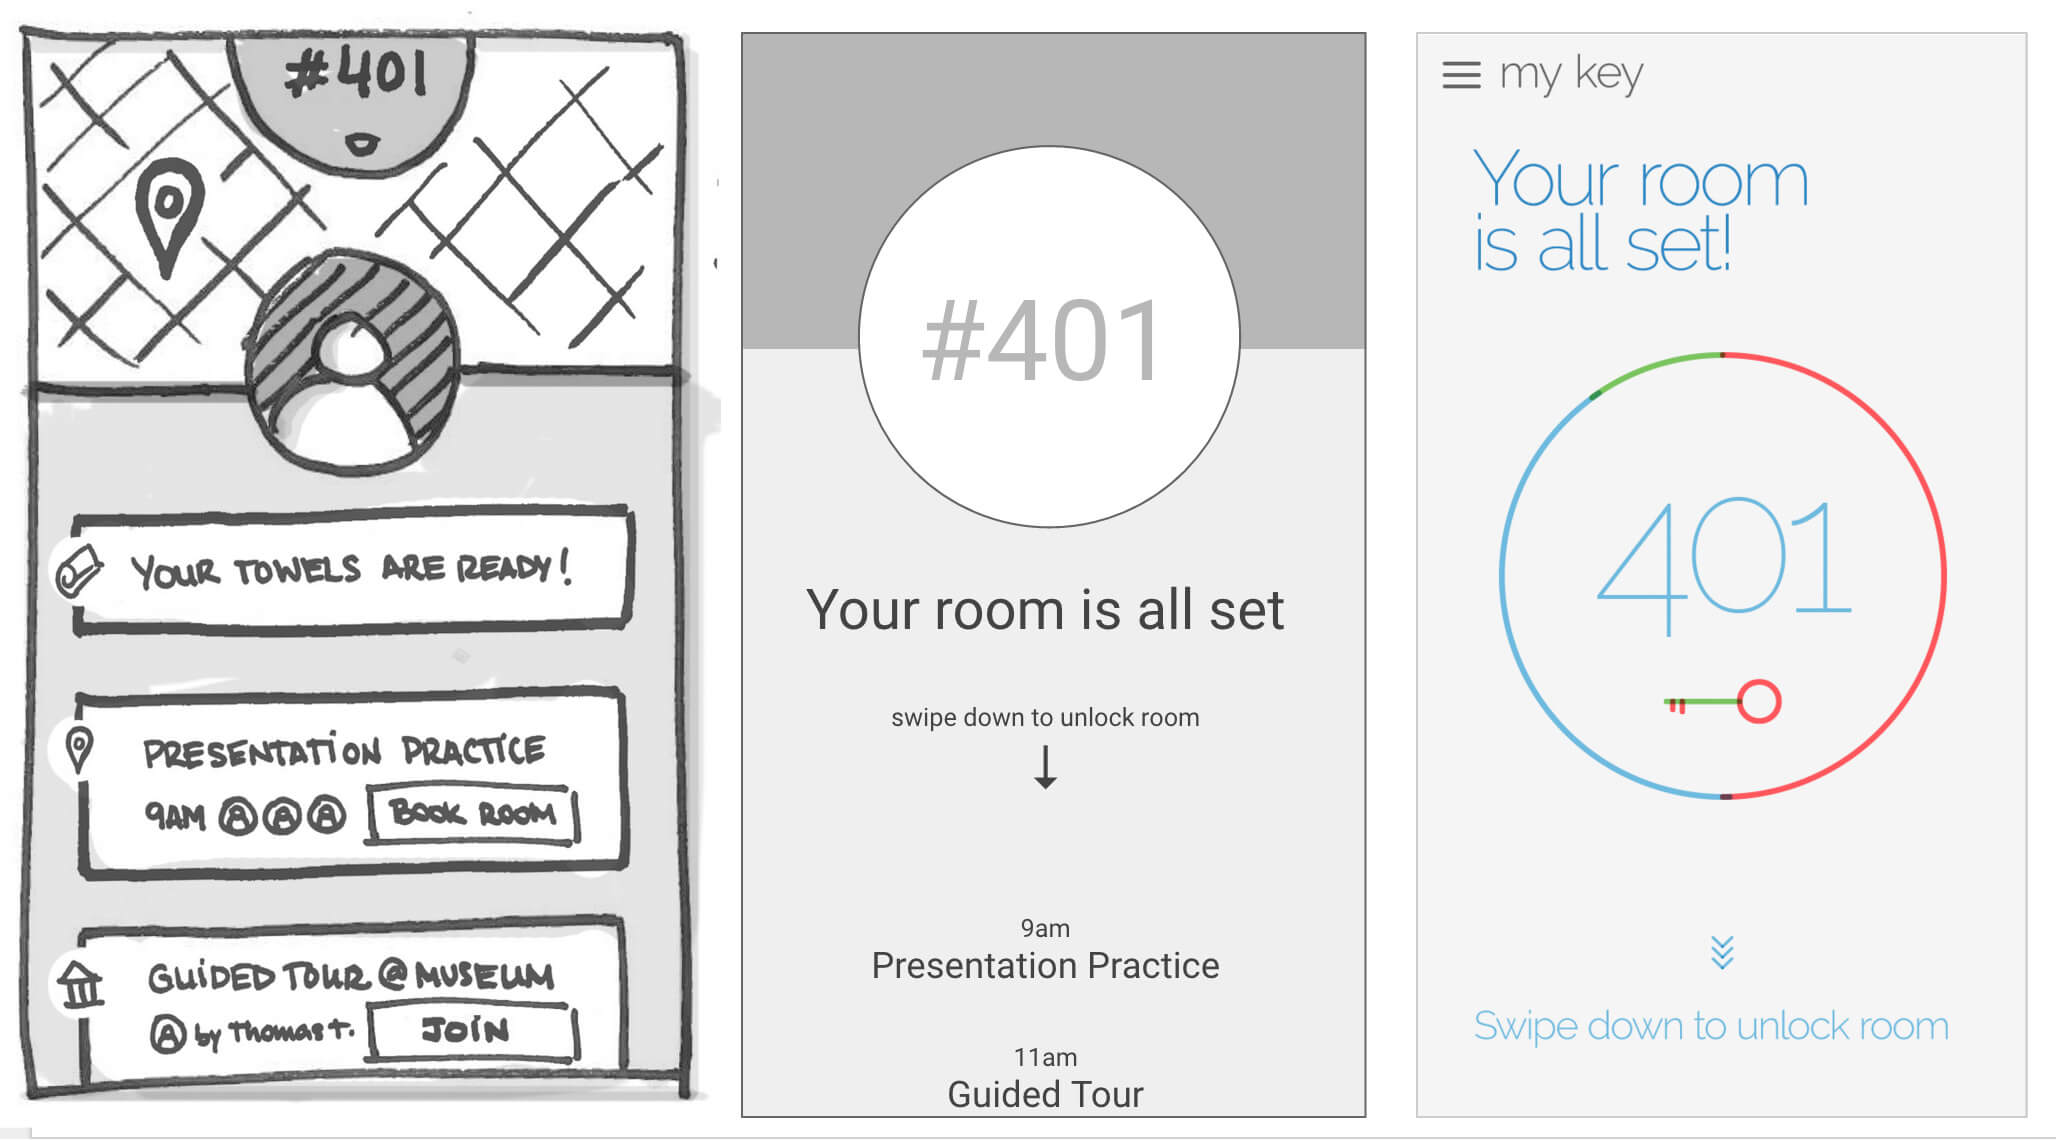
If you are trying to tell a story about your product or about how users will experience it, then prototyping a flow might be a better approach. In that case, tools such as InVision, Axure and Keynote are extremely powerful at increasing efficiencies and making the prototype feel connected to the story you are trying to tell.
If you are trying to represent a unique, in-depth interaction and want to use the prototype as a tangible way to explain its behavior to stakeholders and team members, then you might want to focus on a different group of tools. Framer, Principle, Pixate and Origami top that list.
Considerations:
- ability to emulate a flow
- level of fidelity and interactivity allowed by tool
- devices supported
Fidelity: Defining Workflow And Visual Polish
Common questions:
- Are you planning to use wireframes or visual mockups as a starting point?
- Do the screens still need to be designed?
- Is the same person responsible for designing and prototyping?
- Will your team need to hand off the prototype to another team at some point?
- What is the expected look and feel of the final prototype?
Some prototyping tools allow you design and build at the same time, while others are more focused on importing existing assets — such as wireframes or visual boards — into the canvas.
Take some time to talk through the expected design process with your team. In some cases, the prototype will need to be built based on existing assets (for example, the team might have already mocked up visual comps for the UI) — and all the designer will need to do is link the mockups together into a coherent flow or narrative. Several tools out there are more focused on linking screens and emulating interactions as the user goes through the flow. InVision and Keynote are good examples of that.
In other cases, the same team member will need to design the UI and build the prototype at the same time. Being able to simultaneously iterate on these two aspects of design will allow for a more refined and interactive deliverable at the end of the prototyping phase. If this is the case, look for a tool that goes beyond just linking and that allows you to design the UI as well.
Also, consider the level of visual refinement needed. A tool like Axure or UXPin might make the deliverable look and feel like a wireframe, while others allow for a more pixel-perfect, visually polished end product. Some design teams opt to pair tools that seamlessly work together to achieve the same result (for example, Sketch for designing and InVision for prototyping). Make sure the tools you pick provide automated integration, to save you time and legwork every time the prototype needs to be updated.
Considerations:
- collaboration features (sharing, live sharing, commenting and feedback)
- integration with other software in your workflow (such as Photoshop, Sketch)
- level of fidelity required (wireframe versus pixel-perfect design)
Resources: Mapping Out Required Skill Set
Common questions:
- Who will be creating the prototype?
- What are the person’s software skills, and how fast can they work?
- If they don’t know how to use a particular tool, how quickly can they learn? Are they willing to do so?
- How many designers will be collaborating on the prototype?
Leveraging your team’s software skills will save a lot of time — but make sure this does not impede your organization from testing new tools and incorporating them in the design process. Prototyping tools are becoming increasingly easy to learn and operate; designers can be concerned less by the learning curve and more by whether the tool is right for the job.
Map with your team what tools they already know how to use, and do some online research to see which tools are simplest to learn. Encourage your team to learn and play with as many prototyping tools as possible — the variety of choices and the flexibility in your team’s skill set will come in handy when you have to choose the best tool for your next project.
Considerations:
- learning curve
- ease of use
- speed
Context: Defining Audience And Usage
Common questions:
- Who is the audience of your prototype? Who needs to be able to interact with it and give feedback?
- In what medium does the prototype need to be visualized? On what device? In what context?
- Are you going to walk the audience through the prototype or simply email a link? If the former, will the walkthrough happen in person, will it be conducted online via screensharing, or will it be self-directed?
If you are putting together a mobile prototype and intend to sit next to a stakeholder in a meeting to explain the idea, then you will need to have the right combination of software (a tool that allows for mobile prototypes) and hardware (a phone that meets your specifications). A more controlled environment like this doesn’t require the entire flow to be fleshed out — saving you time and effort.
But the combination might be completely different if you are planning to use the same prototype to run remote, asynchronous usability tests with users across the country who have no idea what the product does or looks like. In this case, you might need a more functional, bulletproof prototype that allows for a self-guided experience.
Considerations:
- devices supported
- self-guided clickthrough experience
- ease of sharing and capturing feedback
Answering the questions above will help you understand the usage context and define some basic requirements for the prototype. Draw a list, making sure to include requirements for all four groups identified above: scope, fidelity, resources and context. The next thing you’ll want to do is check whether the tools you are considering offer the functionality you need.

4. Evaluate The Tools
New applications come out every month, each promising to solve all of the problems that previous ones couldn’t. The reality is that when you’ve been working in this industry for more than 10 years, that story gets repetitive and you start to see the pattern in these announcements.
Once you have gone through the initial list of questions with your team, it’s time to look into potential tools. Just by answering the questions in step 3, you’ll be able to quickly eliminate some options and come up with a shortlist for closer analysis.
For each tool in your shortlist, evaluate the following:
- Platform and channels. Are you prototyping a website or an app? Is it a desktop or mobile experience? Do you need a responsive interface, and how will it behave across screen sizes? Some tools will give you more flexibility in delivering an experience across channels, while others are more focused.
- Fidelity. What level of polish does the tool allow for? Does the tool let you create quick, unpolished wireframe-based prototypes? Can you import visual mockups and animate them?
- Sharing and collaboration. Does the tool provide the level of collaboration you need? Does it integrate seamlessly with the other design and communication tools your team uses? Are you able to share work in progress online easily?
- Learning curve. Does someone on your team know how to operate the tool? How proficient do they need to be to create the prototype you need? How intuitive is the tool? Is programming knowledge or coding required?
- Price. Do you own a license for the software? How much are you prepared to pay? If the tool is sold in tiered plans, which is right for your project?
5. Let’s Do This!
At this point, you have probably narrowed the options to one or two. The next step is to regroup with your team, make a final decision and kick off the work. Usually, the final call will be based on the timeline and costs, but going through the process listed here will ensure that all of the criteria are considered.
The discussion your team has about the best prototyping tool will align you on topics that go way beyond the deliverable itself — such as workflow, process, roles and responsibilities.
Also, run a quick post-mortem exercise after the project. Discuss with your team what worked and what didn’t with the tool you picked. In your next project, you will certainly be able to skip a couple of steps in the process of picking the right tool.
Let’s Put The “U” Back In UX
One last piece of advice: Don’t fall into the trap of learning all of the latest and greatest prototyping tools out there. There are simply too many options. Be thoughtful about the ones you pick, and be smart about how you invest your time in learning how to use them.
In an era when products are assessed according to how closely they meet user needs, spending too much time and energy on the prototyping tool itself might distract you from what’s really important in your job. After all, spending hours crafting and polishing a certain interaction will be useless if the feature you’re trying to build does not solve a legitimate, research-proven user need.
For a comprehensive list of prototyping tools, check out the UX Tools section of UX Design.
Thanks to Greg Siegal, Eugene Ahn and Caio Braga for their input into this article.
Further Reading
- 12 Factors In Selecting A Mobile Prototyping Tool
- The Skeptic’s Guide To Low-Fidelity Prototyping
- Using Sketch For Responsive Web Design
- Getting The Sketch Workflow Right: The Sketch Handbook


