How To Make WordPress Hard For Clients To Mess Up

Email Newsletter
Weekly tips on front-end & UX.
Trusted by 182,000+ folks.


 Celebrating 10 million developers
 Custom Web Forms for Angular, React, & Vue. Your backend.
WordPress is a wonderfully powerful CMS that ships with many versatile features giving it the flexibility to work out of the box for a wide range of users. However, if you are a professional building custom themes and plugins, sometimes these features can be problematic. The same features and options that allow off-the-shelf themes to adapt to many different use cases can sometimes also be used to undermine a carefully designed custom theme built for a specific use case.
The following article comprises a collection of code snippets that I use again and again on almost every WordPress project. What they all have in common is that they limit functionality that is either unnecessary, confusing, or unsafe. Everything that follows can be used on any site, but these tips are especially applicable for professionals making custom themes and plugins for clients.
The notable distinction is that custom themes can be built to serve a specific purpose. So the blanks for the authors’ content can and should also be much narrower. A well-designed WordPress theme should make as many design decisions as possible so the author doesn’t have to.
Disable The Plugins And Theme Editor
There is no good reason why anyone should be live-editing your custom theme or plugin files via the WordPress dashboard. Professionals don’t work that way, and muggles typically don’t realize just how easy it is to break a site by skipping a single semicolon. It is also a security vulnerability hackers can exploit. Fortunately, our friends at WordPress.org made it really easy to disable this feature. Simply add the following snippet to the wp-config.php file.
define( 'DISALLOW_FILE_EDIT', true );In addition to the theme editor, this will also disable the plugin editor. I consider this a feature not a bug.

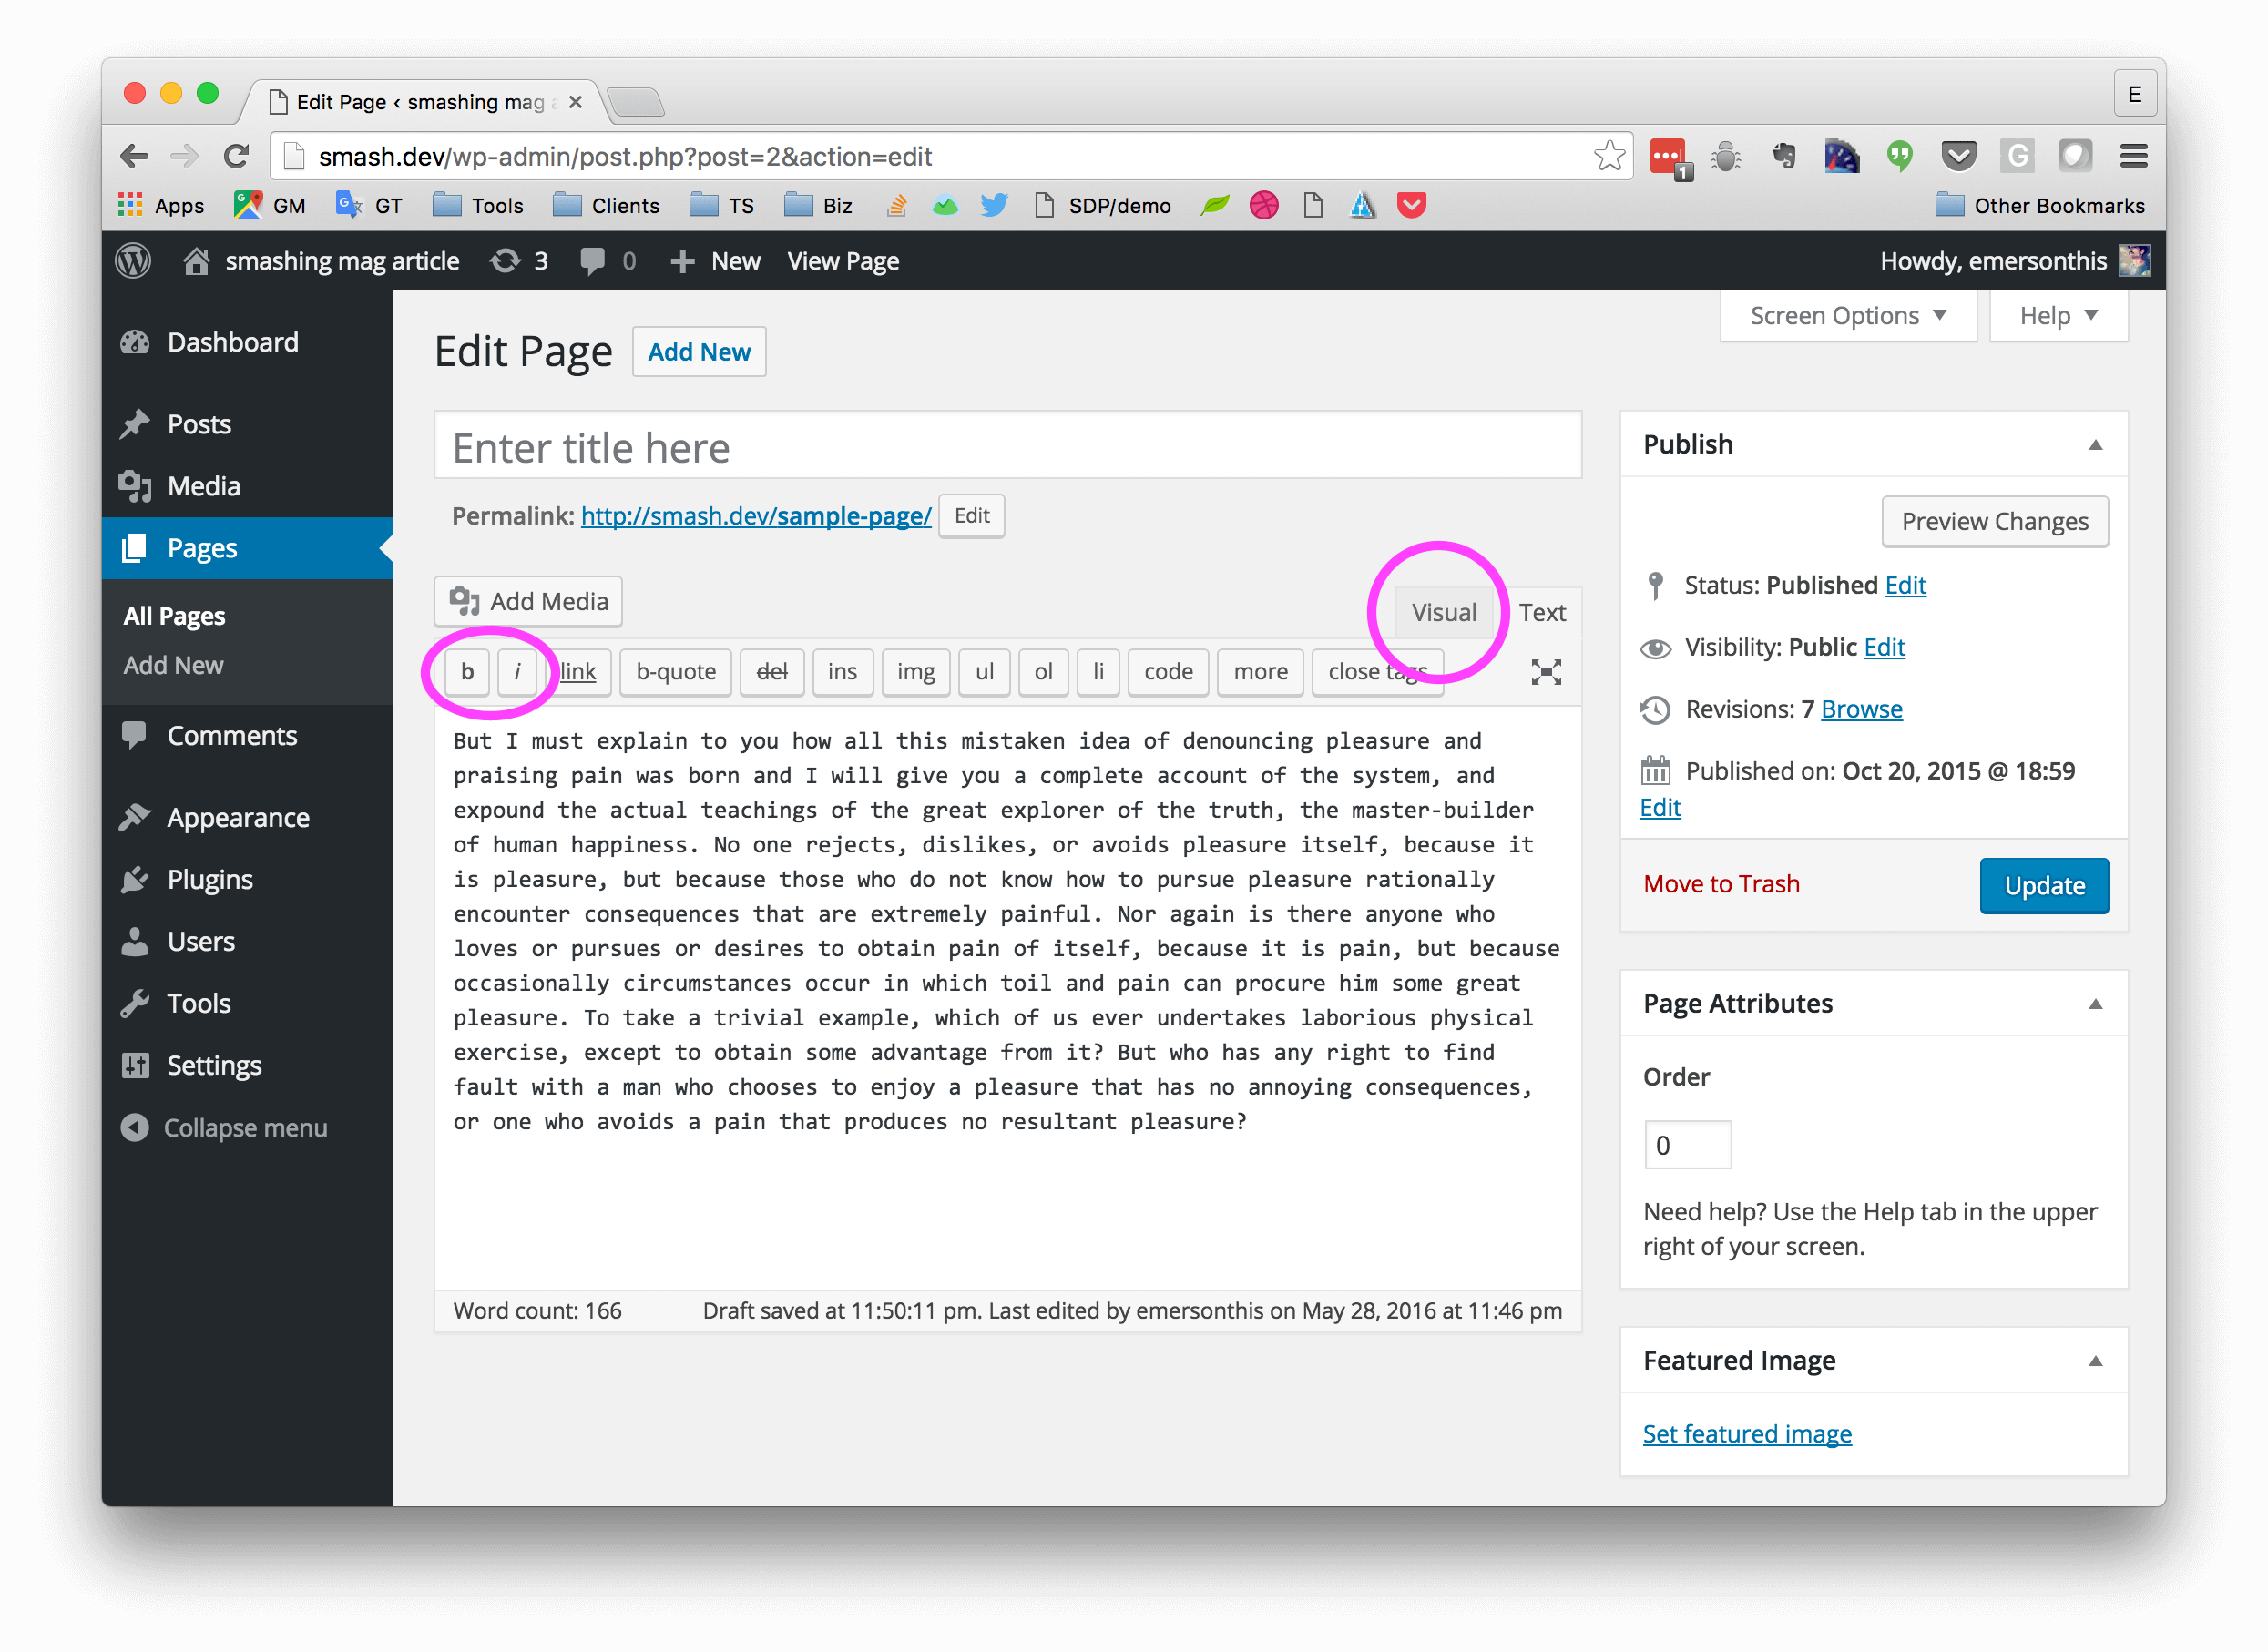
Limit The Visual And Text Editor
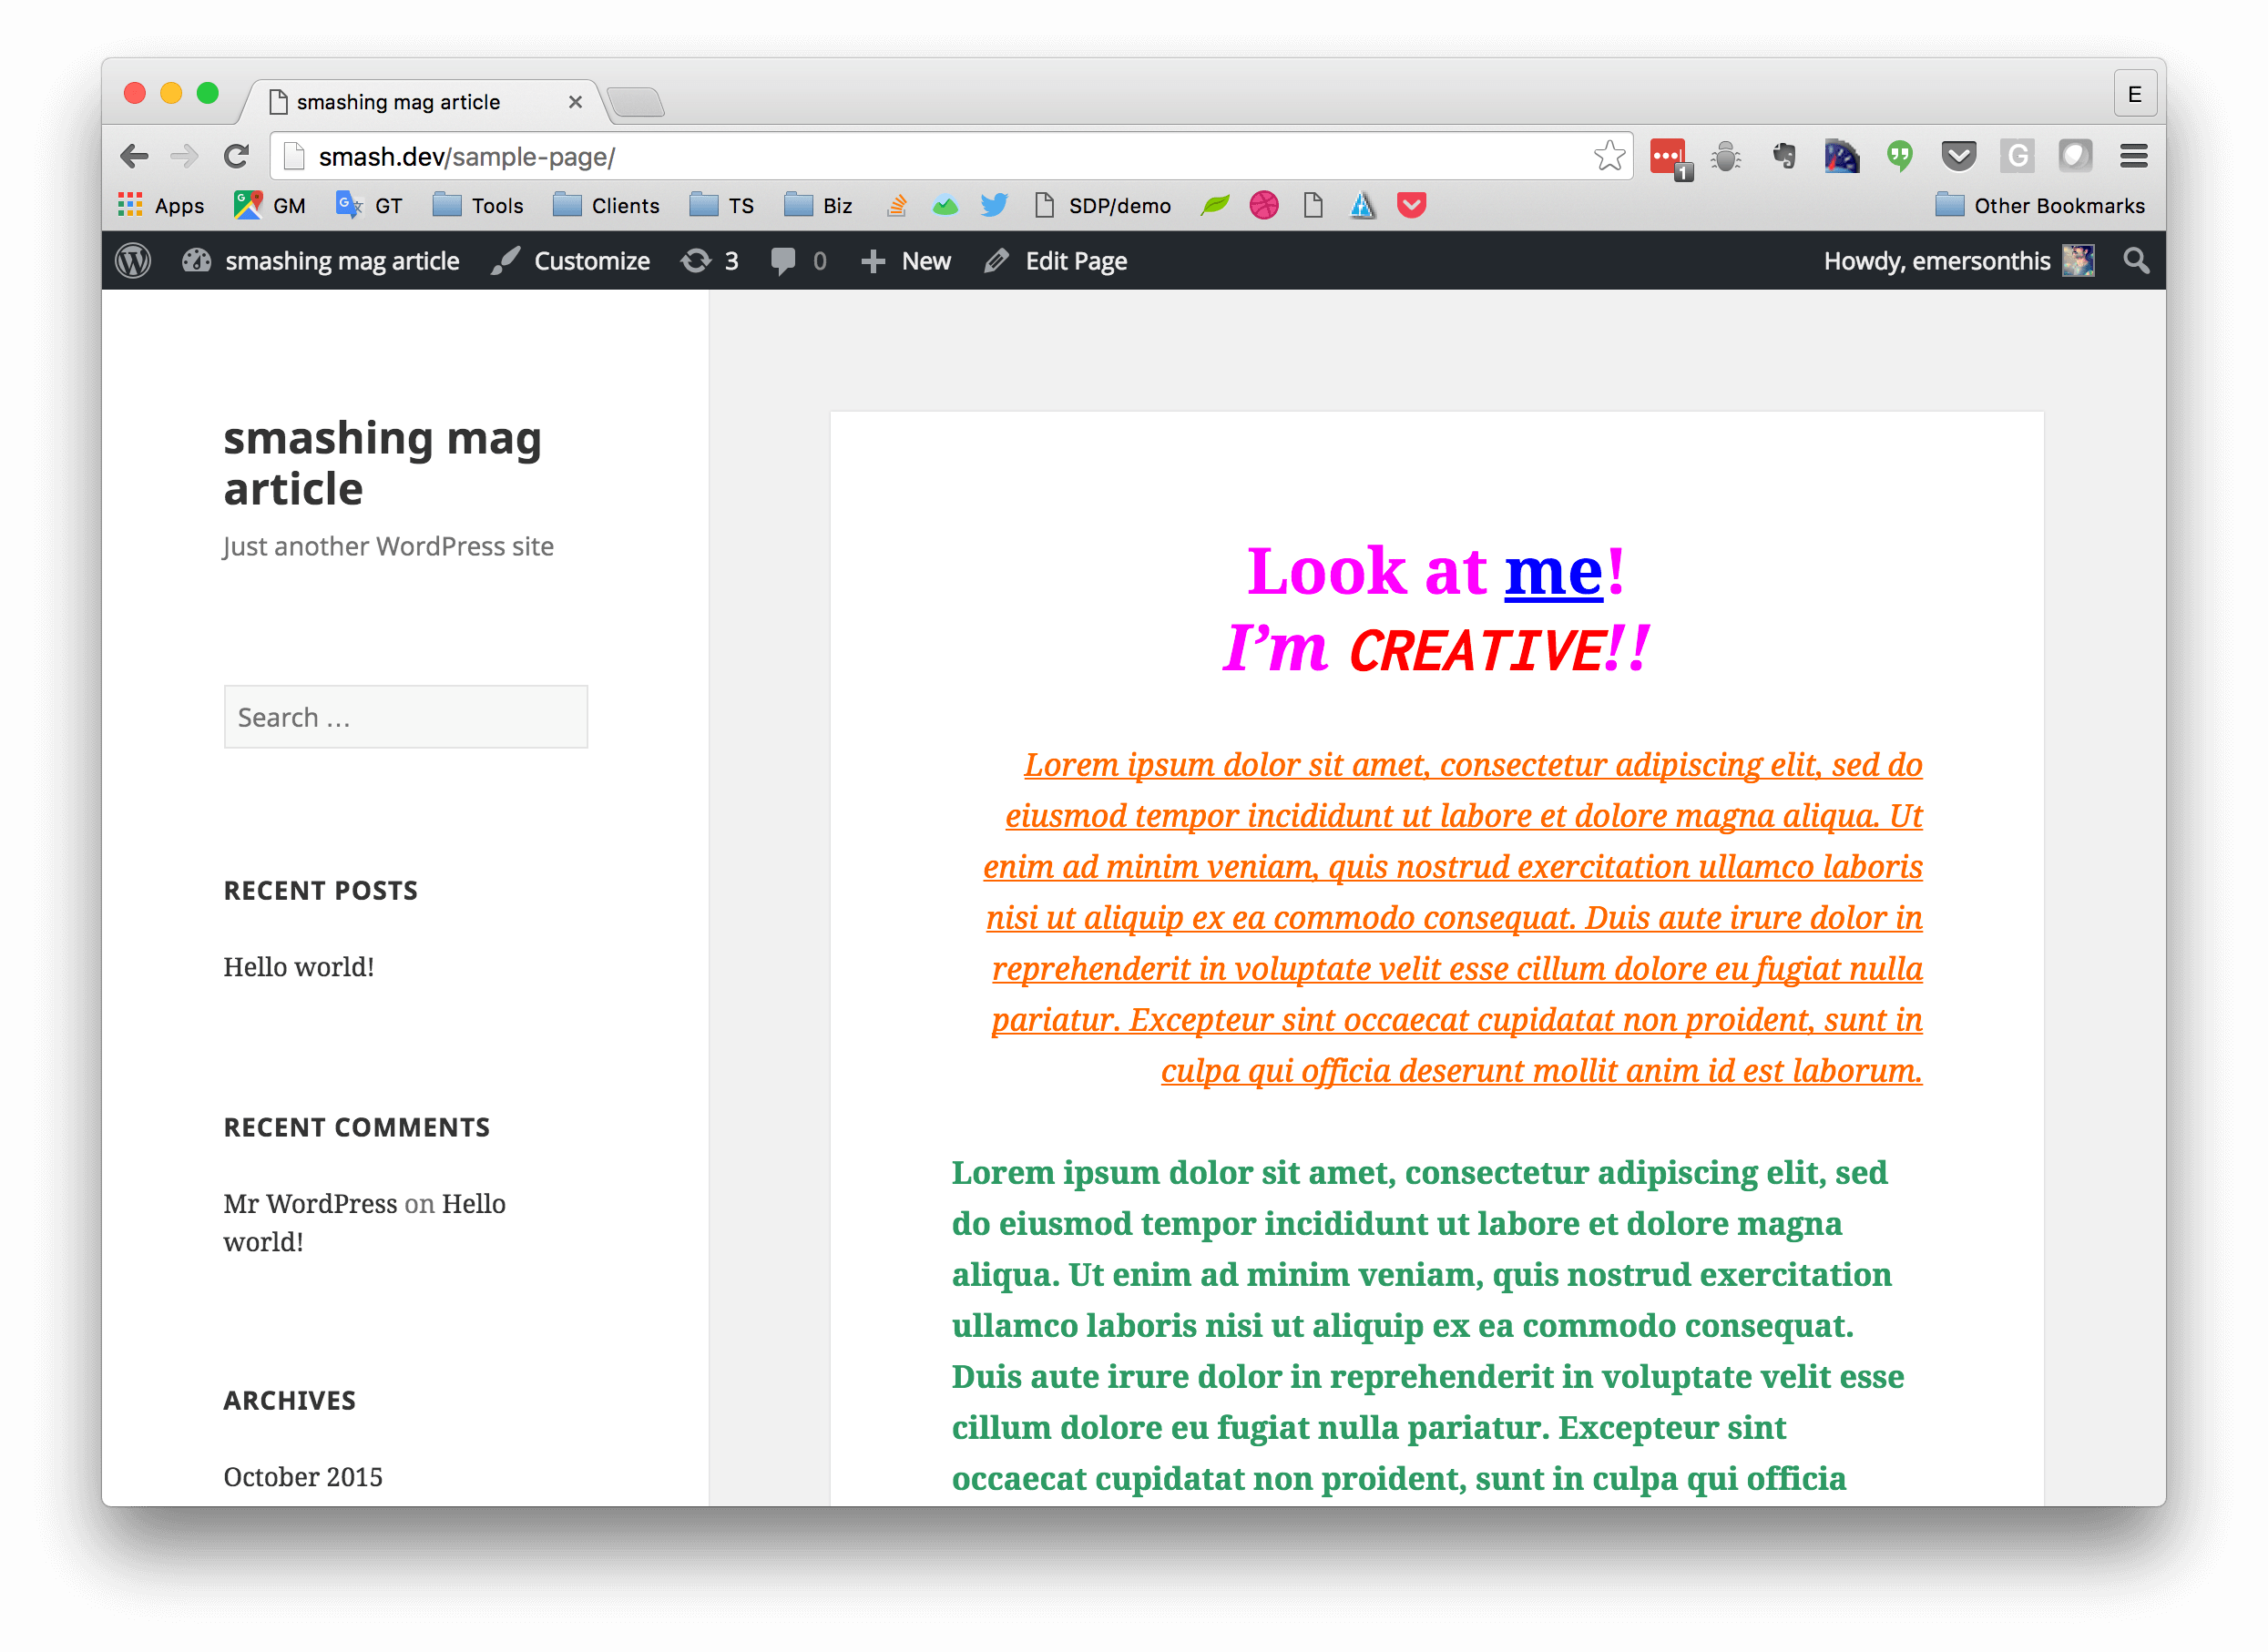
By default, the WordPress WYSIWYG editor supports far too many formatting options for a well-designed custom theme. Letting clients override text colors or font sizes is a fast way to make even the most chic site look cheap and ugly. If blog post text is designed to always be left-aligned, why give the author a button to right-align it? Do you think it will look good if the text on the About page is purple, bold, and italicized? Then don’t arm your client with the means to do it. In most situations I recommend disabling the visual editor entirely.
Disabling The Visual Editor
Add the following snippet to your theme’s functions.php file and the tab to toggle the WYSIWYG editor will disappear.
function emersonthis_disable_visual_editor(){
    # add logic here if you want to permit it selectively
    return false;
}
add_filter('user_can_richedit' , 'emersonthis_disable_visual_editor', 50);
This is a good start, but you’ll notice that the bold and italic buttons are still present on the plain text editor. In my experience, clients abuse these buttons much less often when the instant gratification of the WYSIWYG editor is gone. But I still prefer to remove them if they are not necessary.
Removing Bold And Italic Quicktags From The Text Editor
The text editor has quicktag buttons that will wrap selected text with <strong> and <em> tags. Add the following code in your theme’s functions.php file and authors will no longer have bold or italics buttons.
# Removes bold and italic quicktags from text editor
function emersothis_quicktags_settings( $qtInit  ) {
    //To disable ALL butons it must be set to "," (not "")
    $qtInit['buttons'] = 'more,';
    return $qtInit;
}
add_filter('quicktags_settings', 'emersonthis_quicktags_settings');
This removes the possibility that your client will decide to, say, italicize an entire article. But this does not remove the ability to write markup into the text editor by hand. Every now and then that can come in handy when you’re in a pinch.
If you are in a rare situation where the user should be formatting text themselves, you can leave the visual editor enabled but disable specific buttons individually.
Disabling Buttons On The Visual Editor
One of the few times I leave the visual editor enabled is when authors are writing long posts or pages that have internal structure of their own. For example, an author of a 10-page article might need the ability to add subheadings. In these situations I set up custom classes for the subsections and then disable all the other formatting buttons that are not needed.
The WordPress API for modifying the TinyMCE editor is a bit tricky because you need to look up the code names used to refer to each button you want to remove. You get the most bang for your buck by removing the “kitchen sink” button which toggles the entire second row that contains the most problematic formatting buttons. Adding the following code to your theme’s functions.php file will do this.
# Remove visual editor buttons
function emersonthis_tinymce_buttons($buttons)
{
    # Remove the text color selector
    $remove = array('wp_adv'); //Add other button names to this array
    # Find the array key and then unset
    return array_diff($buttons,$remove);
}
add_filter(
    'mce_buttons',
    'emersonthis_tinymce_buttons'
);
One trick to figuring out the code name of the button you want to remove is by inspecting the markup of the form. At the time of writing, each button has a class name that begins with mce-i- followed by the code name you would put in the array above.
Remove The “Add Media” Button
The “Add media” button appears by default whenever a custom post type supports the editor feature. But custom post types can be used for a wide range of things, and often it is inappropriate for that field to include images.
Most of the time, when I expect the author to publish an image to accompany text, I use post thumbnails (aka featured images). This makes it easy to integrate the images into theme templates, and it also gives the developer more control over the size and specifications for the images.
Ad hoc photos embedded using the “Add media” button in the editor are hard to control and they have a tendency to look awkward depending on where the author inserts the image in relation to the surrounding text. They also cause confusion for many authors, because at a glance the “Add media” button is easily confused with the “Featured image” upload button that appears further down the page (by default), and may be used very differently by the theme. I almost always remove it, by adding the following code to the theme’s functions.php file.
# Remove media buttons
function emersonthis_remove_add_media(){
    # do this conditionally if you want to be more selective
    remove_action( 'media_buttons', 'media_buttons' );
}
add_action('admin_head', 'emersonthis_remove_add_media');
You can add logic before the remove_action() to remove only the media button conditionally for certain post types. For example, you might want to let authors add images to pages, but not blog posts which instead use thumbnails.
Disable Theme Customizer Options
If you are working on a child theme, the parent theme may offer customization options that are inappropriate for the child. The customization options may be unused in your child theme, or have the potential to break things. Either way, the WordPress theme customizer API makes it easy to get rid of them by adding the following snippet to your theme’s functions.php file.
# Remove customizer options.
function emersonthis_remove_customizer_options( $wp_customize ) {
    // $wp_customize->remove_section( 'static_front_page' );
    // $wp_customize->remove_section( 'title_tagline' );
    $wp_customize->remove_section( 'colors' );
    $wp_customize->remove_section( 'header_image' );
    $wp_customize->remove_section( 'background_image' );
    // $wp_customize->remove_section( 'nav' );
    // $wp_customize->remove_section( 'themes' );
    // $wp_customize->remove_section( 'featured_content' );
    // $wp_customize->remove_panel( 'widgets' );
}
add_action( 'customize_register',
            'emersonthis_remove_customizer_options',
            30);
Each line in the snippet above corresponds to an individual theme customization option that you can disable by uncommenting it.
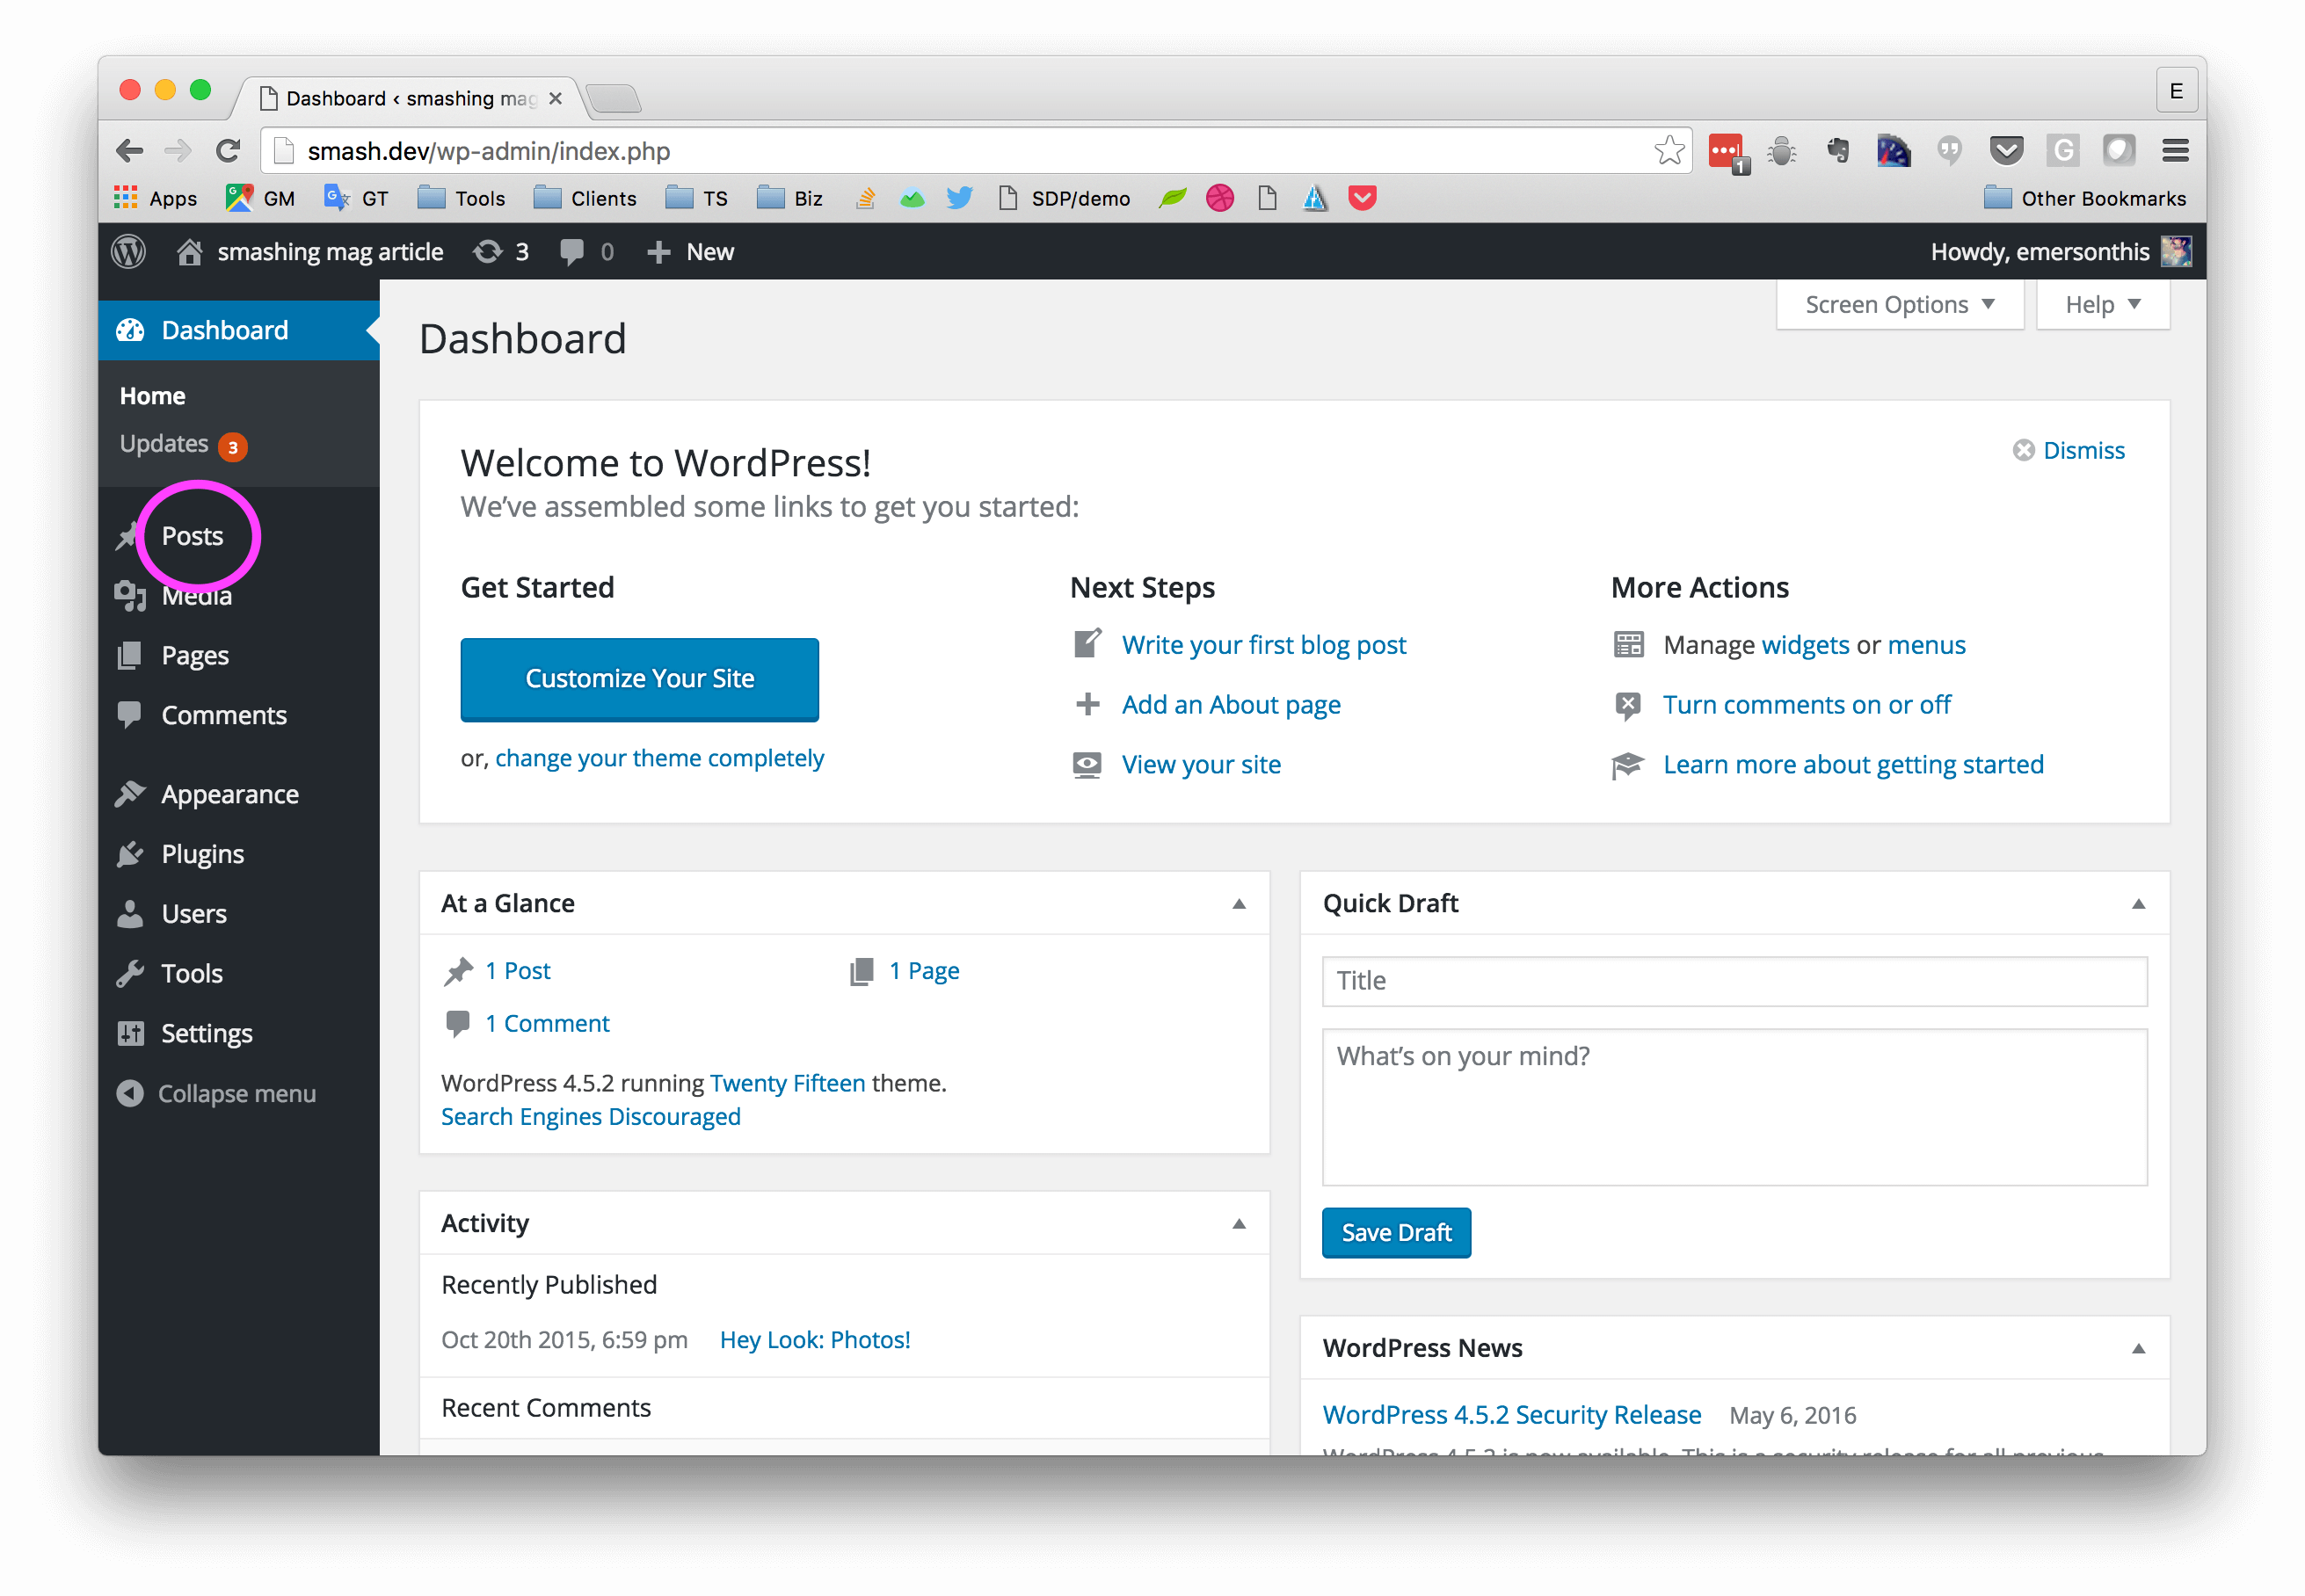
Hide Unused Dashboard Menu Items
Not every site has the same types of content; some sites have no blog, for example. If we apply the same logic to the WordPress dashboard that we apply to any other user interface, it is confusing and unnecessary to show buttons that do not do anything. In this example, the Posts menu item would be unnecessary, so let’s remove it by adding the following snippet to functions.php:
function emersonthis_custom_menu_page_removing() {
  // remove_menu_page( 'index.php' );                  //Dashboard
  // remove_menu_page( 'jetpack' );                    //Jetpack*
  remove_menu_page( 'edit.php' );                   //Posts
  remove_menu_page( 'upload.php' );                 //Media
  // remove_menu_page( 'edit.php?post_type=page' );    //Pages
  remove_menu_page( 'edit-comments.php' );          //Comments
  // remove_menu_page( 'themes.php' );                 //Appearance
  // remove_menu_page( 'plugins.php' );                //Plugins
  // remove_menu_page( 'users.php' );                  //Users
  // remove_menu_page( 'tools.php' );                  //Tools
  // remove_menu_page( 'options-general.php' );        //Settings
}
add_action( 'admin_menu', 'emersonthis_custom_menu_page_removing' );
Each line corresponds to a specific menu in the dashboard. The file names do not always match the name that appears in the dashboard menu, so the commented lines are left in as a quick reference.

It is important to understand that removing these menu items does not actually revoke the user’s permissions. A user could still access the hidden menu item directly using the URL. If the goal is to make the dashboard less cluttered by hiding superfluous controls, then this is probably fine. If the goal is to actually prevent a user from accessing those controls, then you will need to modify the capabilities of the user’s role. To accomplish this, add a snippet like the following to the activation hook of a plugin (it only needs to run once):
global $wp_roles; // global class
$role = 'author';
$cap = 'delete_published_posts';
$wp_roles->remove_cap( $role, $cap );
Use this comprehensive table of all capabilities to find the specific capabilities you can add or remove for each of the default roles.
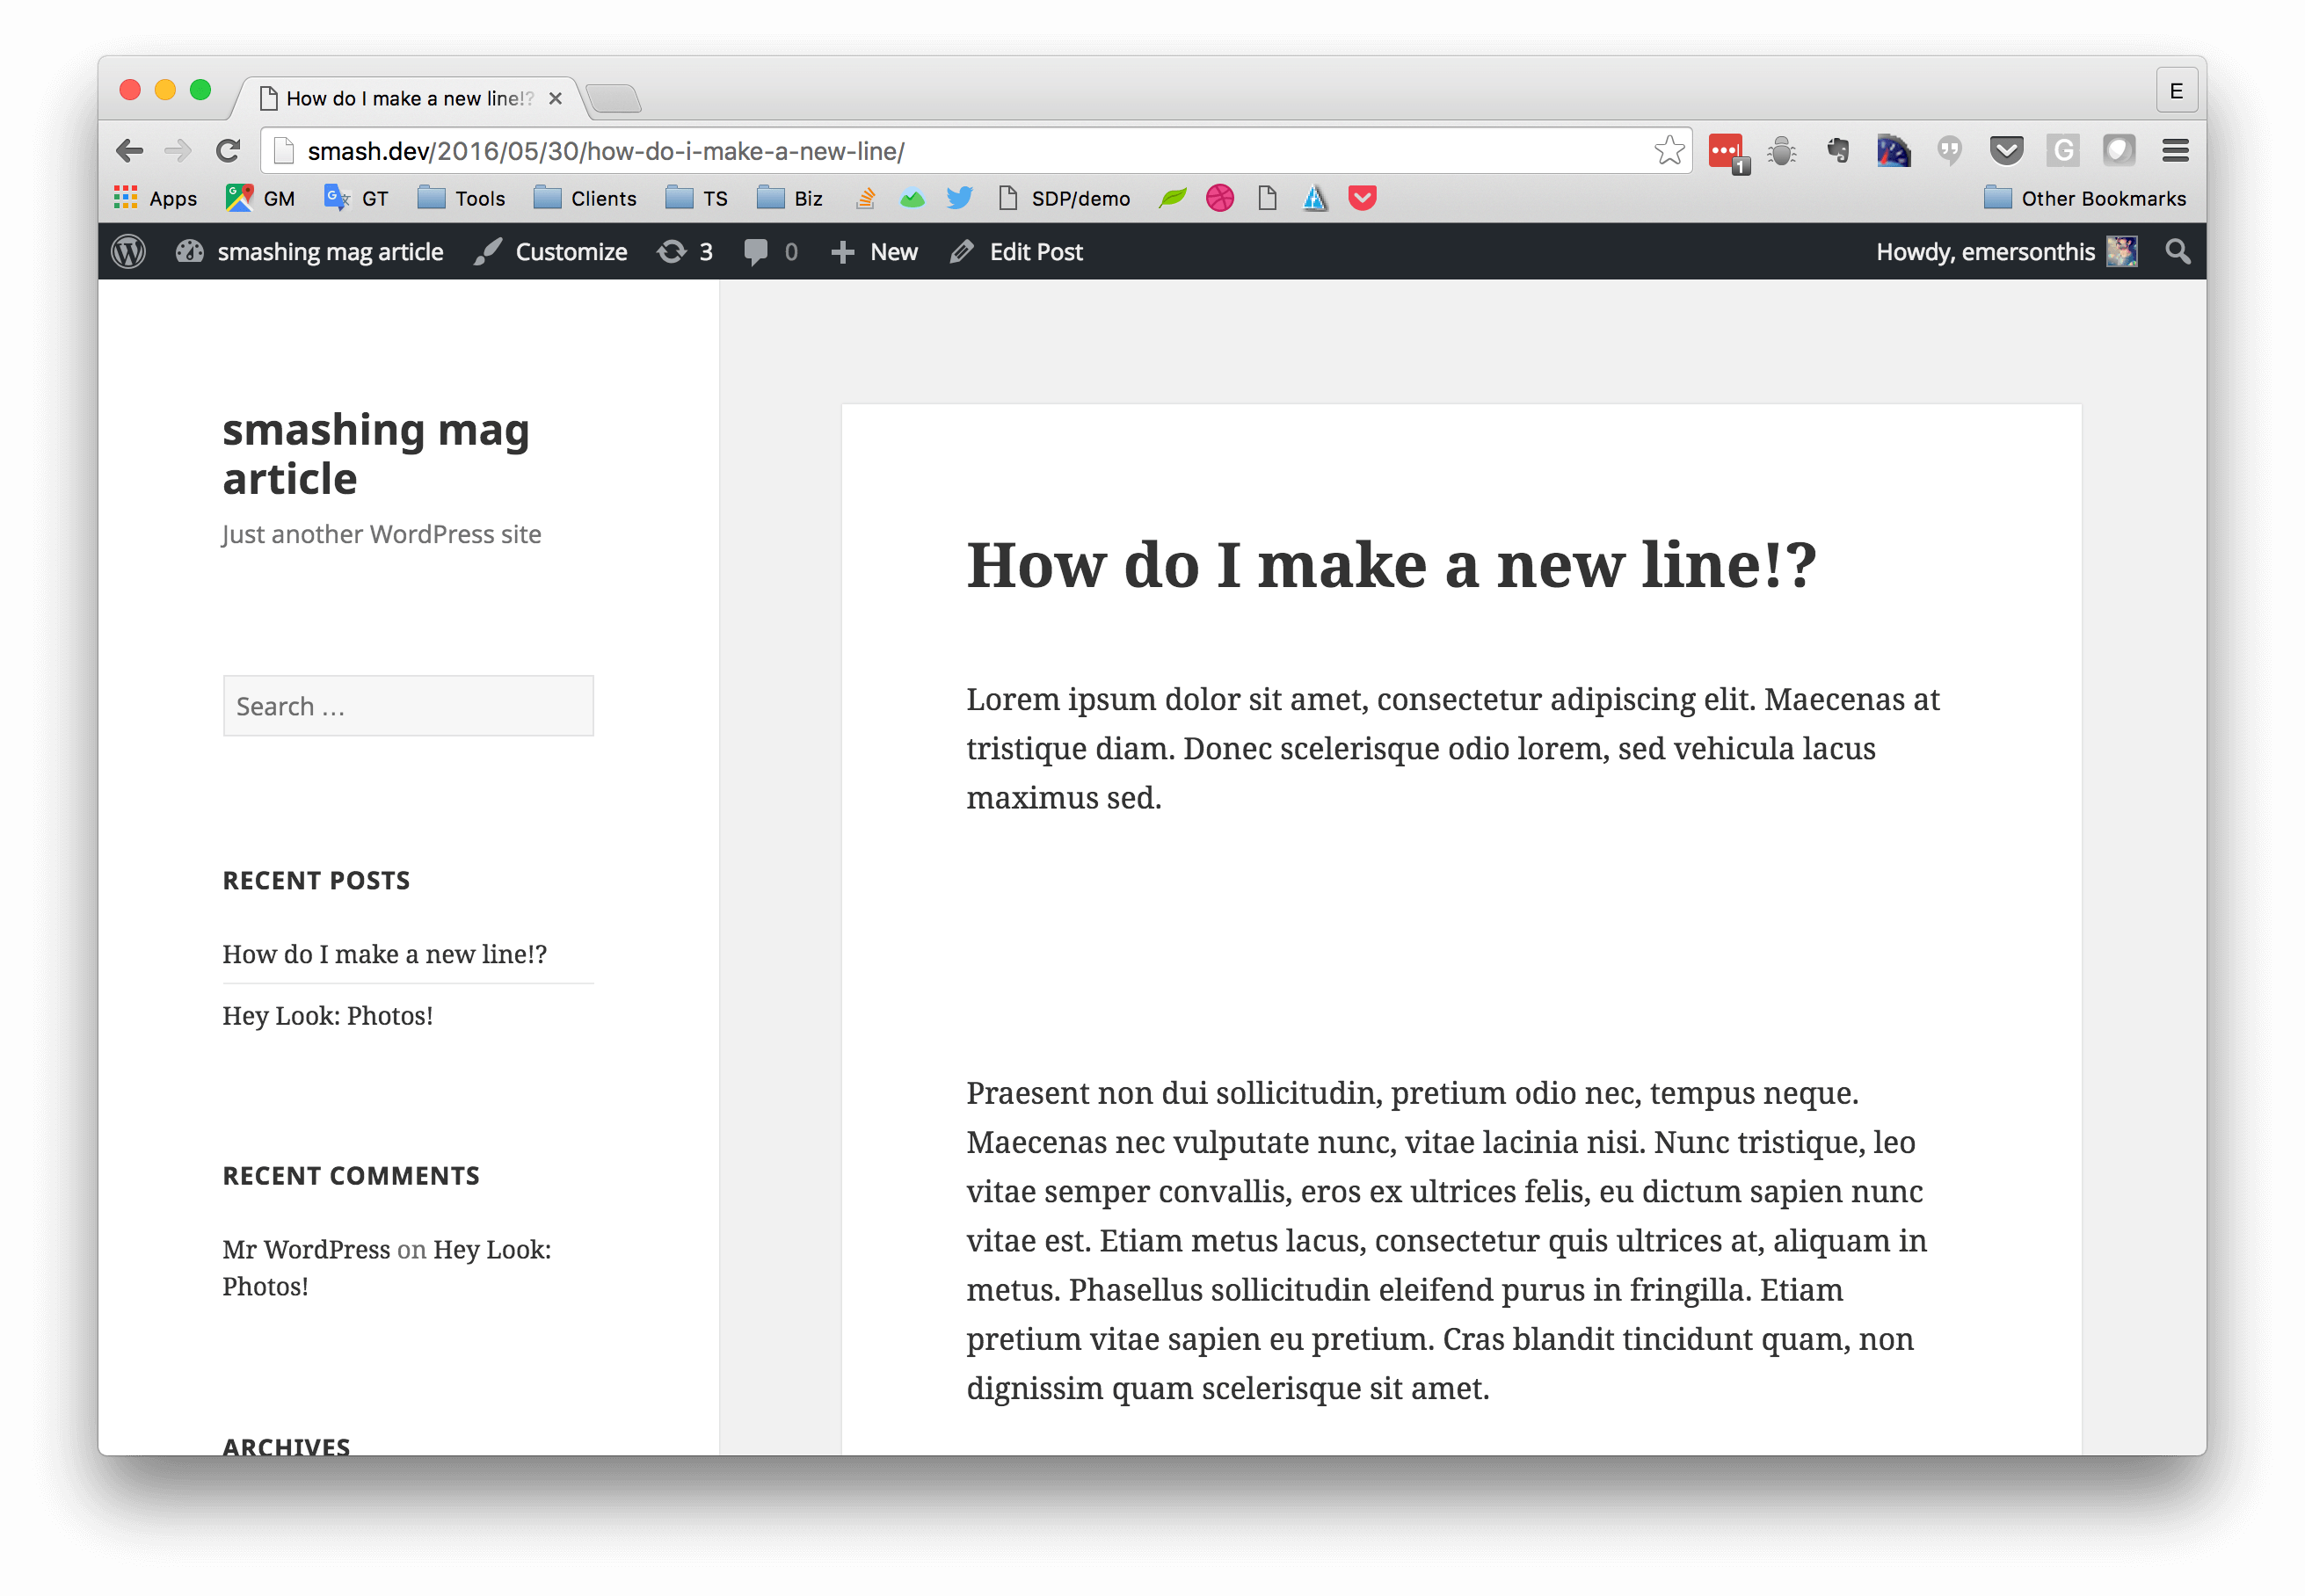
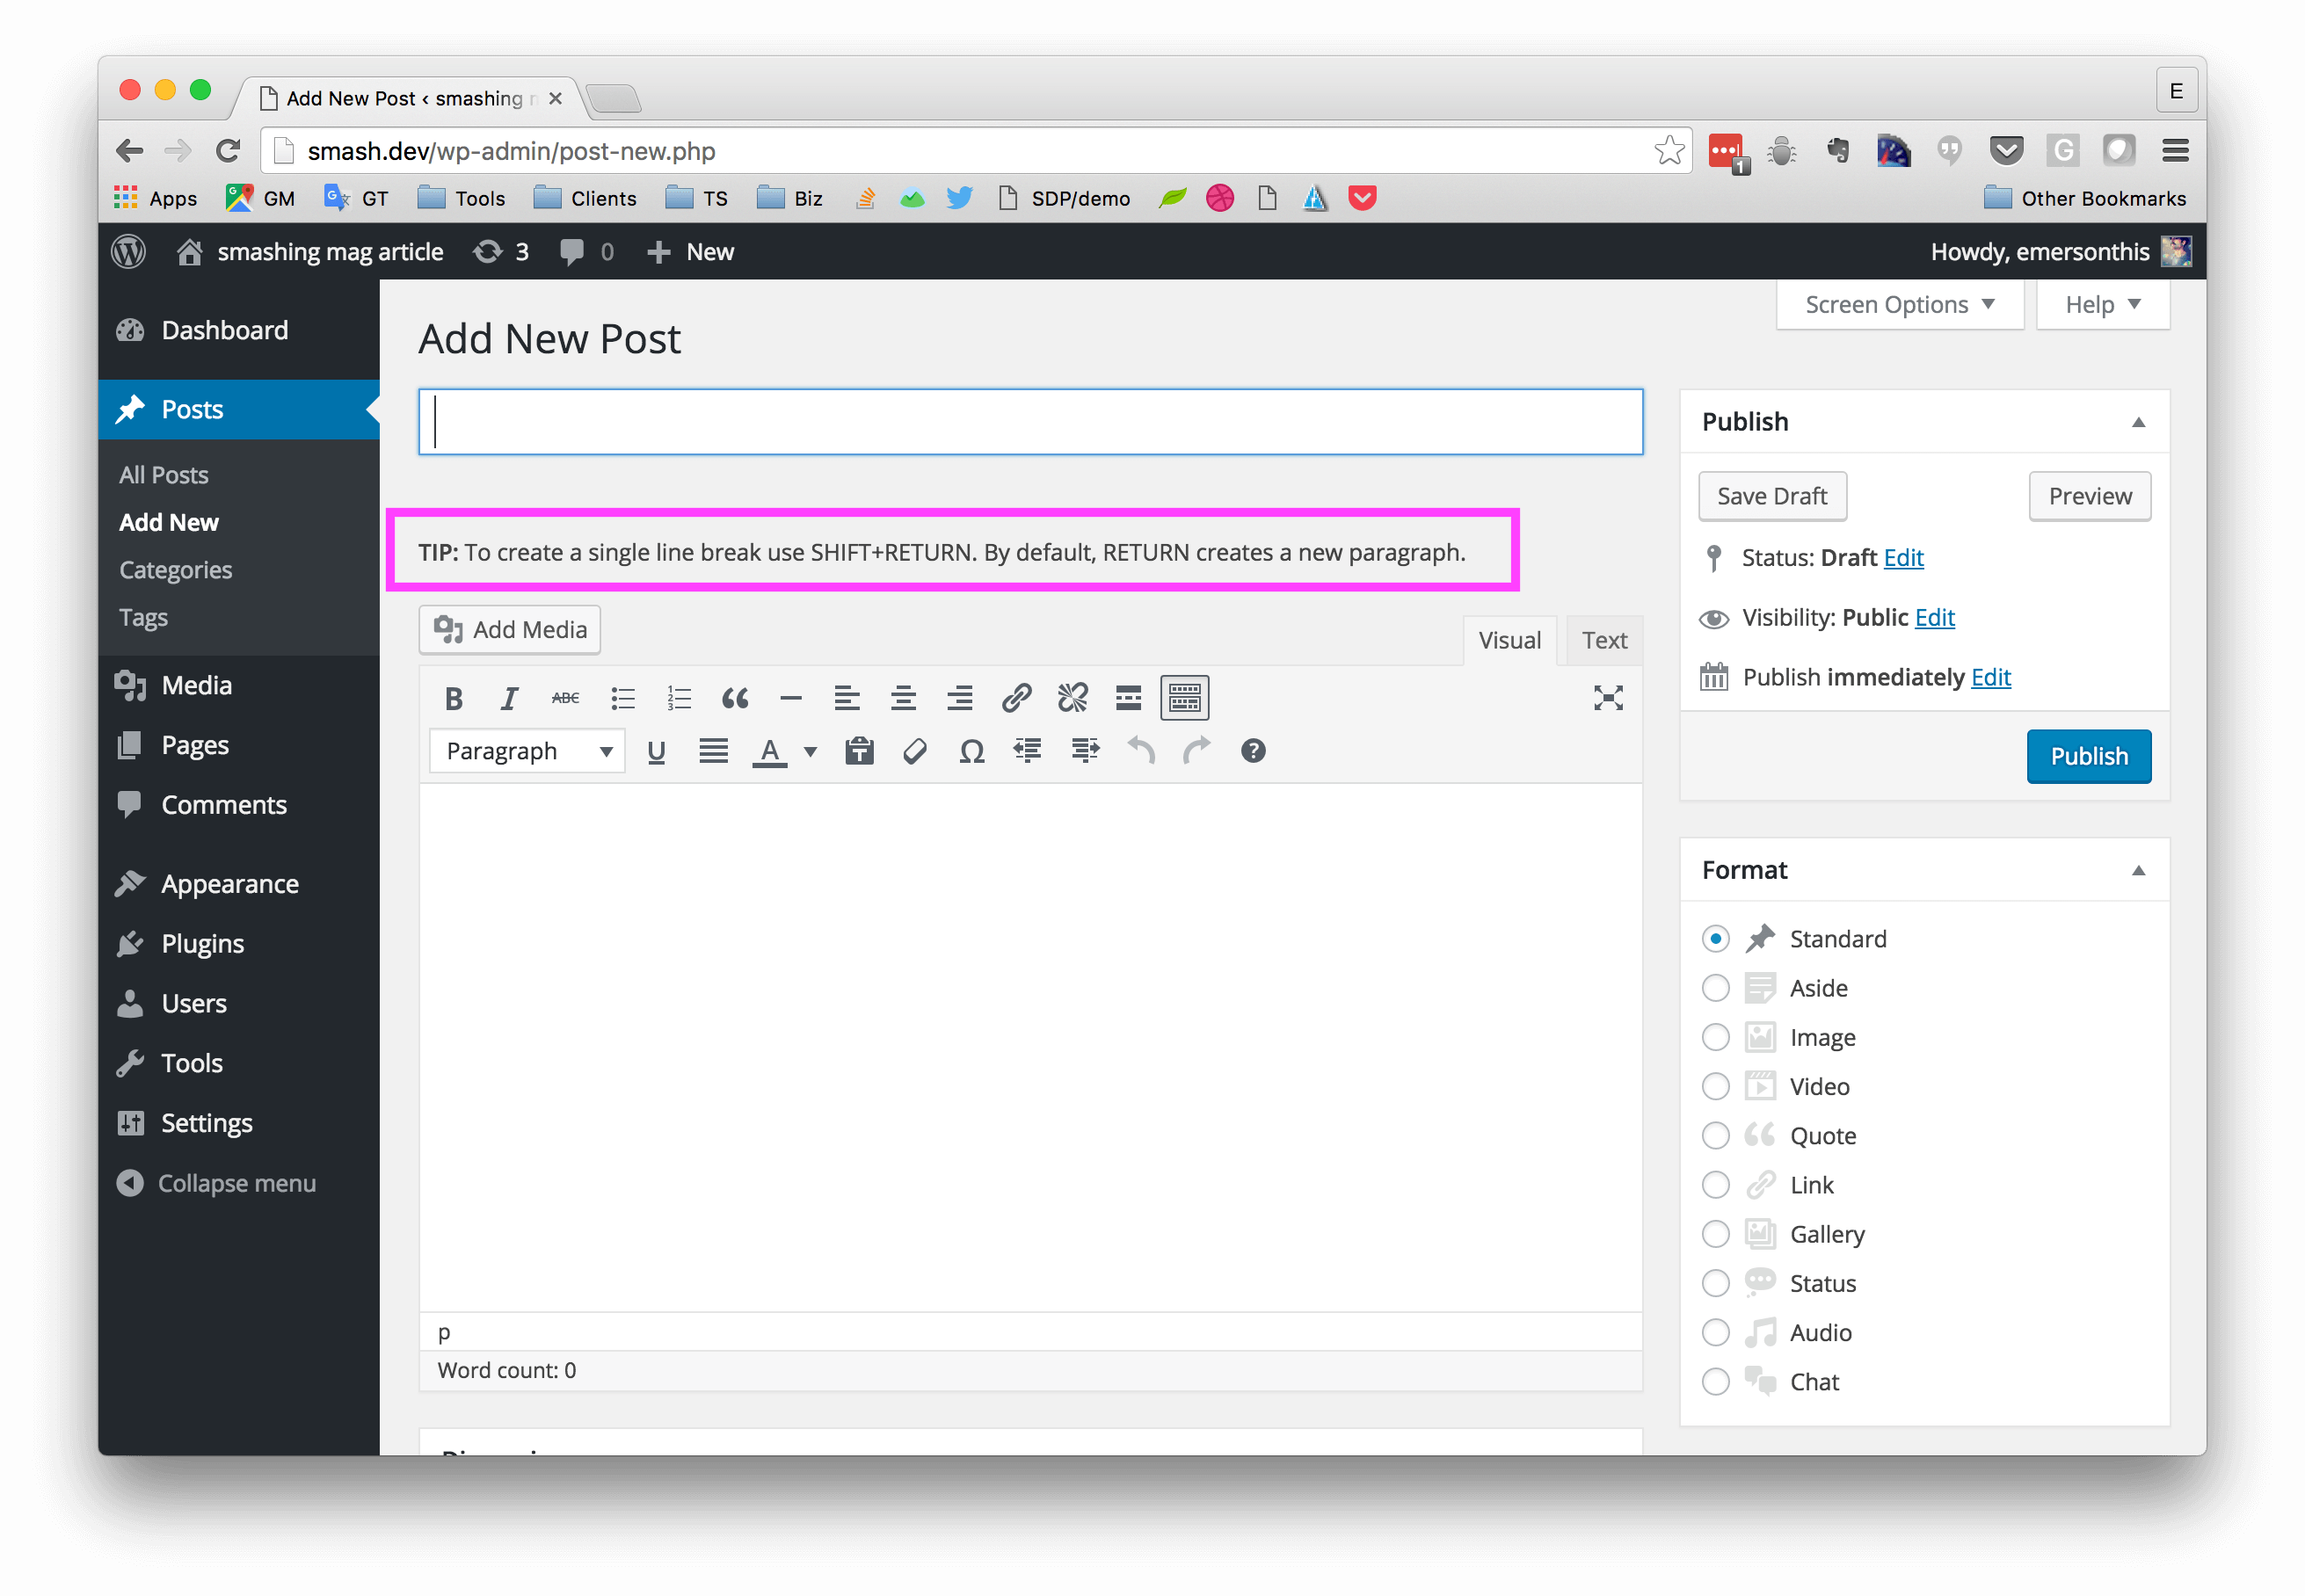
Add A Hint About How Line Breaks Work In The Editor
By default the visual editor (TinyMCE) will create a new paragraph when the author presses Return. If you just want an old fashioned line break (aka carriage return) you need to press Shift+Return. This is nifty and powerful but not intuitive for many authors. I’ve started adding a quick reminder to avoid the inevitable complaint about “a bunch of weird white space” showing up in a post or page.
Add the following snippet to your functions.php file. Change the value of $tip to say whatever you want to remind your authors of.
# Adds instruction text after the post title input
function emersonthis_edit_form_after_title() {
    $tip = '<strong>TIP:</strong> To create a single line break use SHIFT+RETURN. By default, RETURN creates a new paragraph.';
    echo '<p style="margin-bottom:0;">'.$tip.'</p>';
}
add_action(
    'edit_form_after_title',
    'emersonthis_edit_form_after_title'
);
This technique could be used to inject a reminder about anything you want authors to remember when adding or editing content.
Do Not Dole Out Administrator Accounts
The WordPress administrator role is very powerful and with great power comes great responsibility. Some clients are experienced WordPress power users who administer their site competently. Many of them are not. The latter should not be poking around as administrators. Instead, make them an editor and create a separate admin account with a super strong password. If you have an ongoing affiliation with the client you can hang on to those credentials until the client is ready to administer the site themselves.
Alternatively, give the client both sets of credentials and have them store the admin credentials somewhere safe and only use it to perform admin tasks. Many clients will promptly lose the admin credentials but that is fine: the password can always be reset, and these are often the types of clients who will rehire you to do the routine site maintenance for them anyway.
The most important reason for being stingy with admin accounts is that they are a security vulnerability. A pleasant side effect is that beginner WordPress users often find the dashboard UI less overwhelming when they log in as authors or editors because there are fewer menus to sort through while learning basic skills such as adding or editing posts.
Use mu-Plugins
The mu-plugins/ directory has existed for a long time, but most WordPress hackers I meet have never heard of it. The “mu” stands for must use. The directory is an alternative location where plugins can be installed.
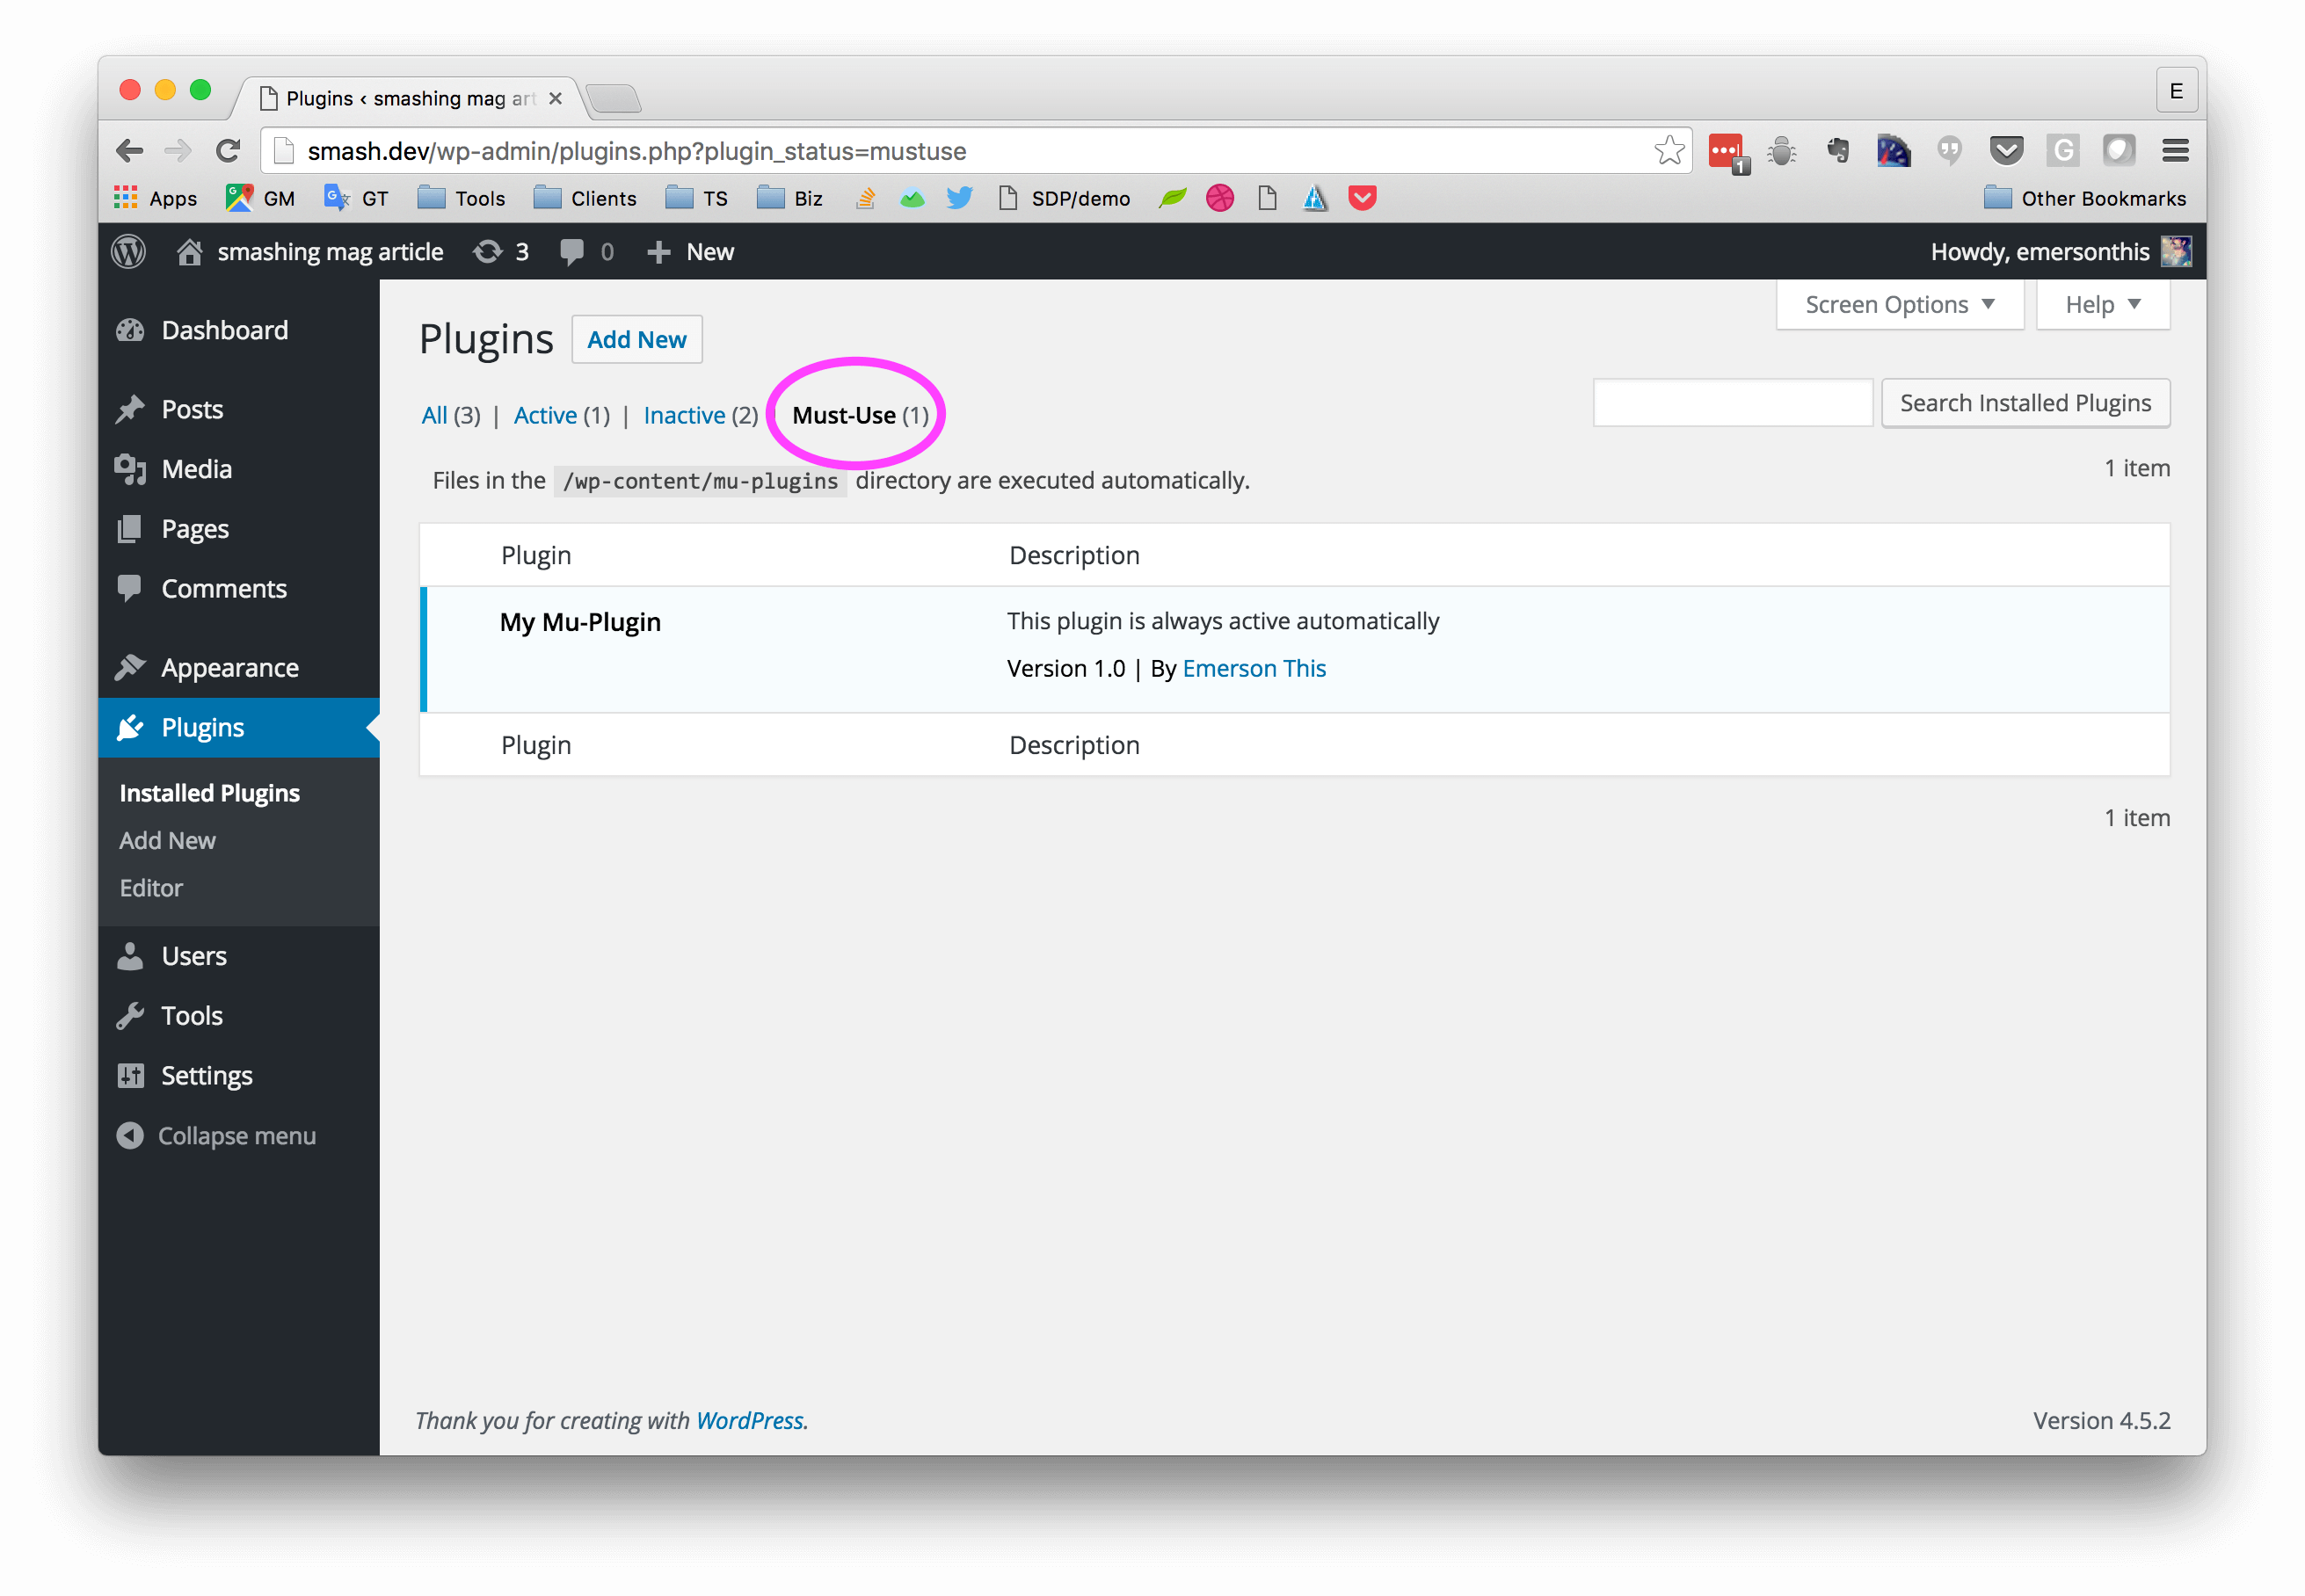
The difference is that “must use” plugins are automatically active and cannot be disabled by accident throughout the dashboard. They are also loaded before the other plugins. This is ideal for plugins that must be present for the site to run properly. It’s also a great alternative for non-presentational hacks that might normally get jammed into your custom theme’s functions.php file. For example, I like to define custom post types in a mu-plugin, because that content should persist whether or not a particular theme is active.
The mu-plugins/ directory does not exist out of the box. You create it manually inside wp-content/.
wp-content/
    mu-plugins/
    plugins/
    themes/
    ...
The biggest limitation is that WordPress only looks for files in the top level of mu-plugins/ and will ignore code inside a subdirectory. However, you can work around this by creating a single PHP file at the top of mu-plugins/ that loads code from a sibling subdirectory. Also keep in mind that update notifications do not apply to mu-plugins. I think of mu-plugins/ as the place to put important code that the client should never have to think about.
Read more about must use plugins in the Codex. If you want to require other plugins by preventing the ability to deactivate them, you might find the WDS-Required-Plugins library useful.
Final Note
You may find it counterintuitive to disable functionality that WordPress gives you for free. But remember that your client is not paying you to give them a lot of buttons. Your job is to make an effective, robust website that is tailored to match the client’s goals. By disabling problematic or extraneous functionality you are actually delivering more value.
If you want more snippets, I have created a public GitHub repository of useful WordPress snippets which contains up-to-date versions of the hacks above, as well as others I add periodically. If you have your own handy snippets you want to share, pull requests are more than welcome!
Further Reading
- How To Create And Customize A WordPress Child Theme
- Writing Effective Documentation For WordPress End Users
- Limiting The Visibility Of Posts In WordPress Via Usernames
- Utilizing User Roles In WordPress


