Muhammad is a full stack engineer and consultant, with a focus on React and WordPress. He is the Lead Developer of the GatsbyWPThemes.com project. Lately, he …
More about
Muhammad ↬
The WordPress REST API is a game-changer for WordPress, which can now safely be called a web application framework — not just a CMS. If you’ve been looking for a content-driven solution, Muhammad Muhsin will explain how you can build a SPA WordPress theme with React. Continue reading this article to find out why this is a good choice for your web app’s back-end technology.
So you’ve trained yourself as a web engineer, and now want to build a blazing fast online shop for your customers. The product list should appear in an instant, and searching should waste no more than a split second either. Is that the stuff of daydreams?
Not anymore. Well, at least it’s nothing that can’t be achieved with the combination of WordPress’ REST API and React, a modern JavaScript library.
Wait, What? WordPress REST API?
Yes, the WordPress REST API will help you build the back-end foundation for your web application. This is a good choice for your web application’s back-end technology if you are building a content-driven solution. WordPress will interoperate smoothly with other technologies as well; you could use Node.js as the focus of your application to connect to other RESTful services.
The WordPress REST API is a game-changer for WordPress, which can now safely be called a web application framework — not just a CMS. Now that the front- and back-end are completely decoupled, WordPress can be used as a mobile app back-end or as a back-end for any system focusing on content.
But why WordPress? The reason: You will be amazed at the functionalities that emerge out of the box with WordPress. You will get extensive user management, media management, and an incredibly developer-friendly set of APIs to extend your work.
In this article, I will walk you through building an SPA (Single Page Application) WordPress theme using the JavaScript library called React, connecting to the WP REST API.
Let’s Jump Into Building The Theme
This article assumes you are already familiar with the various existing WordPress APIs, particularly the ones that drive the development of themes for your site’s aesthetics, and functionalities for your site’s plugins. I also assume you have set up your development platform for WordPress, such as the LAMP stack in a Linux or MacOS environment.
For simplicity, though, I will refer only to absolute paths as visible with the XAMPP platform that is used with Windows.
Now, let’s create an instance of WordPress in our localhost, naming it ‘Celestial.’ That is the name of the WordPress theme we are going to use to help us set the direction for building future themes ready for use with web applications powered by the WordPress REST API. You may already be familiar with WordPress’ much-loved template hierarchy, but with the REST API, you have an opportunity to discover something different!
We then need to create a folder for the theme within the wp-content\themes folder. Navigate to C:\xampp\htdocs\celestial\wp-content\themes\ (or equivalent) and create a folder celestial. Add these files inside the celestial theme folder:
index.php The catch-all file for the theme.
style.css This contains information about the theme (and not actual CSS).
functions.php To write the functionality and the importing of CSS and JS files.
Add an image file named screenshot.jpg if you want a picture for your theme showing inside the dashboard.
Note: The code for each file is a few lines long and can be found on GitHub.
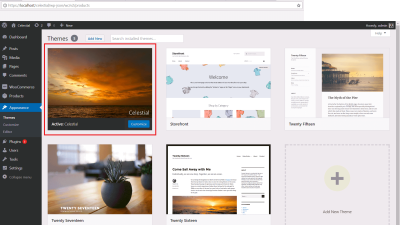
Next, log in to your WordPress Dashboard, head over to Appearance → Themes and select ‘Celestial’ as the theme. Now that the foundation is in place, let’s get onto creating the theme.
You can select the 'Celestial' theme you created from the Themes panel in the dashboard.
Getting Started With React And Webpack For The Theme
React is a very popular UI library supported and maintained by Facebook. According to Stack Overflow’s Developer Survey 2017 results, “React is the most loved among developers.”
React: A JavaScript library for building user interfaces.
For starting the project, you need to initialize the project as an NPM (Node Package Manager) project. This is done with the command npm init in the terminal (after having installed Node.js and NPM on your computer). Initializing the project will prompt you for certain configuration information. After successful initialization, NPM will create a package.json file in the theme’s root directory. This file will include the project details and all dependencies of the project.
React is now under MIT license, so we will be using version 16 of React as the JavaScript library for this project. React has some cool features under the hood, such as the Virtual DOM (a representation of the document within memory) and has a host of tools surrounding it such as the React Router. React is also used in the WordPress’ Project Calypso — the dashboard for WordPress.com.
We will now install the required NPM packages to the project:
Type npm install --save react react-dom in the terminal and press enter to install the packages.Using npm to install react and react-dom.Since we are building the theme as a Single Page Application (SPA), we need the help of a tool such as Webpack. We will be writing code as different components, and Webpack will help us package them all together and output them as a single .js or .css file. In short, it’s a module bundler.
Webpack has first to be installed globally on your computer. To do that, we again can utilize NPM.
Type in the command npm install -g webpack to get the latest stable version of Webpack installed globally in your system.
Next, we will install NPM packages supporting Webpack in our app.
Go to the package.json file in my git repo and copy the rest of the dependencies from there into your package.json’s dependencies section. Then run npm install again to install all the packages within package.json.
Important: Please note that module.exports → module → rules[3] → use → publicPath can change according to where your project’s dist images are situated in localhost. If this is wrong, images may not display correctly in the web app.
Afterwards, these commands can be used to compile the project:
webpack or npm run build to compile the project, or
webpack --watch or npm run watch to compile the project and watch for changes.
The WordPress REST API comes with many different endpoints for fetching posts, pages, media and so on. However, they may not always have all the details in their response. For instance, the posts method does not give the URL of the featured image or the author’s name. Therefore, we have to make separate calls to each of these elements.
Access your WordPress site's data through an easy-to-use HTTP REST API.
But what if you wanted to have your own data appear within the posts response? That’s where the magic of extending the REST API comes in. The following code will add two additional variables in the response to the posts request, namely author_name and featured_image_src. The code is within the functions.php file:
Extending the REST API with additional variables in the functions.php file.
A Global JavaScript Variable
There are certain WordPress constants (or known as ‘variables’) that we will be using throughout the React app. This will be information about the various routes of the application (and later on be WooCommerce specific ones).
This variable is defined within the functions.php file. It will be called ‘CelestialSettings’ and be appended to celestial-scripts, the handle for the enqueued app.js file:
Passing WordPress (PHP) variables to the front-end.
The above code shows an example of getting WordPress (PHP) variables to the front-end, an important and very useful technique when building a decoupled theme. This object variable holds the site title, path, the URL for the API and root and three variables relating to WooCommerce (explained later).
React And JSX
React is different from the rest of the major JavaScript libraries. What I mean by that is, we generally write JavaScript within our HTML. However, when it comes to React, we write HTML inside our JavaScript code. To be more accurate, we write JSX inside JS. JSX is very similar to HTML but has a few differences. The class attribute is written as className for instance. This is then converted to plain JavaScript through Webpack and Babel and saved within app.js.
There are, however, a few restrictions with writing JSX. For instance, we can have only one child within our render() method, which will serve as the root element for a Component. However, the advantage is that it is easier to debug. We can know exactly where we have made a mistake, whereas in normal HTML our error will generally not be shown explicitly. We will be writing JSX for this project, and therefore, the JavaScript files will have an extension of .jsx. However, it could also be .js if you prefer so.
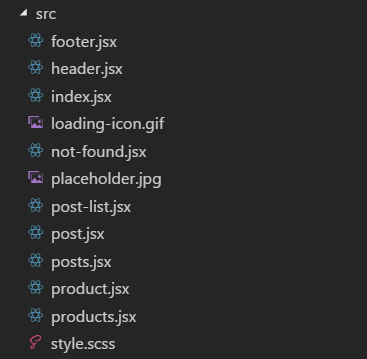
Create the following files within the src folder:
index.jsx (the main file and the one which contains the React Router configurations)
header.jsx (the header component)
footer.jsx (the footer component)
posts.jsx (for the archive of posts)
post-list.jsx (component for an individual post within posts.jsx)
post.jsx (for a single post)
products.jsx (contains all the products from WooCommerce)
product.jsx (displays a single product from WooCommerce)
style.scss (to contain all CSS code in SASS format)
Folder structure of the src folder in the Celestial project.
ReactDOM.render()
The index.jsx file is the root of the project. What I mean by that is, the index.jsx contains the component App which is rendered to the DOM.
import { render } from 'react-dom'; // importing render from ReactDOM

const App = () => ( // defining the routes

   <div id="page-inner">

       <Header />

       <div id="content">

           <Switch>

               <Route exact path={CelestialSettings.path} component={Posts} /> // the root path

           </Switch>

       </div>

       <Footer />

   </div>

);

// React Router

const routes = (

   <Router>

       <Route path="/" component={App} />

   </Router>

);

render( // rendering to the DOM by replacing #page with the root React component

   (routes), document.getElementById('page') // rendering the route

);
The other components are specified within React Router and will be loaded upon visiting the different routes.
This is how we write modular components where all the different components ultimately end at index.jsx.
Stateful Vs. Stateless Components
You would have noticed components being written in either of the following two ways:
const App = () => (
class Post extends React.Component {
The first way is how we write Stateless Components and the second is an example of Stateful Components. Stateless means that component does not have ‘state’ in it. ‘state’ is essentially a variable that has information within the component, and every time the variable changes, the component is re-rendered. Stateful Components are also known as ‘Smart Components.’ The state variables are thus used for inner communication within that component.
The second type, Stateless Components do not have the state variable in them and sometimes called ‘Dumb Components.’ However, like Stateful Components, they have ‘props,’ which are properties passed down to them from their parent components.
Stateful components have the React lifecycle methods whereas the Stateless one has only the render() method which is the default method for it.
React Lifecycle Methods
These are methods called at different stages in the component’s lifecycle, which we can override to run our own code at those instances. We are utilizing the following methods in our application:
constructor() Called before a component is mounted.
componentDidMount() Invoked immediately after a component is mounted.
render() The method which is called to render the JSX (HTML) content.
componentDidUpdate() Called when the component is updated.
componentWillUnmount() Invoked when a component is to be removed.
We are going to use JavaScript Promises to get data from our WordPress REST API. First, we have the URL to the REST API in our functions.php, where we have appended it as a JavaScript variable which we can access from the front-end.
We will use JavaScript’s fetch API method to get data from the different endpoints. We are adding a loader to show the user while the content is being fetched:
getMorePosts() {
       var that = this;
       var totalPages;

       // adding a loader
       jQuery("#loader").addClass("active");

       this.setState({ page: this.state.page + 1 });

       fetch(CelestialSettings.URL.api + "/posts/?page=" + this.state.page)
           .then(function (response) {
               for (var pair of response.headers.entries()) {

                   // getting the total number of pages
                   if (pair[0] == 'x-wp-totalpages') {
                       totalPages = pair[1];
                   }

                   if (that.state.page >= totalPages) {
                       that.setState({ getPosts: false })
                   }
               }
               if (!response.ok) {
                   throw Error(response.statusText);
               }
               return response.json();
           })
           .then(function (results) {
               var allPosts = that.state.posts.slice();
               results.forEach(function (single) {
                   allPosts.push(single);
               })
               that.setState({ posts: allPosts });

               // removing the loader
               jQuery("#loader").removeClass("active");

           }).catch(function (error) {
               console.log('There has been a problem with your fetch operation: ' + error.message);
               jQuery("#loader").remove();
           });
   }
Fetching data from various endpoints, with loader to indicate process is running.
Using The React Router
React Router is the library that will handle client-side routing for our application. Server-side routing is possible with WordPress, but to achieve a truly SPA experience we need the help of React Router.
Since version 4, React Router has been broken into three packages: react-router, react-router-dom, and react-router-native. We will be using react-router-dom for this project since that is the one used in web applications.
Since react-router-dom is installed already, we can write the router configuration inside the index.jsx file. The code will be as follows:
The above code will take care of all routing, handled in the client side. The * in the last line says that any other route not mentioned above will take the user to the ‘404 Not Found’ page.
The <Link to=""> tag is used instead of the <a href=””> tag for linking between different pages using React Router:
Using the `` tag for linking between different pages.
Getting Test Data
Now that you have created the theme, it is time to add some data. One way of adding data is to create our own content. However, there is an easier (and better) way to add data to our WordPress site. This method imports placeholder data from an external source:
Head over to Tools > Import > WordPress to install the WordPress importer.
After the WordPress importer is installed, click on Run Importer.
Click ‘Choose file’ in the importer
Select the downloaded file and import the WordPress Theme Unit Test Data
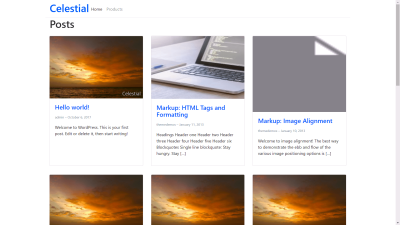
Now you have to select the theme-unit-test-data.xml file and all the placeholder content is now on your site.
When all the data is imported correctly.
WooCommerce Integration
Now, we are ready to power our store using React. We will use the products.jsx and product.jsx files for this purpose, whose code is similar to posts.jsx and post.jsx respectively.
We will add three more variables to CelestialSettings under ‘woo’ (see A Global JavaScript Variable):
URL
consumer_key
consumer_secret
The Consumer key and Consumer secret have to be generated from Dashboard → WooCommerce → Settings → API → Keys/Apps.
For the woo URL, you have to manually add it (since WooCommerce allows transfer only over SSL, add the URL with https, i.e. https://localhost/celestial/wp-json/wc/v2/).
Copy the Consumer key and Consumer secret and paste them in the appropriate places within functions.php. This will serve as the authentication for accessing WooCommerce via an API call.
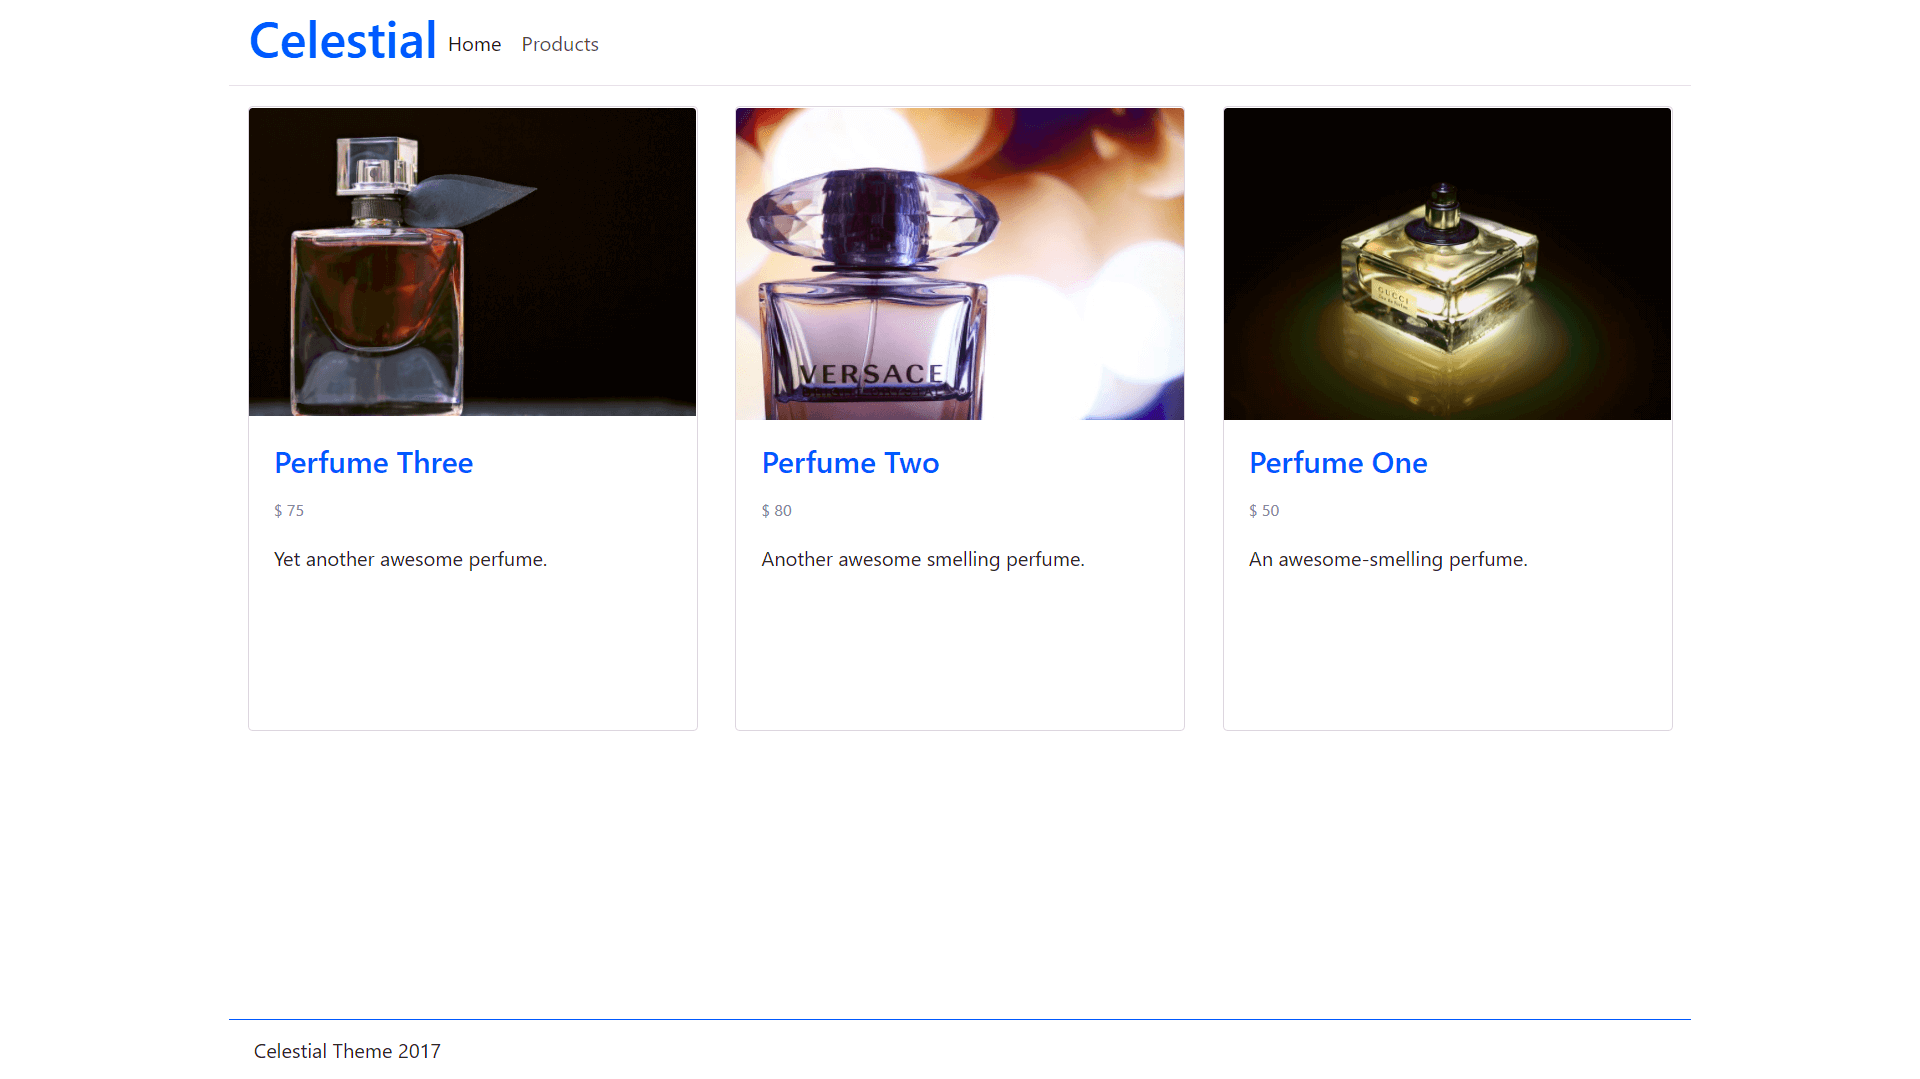
Visit the WooCommerce REST API documentation for more information about its API. The products.jsx file has the code for populating the store with products. The products can be added by an admin from the dashboard. Just go to Dashboard → Products → Add New and enter product details.
Add new product via the dashboard.
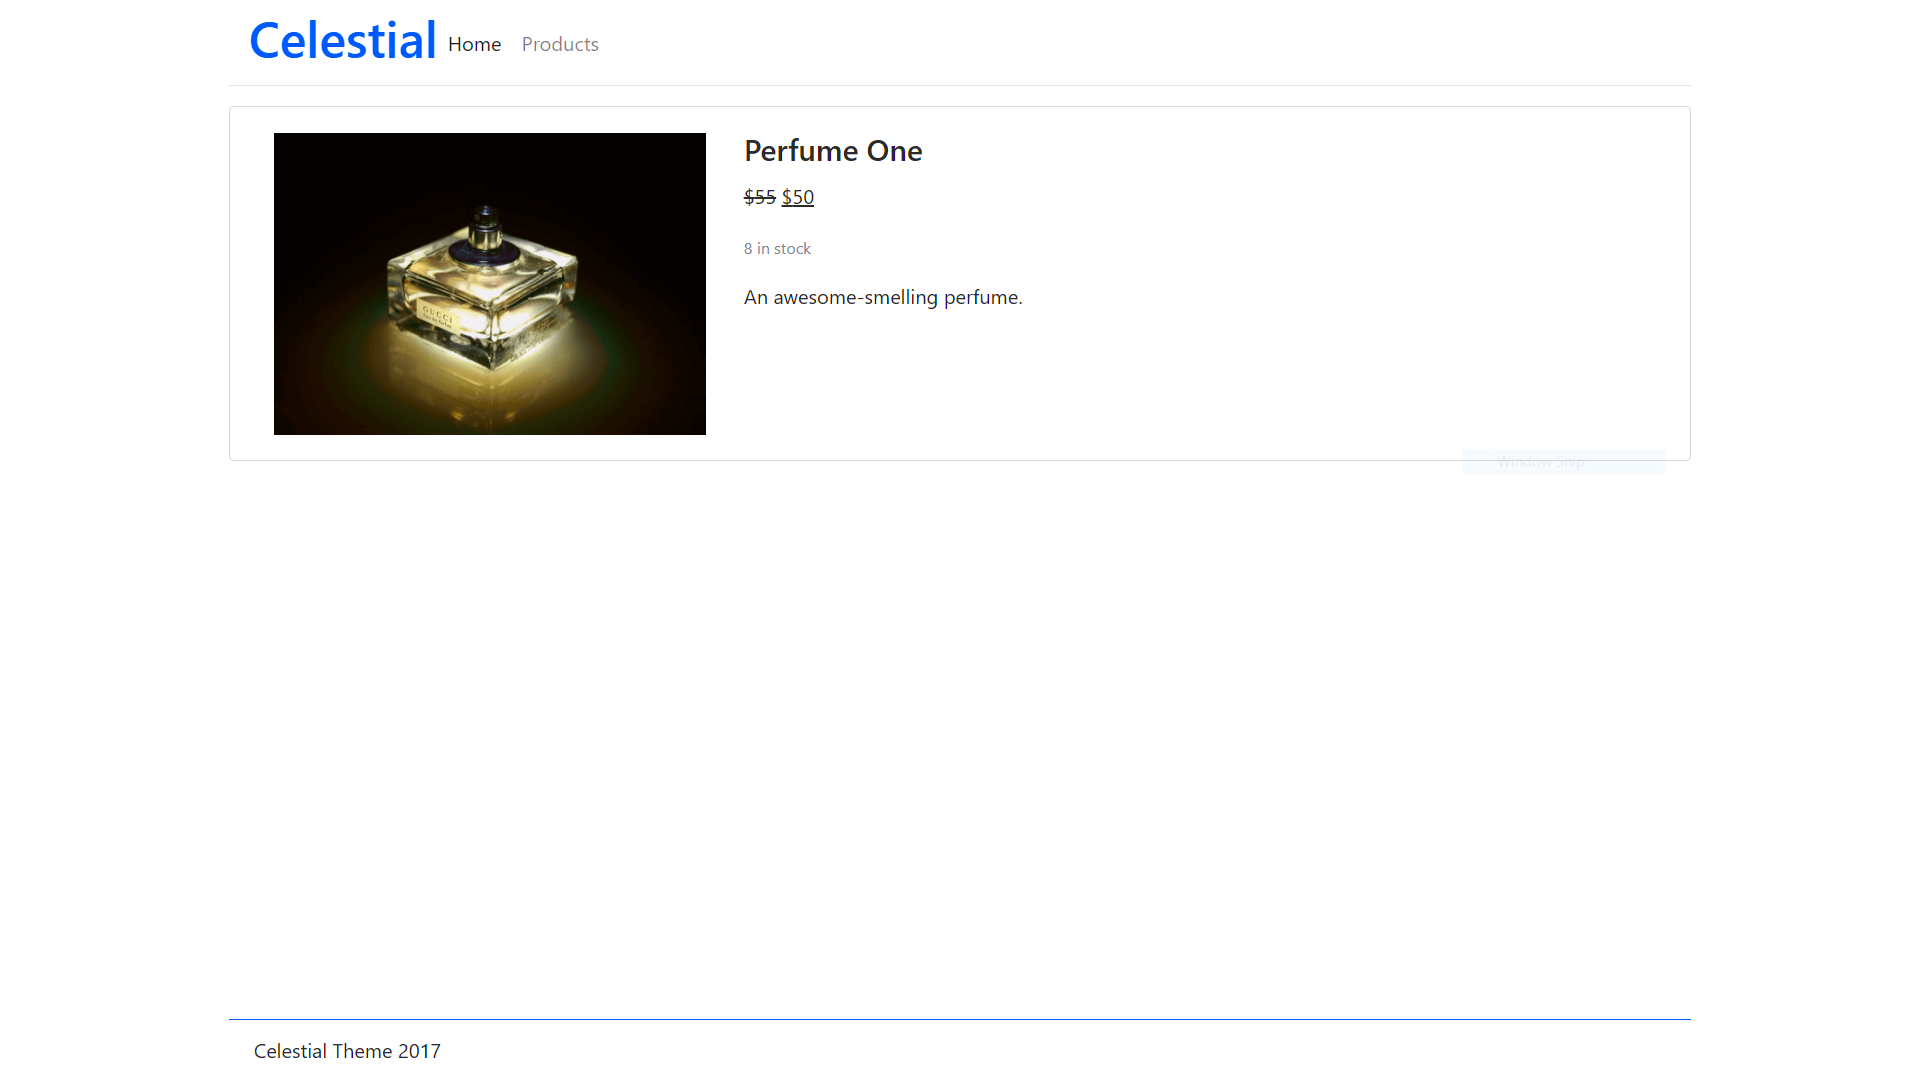
When you click on a certain product, you will be taken to the product.jsx page:
Individual product page rendered based on the product.jsx file
The code for the above page is similar to post.jsx:
Code for product.jsx file" alt="Code for product.jsx file
Permalinks
For the theme to work correctly, we have to set the following permalinks within Dashboard → Settings → Permalinks:
Under Common Settings → Custom Structure:
https://localhost/celestial/posts/%postname%/
Under Product permalinks → Custom base:
/products/
If you don’t set the permalinks as above, the theme may not function as desired.
A WooCommerce Fix
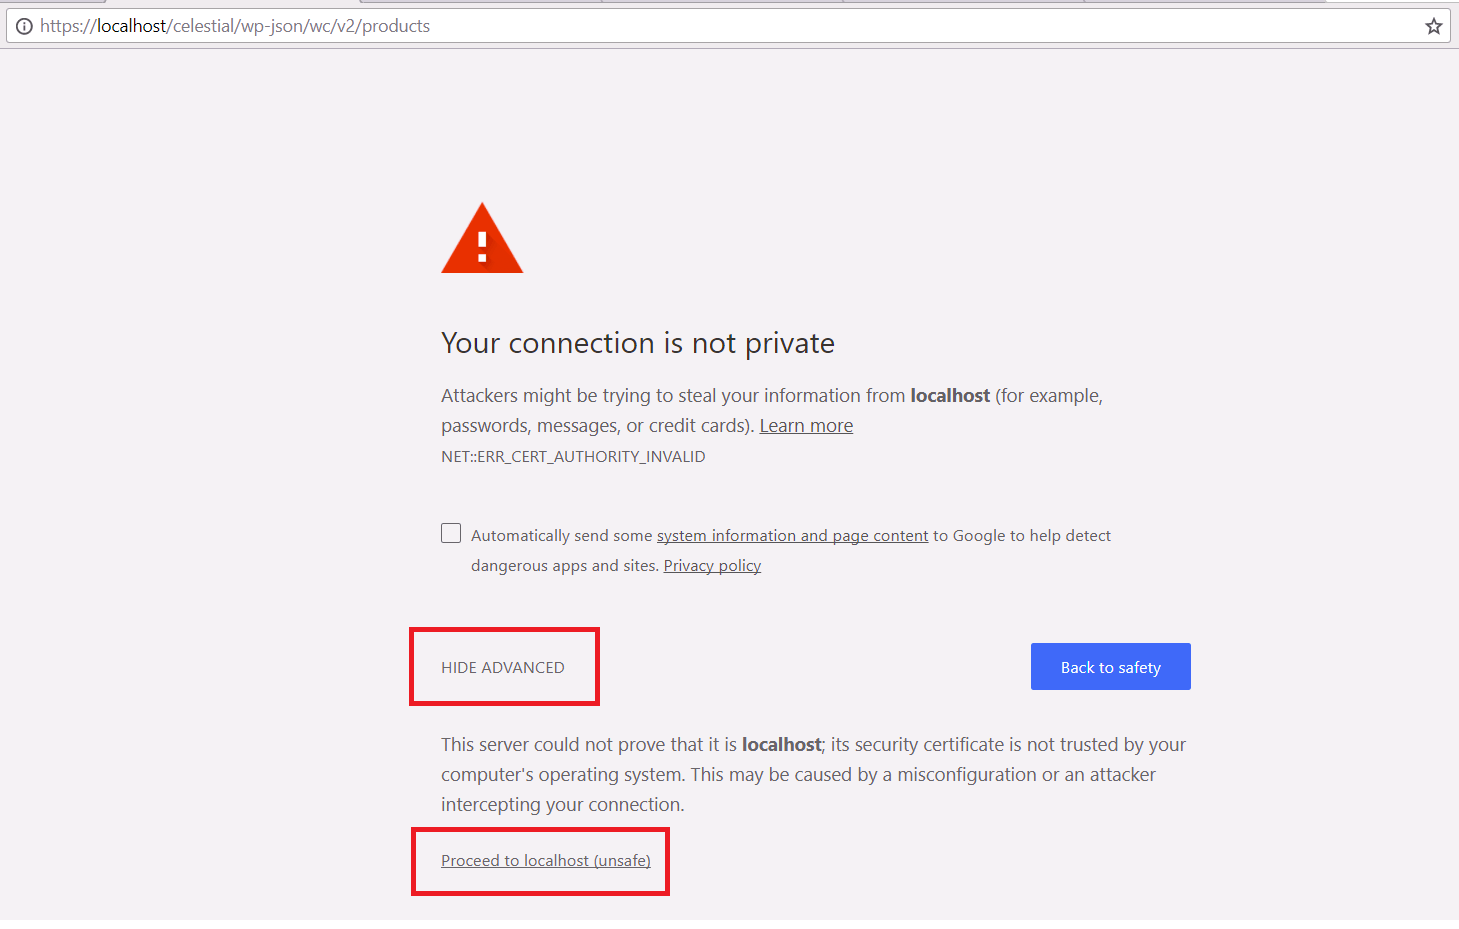
When you navigate to localhost/celestial/products, chances are you will get a blank space where the products are supposed to be loaded. This happens because WooCommerce needs authenticated requests whereas our localhost is not https. To fix the issue:
WooCommerce requires authenticated requests and will show a warning if localhost is not https
Click on ADVANCED > Proceed to localhost (unsafe).
Now, if you go back to the products page, the items will be displayed correctly.
Note: If you are on Valet on a Mac, you have to run Valet Secure on your site to secure the local site with a TLS certificate. This is another way of fixing the problem.
What Is ScrollMagic?
ScrollMagic is a library that allows us to perform certain actions when scrolling through the page. To use ScrollMagic we will enqueue the ScrollMagic JavaScript library in functions.php. We are using ScrollMagic for two instances in this project:
To lazy-load posts within the posts.jsx component:
componentDidMount() {
       var that = this;
       window.onbeforeunload = function () { window.scrollTo(0, 0); }

       // init ScrollMagic Controller
       that.state.controller = new ScrollMagic.Controller();

       // build scene
       var scene = new ScrollMagic.Scene({ triggerElement: "#colophon", triggerHook: "onEnter" })
           .addTo(that.state.controller)
           .on("enter", function (e) {
               if (that.state.getPosts && that.getMorePosts !== null) {
                   that.getMorePosts();
               }
           });
   }
Lazy-loading posts within the posts.jsx component
To show a fade-in animation for posts appearing by scrolling through posts and products in the posts.jsx and products.jsx components respectively:
componentDidUpdate() {
       var FadeInController = new ScrollMagic.Controller();
       jQuery('.posts-container .col-md-4.card-outer').each(function () {

           // build a scene
           var FadeInScene = new ScrollMagic.Scene({
               triggerElement: this.children[0],
               reverse: false,
               triggerHook: 1
           })
               .setClassToggle(this, 'fade-in')
               .addTo(FadeInController);
       });
   }
Applying a fade-in animation for posts which appear as scrolling occurs
We are now ready to view our theme from the front-end. Navigate to localhost/celestial on your web browser and see your theme in action.
And pat yourself on the back, because you have now successfully created the theme!
Other WordPress Themes With JavaScript Libraries
If you found this helpful, you can take a look at other awesome decoupled WordPress themes built using modern JavaScript libraries/frameworks:
Foxhound: The first decoupled theme to make it to the WordPress themes repository. Written by Kelly Dwan, this theme uses React, Redux and React Router.
Anadama React: Another theme by the same author, but using Flux instead of Redux, and Page instead of React Router.
Wallace: Written by Kirby, this theme uses Angular with the WordPress REST API.
Picard: Written by Automattic themselves to showcase the capability of the WordPress REST API.
React Verse: A React and Redux theme I wrote based on Foxhound.
Next Steps
The main sections I wanted to show you are now done. You can continue with building the project for further knowledge. These are some recommendations that you could pursue:
A full-fledged store with the WooCommerce plugin, including checkout and shopping cart;
A page each for archive, tag, taxonomy, and so on;


 Celebrating 10 million developers
 Custom Web Forms for Angular, React, & Vue. Your backend.