WordPress Local Development For Beginners: From Setup To Deployment

Email Newsletter
Weekly tips on front-end & UX.
Trusted by 182,000+ folks.
 Custom Web Forms for Angular, React, & Vue. Your backend.

 Celebrating 10 million developers

When first starting out with WordPress, it’s very common to make any changes directly on your live site. After all, where else would you do it? You only have that one site, so when something needs changing, you do it there.
However, this practice has several drawbacks. Most of all that it’s very public. So, when something goes seriously wrong, it’s quite noticeable for people on your site.
Preventing Common Mistakes
When creating free or premium WordPress themes, you’re bound to make mistakes. Find out how you can avoid them in order to save yourself time and focus on actually creating themes people will enjoy using. Read a related article →
It’s ok, don’t feel bad. Most WordPress beginners have done this at one point or another. However, in this article, we want to show you a better way: local WordPress development.
What that means is setting up a copy of your website on your local hard drive. Doing so is incredibly useful. So, below we will talk about the benefits of building a local WordPress development environment, how to set one up and how to move your local site to the web when it’s ready.
This is important, so stay tuned!
The Benefits Of Local WordPress Development
Before diving into the how, let’s have a look at the why. Using a local development version of WordPress offers many benefits.
We already mentioned that you no longer have to make changes to your live site with all the risks involved with that. However, there is more:
- Test themes and plugins
With a local copy of your site, you can try out as many themes and plugin combinations as you want without risking taking your live site out due to incompatibilities. - Update safely
Another time when things are prone to go wrong are updates. With a local environment, you can update WordPress core and components to see if there are any problems before applying the updates to your live site. - Independent of an online connection
With your WordPress site on your computer, you can work on it without being connected to the Internet. Thus, you can get work done even if there is no wifi. - High performance/low cost
Because site performance is not limited by an online connection, local sites usually run much faster. This makes for a better workflow. Also, as you will see, you can set it all up with free software, eliminating the need for a paid staging area.
Sounds good? Then let’s see how to make it happen.
How To Set Up A Local Development Environment For WordPress
In this next part, we will show you how to set up your own local WordPress environment. First, we will go over what you need to do and then how to get it right.
Tools You’ll Need
In order to run, WordPress needs a server. That’s true for an online site as well as a local installation. So, we need to find a way to set one up on our computer.
That server also needs some software WordPress requires to work. Namely, that’s PHP (the platform’s main programming language) and MySQL for the database. Plus, it’s nice to have a MySQL user interface like phpMyAdmin to make handling the database more convenient.
In addition to that, need your favorite code editor or IDE (integrated development environment) for the coding part. My choice is Notepad++ but you might have your own preferences.
Finally, it’s useful to have some developer tools to analyze and debug your site, for example, to look at HTML and CSS. The easiest way is to use Chrome or Firefox (read our article on Firefox's DevTools), which have extensive functionality like that built in.
Available Software
We have several options at our disposal to set up local server environments. Some of the most well known are Vagrant, Local by Flywheel, and DevKinsta. All of these contain the necessary components to set up a local server that WordPress can run on.
For this tutorial we will use XAMPP. The name is an acronym and stands for “cross platform, Apache, MySQL, PHP, Perl”. If you have been paying attention, you will notice that we earlier noted MySQL and PHP as essential to running a WordPress website. In addition, Apache is an open source solution for creating servers. So, the software contains everything we need in one neat package. Plus, as “cross platform” suggests, XAMPP is available for both Windows, Mac and Linux computers.
To continue, if you haven’t done so already, head over to the official XAMPP website and download a copy.
How To Use XAMPP
Installing XAMPP pretty much works like every other piece of software.
On Windows:
- Run the installer (note that you might get a warning about running unknown software, allow to continue).
- When asked which components to install, make sure that Apache, MySQL, PHP, and phpMyAdmin are active. The rest is usually unnecessary, deactivate it unless you have good reason not to.
- Choose the location to install. Make sure it’s easy to reach as that’s where your sites will be saved and you will probably access them often.
- You can disregard the information about Bitnami.
- Choose to start the control panel right away at the end.
On Mac:
- Open the .dmg file
- Double click on the XAMPP icon or drag it to applications folder
- That’s it, well done!
After the installation is complete, the control panel starts. Should your operating system ask for Firewall permissions, make sure to allow XAMPP for private networks, otherwise, it won’t work.
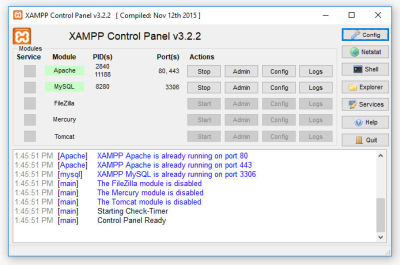
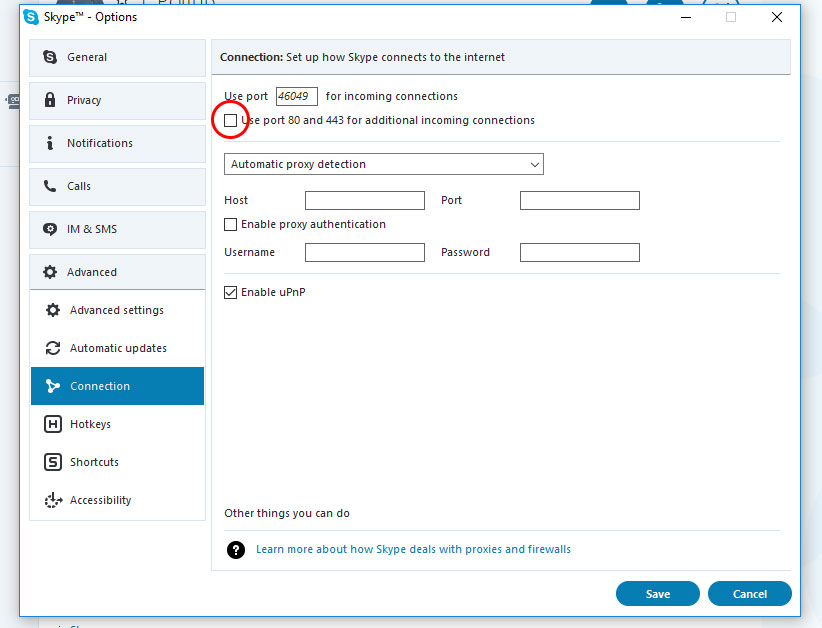
From the panel, you can start Apache and MySQL by clicking the Start buttons on the respective rows. If you run into problems with programs that use the same ports as XAMPP, quit those programs and try to restart the XAMPP processes. If the problem is with Skype, there is a permanent solution by disabling the ports under Tools → Options → Advanced → Connections.

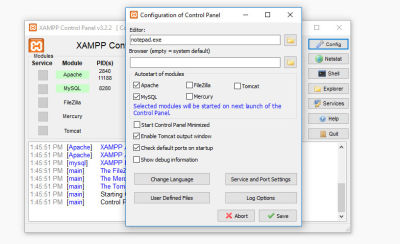
Under Config, you can also enable automatic start for the components you need.
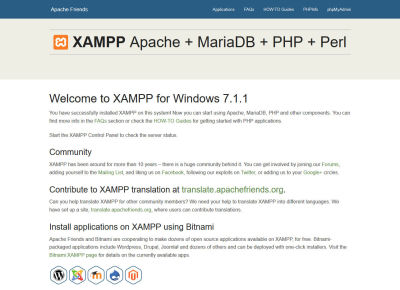
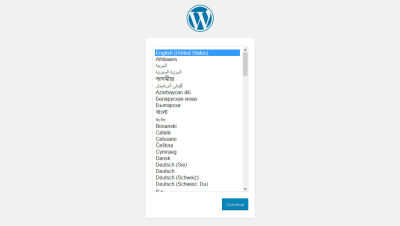
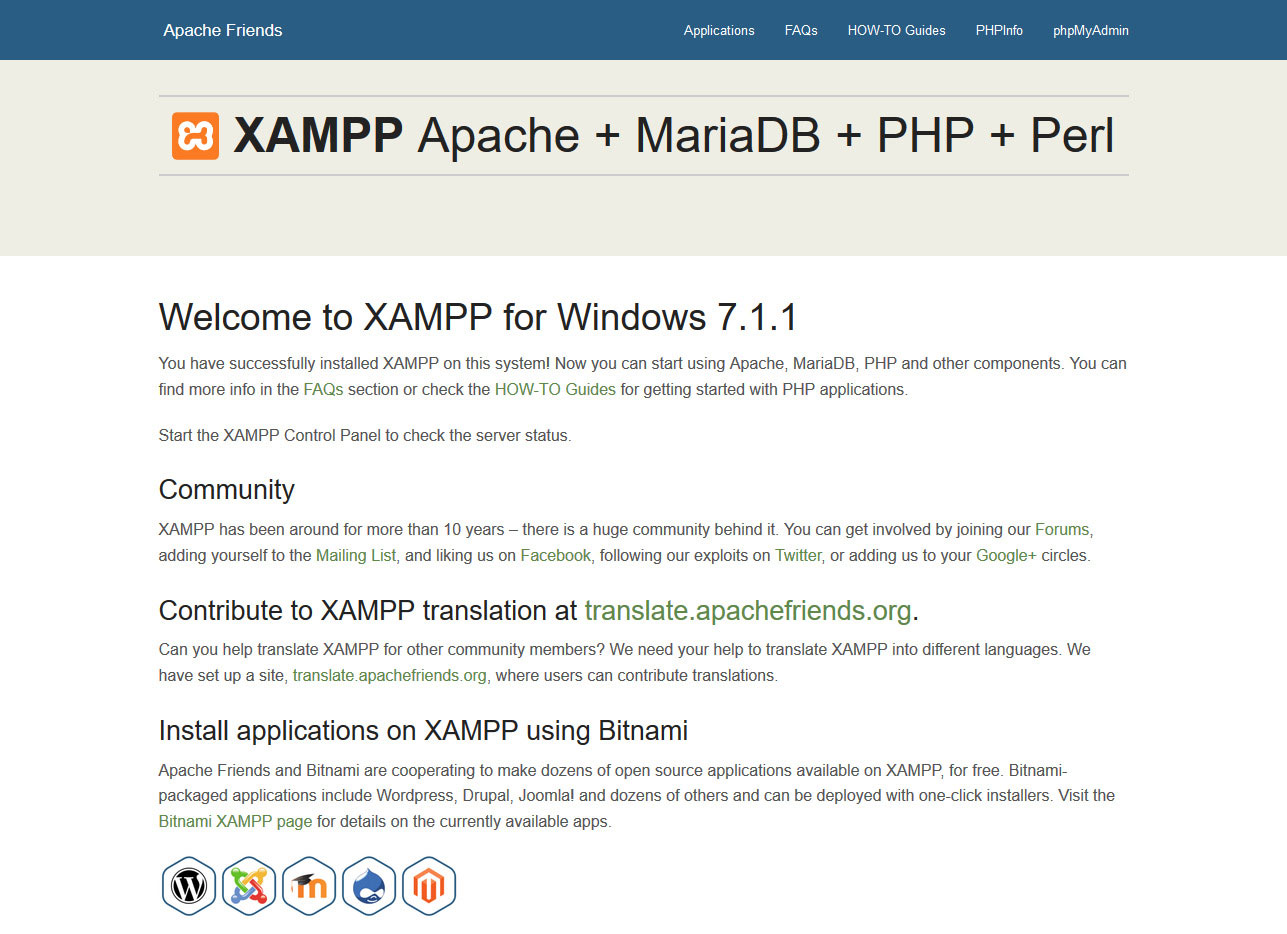
After that, it’s time to test your local server. For that, open your browser, and go to https://localhost.
If you see the following screen, everything works as it should. Well done!
Installing WordPress Locally
Now that you have a local server, you can install WordPress in the same way that you do on a web server. The only difference: everything is done on your hard drive, not an FTP server or inside a hosting provider’s admin panel.
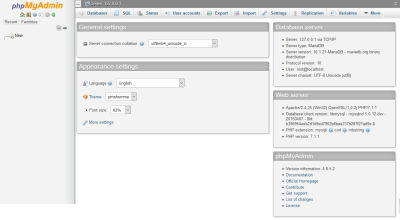
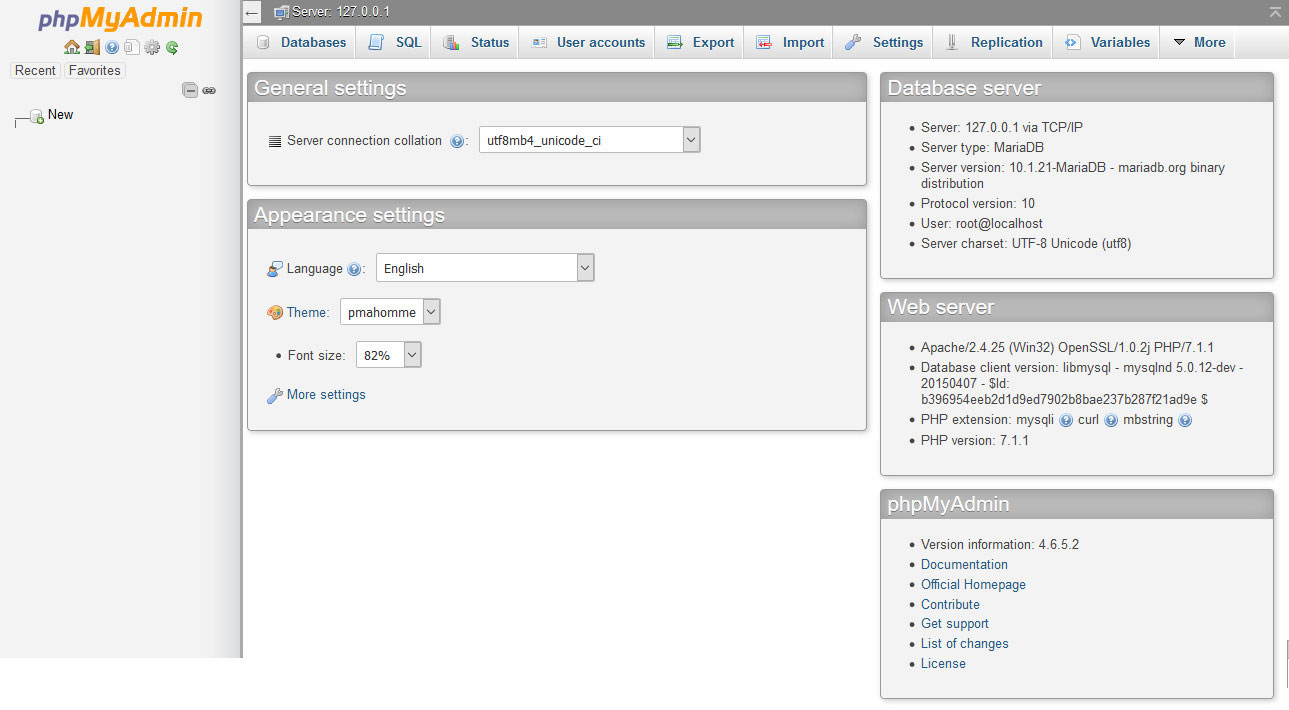
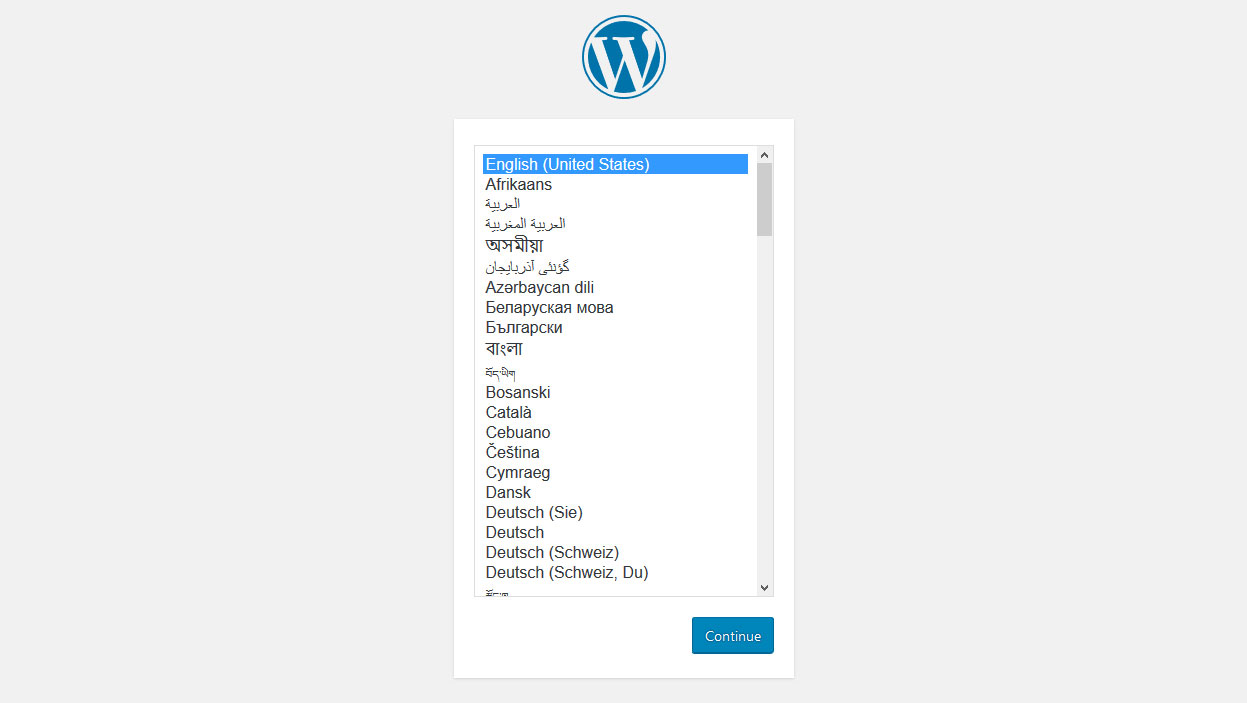
That means, to create a database for WordPress, you can simply go to https://localhost/phpmyadmin. Here, you find the same options as in the online version and can create a database, user and password for WordPress.
Once that is done and you want to install WordPress, you can do so via the htdocs folder inside your installation of XAMPP. There, simply create a new directory, download the latest version of WordPress, unpack the files and copy them into the new folder. After that, you can start the installation by going to https://localhost/newdirectoryname.
That’s basically it. Now that you have a running copy of WordPress on your website, you can install themes and plugins, set up a child theme, change styles, create custom page templates and do whatever your heart desires.
When you are satisfied, you can then move the website from a local installation to live environment. That’s what we will talk about next.
How To Deploy Your Site With A Plugin
Alright, once your local site is up to your liking, it’s time to get it online. Just a quick note: if you want to get a copy of your existing live site to your hard drive, you can use the same process as described below only in reverse. The overall principles stay the same.
Either way, we can do this manually or via plugin and there are several solutions available. For this tutorial, we will use Duplicator. I found it to be one of the most convenient free solutions and, as you will see, it makes things really easy.
1. Install Duplicator
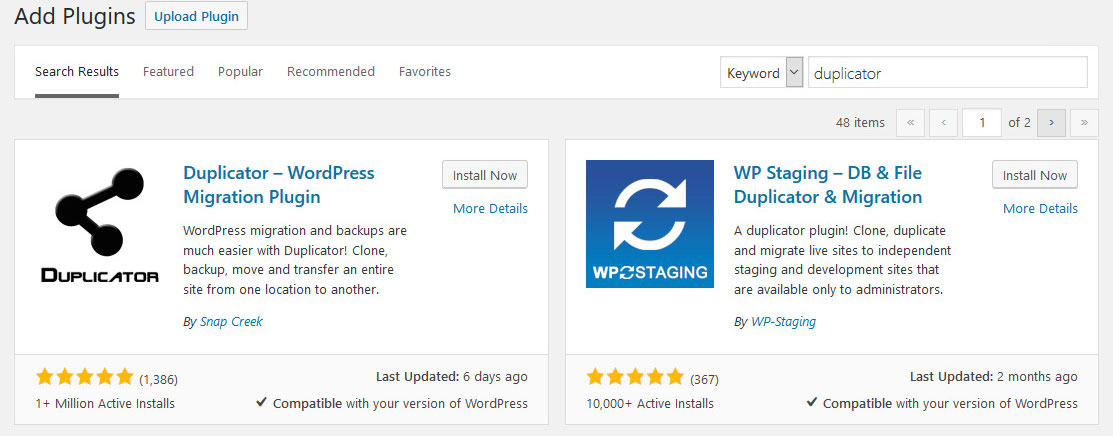
Like every other WordPress plugin, you first need to install Duplicator in order to use it. For that, simply go to Plugins → Add New. In the search box, input the plugin name and hit enter, it should be the first search result.
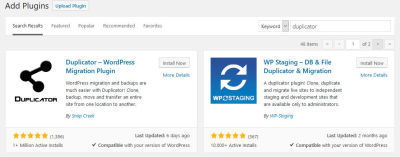
Click Install Now and activate once it’s done.
2. Export Site
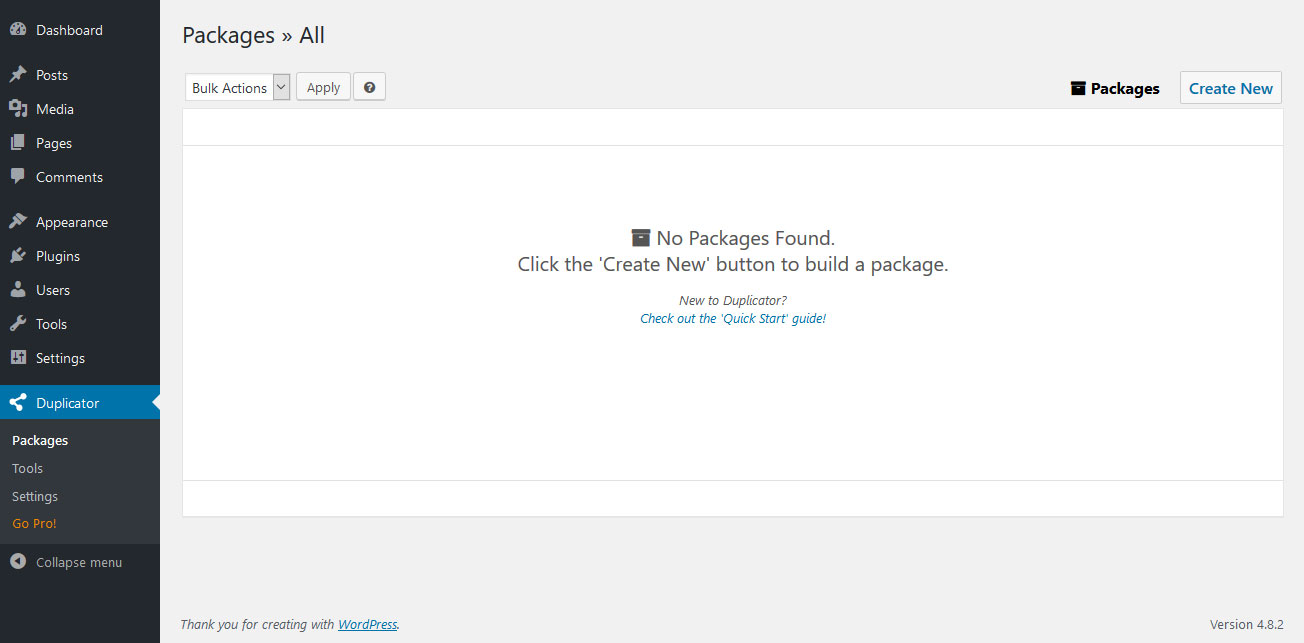
When Duplicator is active on your site, it adds a new menu item in the WordPress dashboard. Clicking it gets you to this screen.
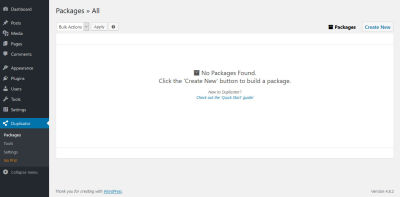
Here, you can create a so-called package. In Duplicator that means a zipped up version of your site, database, and an installation file. To get started, simply click on Create New.
In the next step, you can enter a name for your package. However, it’s not really necessary unless you have a specific reason.
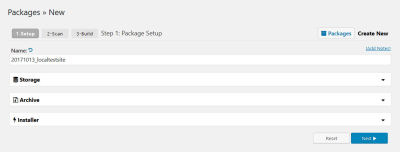
Under Storage, Archive, and Installer are options to determine where to save the archive (works for the Pro version only), exclude files or database tables from the migration and input the updated database credentials and new URL.
In most cases you can just leave everything as is, especially because Duplicator will attempt to fill in the new credentials automatically later. So, for now just hit Next.
After that, Duplicator will run a test to see if there are any problems.
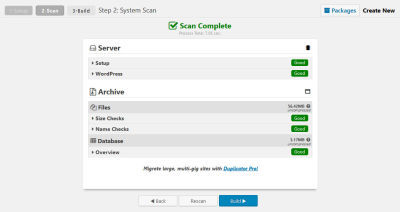
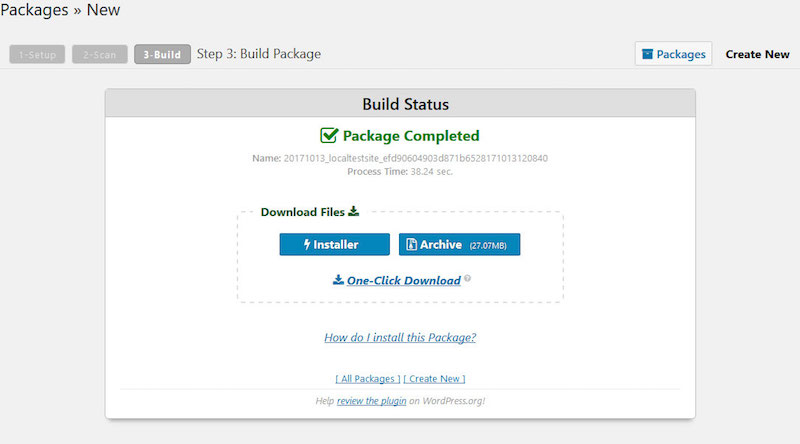
Unless something major pops up, just click on Build to begin building the package. This will start the backup process.
At the end of it, you get the option to download the zip file and installer with the click on the respective buttons or with the help of the One-Click Download.
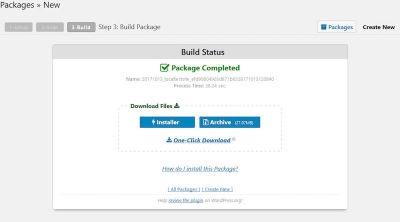
Do so and you are done with this part of the process.
3. Upload And Deploy Files On Your Server
If all of this has gone down without a hitch, it’s now time to upload the generated files to their new home. For that, log into your FTP server and browse to your new site’s home directory. Then, start uploading the files we generated in the last step.
Once done, you can start the installation process by inputting https://yoursite.com/installer.php into the browser bar.

In the first step, the plugin checks the archive’s integrity and whether it can deploy the site in the current environment. You also get some advanced options that you are welcome to ignore at the moment. However, make sure to check the box where it says “I have read and accept all terms and notices,” before clicking Next.
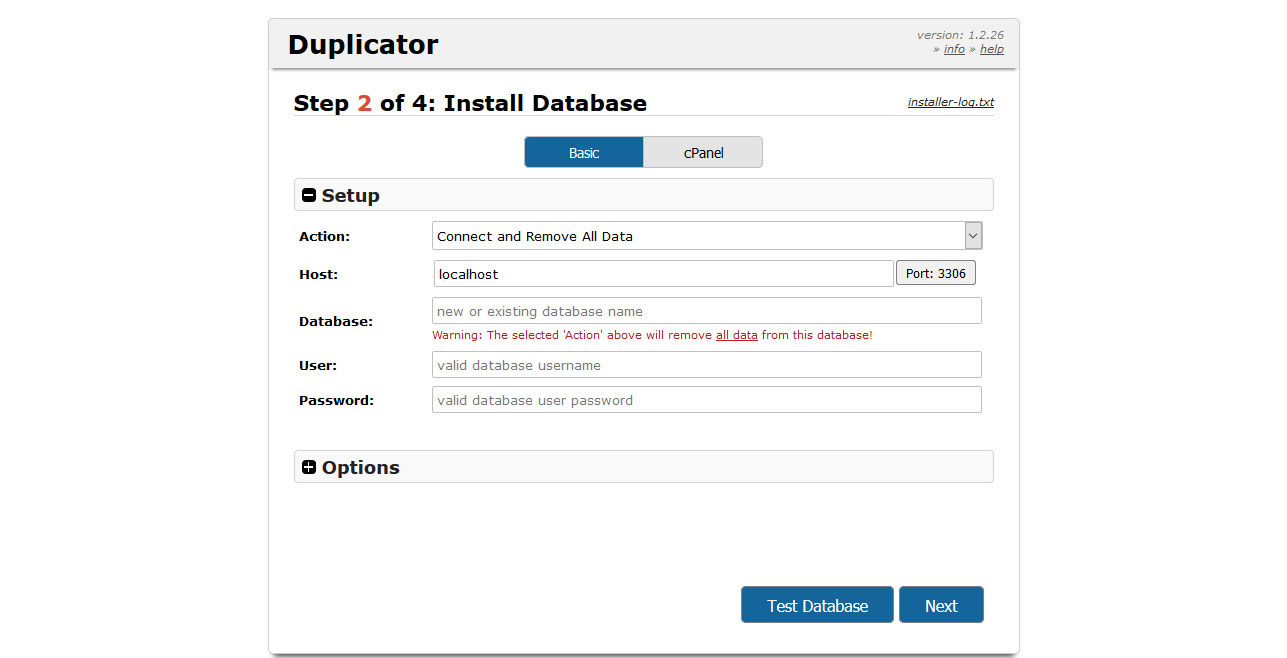
Your site is now being unpacked. After that, you get to the screen where it’s time to input the database information.
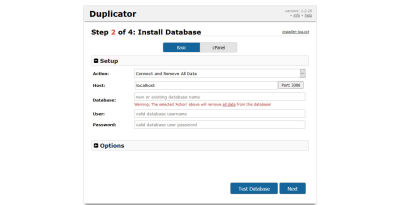
The plugin can either create a new database (if your host allows it) or use an existing one. For the latter option, you need to set up the database manually beforehand. Either way, you need to input the database name, username, and password to continue. Duplicator will also use this information to update the wp-config.php file of your site so that it can talk to the new database. Click Test Database to see if the connection works. Hit Next to start the installation of the database.
Once Duplicator is done with that, the final step is to confirm the details of your old and new site.
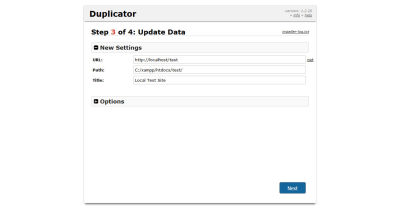
That way, Duplicator is able to replace all mentions of your old URL in the database with the new one. If you don’t, your site won’t work properly. If everything is fine, click the button that says Next.
4. Finishing Up
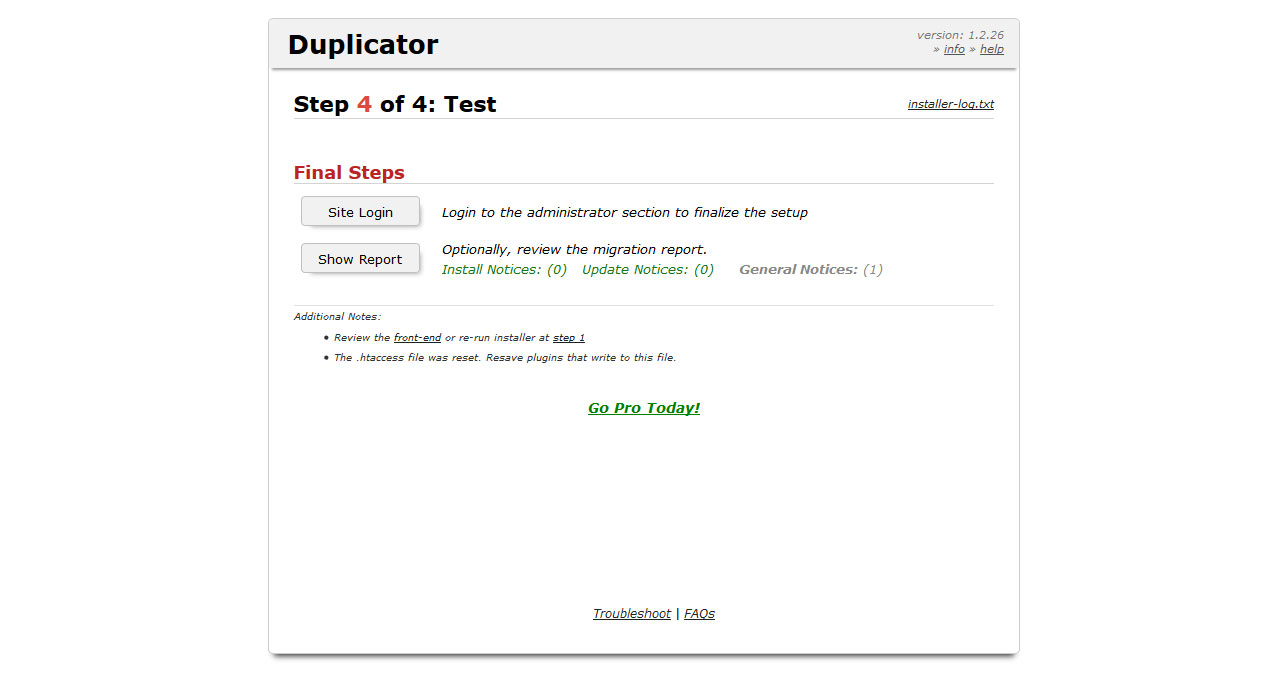
Now, there are just a few more things to do before you are finished. The first one is to check the last page of the setup for any problems encountered in the deployment.

The second is to log into your new site (you can do so via the button). Doing so will land you in the Duplicator menu.
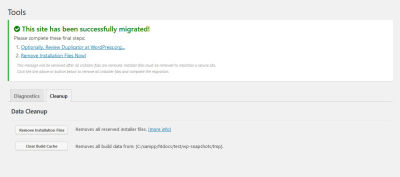
Here, be sure to click on Remove Installation Files Now! at the top. This is important for security reasons.
And that’s it, your site should now be successfully migrated. Well done! You have just mastered the basics of local WordPress development.
Quick Note: Updating Your Database Information Manually
Should the Duplicator plugin for some reason be unable to update wp-config.php with the new database information, your site won’t work and you will see a warning that says “unable to establish database connection”.
In that case, you need to change the information manually. Do this by finding wp-config.php in your WordPress installation’s main folder. You can access it via FTP or a hosting backend like cPanel. Ask your provider for help if you find yourself unable to locate it on your own.
Edit the file (this might mean downloading, editing and re-uploading it) and find the following lines:
/** The name of the database for WordPress */
define('DB_NAME', 'database_name_here');

/** MySQL database username */
define('DB_USER', 'username_here');

/** MySQL database password */
define('DB_PASSWORD', 'password_here');

/** MySQL hostname */
define('DB_HOST', 'localhost');
Update the information here with that of your new host (by replacing the info between the ' '), save the file and move it back to your site’s main directory. Now everything should be fine.
WordPress Local Development In A Nutshell
Learning how to install WordPress locally is super useful. It enables you to make site changes, run updates, test themes and plugins and more in a risk-free environment. In addition to that, it’s free thanks to open source software.
Above, you have learned how to build a local WordPress environment with XAMPP. We have led you through the installation process and explained how to use the local server with WordPress. We have also covered how to get your local site online once it’s ready to see the light of day.
Hopefully, your takeaway is that all of this is pretty easy. It might feel overwhelming as a beginner at first, however, using WordPress locally will become second nature quickly. Plus, the benefits clearly outweigh the learning process and will help you take your WordPress skills to the next level.
What are your thoughts on local WordPress development? Any comments, software or tips to share? Please do so in the comments section below!
Further Reading
- Building Gatsby Themes For WordPress-Powered Websites
- Modifying Headers In HTTP(s) Requests In UI Automation Testing
- How To Streamline WordPress Multisite Migrations With MU-Migration
- How To Host A WordPress Site On Amazon Lightsail


