How To Reduce The Need To Hand-Code Theme Parts In Your WordPress Website

Email Newsletter
Weekly tips on front-end & UX.
Trusted by 182,000+ folks.


 Celebrating 10 million developers

 Custom Web Forms for Angular, React, & Vue. Your backend.
(This is a sponsored article.) Good design leads to sales and conversions on your website, but crafting great design is no easy task. It takes a lot of time and effort to achieve excellent results.
Design is a constantly evolving discipline. Product teams iterate on design to deliver the best possible experience to their users. A lot of things might change during each iteration. Designers will introduce changes, and developers will dive into the code to adjust the design. While jumping into code to solve an exciting problem might be fun, doing it to resolve a minor issue is the exact opposite. It’s dull. Imagine that you, as a web developer, continually get requests from the design team like:
- Change the featured image.
- Update the copy next to the logo in the header.
- Add a custom header to the “About Us” page.
These requests happen all the time in big projects. It’s a never-ending stream of boring requests. Want to have fun while creating websites, focus on more challenging tasks, and complete your projects much faster?
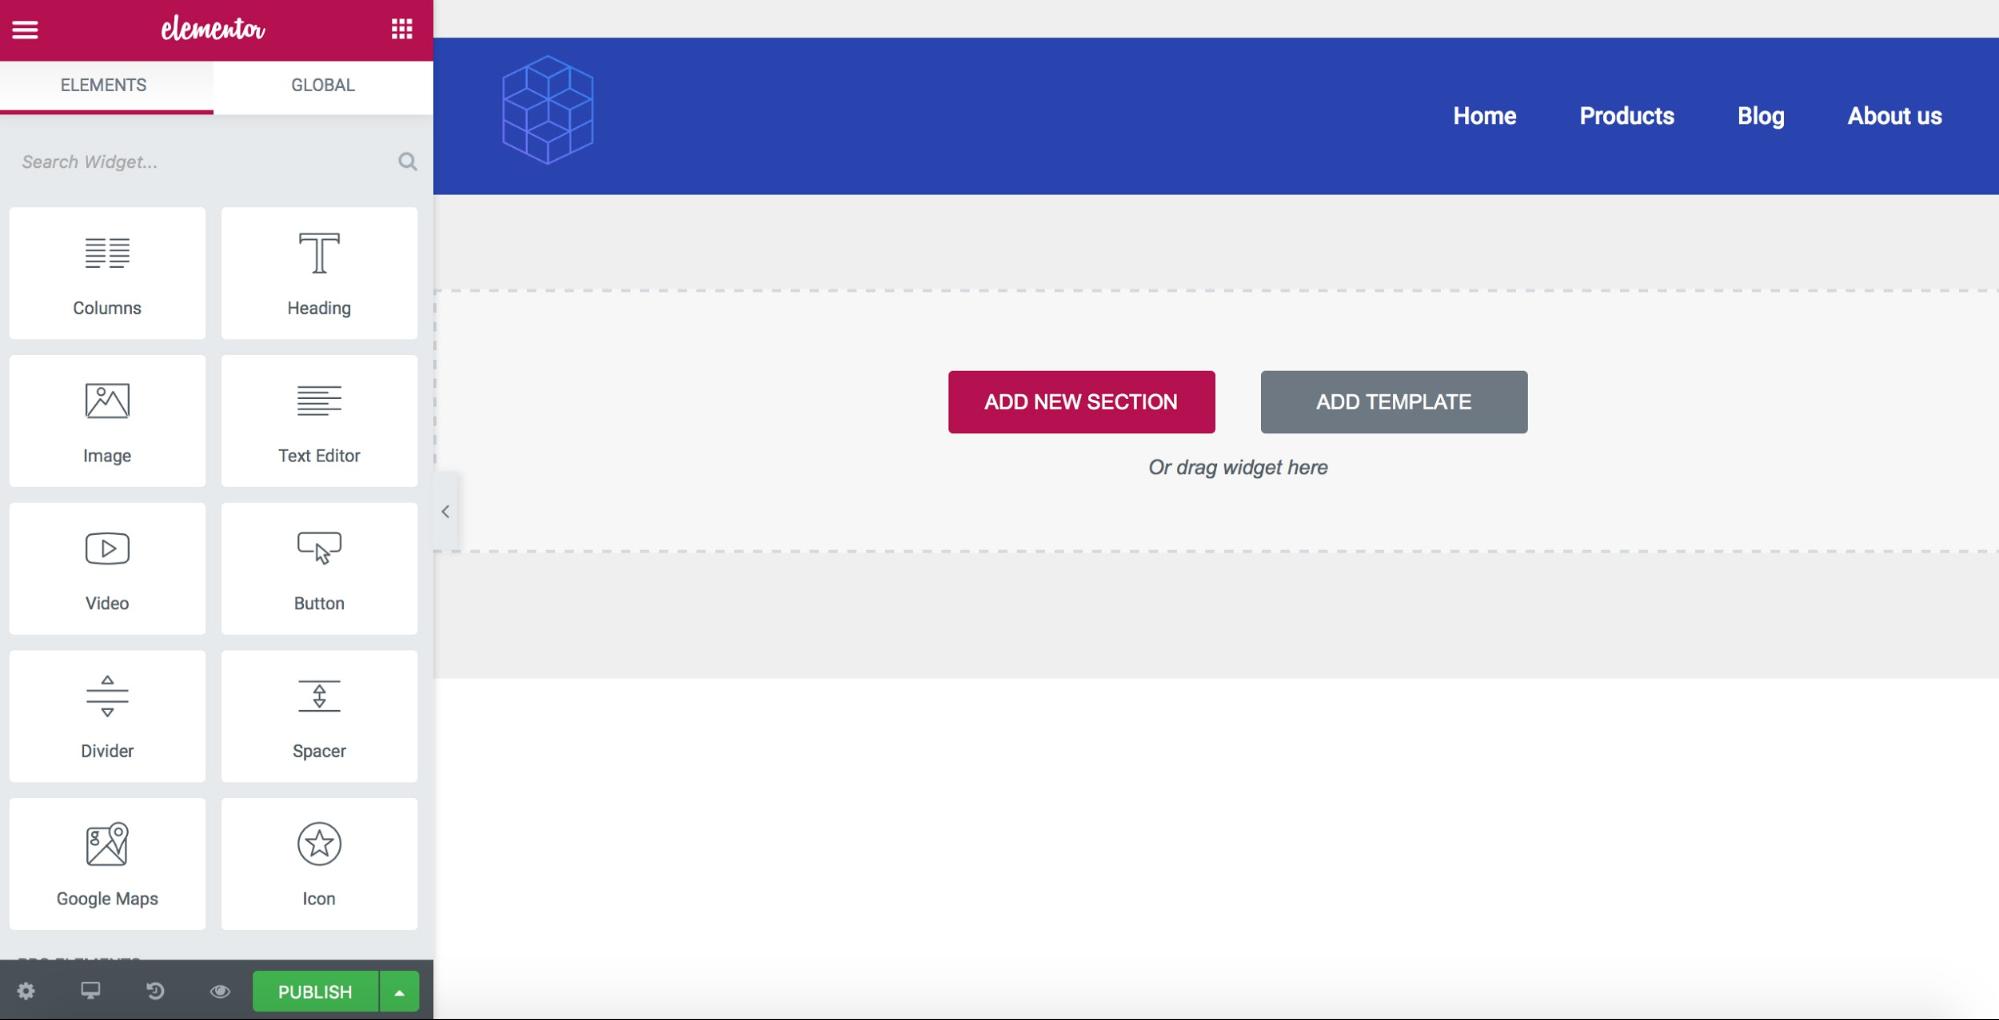
Elementor helps with just that. It reduces the need to hand-code the theme parts of your website and frees you up to work on more interesting and valuable parts of the design.
Elementor Page Builder
For a long time, people dreamed that they would be able to put together a web page by dragging and dropping different elements together. That’s how page builders became popular. Page builders introduced a whole different experience of building a page — all actions involving content are done visually. They reduce the time required to produce a desirable structure.
What if we took the most popular CMS in the world and develop the most advanced page builder for it? That’s how Elementor 1.0 for WordPress was created. Here are a few features of the tool worth mentioning:
- Live editing. Elementor provides instant live editing — what you see is what you get! The tool comes with a live drag-and-drop interface. This interface eliminates guesswork by allowing you to build your layout in real time.
- Elementor comes with a ton of widgets, including for the most common website elements. Also, there are dozens of Elementor add-ons created by the community: https://wordpress.org/plugins/search/elementor/
- Responsive design out of the box. The content you create using Elementor will automatically adapt to mobile devices, ensuring that your website is mobile-friendly. Your design will look pixel-perfect on any device.
- Mobile-first design. The Elementor page builder lets you create truly a responsive website in a whole new visual way. Use different font sizes, padding and margins per device, or even reverse column ordering for users who are browsing your website using a mobile device.
- Revision history. Elementor has a history browser that allows you to roll forward and backward through your changes. It gives you the freedom to experiment with a layout without fear of losing your progress.
- Built-in custom CSS feature allow you to add your own styles. Elementor allows you to add custom CSS to every element, and to see it in action live in the editor.
- Theme-independence. With Elementor, you’re not tied to a single theme. You can change the theme whenever you like, and your content will come along with you. This gives you, as a WordPress user, maximum flexibility and freedom to work with your favorite theme, or to switch themes and not have to worry about making changes.
- Complete code reference and a lot of tutorials. Elementor is a developer-oriented product — it’s an open-source solution with a complete code reference. If you’re interested in creating your own solutions for Elementor, it’s worth checking the website https://developers.elementor.com. The website contains a lot of helpful tutorials and explanations.
There are two particular cases in which Elementor would be helpful to web developers:
- Web developers who need to create an interactive prototype really quickly. Elementor can help in situations where a team needs to provide an interactive solution but doesn’t have enough time to code it.
- Web developers who don’t want to be involved in post-development activities. Elementor is perfect when a website is developed for a client who wants to make a lot of changes themselves without having to write a single line of code.
Meet Elementor Pro 2.0 Theme Builder
Despite all of the advantages Elementor 1.0 had, it also had two severe limitations:
- There were parts of a WordPress website that weren’t customizable. As a user, you were limited to a specific area of your website: the content that resides between the header and the footer. To modify other parts of the website (e.g. footer or header), you had to mess with the code.
- It was impossible to create dynamic content. While this wouldn’t cause any problems if the website contained only static pages (such as an “About Us” page), it might be a roadblock if the website had a lot of dynamic content.
In an attempt to solve these problems, the Elementor team released the Elementor 2.0 Theme Builder, with true theme-building functionality. Elementor Pro 2.0 introduces a new way to build and customize websites. With Theme Builder, you don't have to code menial theme jobs anymore and can instead focus on deeper website functionality. You are able to design the entire page in the page builder. No header, no footer, just Elementor.
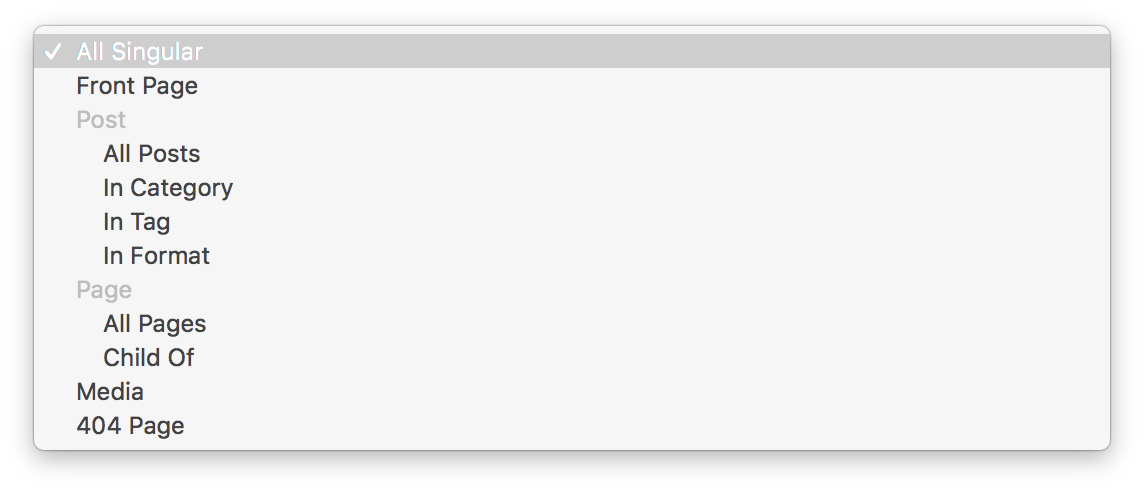
How Does Theme Builder Work?
The tool allows you to build a header, footer, single or archive templates, and other areas of a website using the same Elementor interface. To make that possible, Elementor 2.0 introduces the concept of global templates. Templates are design units. They’re capable of customizing each and every area of your website.
The process of creating a template is simple:
- Choose a template type.
- Build your page’s structure.
- Set the conditions that define where to apply your template.
Let’s explore each of these steps in more detail by creating a simple website. In the next section, we’ll build a company website that has a custom header and footer and dynamic content (a blog and archive). But before you start the process, make sure you have the latest version of WordPress, with the Elementor Pro plugin installed and activated. It is also worth mentioning that you should have a theme for your website. Elementor doesn’t replace your theme; rather, it gives you visual design capabilities over every part of the theme.
Custom Header And Footer
The header and footer are the backbone of every website. They are where users expect to see navigation options. Helping visitors navigate is a top priority for web designers.
Let’s start with creating a header. We’ll create a fairly standard header, with the company’s logo and main menu.
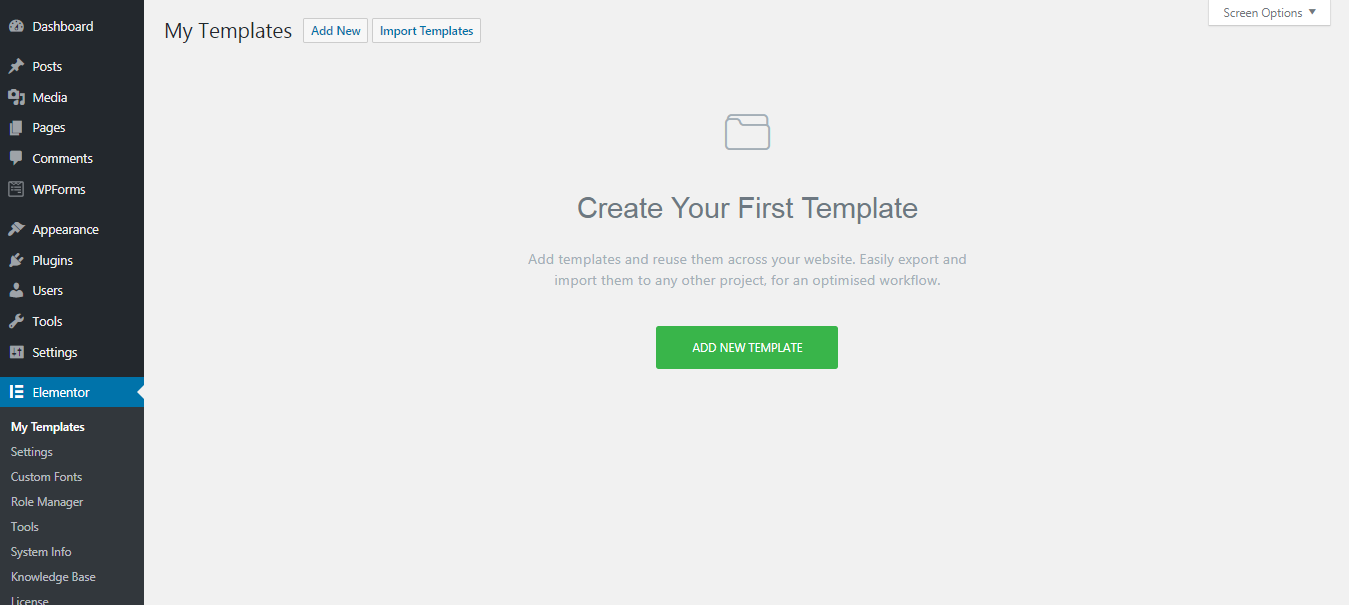
The process of creating a custom header starts with choosing a template. To create a new template, you’ll need to go to “Elementor” → “My Templates” → “Add New”.
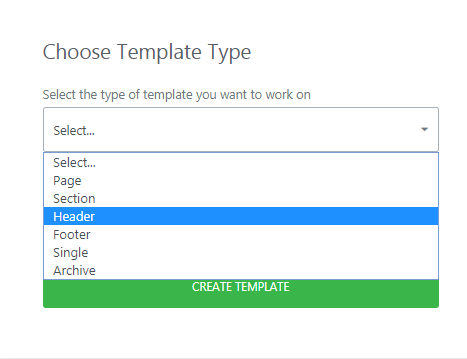
You’ll see a dialog box, “Choose Template Type”. Select “Header” from the list of options.
Once you choose a type of template, Elementor will display a list of blocks that fit that type of content. Blocks are predesigned layouts provided by Elementor. They save you time by proving common design patterns that you can modify to your own needs. Alternatively, you can create a template from scratch.
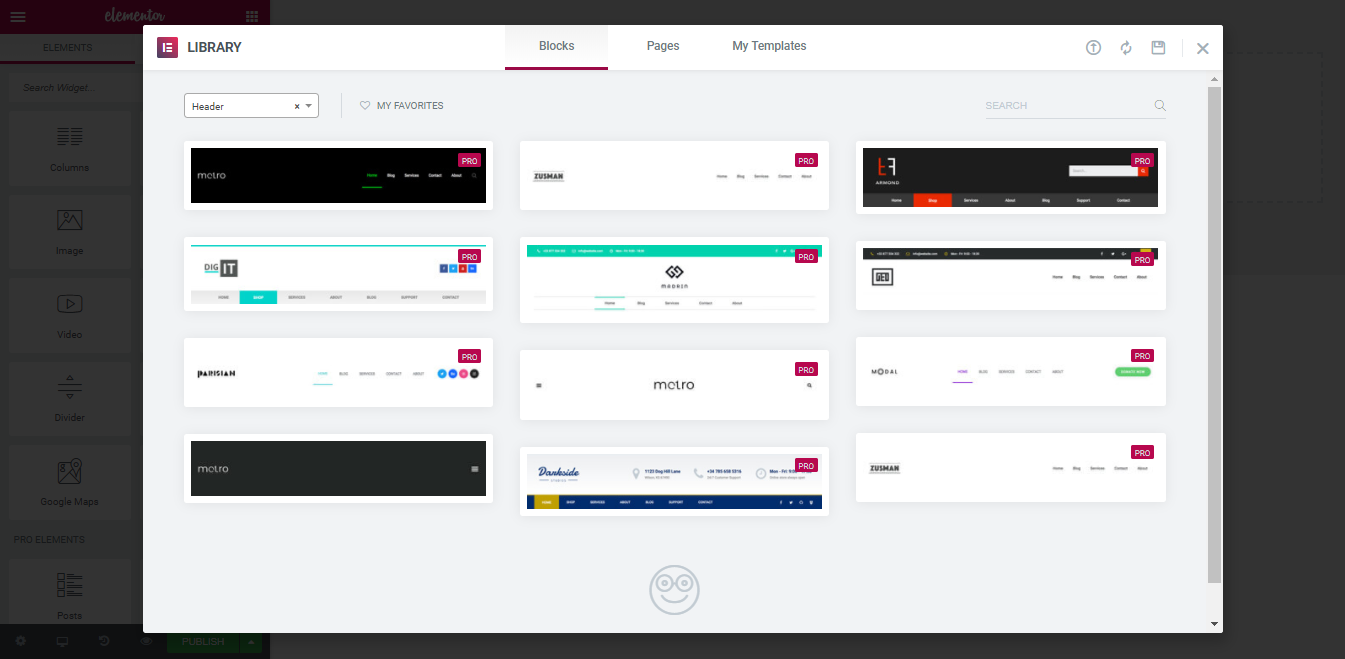
Let’s choose the first option from the list (“Metro”). You can see that the top area of the page layout has a new object — a newly created header.
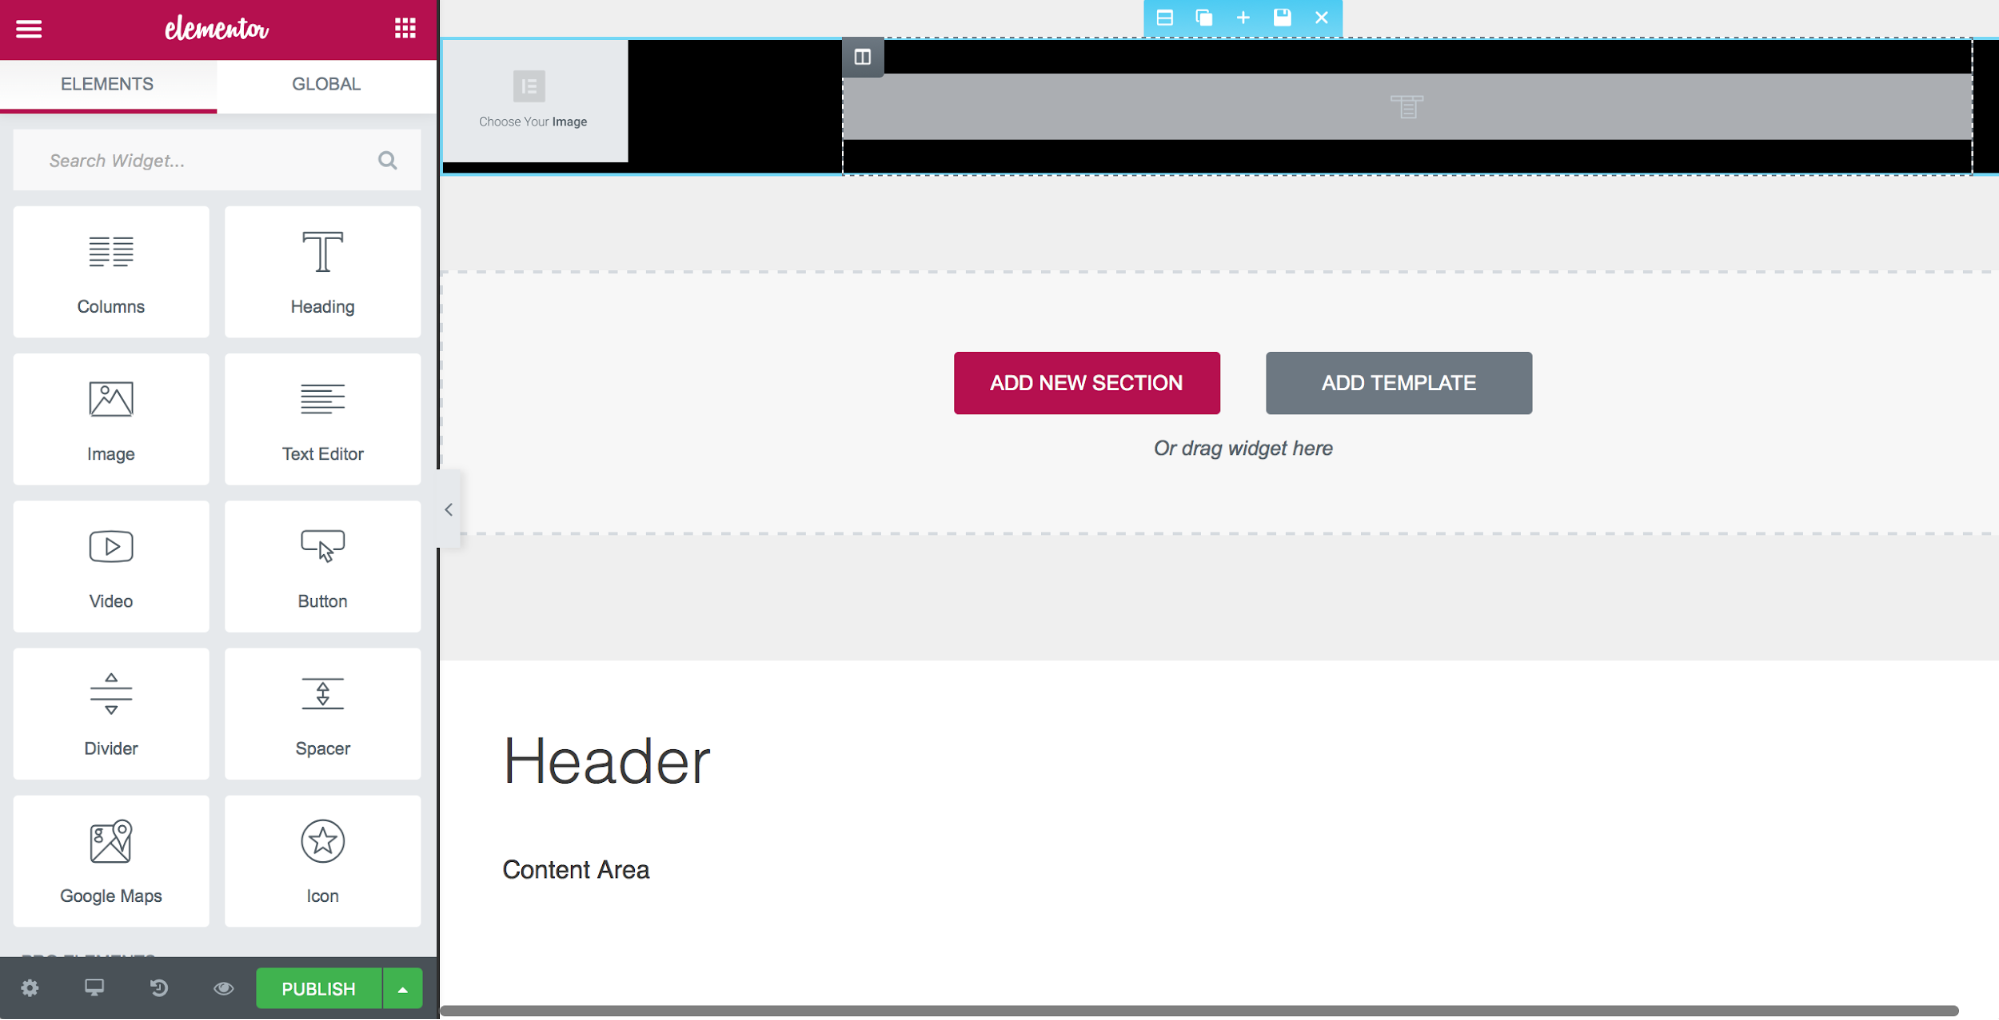
Now, you need to customize the header according to your needs. Let’s choose a logo and define a menu. Click on the placeholder “Choose Your Image”, and select the logo from the gallery. It’s worth mentioning that the template embeds your website’s logo. This is good because if you ever change that logo at the website level, the header will automatically be updated on all pages. Next, click on the menu placeholder and select the website’s main menu.
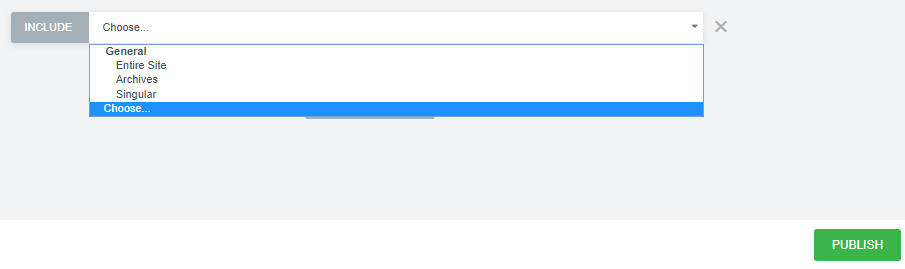
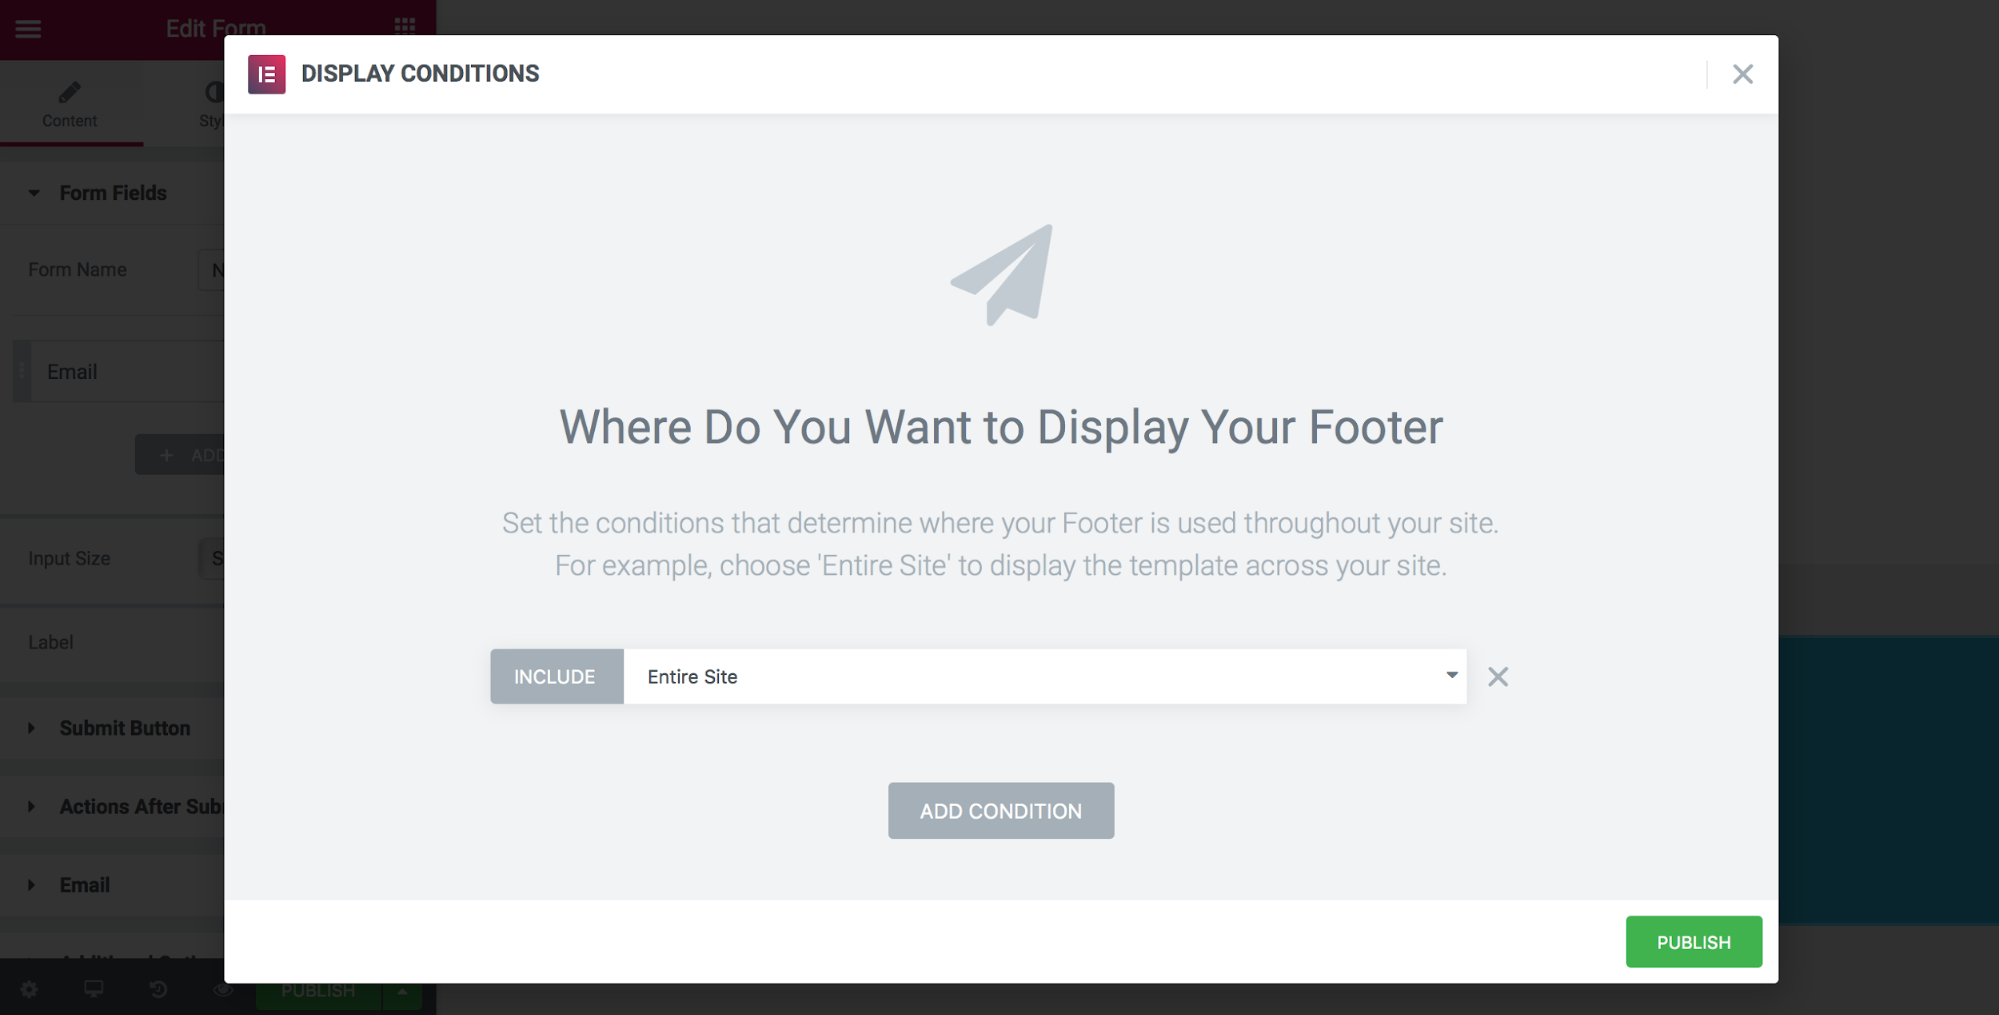
When the process of customization is finished, you need to implement the revised header on your website. Click the “Publish” button. The “Display Conditions” window will ask you to choose where to apply your template.
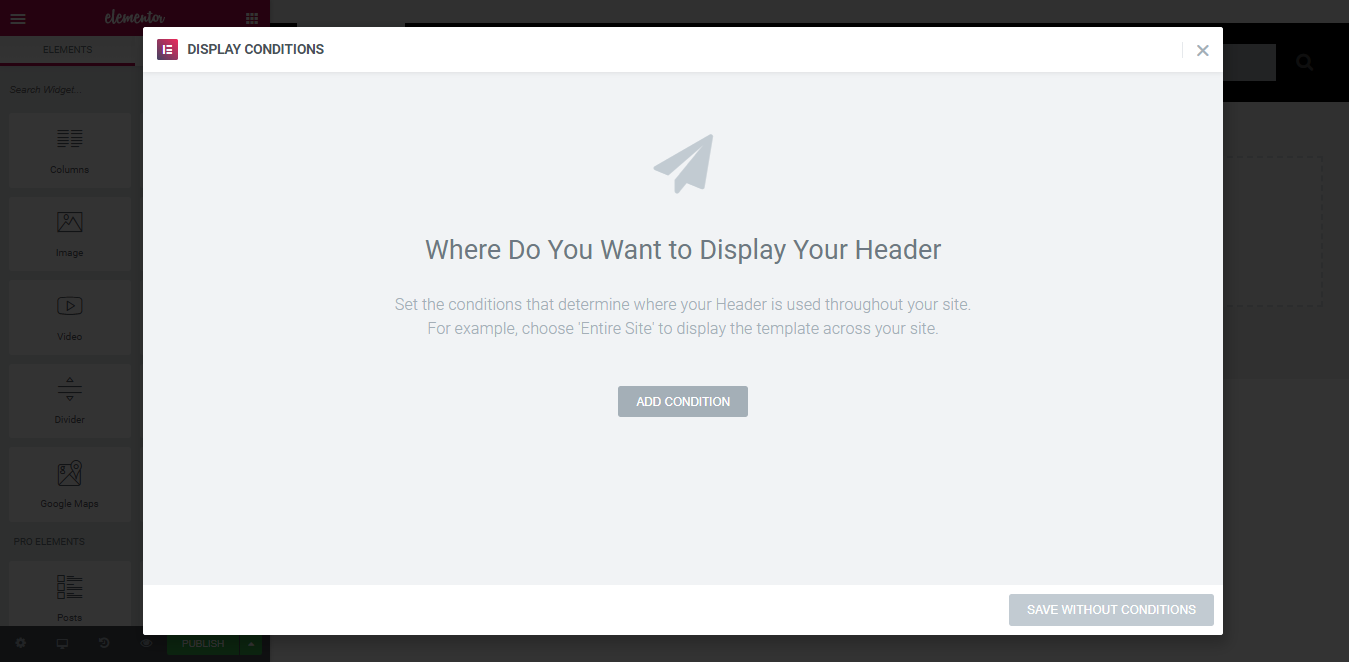
The conditions define which pages your template will be applied to. It’s possible to show the header on all pages, to show it only on certain pages or to exclude some pages from showing the header. The latter case is helpful if you don’t want to show the header on particular pages.
As soon as you publish your template, Elementor will recognize it as a header and will use it on your website.
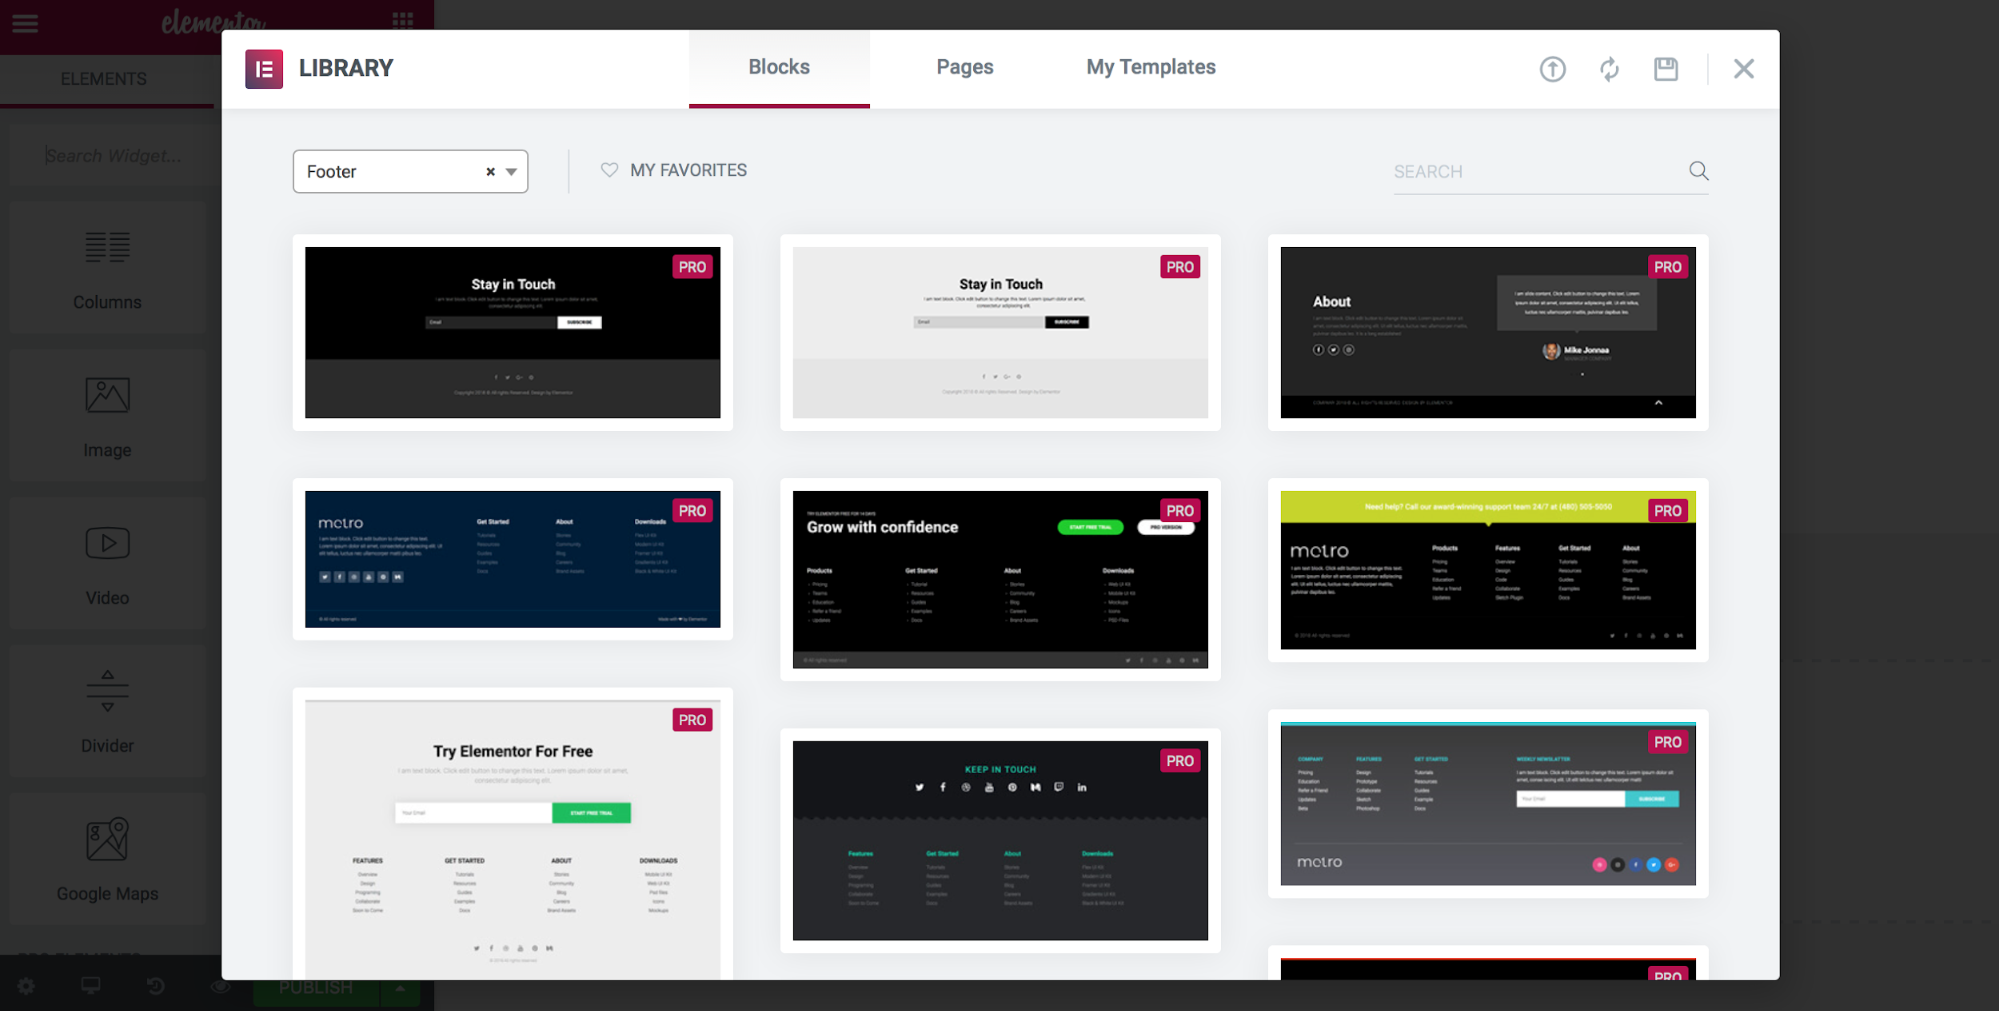
Now it’s time to create the footer for your website. The process is similar; the only difference is that this time you’ll need to choose the template named “Footer” and select the footer layout from the list of available blocks. Let’s pick the first option from the list (the one that says “Stay in Touch” on the dark background).
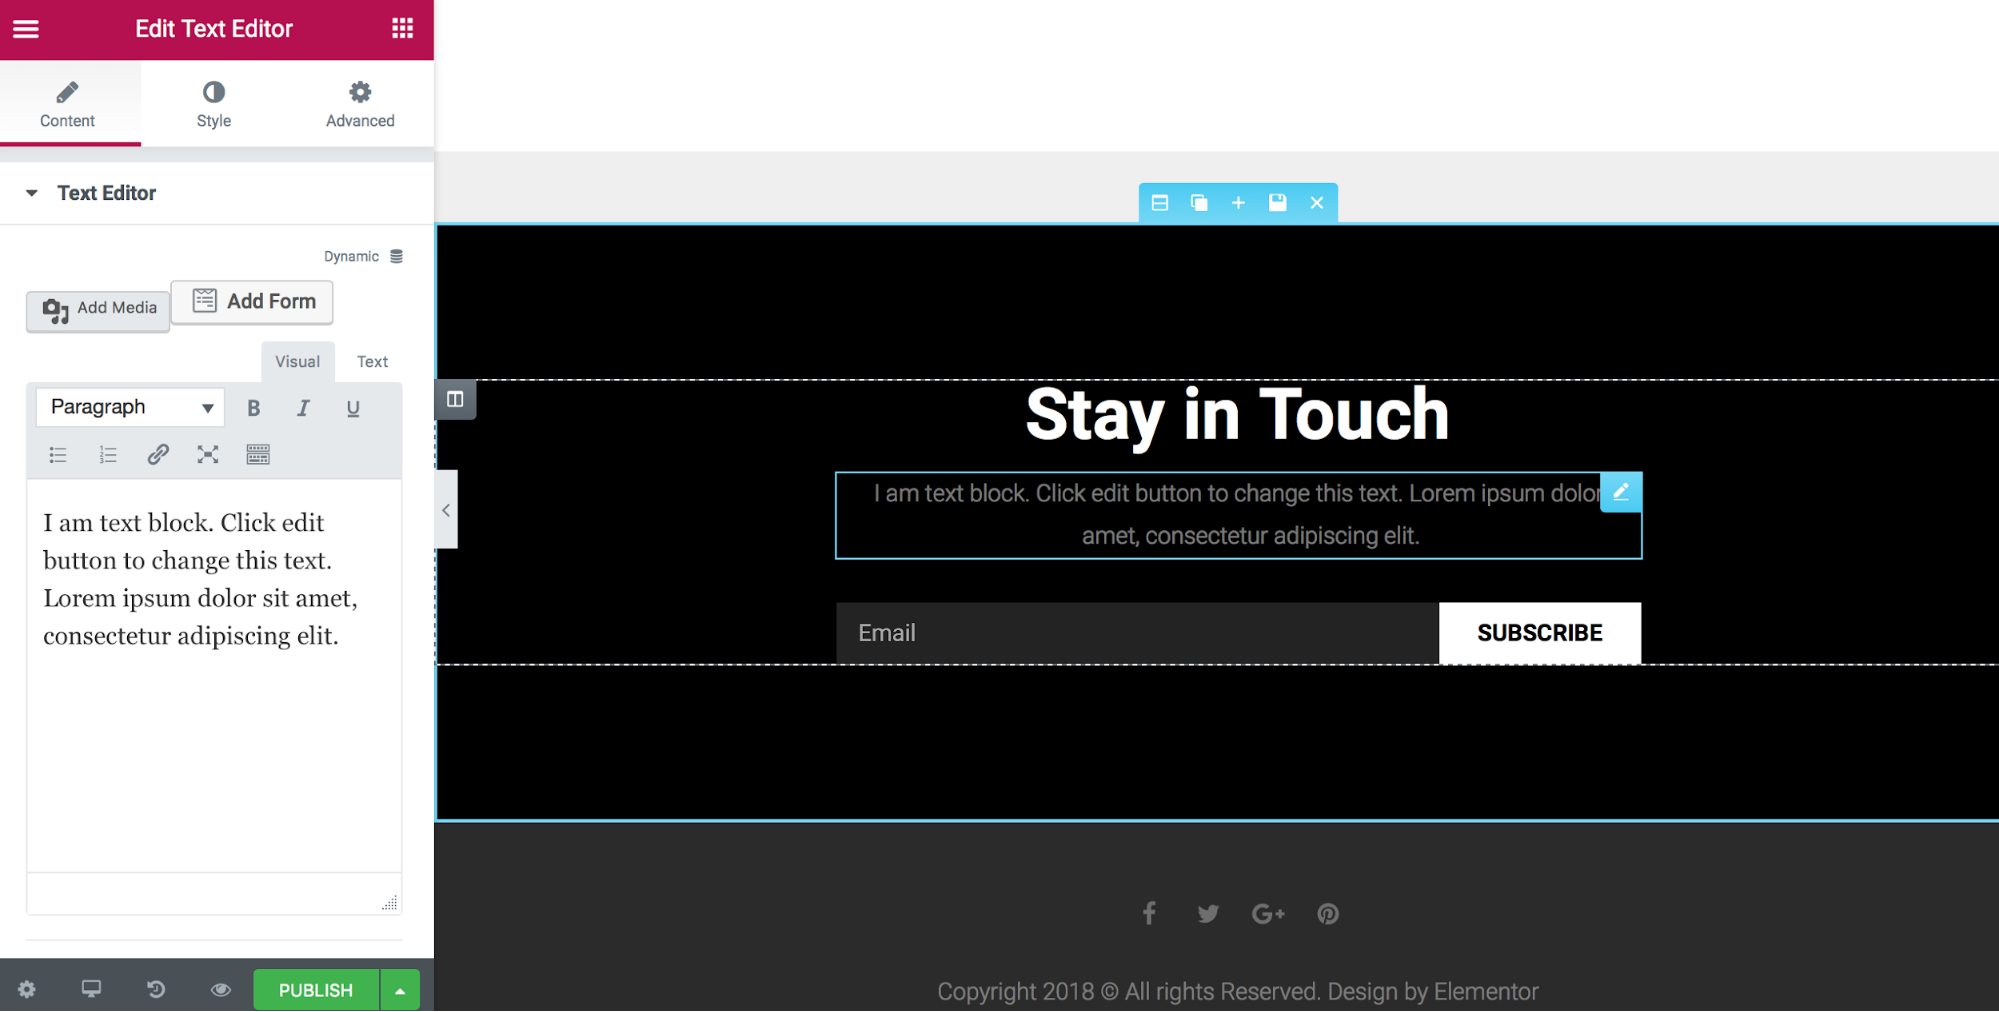
Next, we need to customize the footer. Change the color of the footer and the text label under the words “Stay in Touch”. Let’s reuse the color of the header for the footer. This will make the design more visually consistent.
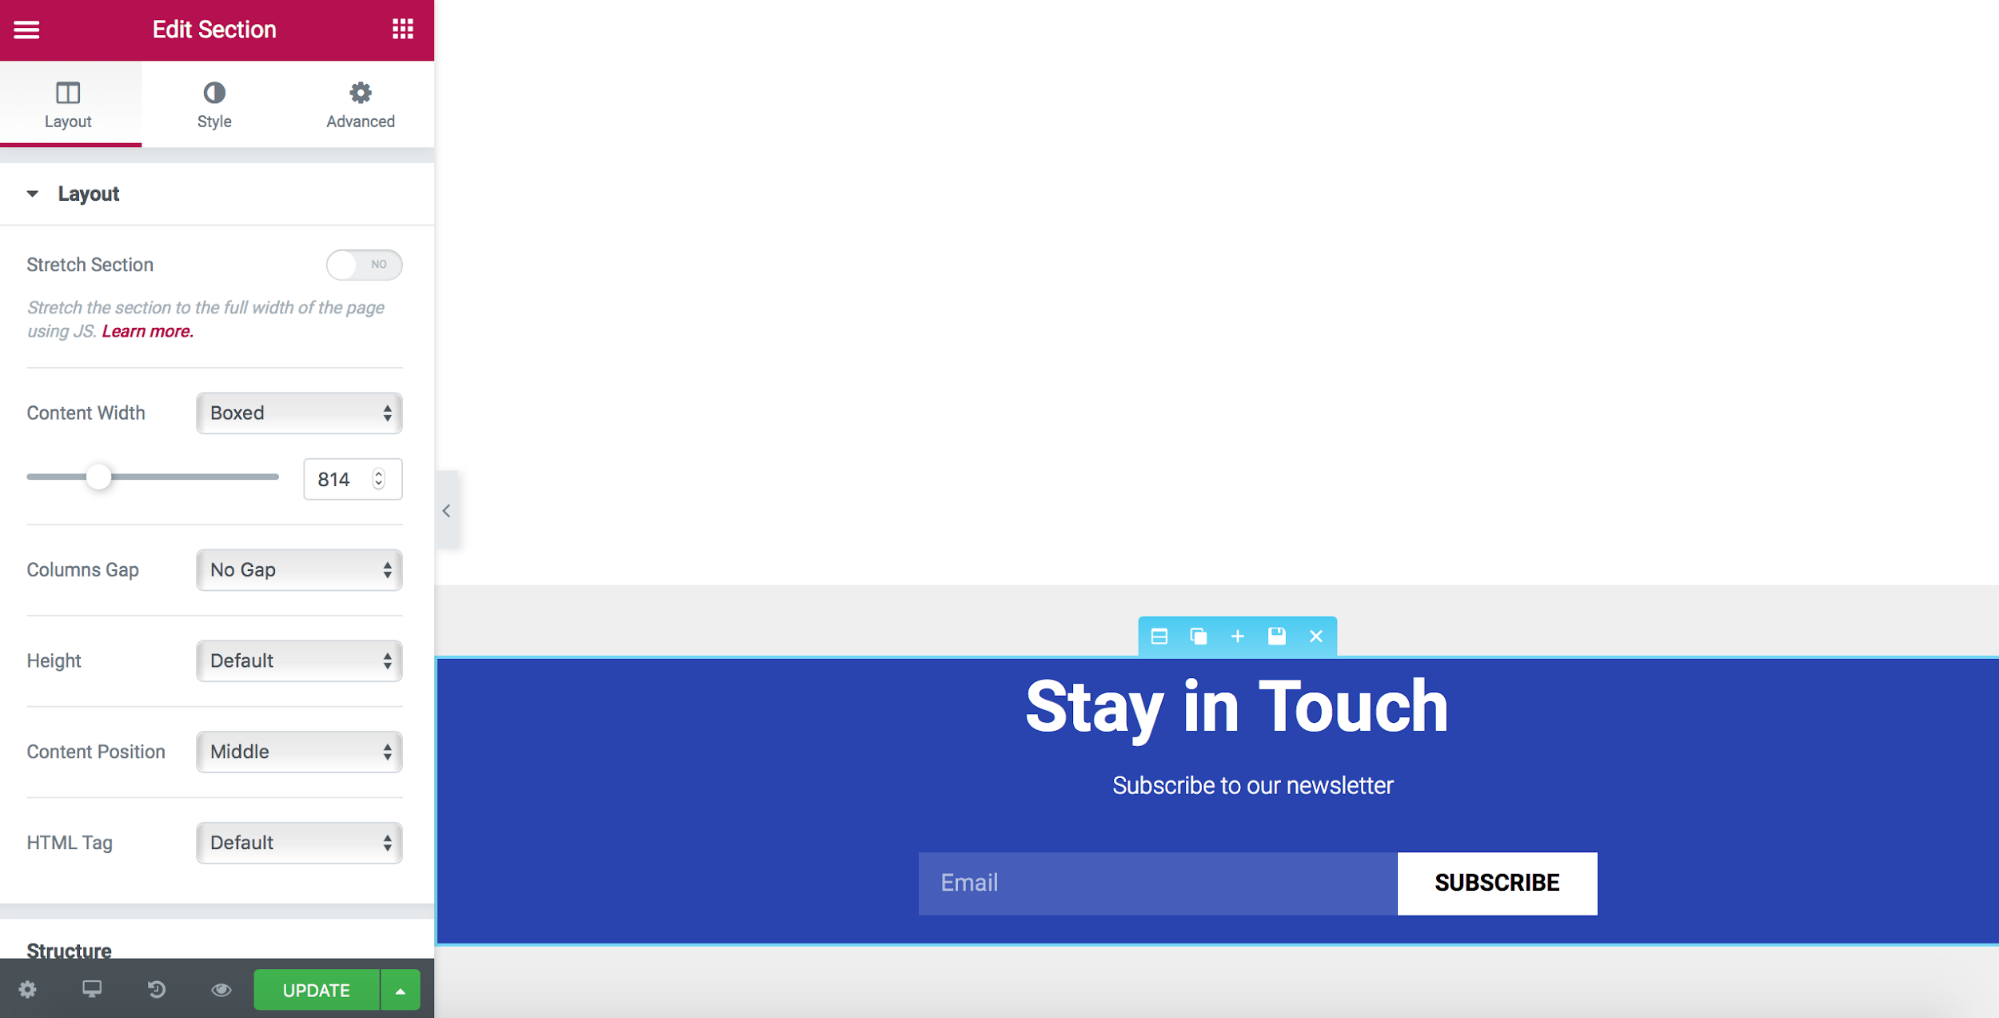
Finally, we need to choose display conditions. Similar to the header, we’ll choose to display the footer for the entire website.
That’s all! You just built a brand new header and footer for your website without writing a single line of code. The other great news is that you don’t have to worry about how your design will look on mobile. Elementor does that for you. UI elements such as the top-level menu will automatically become a hamburger for mobile users.
Single Post For Blog
Let’s design a blog page. Unlike static pages, such as “About us”, the blog has dynamic content. Elementor 2.0 allows you to build a framework for your content. So, each time you write a new blog post, your content will automatically be added to this design framework.
The process of creating a blog page starts with selecting a template. For a single blog post, choose the template type named “Single.” We have two options of blocks to choose from. Let’s choose the first one.
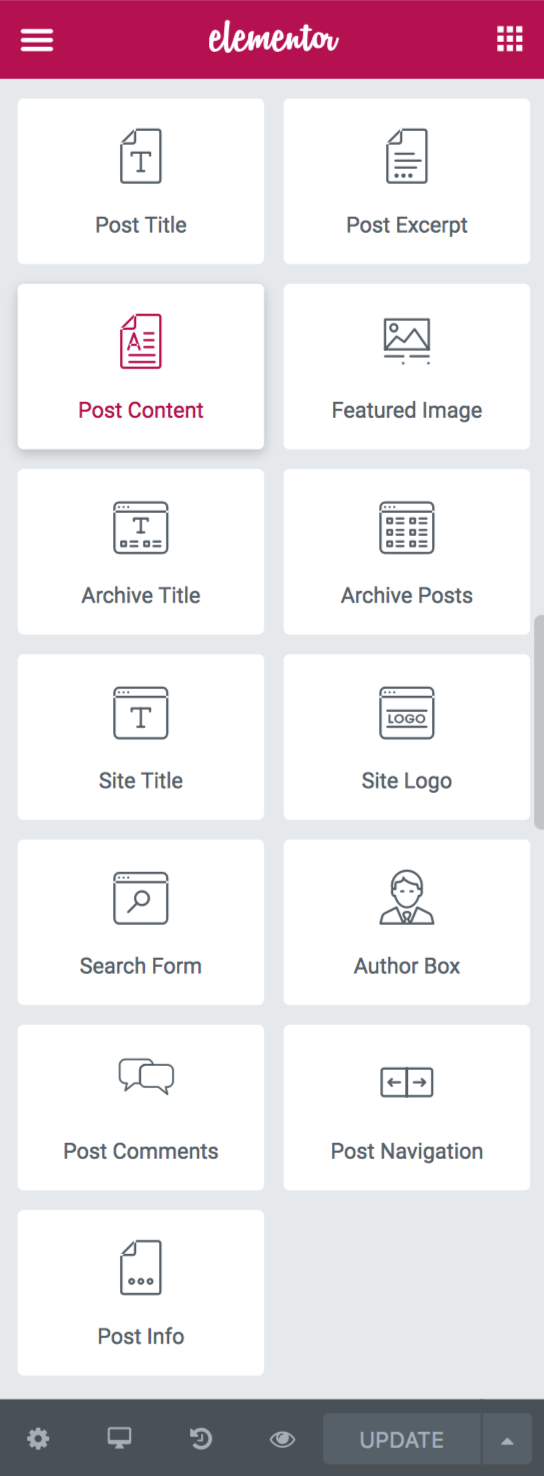
The block you selected has all of the required widgets, so you don’t need to change anything. But it’s relatively easy to adjust the template if needed. A single post is made of dynamic widgets such as the post title, post content, featured image, meta data and so on. Unlike static widgets that display content that you enter manually, dynamic widgets draw content from the current pages where they’re applied. These widgets are in the “Elements” panel, under the category “Theme Elements”.
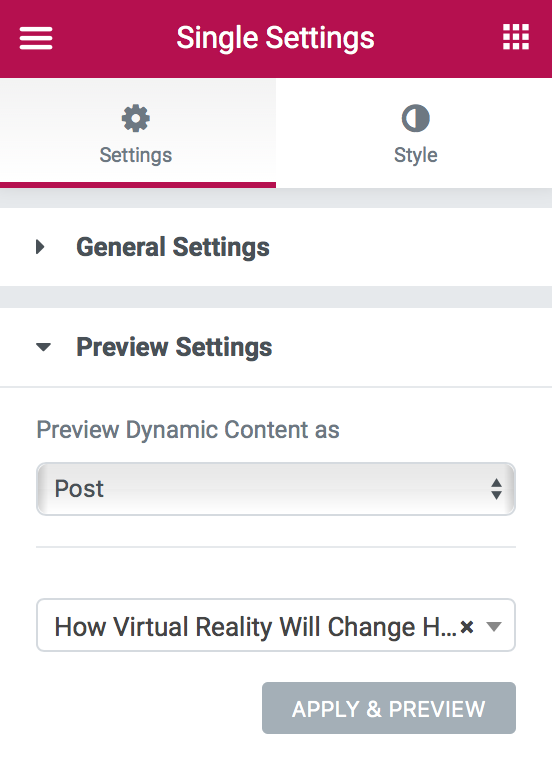
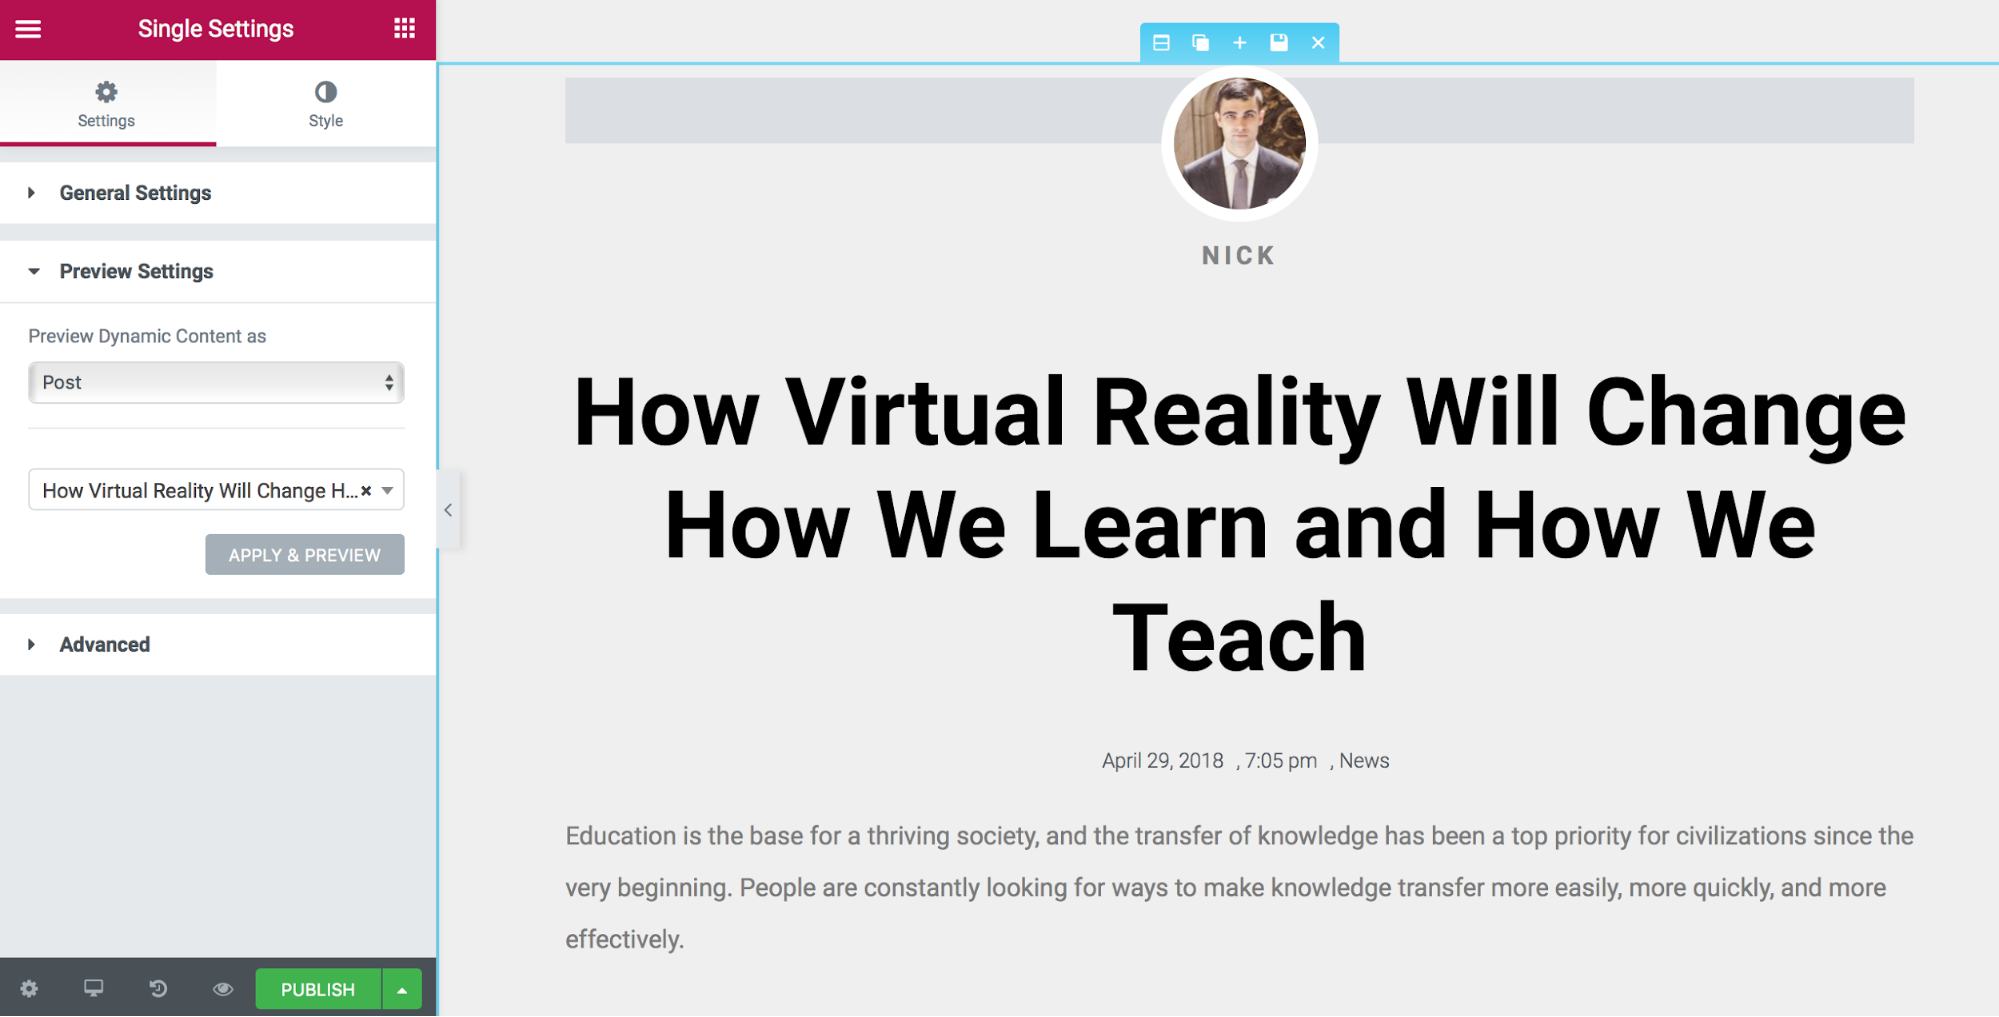
When you work on dynamic content like a single post, you’ll want to see how it looks on different posts. Elementor gives you a preview mode so you can know exactly what your blog will look like.
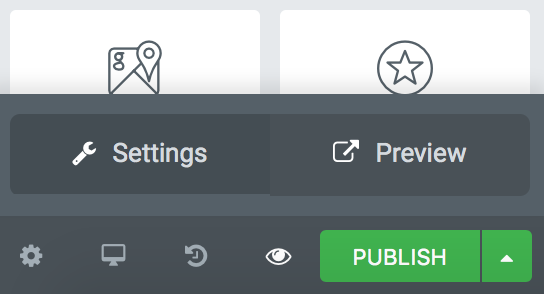
To go into preview mode, you need to click on the Preview icon (the eye icon in the bottom-left part of the layout), and then “Settings”.
To see what your page will look like when it’s be filled with content, simply choose a source of content (e.g. a post from the “News” category).
Once you’ve finished creating dynamic content, you’ll need to choose when the template will be applied. Click on “Publish” button, and you’ll see a dialog that allows you to define conditions.
Archive
The archive page is a page that shows an assortment of posts. Your archive page makes it easy for readers to see all of your content and to dive deeper into the website. It’s also a common place to show search results.
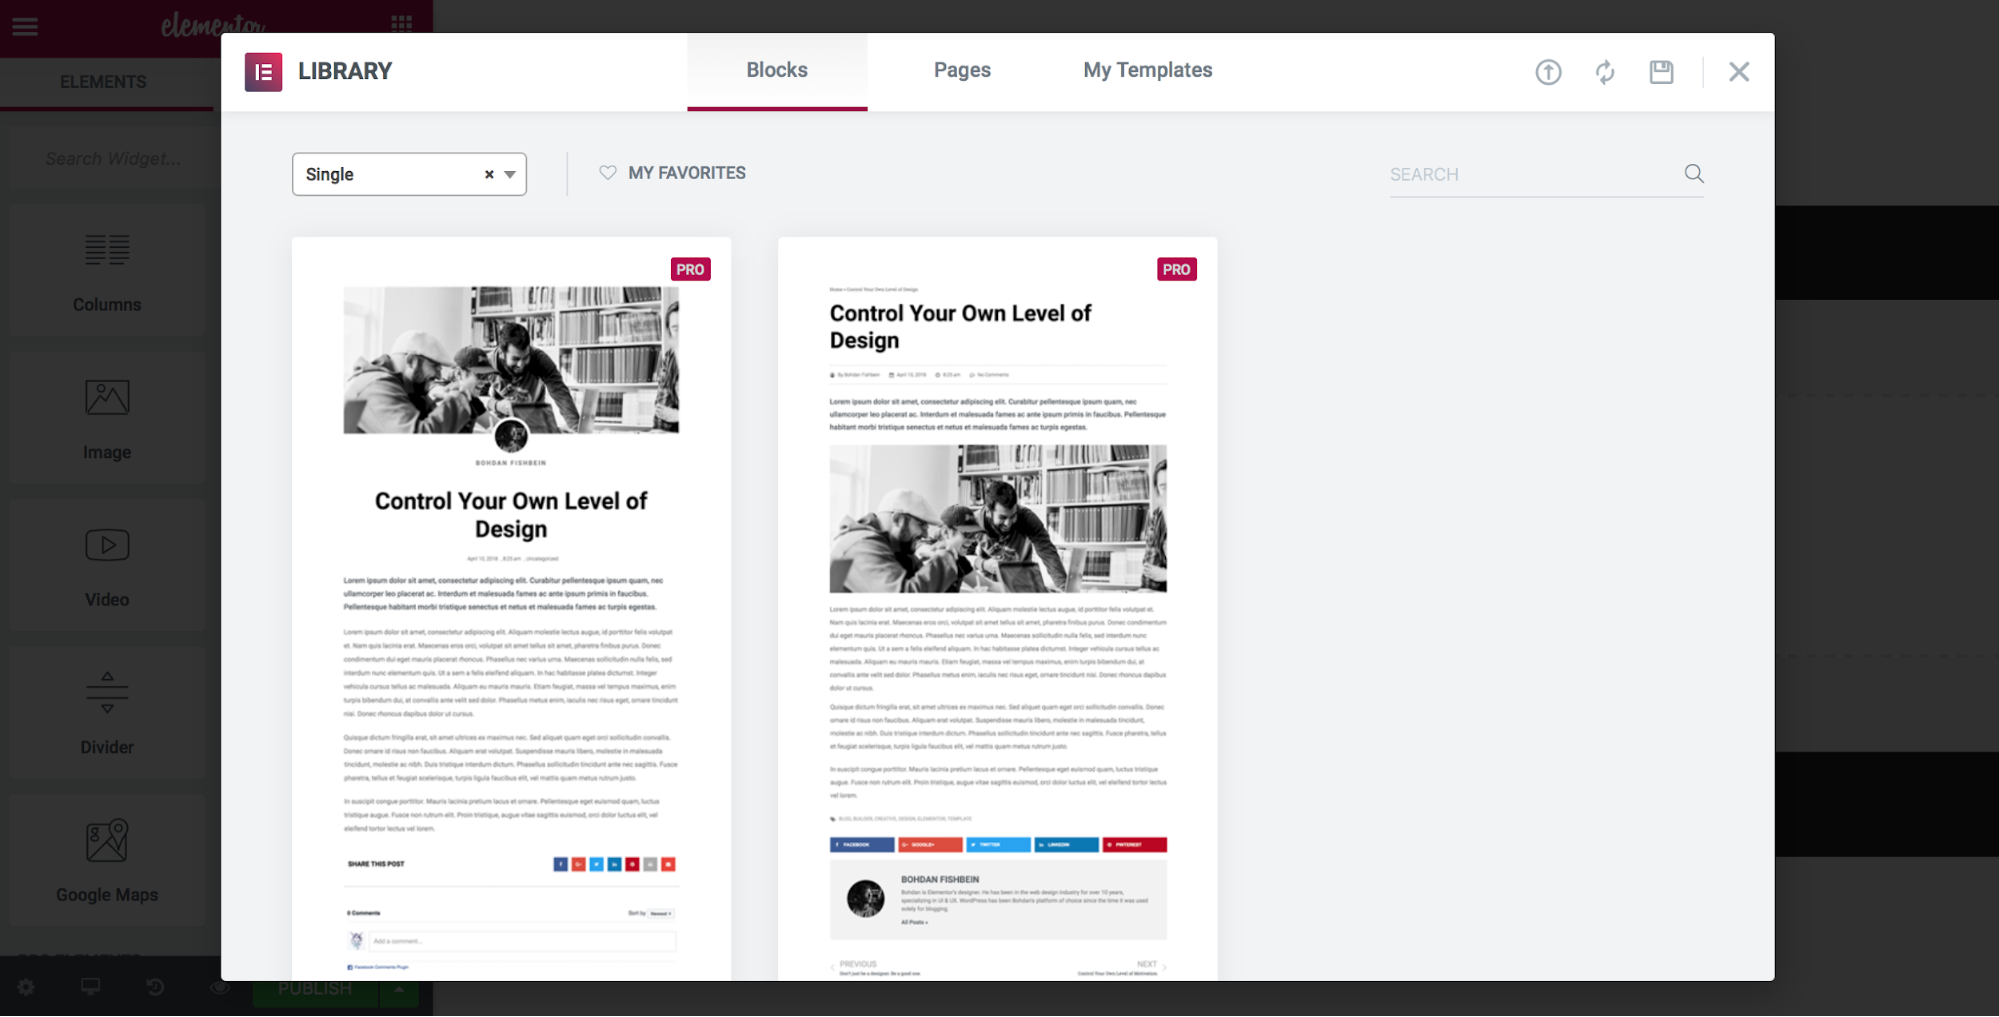
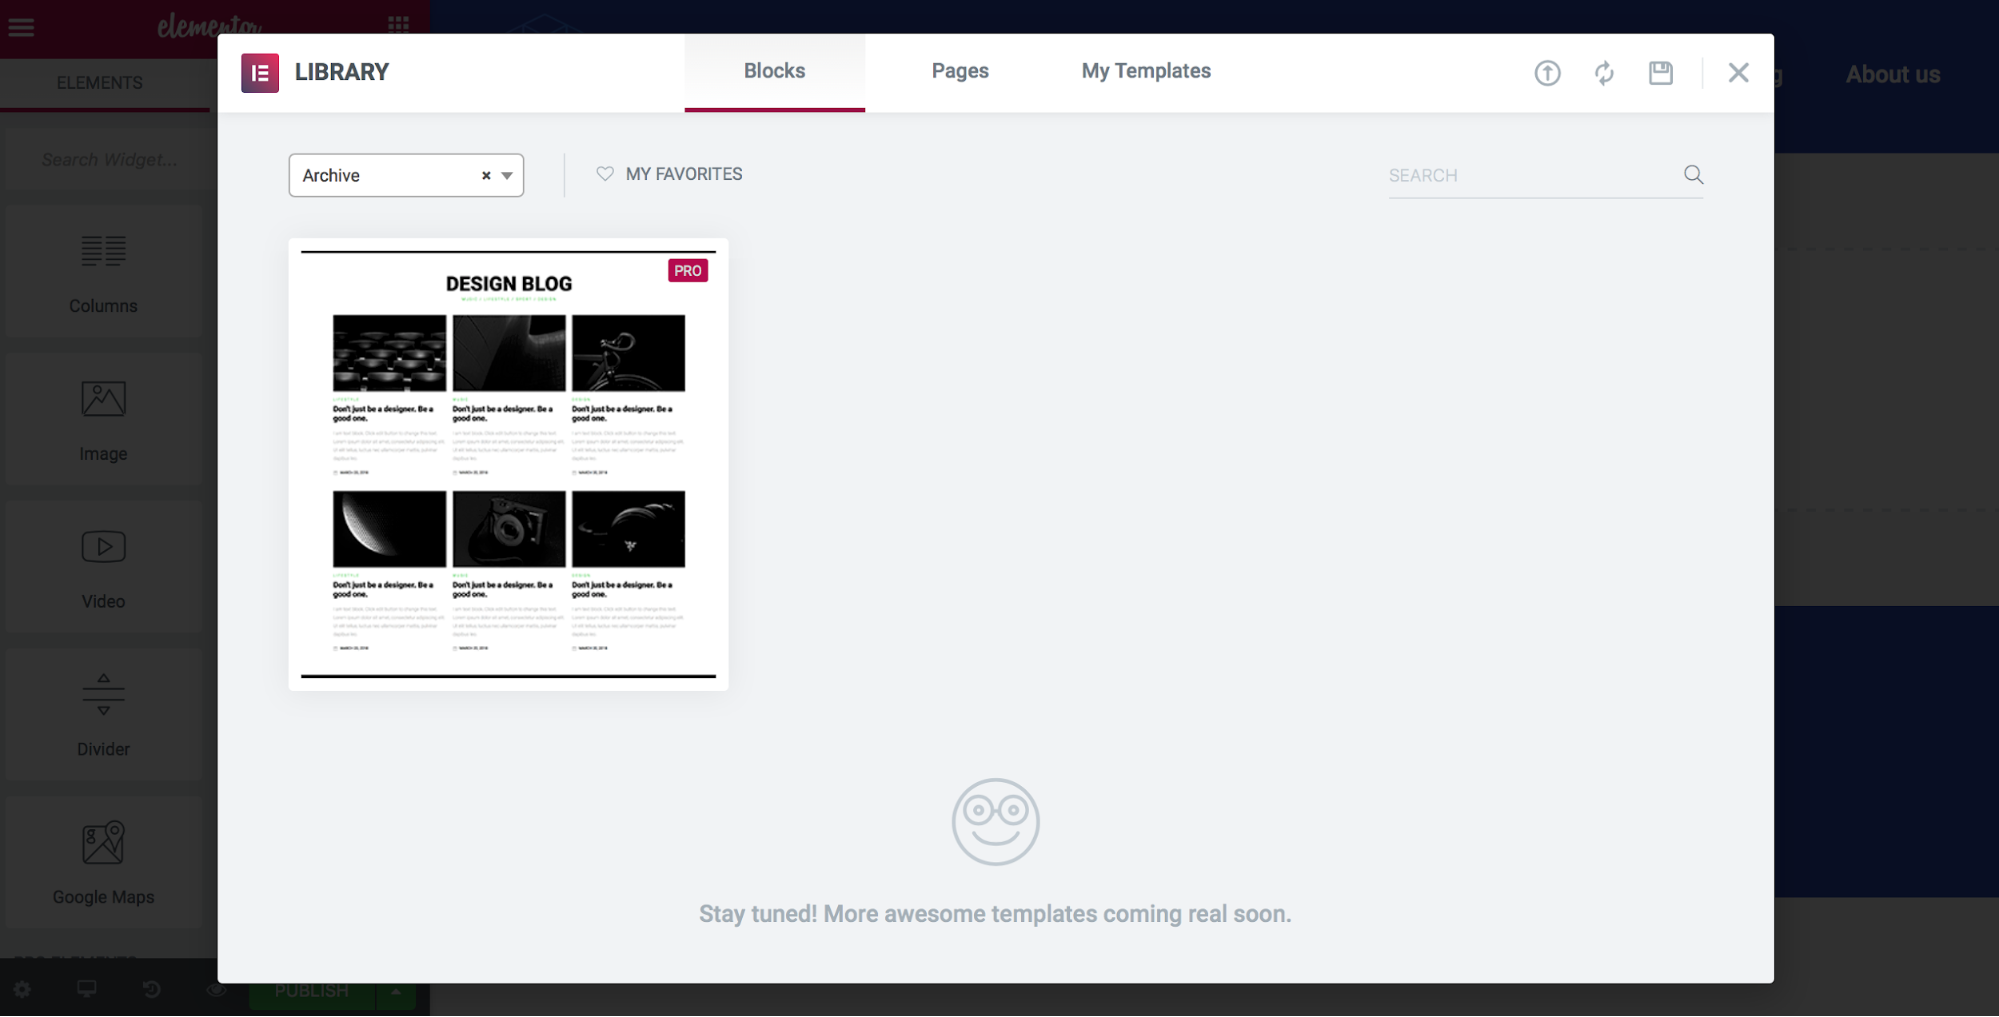
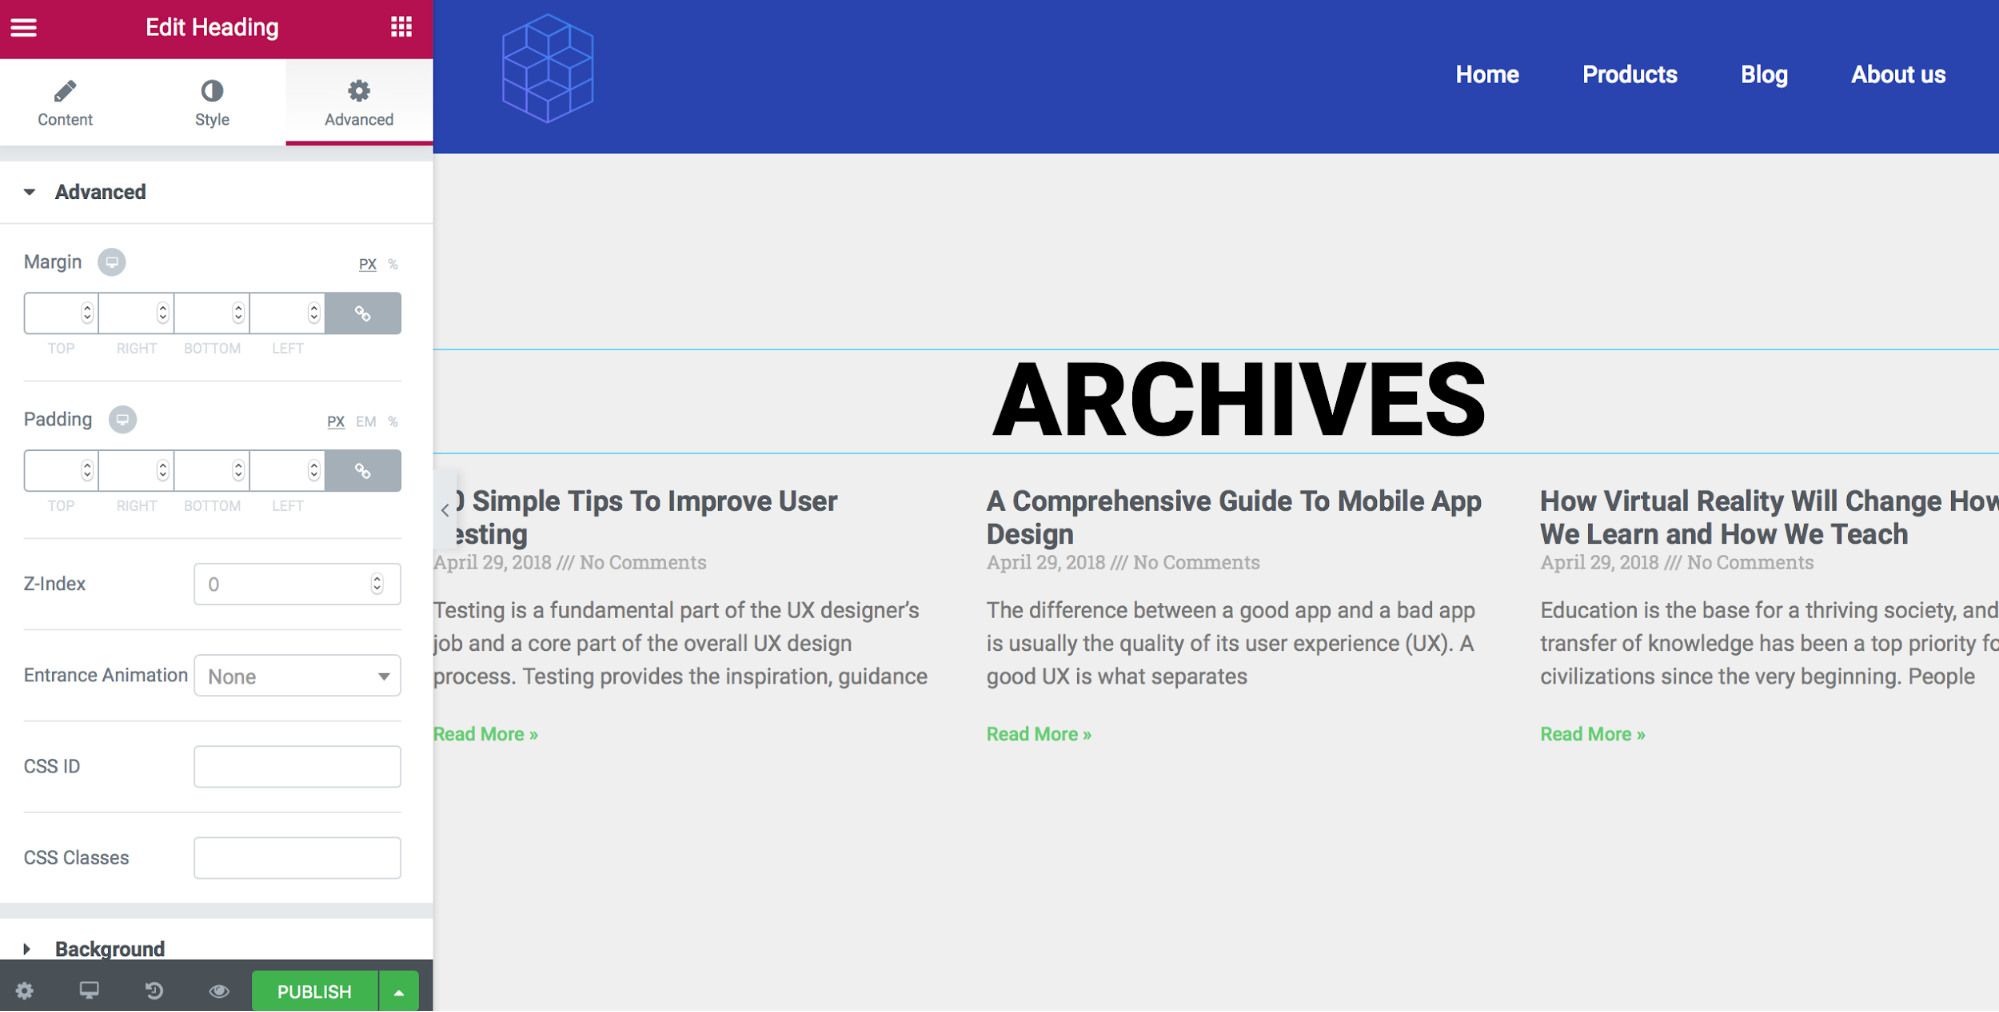
The Theme Builder enables you to build your own archive using a custom taxonomy. To create an archive page, you need to go through the usual steps: create a new template, and choose a block for it. For now, Elementor provides only one type of block for this type of template (you can see it in the image below).
After selecting this block, all you need to do is either set a source for your data or stick to the default selection. By default, the archive page shows all available blog posts. Let’s leave it as is.
As you can see, we’ve successfully customized the website’s header, footer, single post and archive page, without any roadblocks of coding.
What To Expect In The Near Future
Elementor is being actively developed, with new features and exciting enhancements released all the time. This means that the theme builder is only going to get better. The Elementor team plans to add integration for plugins such as WooCommerce, Advanced Custom Fields (ACF), and Toolset. The team also welcomes feedback from developers. So, if you have a feature that you would like to have in Elementor, feel free to reach out to the Elementor team and suggest it.
Conclusion
When WordPress was released 15 years ago, the idea behind it was to save valuable time for developers and to make the process of content management as easy as possible. Today, it is widely regarded as a developer-friendly tool. Elementor is no different. The tool now offers never-before-seen flexibility to visually design an entire website. Don’t believe me? Try it for yourself! Explore Elementor Pro today.
Further Reading
- How To Host A WordPress Site On Amazon Lightsail
- WordPress Playground: From 5-Minute Install To Instant Spin-Up
- Useful Figma Plugins And Tools
- How To Prevent Common WordPress Theme Mistakes


