How To Speed Up The Wireframing Process With Photoshop And Adobe XD

Email Newsletter
Weekly tips on front-end & UX.
Trusted by 182,000+ folks.
(This article is kindly sponsored by Adobe.) Before starting any design project, there is one word that is sure follow you from the very beginning: wireframing. Today, we will learn how to create a wireframe in Adobe XD and how to implement some graphics from Photoshop just by using libraries.
But first, what exactly is a wireframe?
A wireframe is a visual representation of your project’s structure. It defines the bones, the elements that will work in your layout, and the placement of the content for your prototype.
The great thing about wireframing is that it’s a combination of simple elements that make you concentrate on your project’s functionality. In this stage, you can draw without thinking too much about the style and design.
You just have to figure out what your project targets are and how to develop them through wireframing by using simple elements. As you move further through wireframing, you develop the best solutions as team component make comments and suggestions about your sketch.
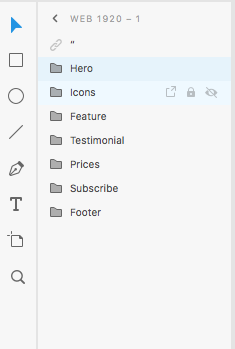
The first step is to create a project and name it “sections”, then make a list of “elements” you need to complete the different steps, up to the creation of the final “architecture.”
Creating a wireframe “by hand” first makes a lot of sense. It helps you develop the entire idea on paper (without digital limits), and also lets your concepts flow easily. For those of you who work in a team, working with paper doesn’t seem the best approach if you want to share your notions with everyone involved in the project — especially if you work with your team online.
In this tutorial, we will cover the following steps:
- Create a wireframe, select, and insert PS assets through libraries;
- Update PS files and see the results in Adobe XD.
We will create a set of objects to use in our wireframe. We will put them aside in our assets as we had an extra panel from where we can take our tools.
Once you’ve done with it, you can save it and re-use for future projects, by using the same elements again and adding some more objects as well.
You will need these Photoshop elements I prepared to use in our wireframe.
Here’s what we will create:

1 . Create A Wireframe And Select And Insert PS Assets Through Libraries
The best place to begin developing a wireframe from scratch is to draw it by hand first.
In this project, I want to create a landing page for an online course site. I know I need to communicate essential information in it. It doesn’t have to be perfect the first time out, but in the end, its effectiveness is very much dependent on how I organized the wireframe and how closely it aligns with the initial purpose.
First Step: Here are my own hand-drawn wireframes.
As you can see, there is not much information on them. The first intention is just to show how the layout will be composed and which elements are to be considered. Clean and simple.
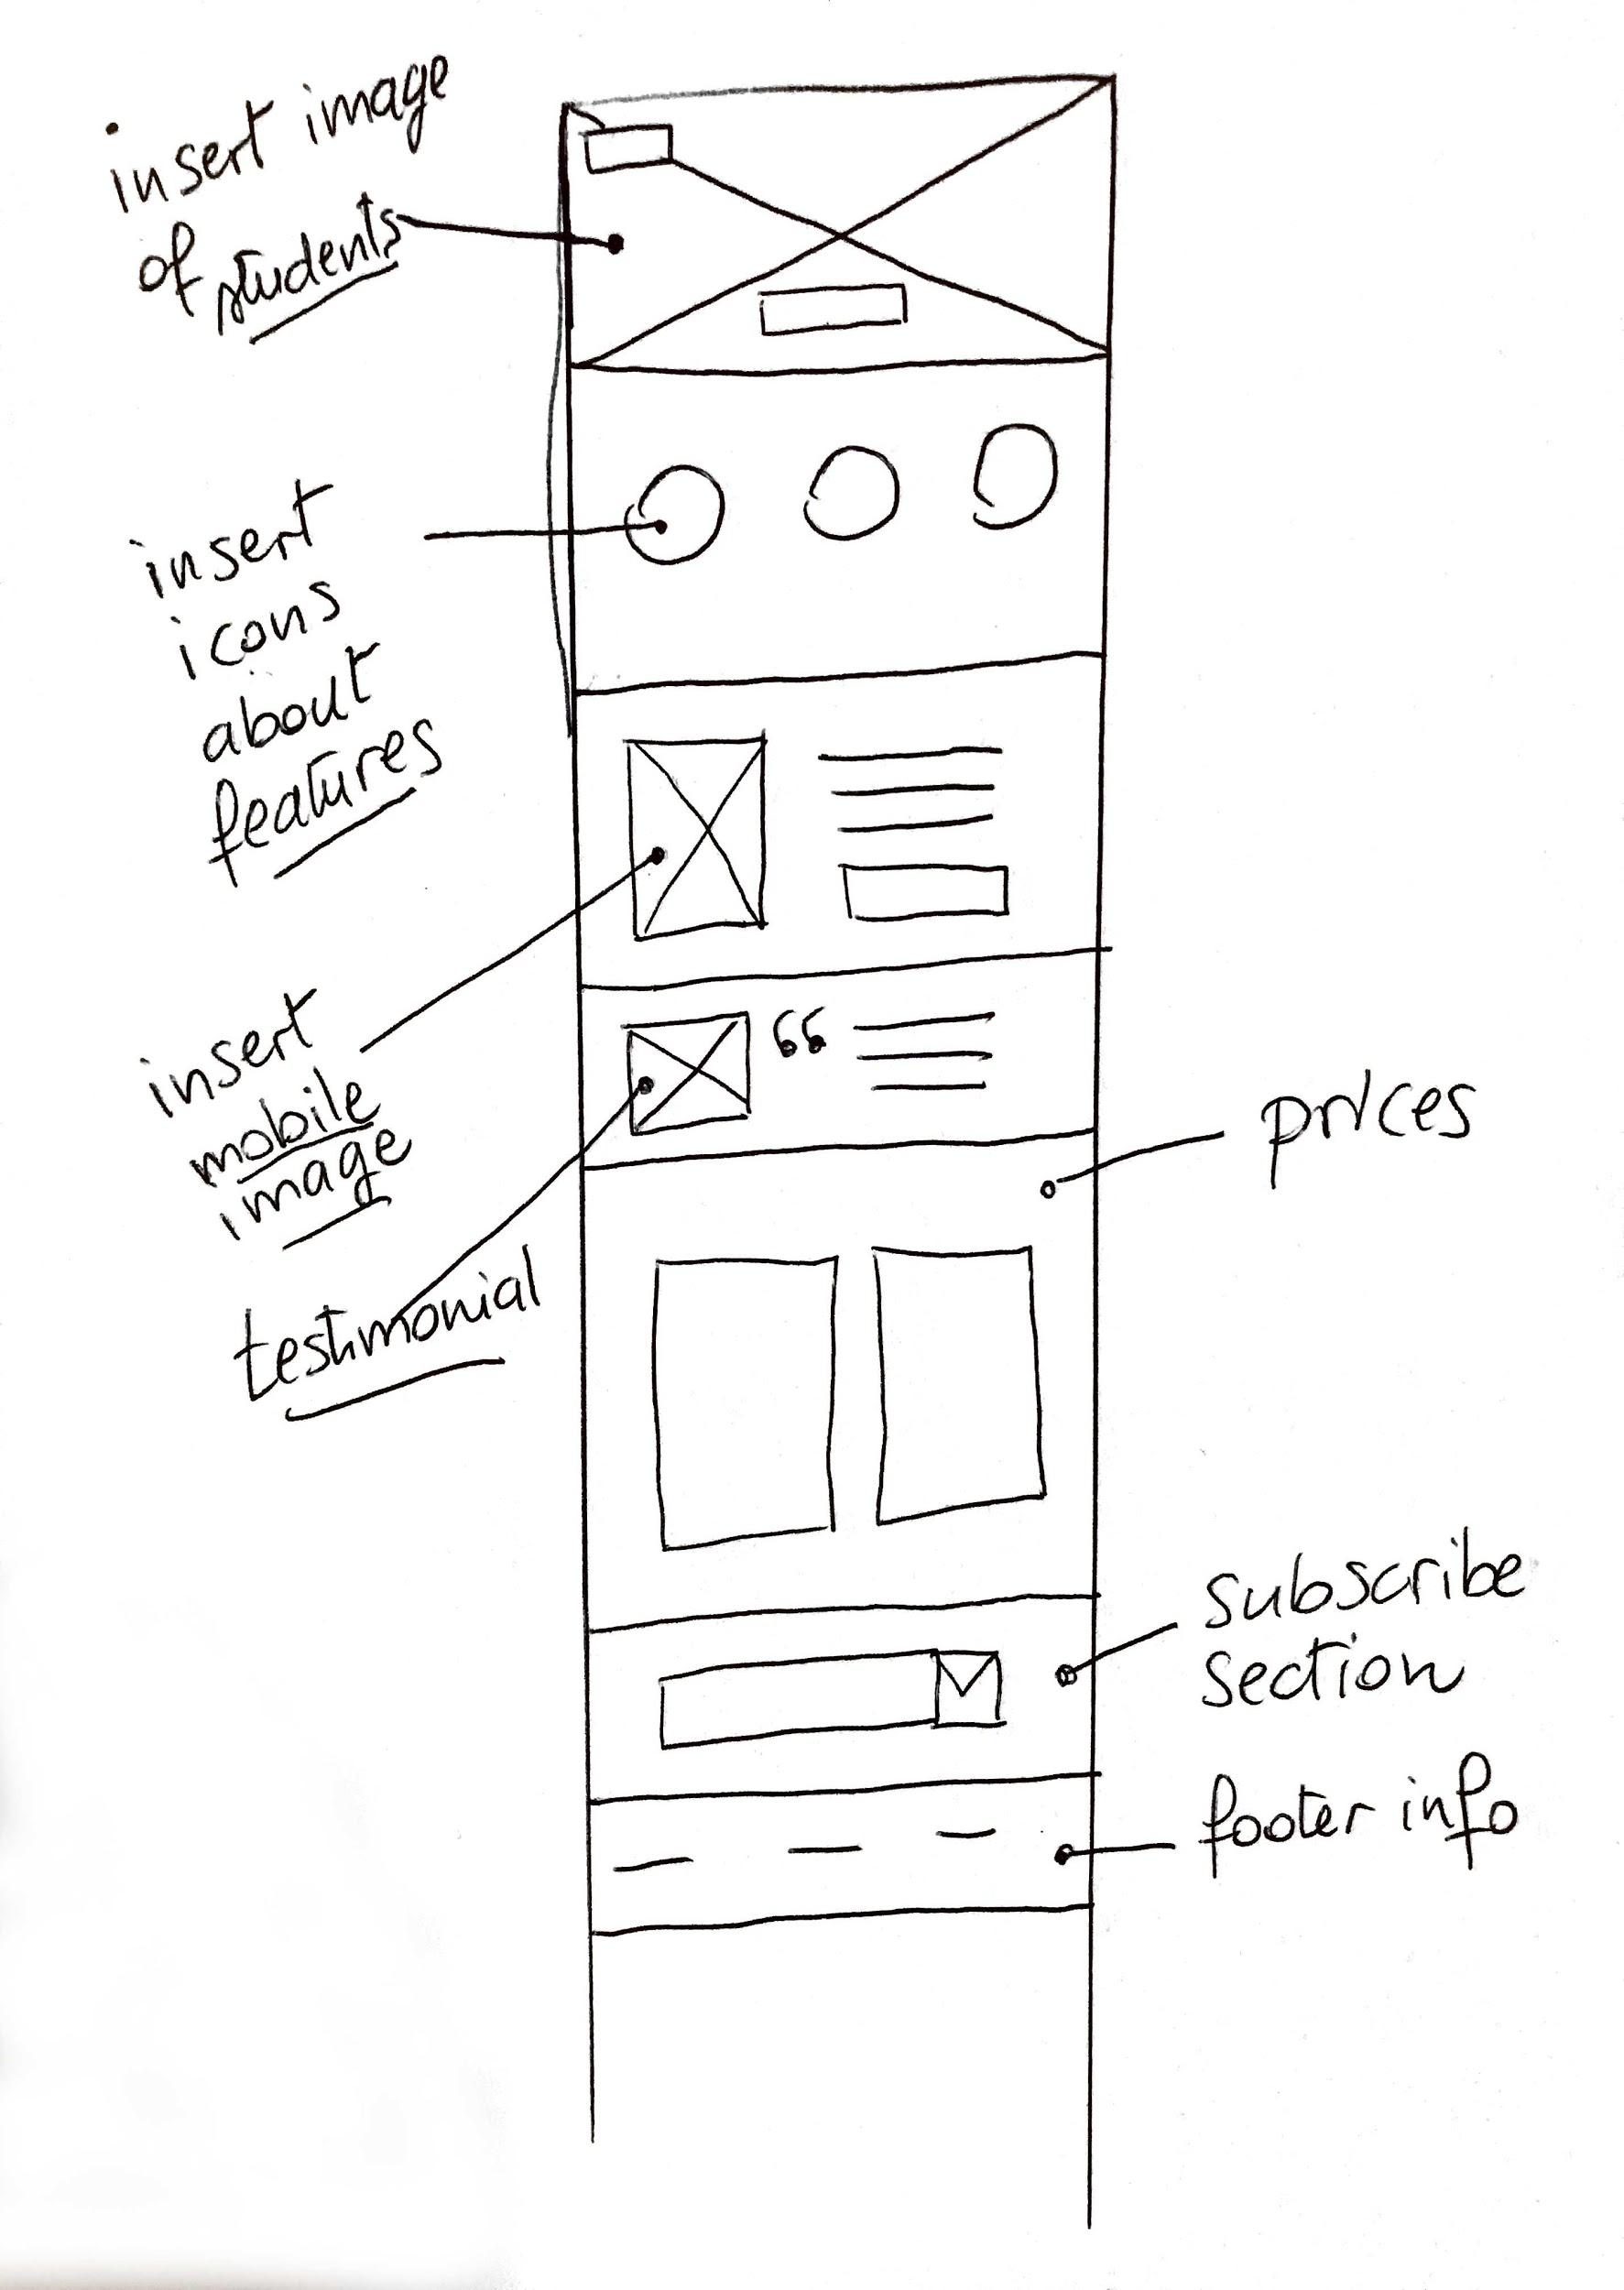
Second Step: Re-submit the wireframe in a smaller size and with some margin notes which I use to explain the elements and their use:
Third Step: Let’s begin to create our digital wireframe with Adobe XD.
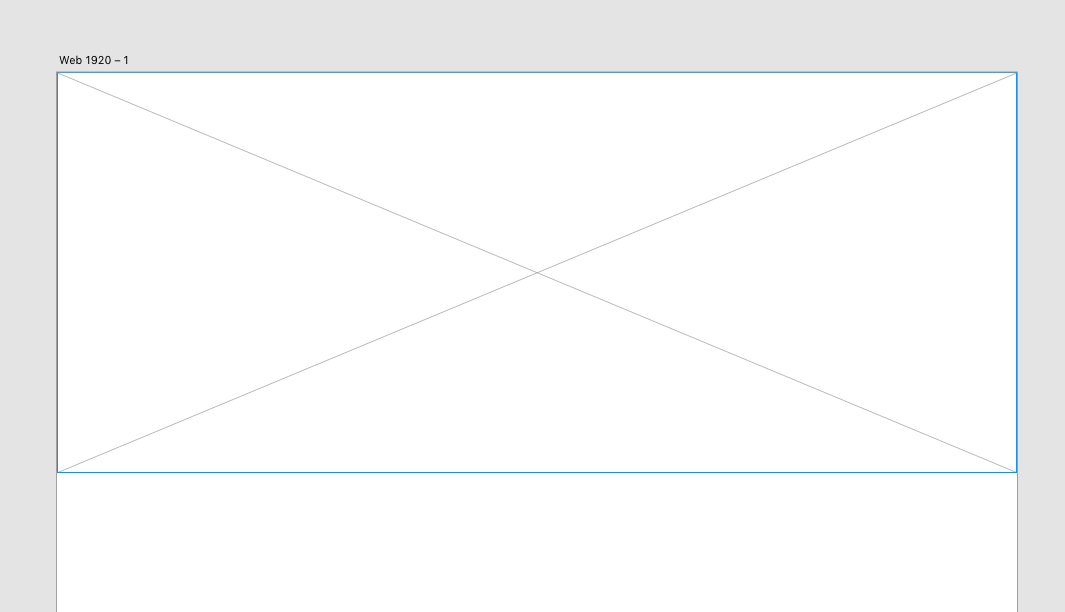
Open Adobe XD and choose “Web 1920” from the open window.
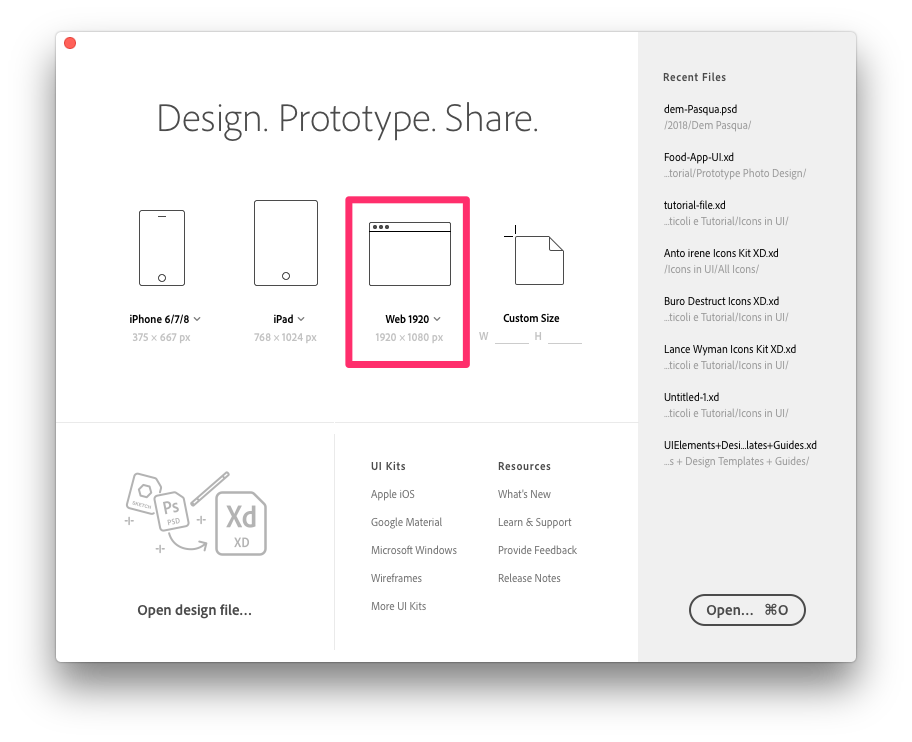
Save your project as “Wireframe” by selecting File → Save as.
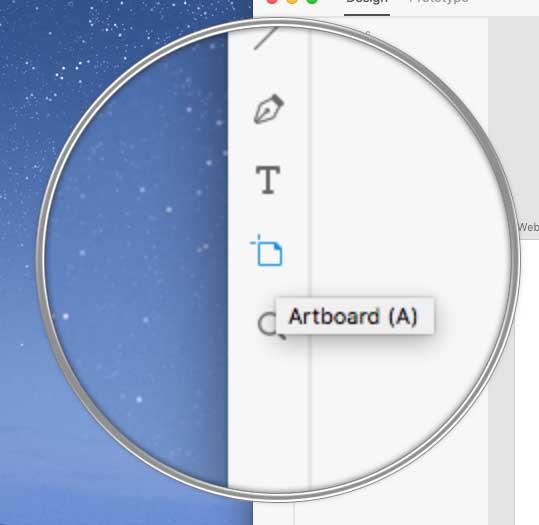
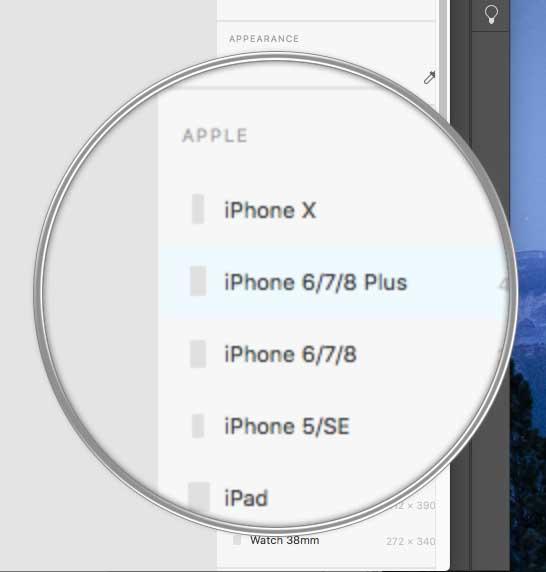
Once your file is saved, create another artboard for iPhone 6⁄7 Plus as well.
Click on the A (Artboard) button on the left side, and choose “iPhone 6/7/8” in the right sidebar.
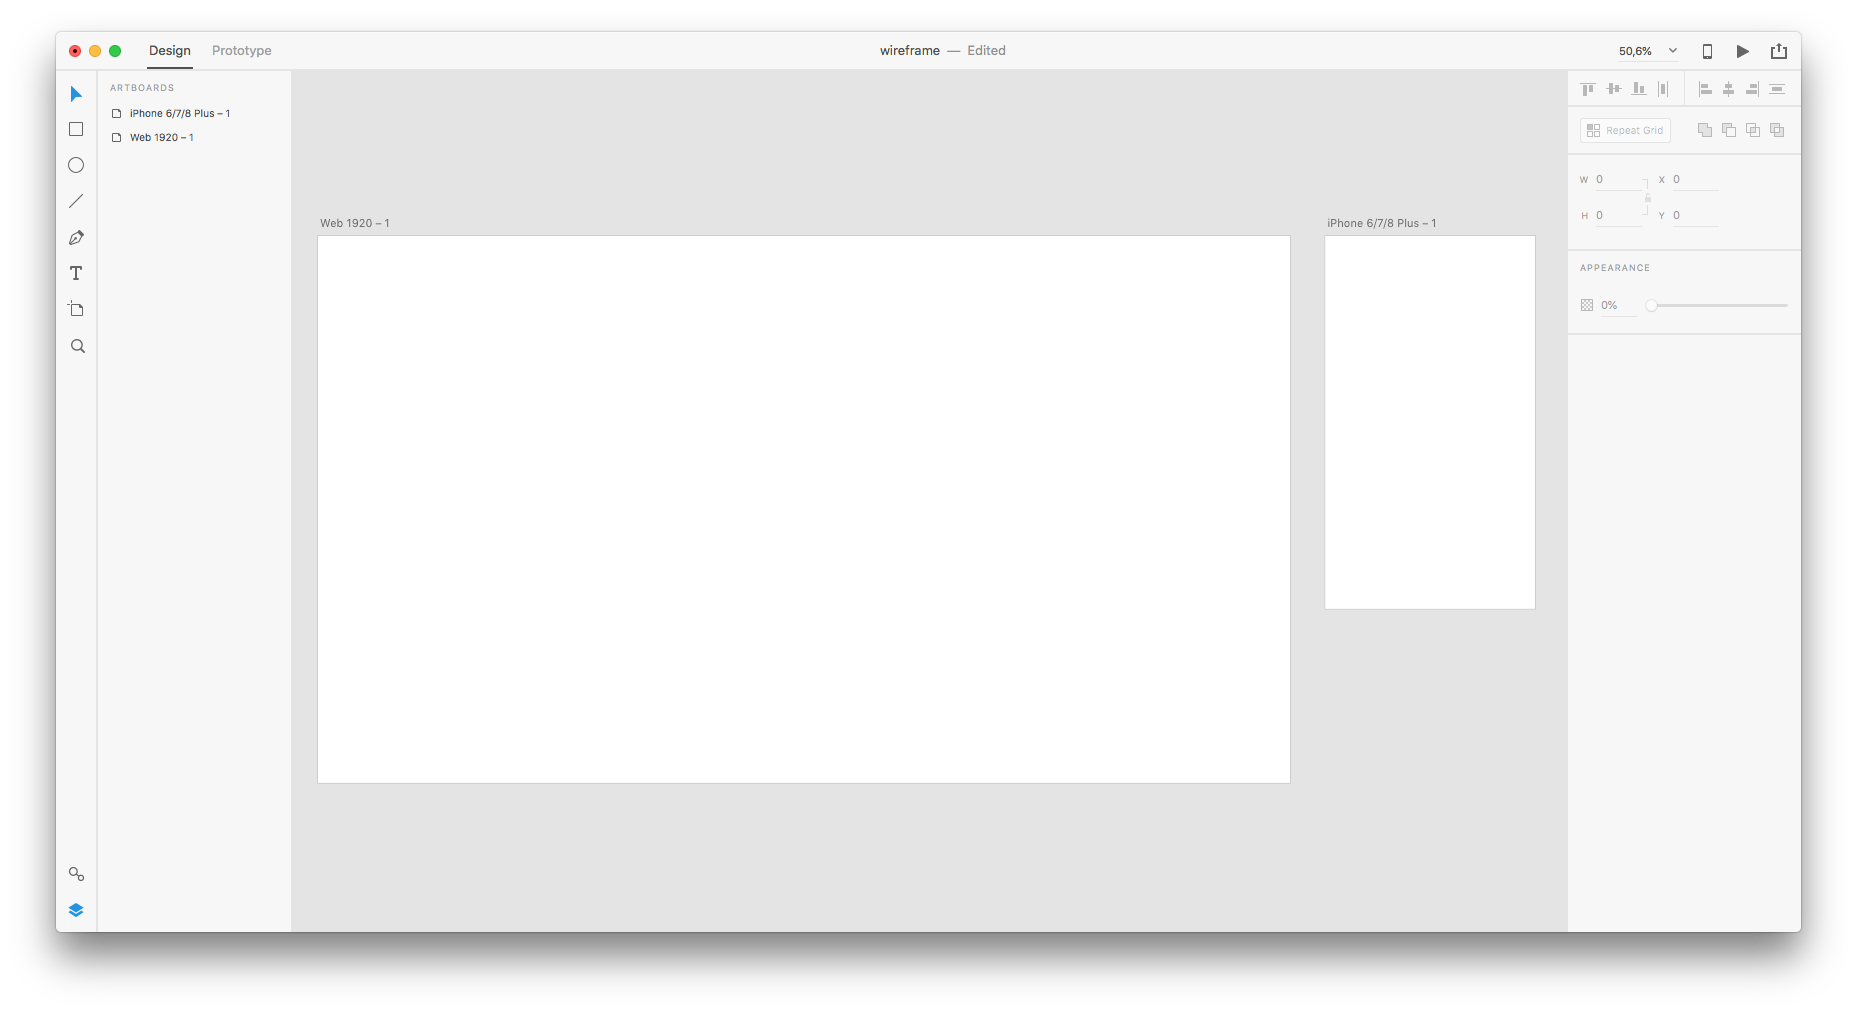
And here are our two artboards: one for desktop and one for mobile.
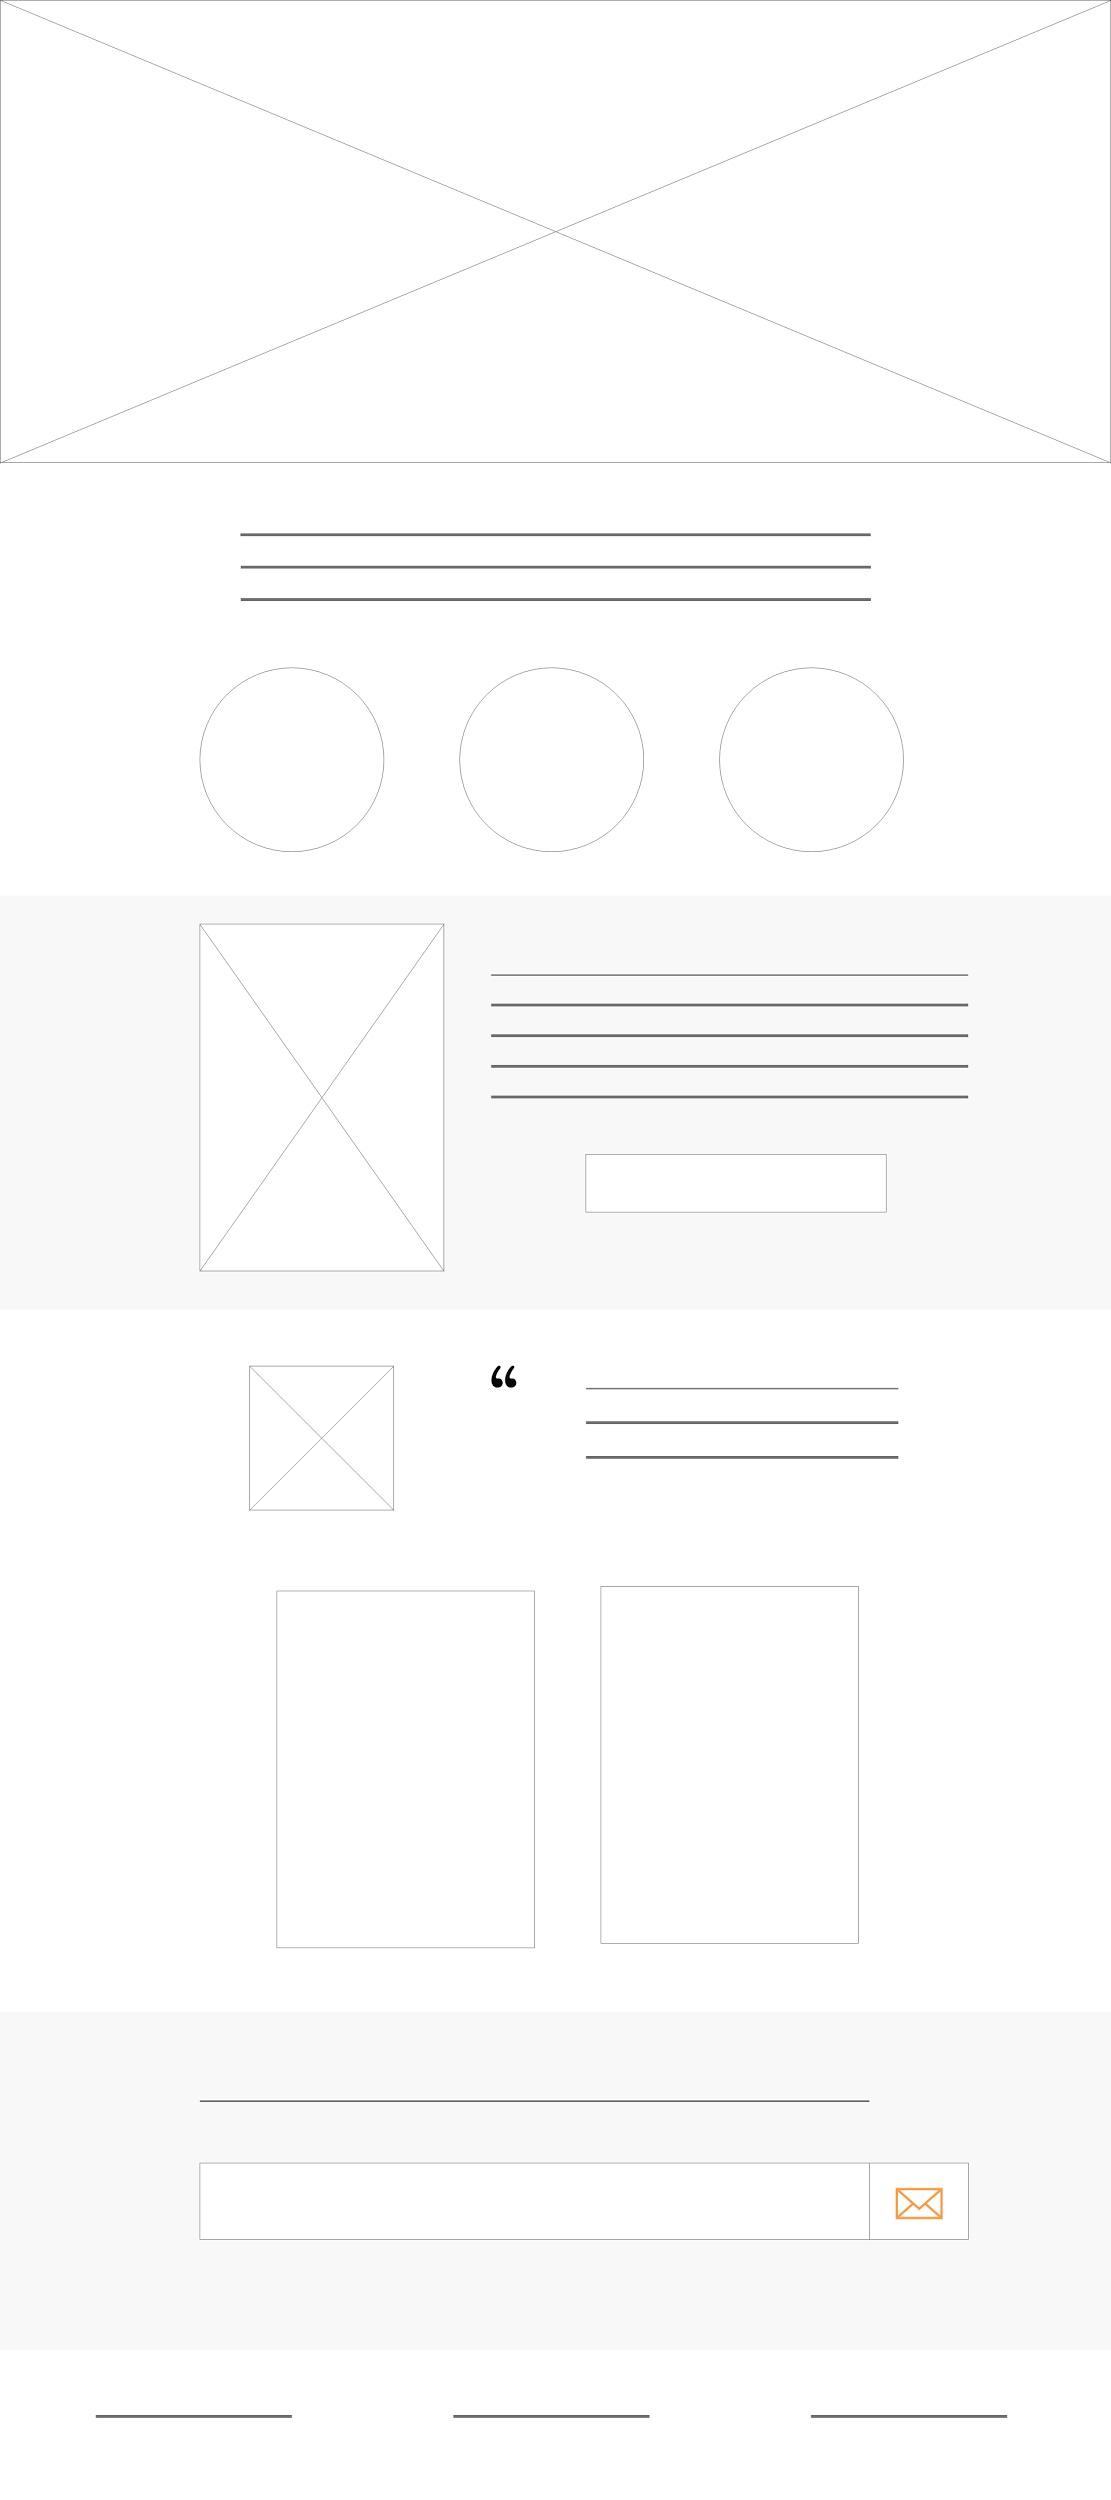
Now we can begin to create our wireframe objects. Following our hand-drawn sketches, we will now create the same objects in XD.
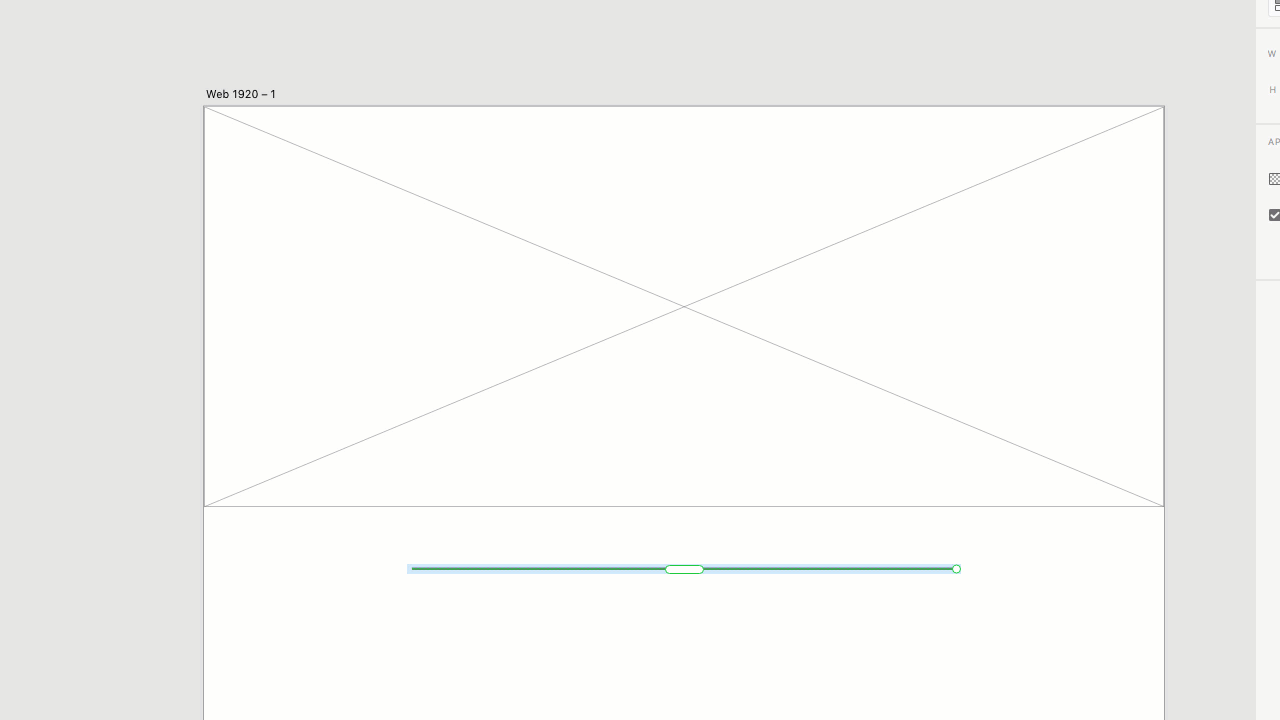
Hero Image
Select the Rectangle Tool (R) and draw a shape where your hero image should be. Then grab the Line Tool (L) and draw two lines joining the vertices. This kind of shape represents our image placeholder.
Group the shape and lines and call the group “Hero”:
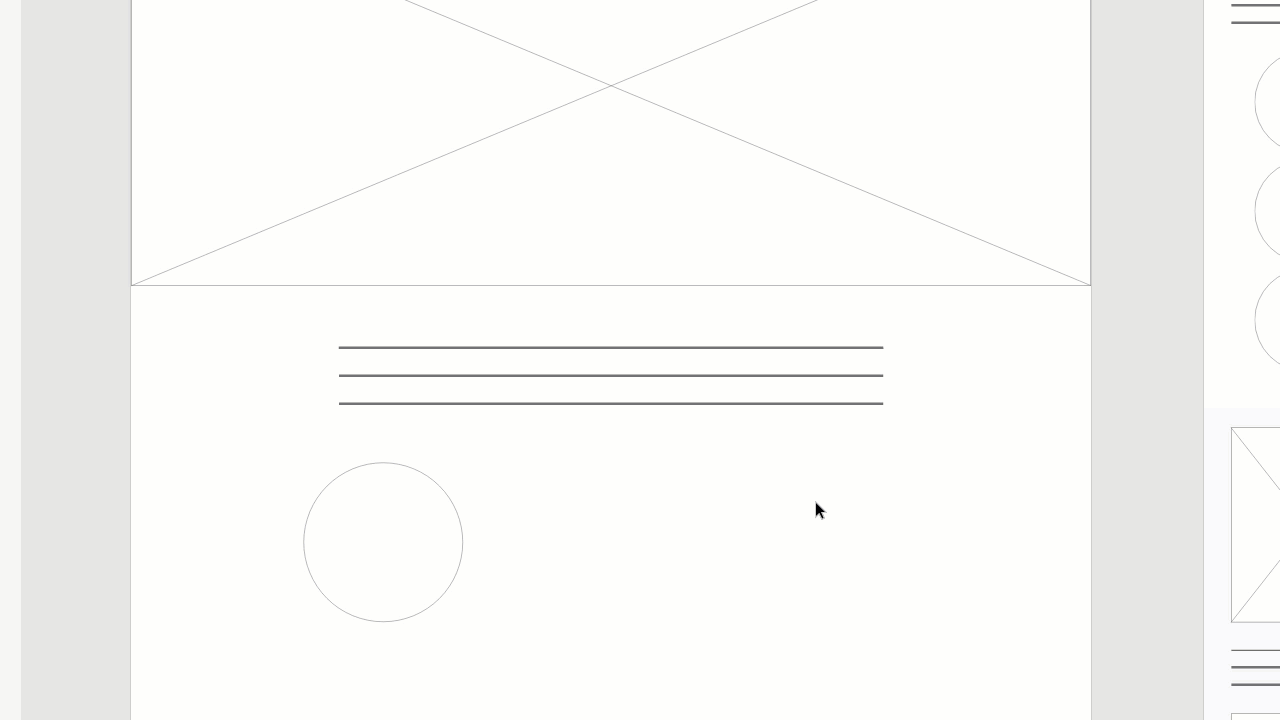
Now let’s continue with the “Icons” section. I put some text before my icons, and I’m going to represent that visually with some lines. Grab the Line Tool (L) again and draw a single horizontal line. Click on Repeat Grid Tool (⌘ + R on Mac or CTRL + R on Windows), and drag your line until you have three of them.
We need three symbols for our icons, so click on Ellipse Tool /E) and draw a circle. Click again on Repeat Grid Tool (⌘ + R on Mac or CTRL + R on Windows) and create three circles. Then select the space between the circles and drag to make it wider.
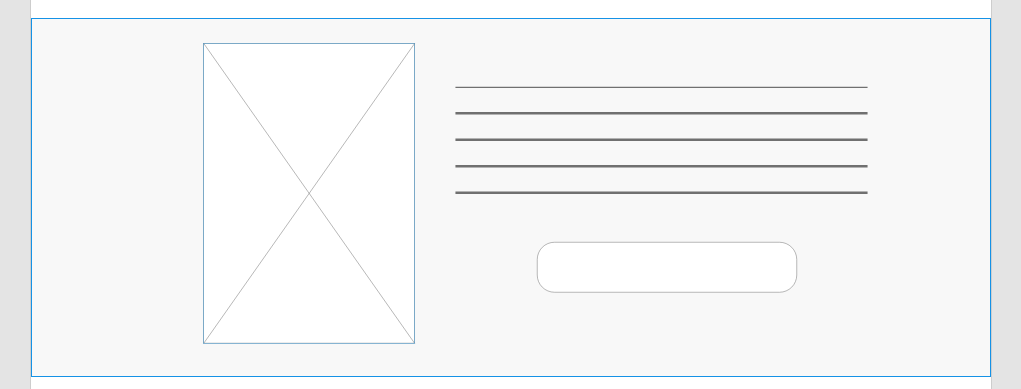
Feature Section
Create a light grey background (#F8F8F8) by using the Rectangle Tool (R). Repeat the steps from the previous Hero Image section above to create an image placeholder, then repeat the steps from the Icons Section (also above) to create a line for text. Finally, create a simple button with the help of the Rectangle Tool (R) tool.
This is the final result:
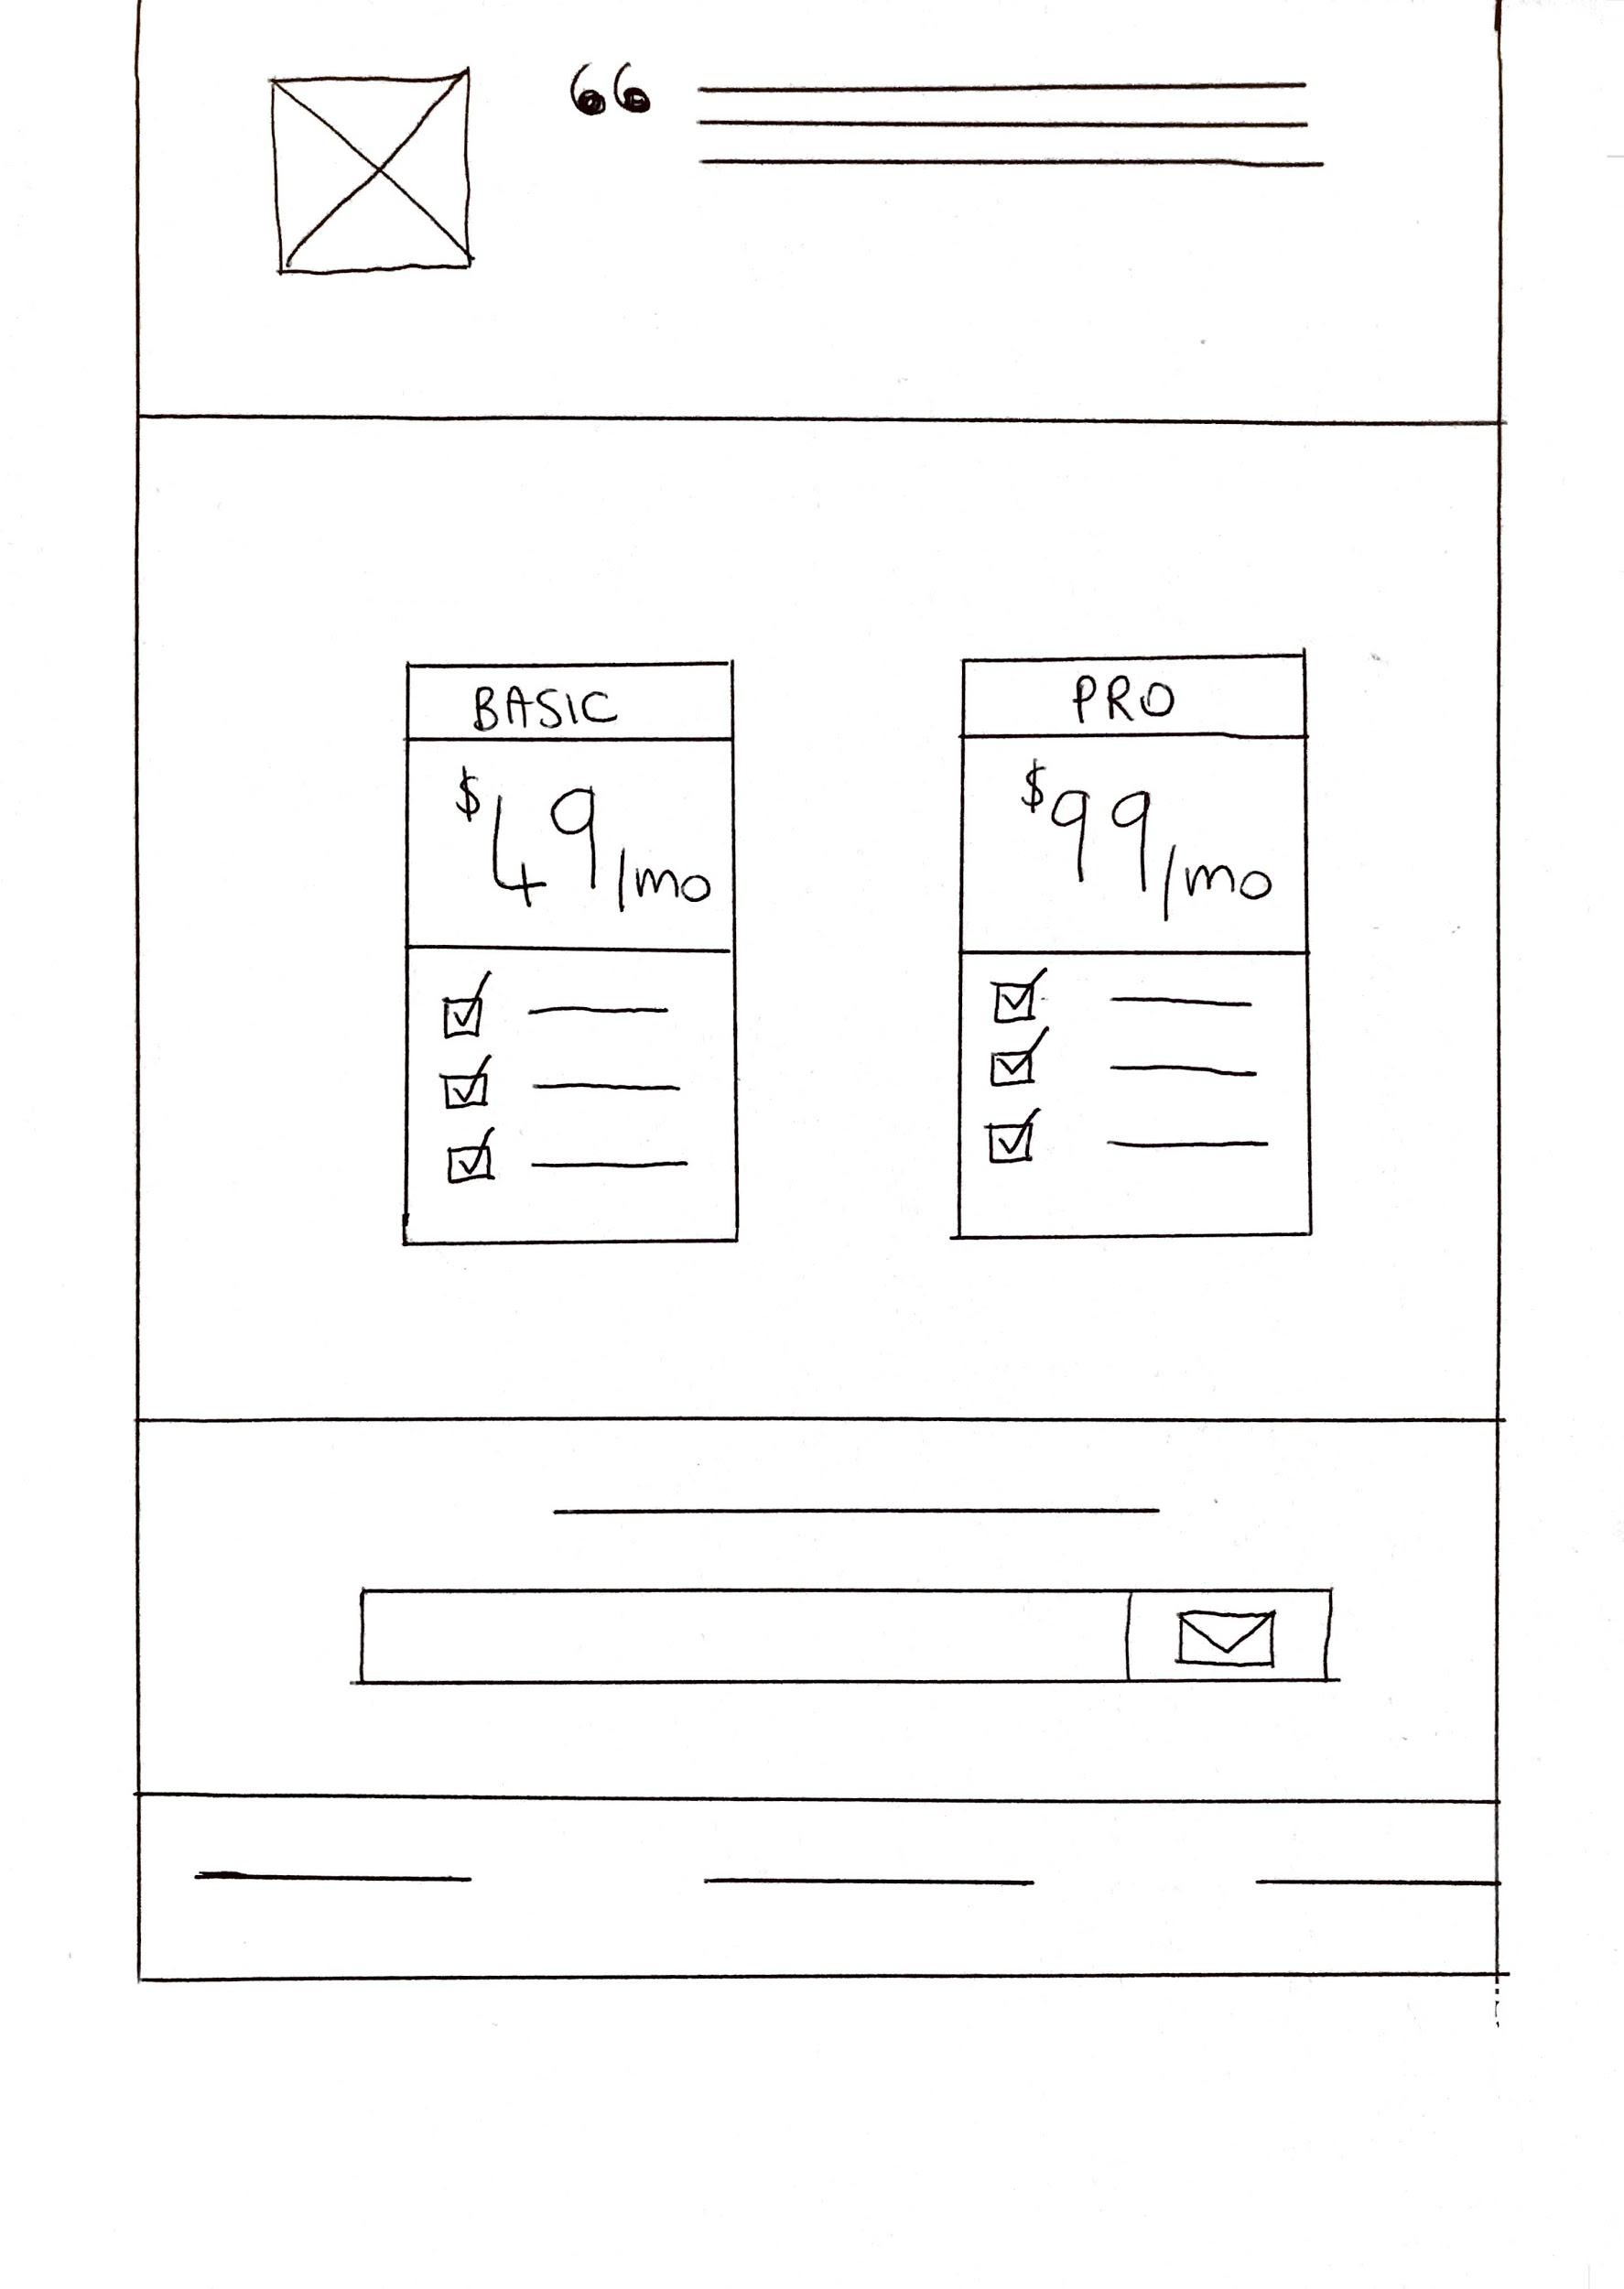
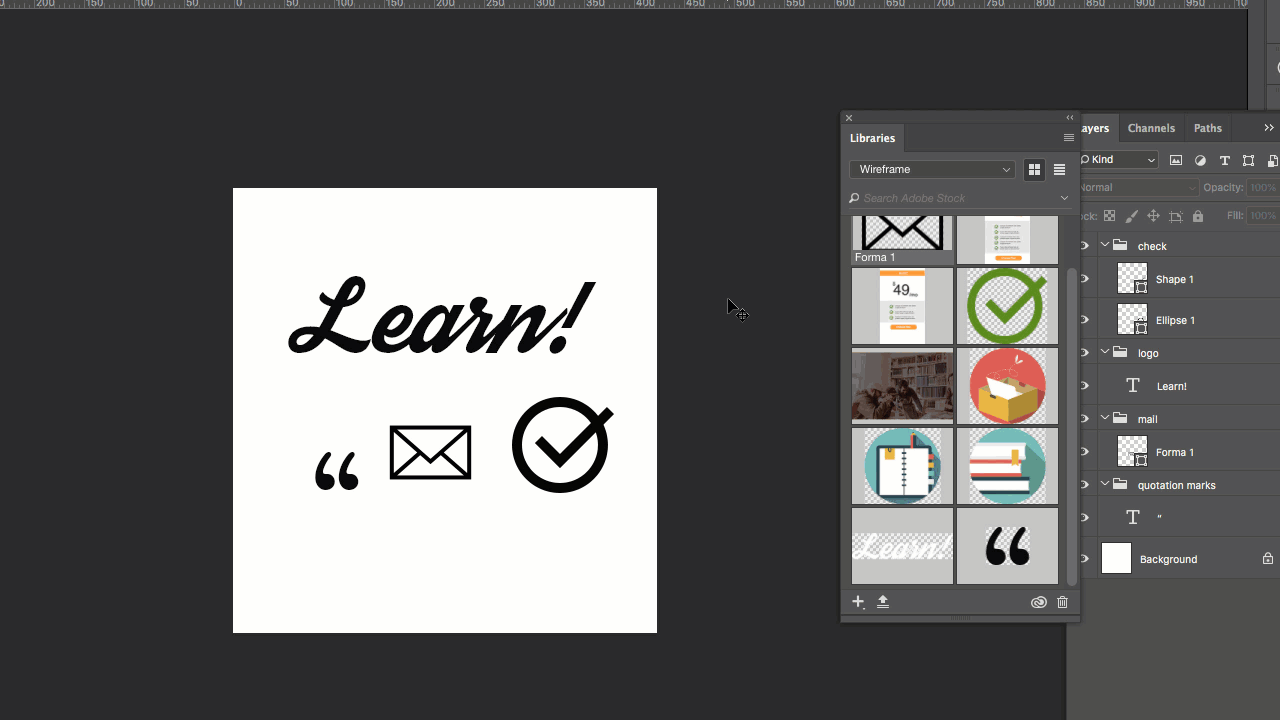
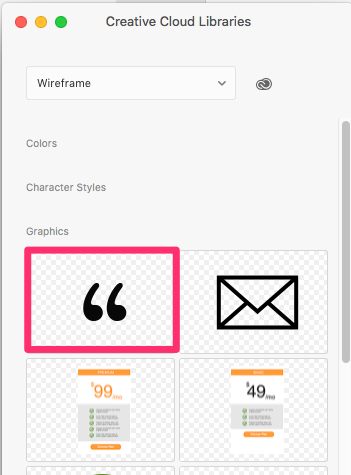
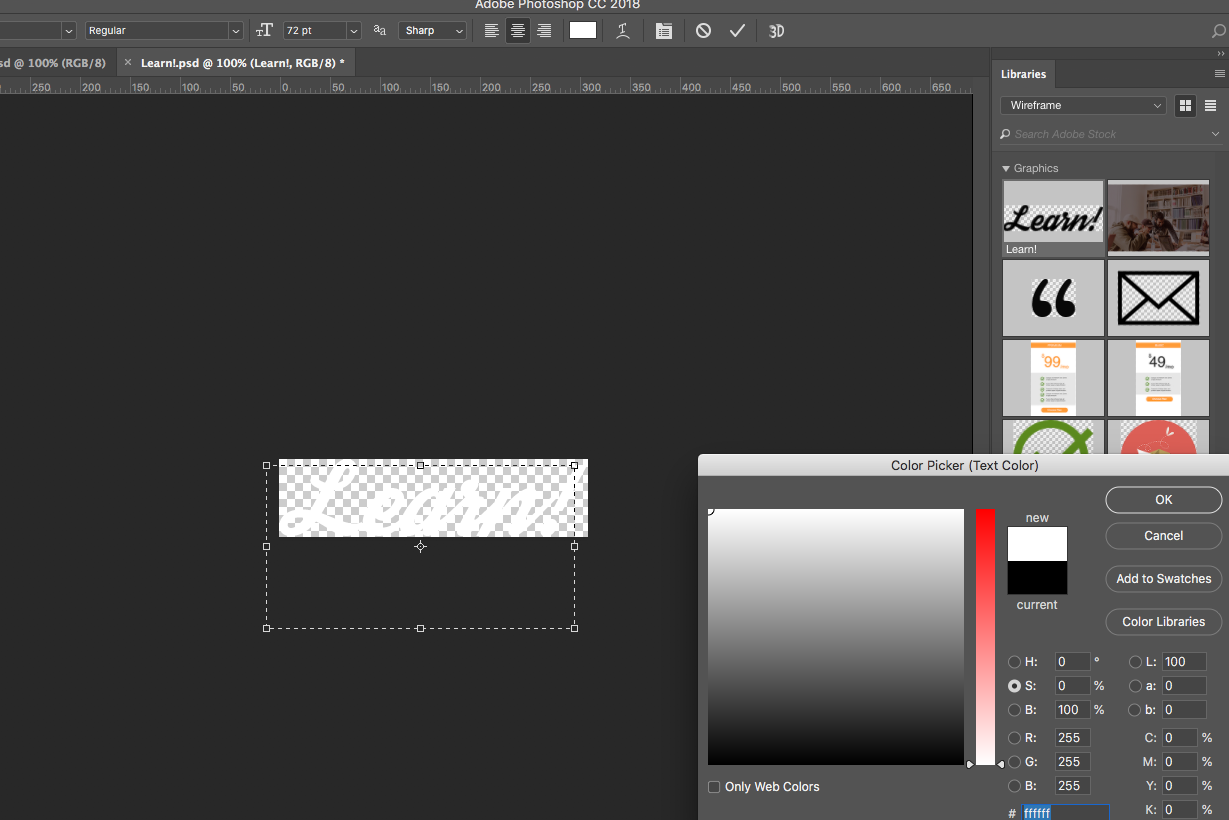
For the Testimonial Section, repeat the same steps as before in order to create an image placeholder and some text lines. As you can see from the complete wireframe image, there’s a quotation-mark symbol that we have to insert.
We’re going to do it using Photoshop.
Open the Photoshop file I provided by clicking on this link.
I want to insert this image as a symbol by using Libraries CC.
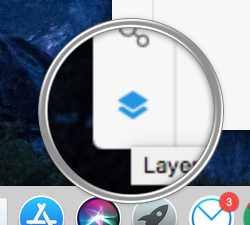
In Photoshop, be sure to see Libraries panel by going on Window → Libraries. Create a new library by clicking on the little icon top right (see image):
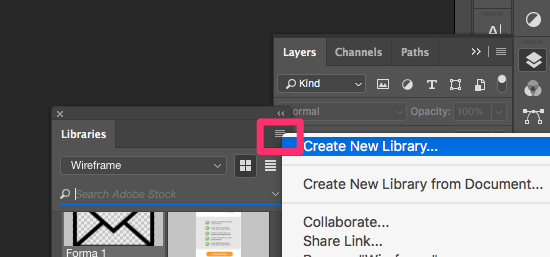
I named my library “Wireframe”. Feel free to give your library the name you desire.
Now click and drag on the symbol you want to have in your library:
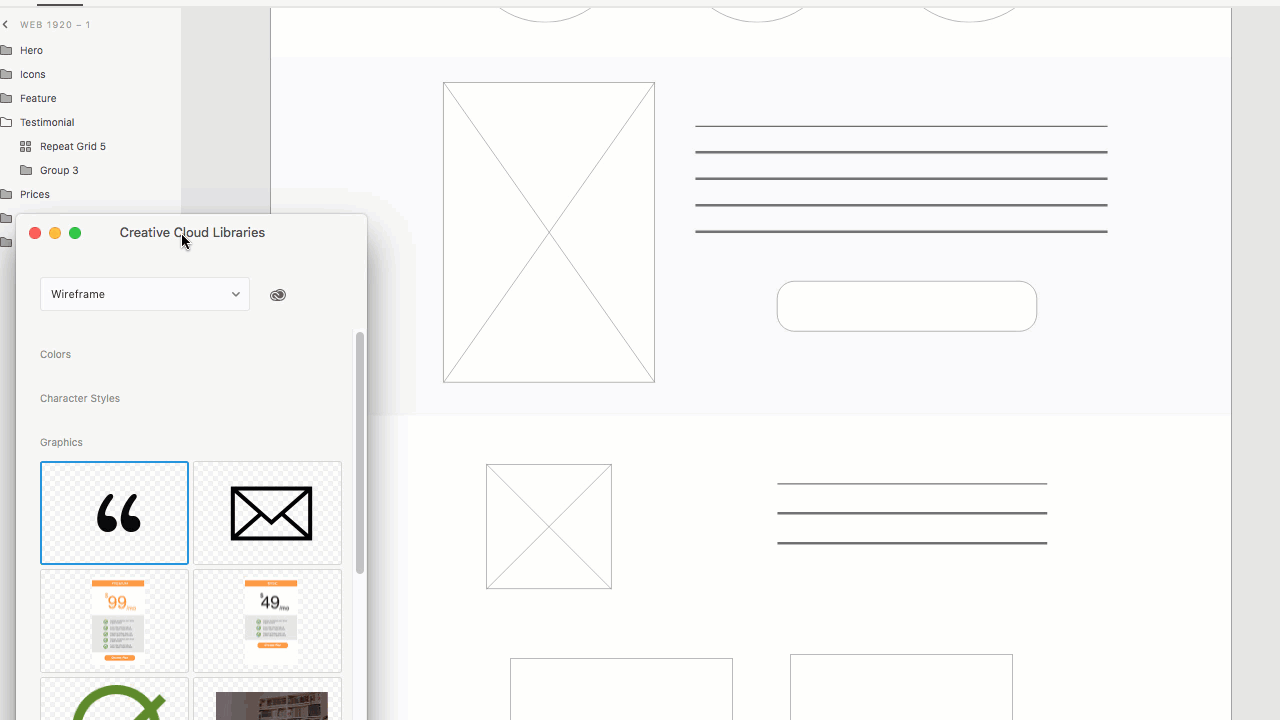
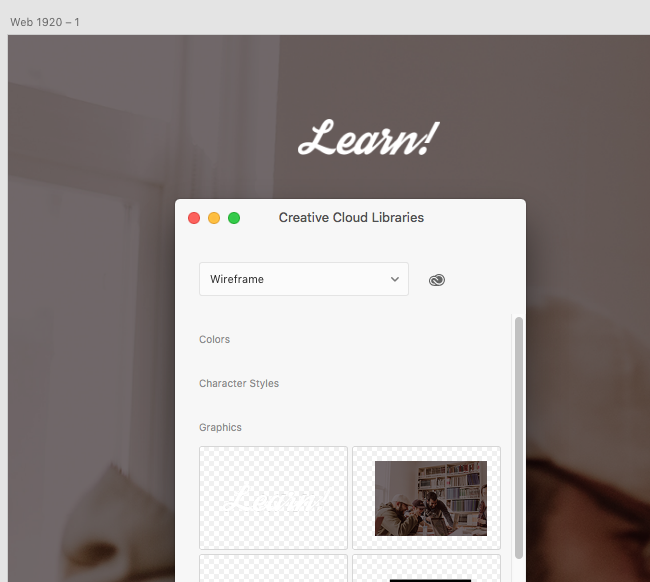
Switch back to XD, and go to File → Open CC Libraries and you will see the last symbol you just uploaded through Photoshop and the library you created.
Drag the quotation symbol into your wireframe in XD and position it wherever you need it to be.
For the “Prices, Subscribe and Footer” sections, we will represent them by using additional boxes and lines like the ones you see in the image below.
Note: You can find the email icon in the Photoshop file which I’ve provided here.)
Follow the steps described in the Feature section to insert the symbol in the library through Photoshop, open it in XD, and drag it into your wireframe artboard.
This is the result:

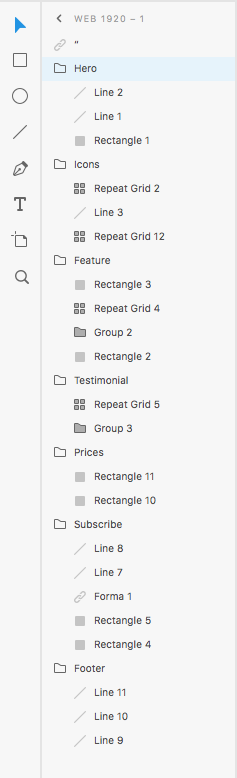
One last thing we need to do before going ahead is to order our layers. Be sure your layers are activated by clicking on the Layer Icon (⌘ + Y for Mac or CTRL + Y for Windows).
Group all of the section elements into folders (I assigned them the same name of the section they represent). This way, you will have all of your elements placed in order and won’t have any difficulty in finding them quickly (see image).
We are now done with our wireframe!
In the next step, we will build our design by using our wireframe and discovering how to modify Libraries’ elements instantly.
2. Adding A Layer Of Fidelity To Your Wireframe
We have just finished our wireframe and, at this point, we can double-check it to see if we have missed something. Once we are sure that we have all of the necessary information included in the wireframe, we can then share it with the project’s team.
We are ready to move on and update our wireframe to make it “live” with images, color, and placeholder copy.
Go ahead and create your design. Duplicate your wireframe by saving it with another name (e.g. “Wireframe-Layout”).
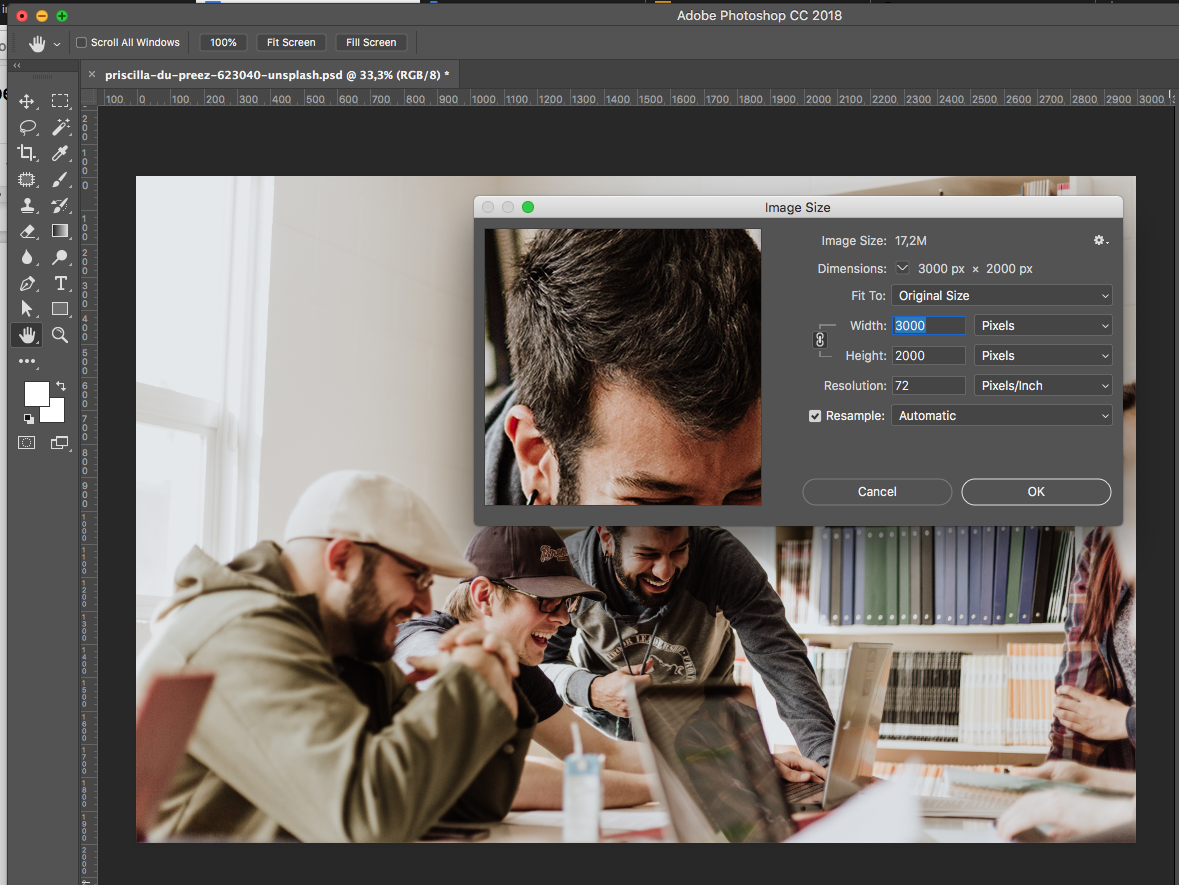
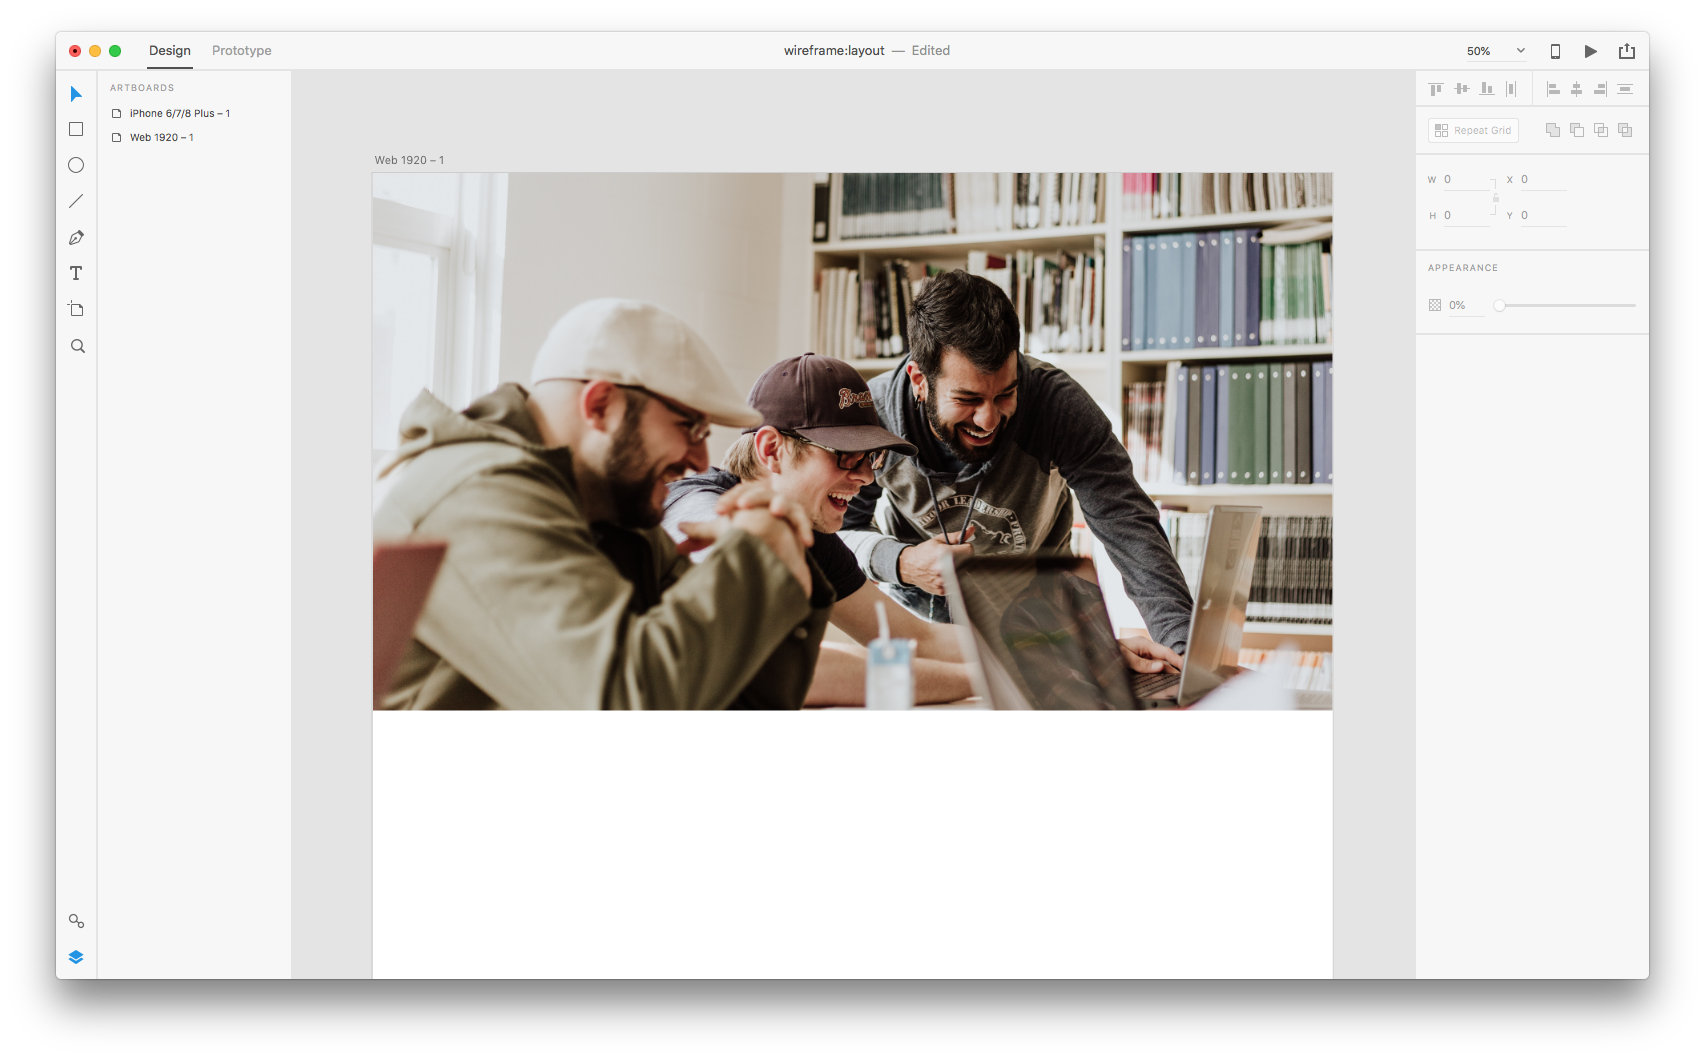
First, we’ll need an image for our Hero section (I went ahead and used this one by Priscilla Du Preez from Unsplash. .)
Open the image in Photoshop, and reduce the image size by clicking on Image → Image size and set the width at 3000px:
Save your image and then drag it into your Libraries.
In XD, drag the image from Libraries to your Artboard. Let it fit with the shape we just created as the image placeholder.
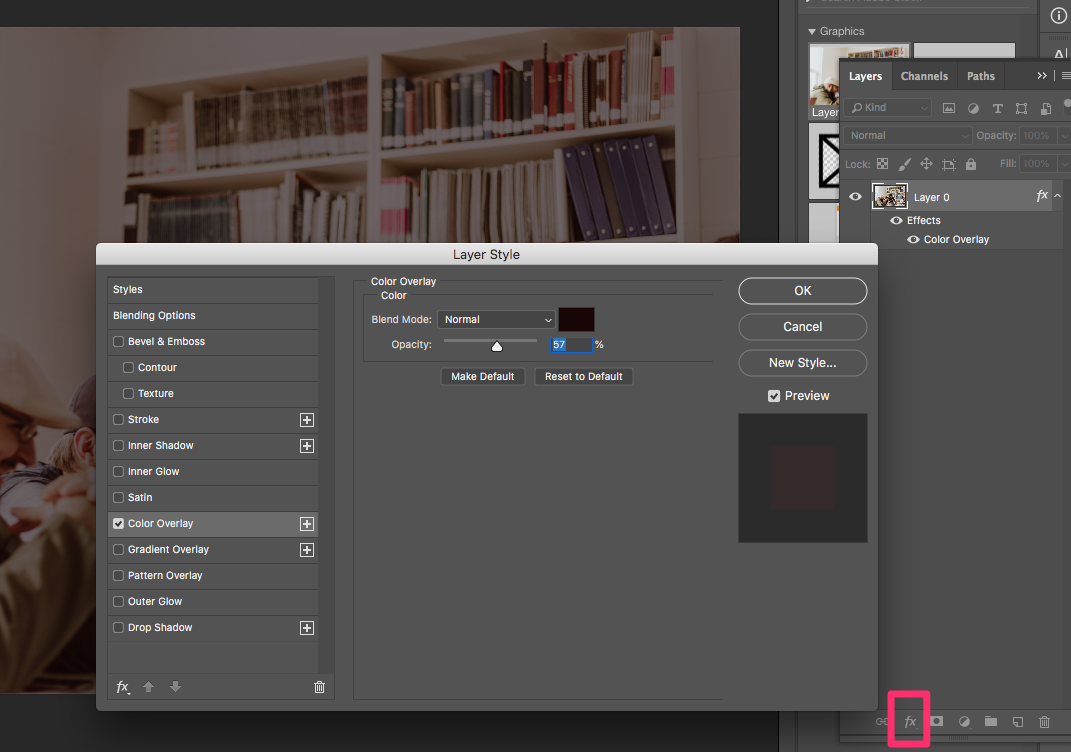
I’m going to add a logo and some text to this image; I need the image to be a little darker so that the information is easy to read. Go back into Photoshop Libraries and double click on the image in the panel. Once the image is open, go on the Layer panel, select the image layer and click on Add a layer style at the bottom of the panel. Set a Color Overlay with the settings as shown below:
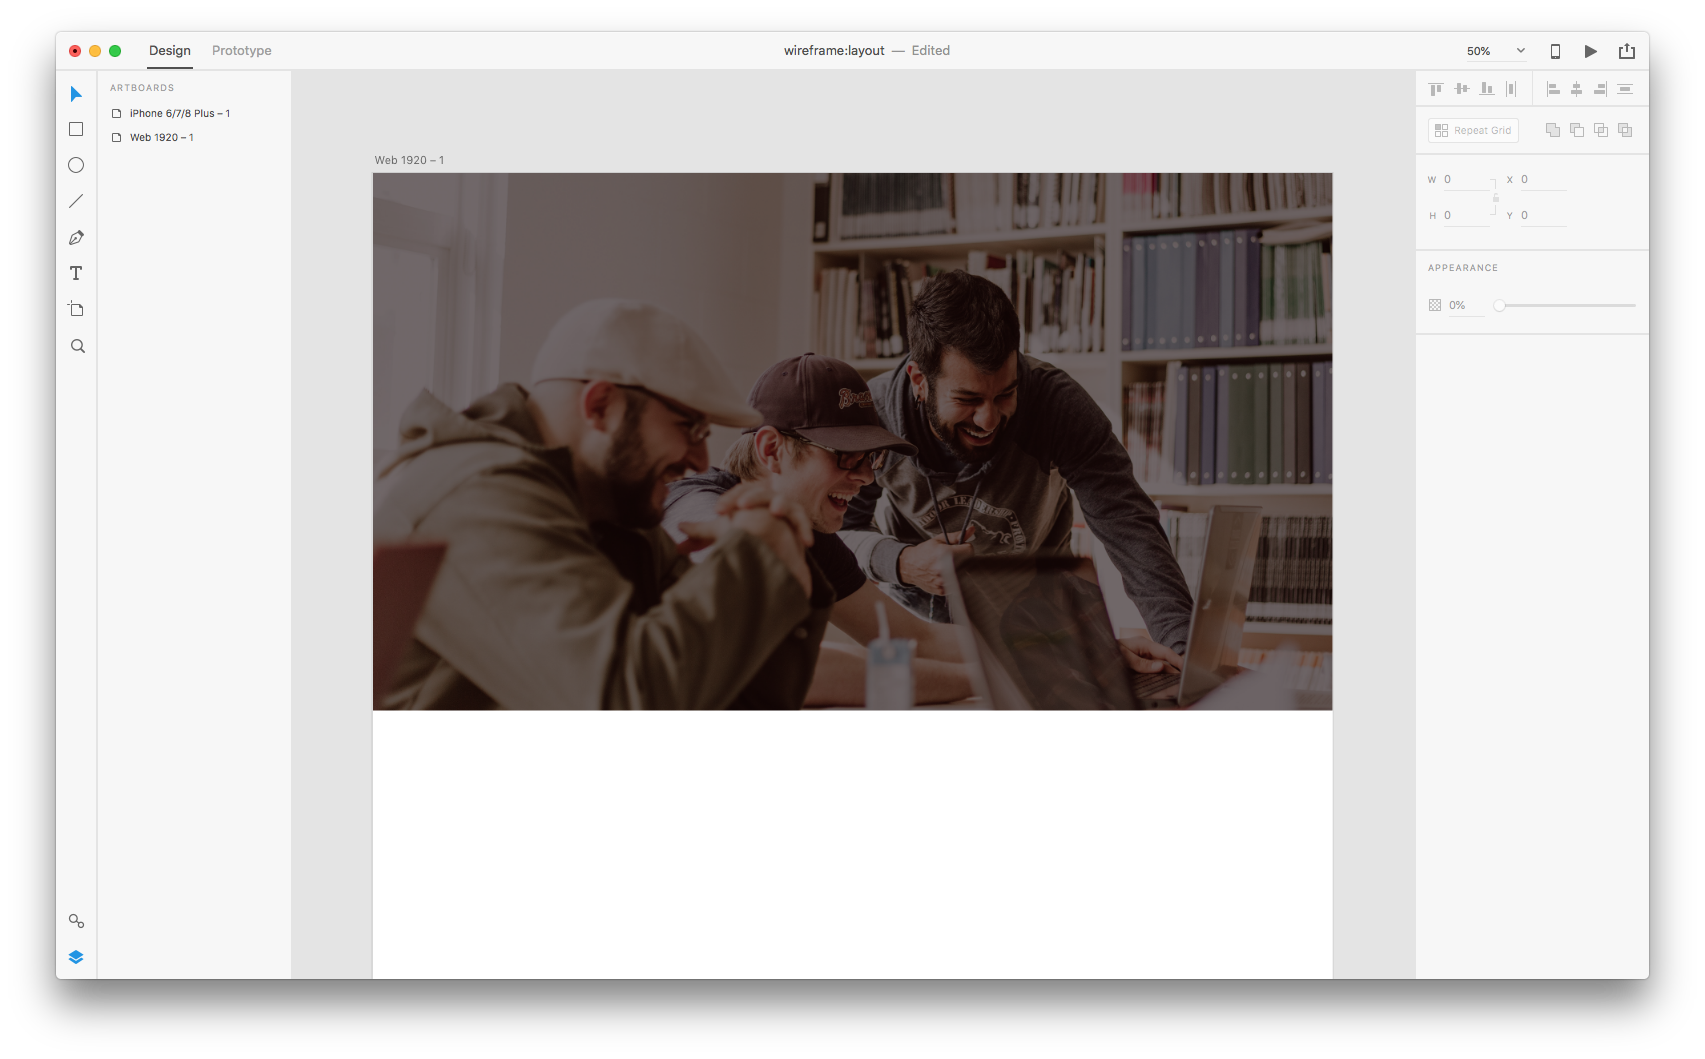
Save it, and it will be automatically be saved in all of your libraries. Switch back to XD and you will see the image in your artboard updated (no need to drag it back from the library again).
Note: Depending on the image size, it could take a little more time for the libraries to update themselves.
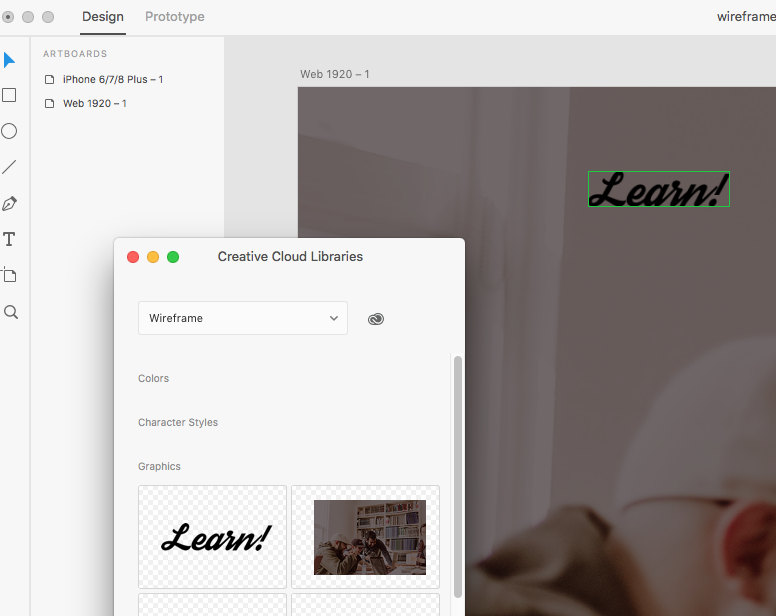
Now let’s insert our logo. Open the Photoshop file and drag the “Learn!” logo into the Libraries. This is the font I used.
Since our background is dark, we will need a white logo. Switch back to Photoshop and double click on the logo from Libraries.
Grab the Type Tool, highlight the logo text, and make it white. Save it, and it will automatically be saved in your XD artboard as well.
Insert some text and a button to complete the Hero section.

Next, I’m going fill out the next section by adding text and icons. The ones I used are from a free pack I created for Smashing Magazine that you can find here.
As previously done, open up the icons and add them to your libraries in Photoshop, then switch back to XD to place them in your wireframe. Here is the result:

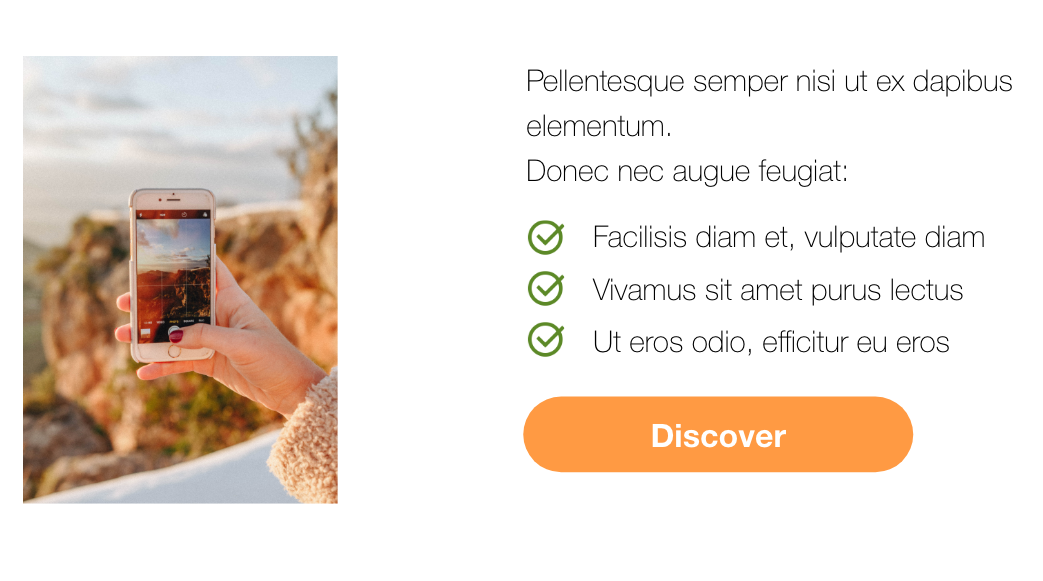
Now we’ll move on to the Feature section. As before, we’ll drag an image onto the image placeholder (I used this image by Sonnie Hiles found on Unsplash). Add in some text and a button as I have shown you in the previous steps above.
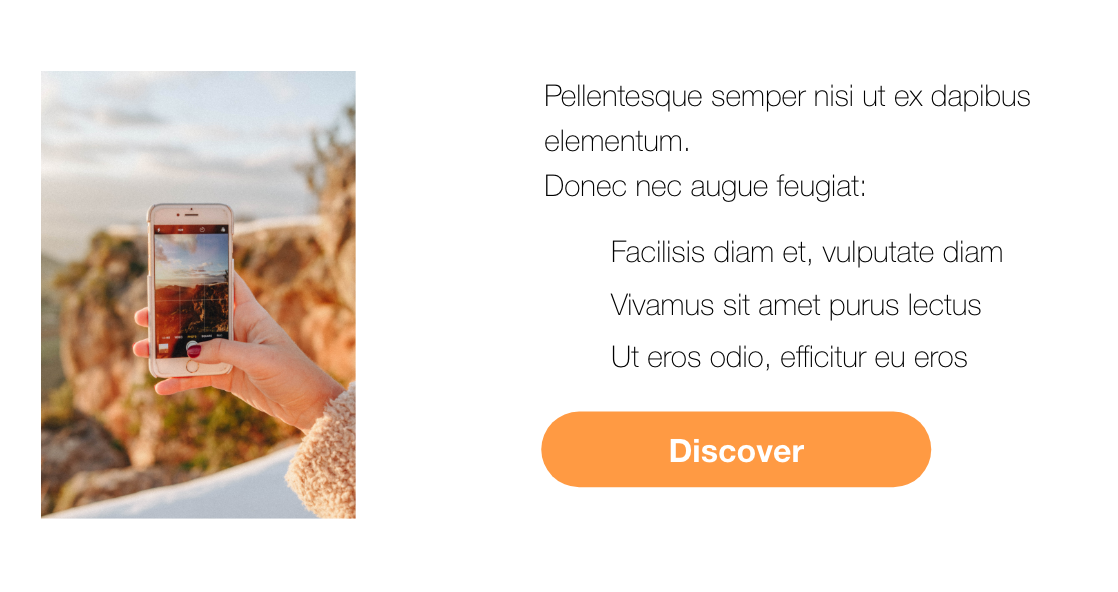
Open the Photoshop file I provided and add the check symbol into your Libraries. Open Libraries in XD and put the icon near the text. Use the Repeat Grid to make three copies of it:
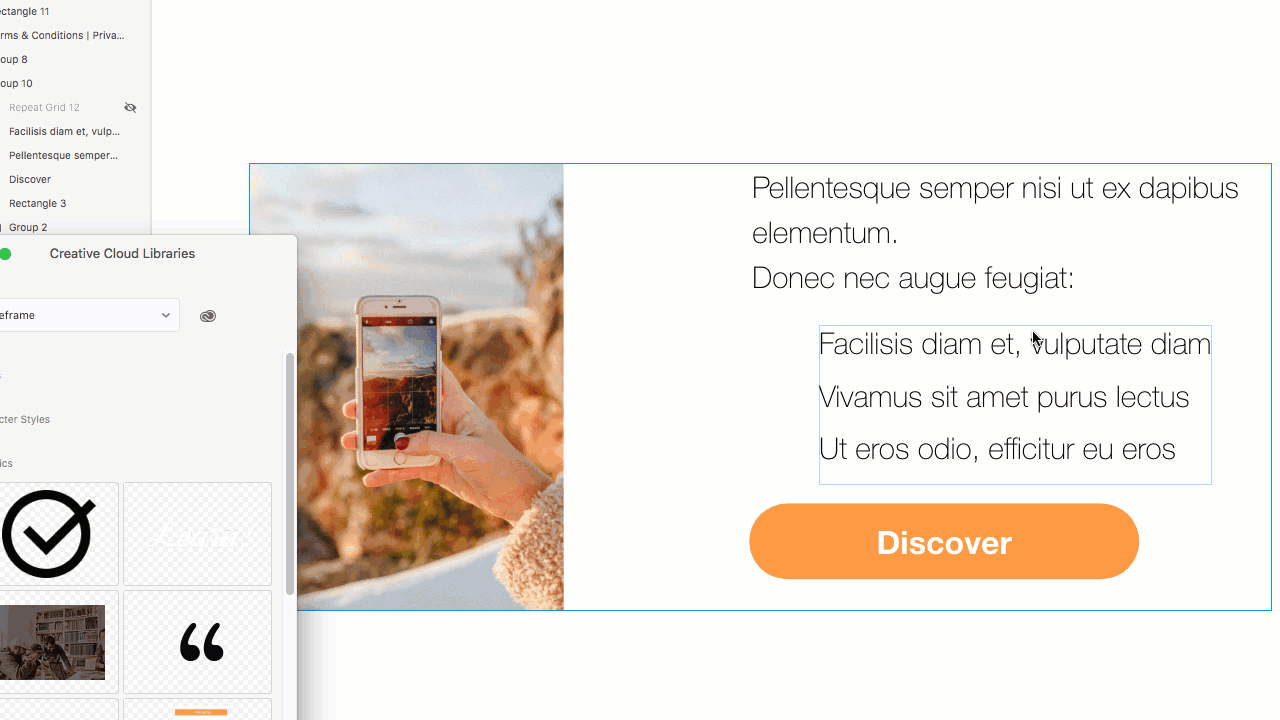
Now let’s change the color of the check symbol. Go back to Photoshop, open it from the Libraries and give it a Color Overlay as shown below:
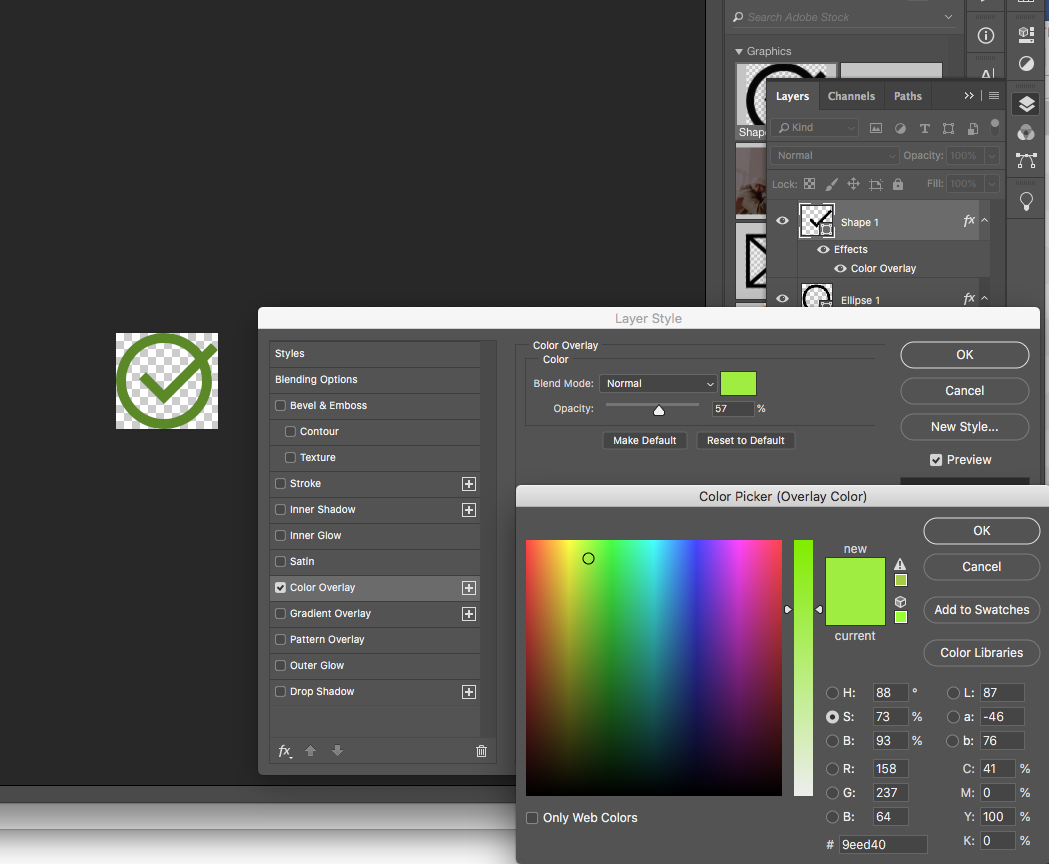
Save it, and see your icons in XD directly updated.
Now let’s finish our layout.
For the Testimonial section, add in text and an image for the testimonial (I took mine from UI Faces).

Finally, we’ll add information for the Price section, the Subscribe section, and the footer. You can find Price tables in the Photoshop file I provided. Drag them into your Libraries in Photoshop, then open Libraries in XD and drag them into your artboard. Feel free to modify them as you want.
And… we’re done!
Conclusion
In this tutorial, we have learned how to work with Photoshop and Adobe XD to create a wireframe, and then how to quickly add fidelity to it by modifying Libraries elements. For your reference, I’ve created a mobile wireframe which you can use to practice and follow along to this tutorial. Follow the steps as we did for the desktop version to add text and images.
Let me see your result in the comments!
This article is part of the UX design series sponsored by Adobe. Adobe XD tool is made for a fast and fluid UX design process, as it lets you go from idea to prototype faster. Design, prototype and share — all in one app. You can check out more inspiring projects created with Adobe XD on Behance, and also sign up for the Adobe experience design newsletter to stay updated and informed on the latest trends and insights for UX/UI design.
Further Reading
- Photoshop Workflows And Shortcuts For Digital Artists
- How To Convert An Infographic Into A Gifographic Using Adobe Photoshop
- How To Succeed In Wireframe Design
- When You Find A Good Idea, Look For A Better One