How To Convert An Infographic Into A Gifographic Using Adobe Photoshop

Email Newsletter
Weekly tips on front-end & UX.
Trusted by 182,000+ folks.


 Celebrating 10 million developers
 Custom Web Forms for Angular, React, & Vue. Your backend.
Visuals have played a critical role in the marketing and advertising industry since their inception. For years, marketers have relied on images, videos, and infographics to better sell products and services. The importance of visual media has increased further with the rise of the Internet and consequently, of social media.
Lately, gifographics (animated infographics) have also joined the list of popular visual media formats. If you are a marketer, a designer, or even a consumer, you must have come across them. What you may not know, however, is how to make gifographics, and why you should try to add them to your marketing mix. This practical tutorial should give you answers to both questions.
In this tutorial, we’ll be taking a closer look at how a static infographic can be animated using Adobe Photoshop, so some Photoshop knowledge (at least the basics) is required.
What Is A Gifographic?
Some History
The word gifographic is a combination of two words: GIF and infographic. The term gifographic was popularized by marketing experts (and among them, by Neil Patel) around 2014. Let’s dive a little bit into history.
CompuServe introduced the GIF ( Graphics Interchange Format) on June 15, 1987, and the format became a hit almost instantly. Initially the use of the format remained somewhat restricted owing to patent disputes in the early years (related to the compression algorithm used in GIF files — LZW) but later, when most GIF patents expired, and owing to their wide support and portability, GIFs gained a lot in popularity which even lead the word “GIF” to become “Word of the year” in 2012. Even today, GIFs are still very popular on the web and on social media(*).
The GIF is a bitmap image format. It supports up to 8 bits per pixel so a single GIF can use a limited palette of up to 256 different colors (including — optionally — one transparent color). The Lempel–Ziv–Welch (LZW) is a lossless data compression technique that is used to compress GIF images, which in turn, reduces the file size without affecting their visual quality. What’s more interesting though, is that the format also supports animations and allows a separate palette of up to 256 colors for each animation frame.
Tracing back in history as to when the first infographic was created is much more difficult, but the definition is easy — the word “infographic” comes from “information” and “graphics,” and, as the name implies, an infographic serves the main purpose of presenting information (data, knowledge, etc.) quickly and clearly, in a graphical way.
In his 1983 book The Visual Display of Quantitative Information, Edward Tufte gives a very detailed definition for “graphical displays” which many consider today to be one of the first definitions of what infographics are, and what they do: to condense large amounts of information into a form where it will be more easily absorbed by the reader.
A Note On GIFs Posted On The Web (*)
Animated GIF images posted to Twitter, Imgur, and other services most often end up as H.264 encoded video files (HTML5 video), and are technically not GIFs anymore when viewed online. The reason behind this is pretty obvious — animated GIFs are perhaps the worst possible format to store video, even for very short clips, as unlike actual video files, GIF cannot use any of the modern video compression techniques. (Also, you can check this article: “Improve Animated GIF Performance With HTML5 Video” which explains how with HTML5 video you can reduce the size of GIF content by up to 98% while still retaining the unique qualities of the GIF format.)
On the other hand, it’s worth noting that gifographics most often remain in their original format (as animated GIF files), and are not encoded to video. While this leads to not-so-optimal file sizes (as an example, a single animated GIF in this “How engines work?” popular infographic page is between ~ 500 KB and 5 MB in size), on the plus side, the gifographics remain very easy to share and embed, which is their primary purpose.
Why Use Animated Infographics In Your Digital Marketing Mix?
Infographics are visually compelling media. A well-designed infographic not only can help you present a complex subject in a simple and enticing way, but it can also be a very effective mean of increasing your brand awareness as part of your digital marketing campaign.
Remember the popular saying, “A picture is worth a thousand words”? There is a lot of evidence that animated pictures can be even more successful and so recently motion infographics have witnessed an increase in popularity owing to the element of animation.
From Boring To Beautiful
They can breathe life into sheets of boring facts and mundane numbers with the help of animated charts and graphics. Motion infographics are also the right means to illustrate complex processes or systems with moving parts to make them more palatable and meaningful. Thus, you can easily turn boring topics into visually-engaging treats. For example, we created the gifographic "The Most Important Google Search Algorithm Updates Of 2015" elaborating the changes Google made to its search algorithm in 2015.
Cost-Effective
Gifographics are perhaps the most cost-effective alternative to video content. You don't need expensive cameras, video editing, sound mixing software, and a shooting crew to create animated infographics. All it takes is a designer who knows how to make animations by using Photoshop or similar graphic design tools.
Works For Just About Anything
You can use a gifographic to illustrate just about anything in bite-sized sequential chunks. From product explainer videos to numbers and stats, you can share anything through a GIF infographic. Animated infographics can also be interactive. For example, you can adjust a variable to see how it affects the data in an animated chart.
Note: An excellent example of an interactive infographic is “Building An Interactive Infographic With Vue.js” written by Krutie Patel. It was built with the help of Vue.js, SVG and GSAP (GreenSock Animation Platform).
SEO Boost
As a marketer, you are probably aware that infographics can provide a substantial boost to your SEO. People love visual media. As a result, they are more likely to share a gifographic if they liked it. The more your animated infographics are shared, the higher will be the boost in site traffic. Thus, gifographics can indirectly help improve your SEO and, therefore, your search engine rankings.
How To Create A Gifographic From An Infographic In Photoshop
Now that you know the importance of motion in infographics, let’s get practical and see how you can create your first gifographic in Photoshop. And if you already know how to make infographics in Photoshop, it will be even easier for you to convert your existing static infographic into an animated one.
Step 1: Select (Or Prepare) An Infographic
The first thing you need to do is to choose the static infographic that you would like to transform into a gifographic. For learning purposes you can animate any infographic, but I recommend you to pick up an image that has elements that are suitable for animation. Explainers, tutorials, and process overviews are easy to convert into motion infographics.
If you are going to start from scratch, make sure you have first finished the static infographic to the last detail before proceeding to the animation stage as this will save you a lot of time and resources — if the original infographic keeps changing you will also need to rework your gifographic.
Next, once you have finalized the infographic, the next step is to decide which parts you are going to animate.

Step 2: Decide What The Animation Story Will Be
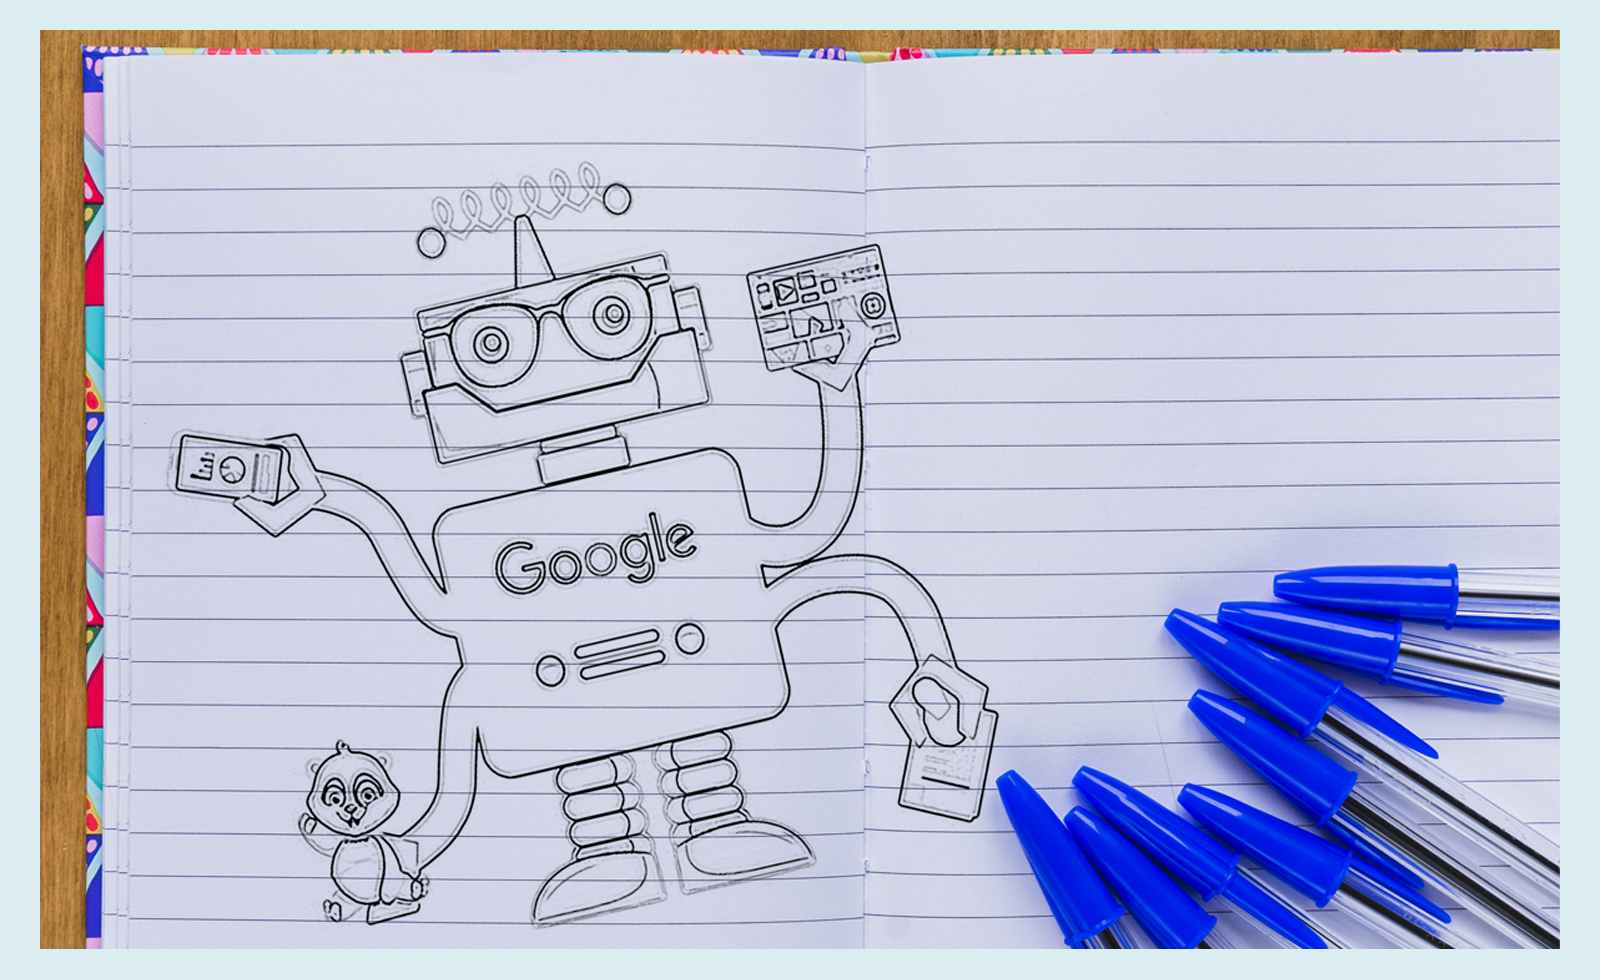
You can include some — or all — parts of the infographic in the animation. However, as there are different ways to create animations, you must first decide on the elements you intend to animate, and how. In my opinion, sketching (outlining) various animation case scenarios on paper is the best way to pick your storyline. It will save you a lot of time and confusion down the road.
Start by deciding which “frames” you would like to include in the animation. At this stage, frames will be nothing else but rough sketches made on sheets of paper. The higher the number of frames, the better the quality of your gifographic will be.
You may need to divide the animated infographic into different sections. So, be sure to choose an equal count of frames for all parts. If not, the gifographic will look uneven with each GIF file moving at a different speed.
Step 3: Create The Frames In Photoshop
Open Adobe Photoshop to create different frames for each section of the gifographic. You will need to cut, rotate, and move the images painstakingly. You will need to remember the ultimate change you made to the last frame. You can use Photoshop ruler for the same.
You will need to build your animation from Layers in Photoshop. But, in this case, you will be copying all Photoshop layers together and editing each layer individually.
You can check the frames one by one by hiding/showing different layers. Once you have finished creating all the frames, check them for possible errors.
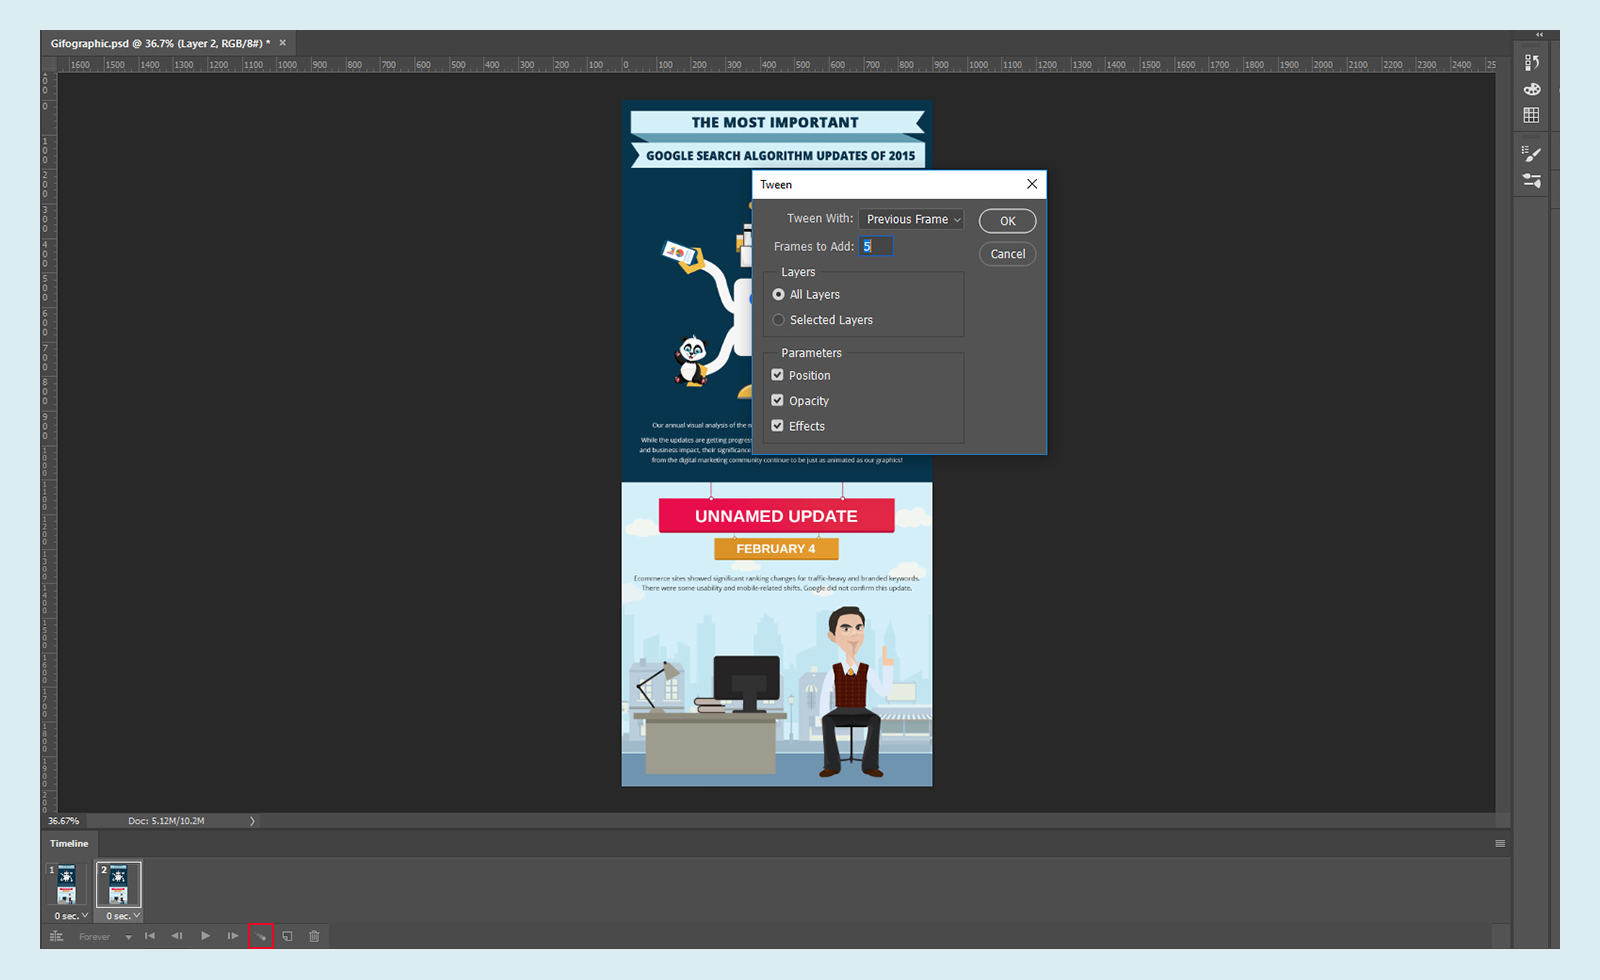
You can also create a short Frame Animation using just the first and the last frame. You need to select both frames by holding the Ctrl/Cmd key (Windows/Mac). Now click on “Tween.” Select the number of frames you want to add in between. Select First frame if you want to add the new frames between the first and the last frames. Selecting “Previous Frame” option will add frames between your current selection and the one before it. Check the “All Layers” option to add all the layers from your selections.
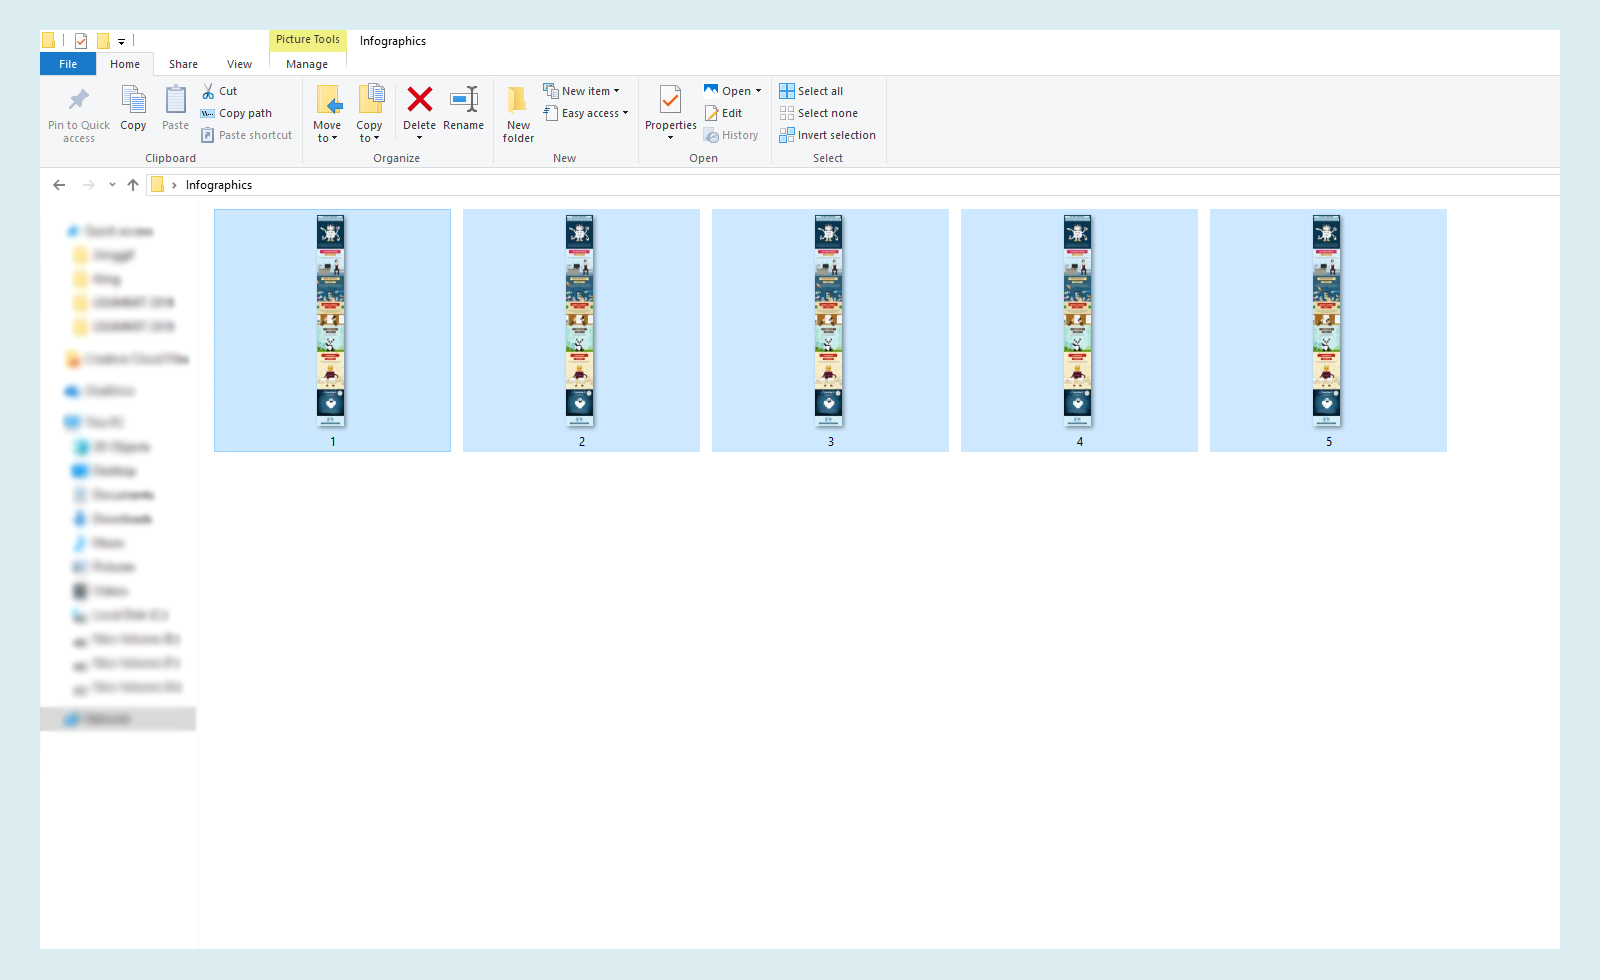
Step 4: Save PNG (Or JPG) Files Into A New Folder
The next step is to export each animation frame individually into PNG or JPG format. (Note: JPG is a lossy format, so PNG would be usually a better choice.)
You should save these PNG files in a separate folder for the sake of convenience. I always number the saved images as per their sequence in the animation. It’s easy for me to remember that “Image-1” will be the first image in the sequence followed by “Image-2,” “Image-3,” and so on. Of course, you can save them in a way suitable for you.
Step 5: “Load Files Into Stack”
Next comes loading the saved PNG files to Photoshop.
Go to the Photoshop window and open File > Scripts > Load files into Stack...
A new dialog box will open. Click on the “Browse” button and open the folder where you saved the PNG files. You can select all files at once and click “OK.”
Note: You can check the “Attempt to Automatically Align Source Images” option to avoid alignment issues. However, if your source images are all the same size, this step is not needed. Furthermore, automatic alignment can also cause issues in some cases as Photoshop will move the layers around in an attempt to try to align them. So, use this option based on the specific situation — there is no “one size fits them all” recipe.
It may take a while to load the files, depending on their size and number. While Photoshop is busy loading these files, maybe you can grab a cup of coffee!
Step 6: Set The Frames
Once the loading is complete, go to Window > Layers (or you can press F7) and you will see all the layers in the Layers panel. The number of Layers should match the number of frames loaded into Photoshop.
Once you have verified this, go to Window > Timeline. You will see the Timeline Panel at the bottom (the default display option for this panel). Choose “Create Frame Animation” option from the panel. Your first PNG file will appear on the Timeline.
Now, Select “Make Frames from Layers” from the right side menu (Palette Option) of the Animation Panel.
Note: Sometimes the PNG files get loaded in reverse, making your “Image-1” appear at the end and vice versa. If this happens, select “Reverse Layers” from Animation Panel Menu (Palette Option) to get the desired image sequence.
Step 7: Set The Animation Speed
The default display time for each image is 0.00 seconds. Toggling this time will determine the speed of your animation (or GIF file). If you select all the images, you can set the same display time for all of them. Alternatively, you can also set up different display time for each image or frame.
I recommend going with the former option though as using the same animation time is relatively easy. Also, setting up different display times for each frame may lead to a not-so-smooth animation.
You can also set custom display time if you don't want to choose from among the available choices. Click the “Other” option to set a customized animation speed.
You can also make the animation play in reverse. Copy the Frames from the Timeline Pallet and choose “Reverse Layers” option. You can drag frames with the Ctrl key (on Windows) or the Cmd key (on Mac).
You can set the number of times the animation should loop. The default option is “Once.” However, you can set a custom loop value using the “Other” option. Use the “Forever” option to keep your animation going in a non-stop loop.
To preview your GIF animation, press the Enter key or the “Play” button at the bottom of the Timeline Panel.
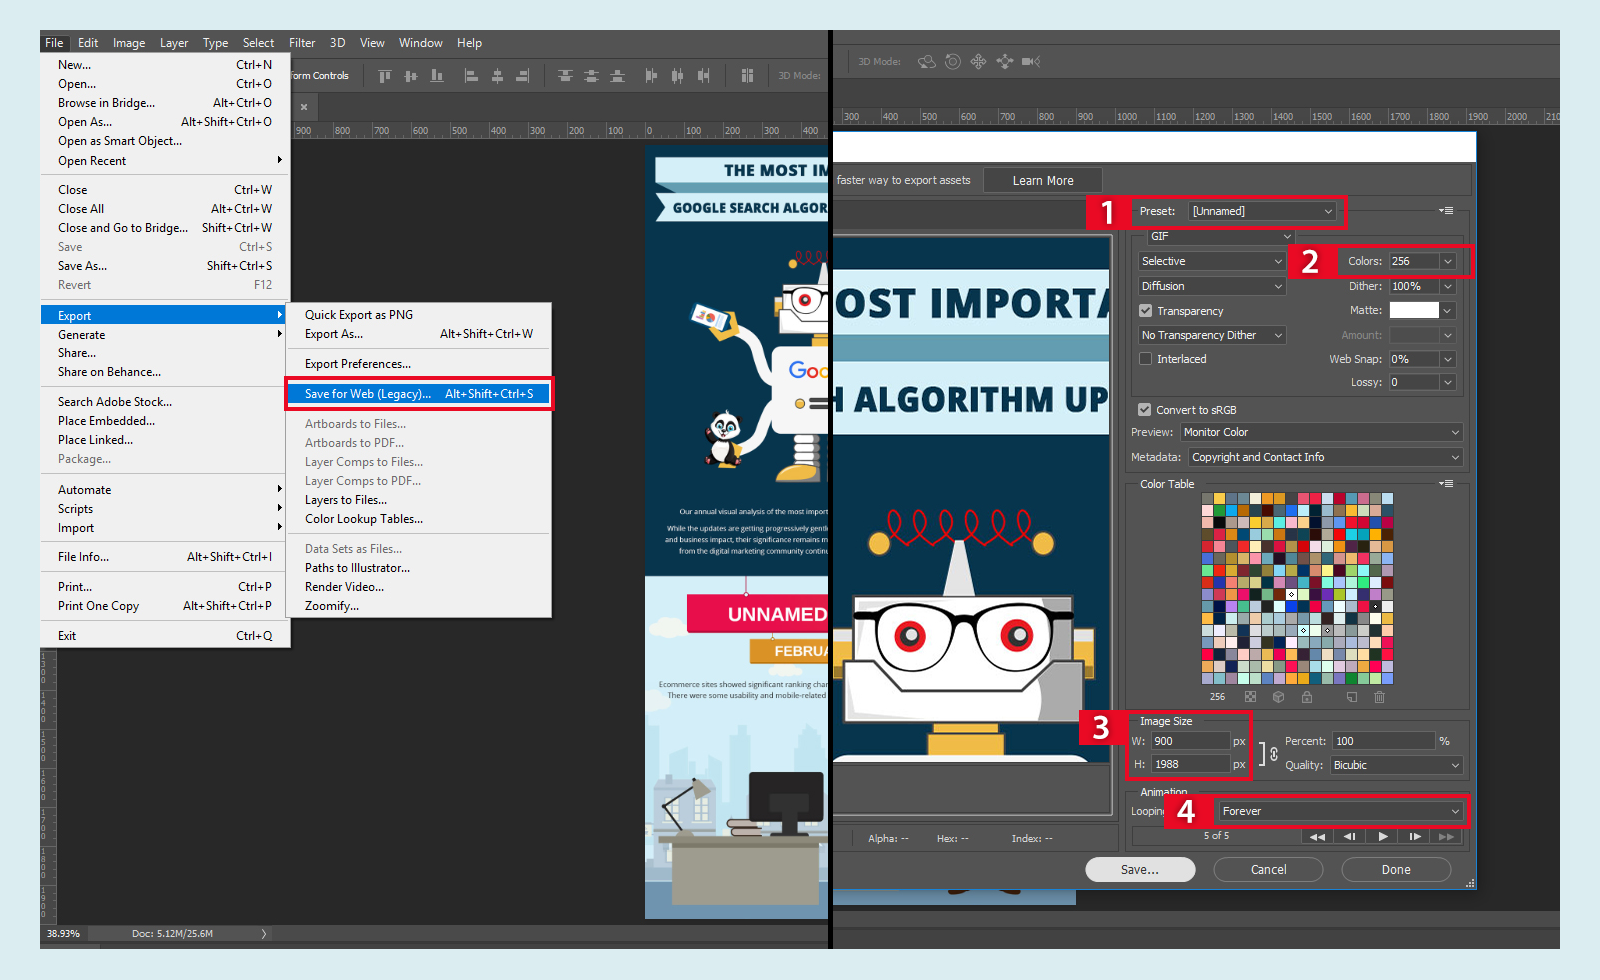
Step 8: Ready To Save/Export
If everything goes according to plan, the only thing left is to save (export) your GIF infographic.
To Export the animation as a GIF: Go to File > Export > Save for Web (Legacy)
- Select “GIF 128 Dithered” from the “Preset” menu.
- Select “256” from the “Colors” menu.
- If you will be using the GIF online or want to limit the file size of the animation, change Width and Height fields in the “Image Size” options accordingly.
- Select “Forever” from the “Looping Options” menu.
Click the “Preview” button in the lower left corner of the Export window to preview your GIF in a web browser. If you are happy with it, click “Save” and select a destination for your animated GIF file.
Note: There are lots of options that control the quality and file size of GIFs — number of colors, amount of dithering, etc. Feel free to experiment until you achieve the optimal GIF size and animation quality.
Your animated infographic is ready!
Step 9 (Optional): Optimization
Gifsicle (a free command-line program for creating, editing, and optimizing animated GIFs), and other similar GIF post-processing tools can help reduce the exported GIF file size beyond Photoshop’s abilities.
ImageOptim is also worth mentioning — dragging files to ImageOptim will directly run Gifsicle on them. (Note: ImageOptim is Mac-only but there are quite a few alternative apps available as well.)
Troubleshooting Tips
You are likely to run into trouble at two crucial stages.
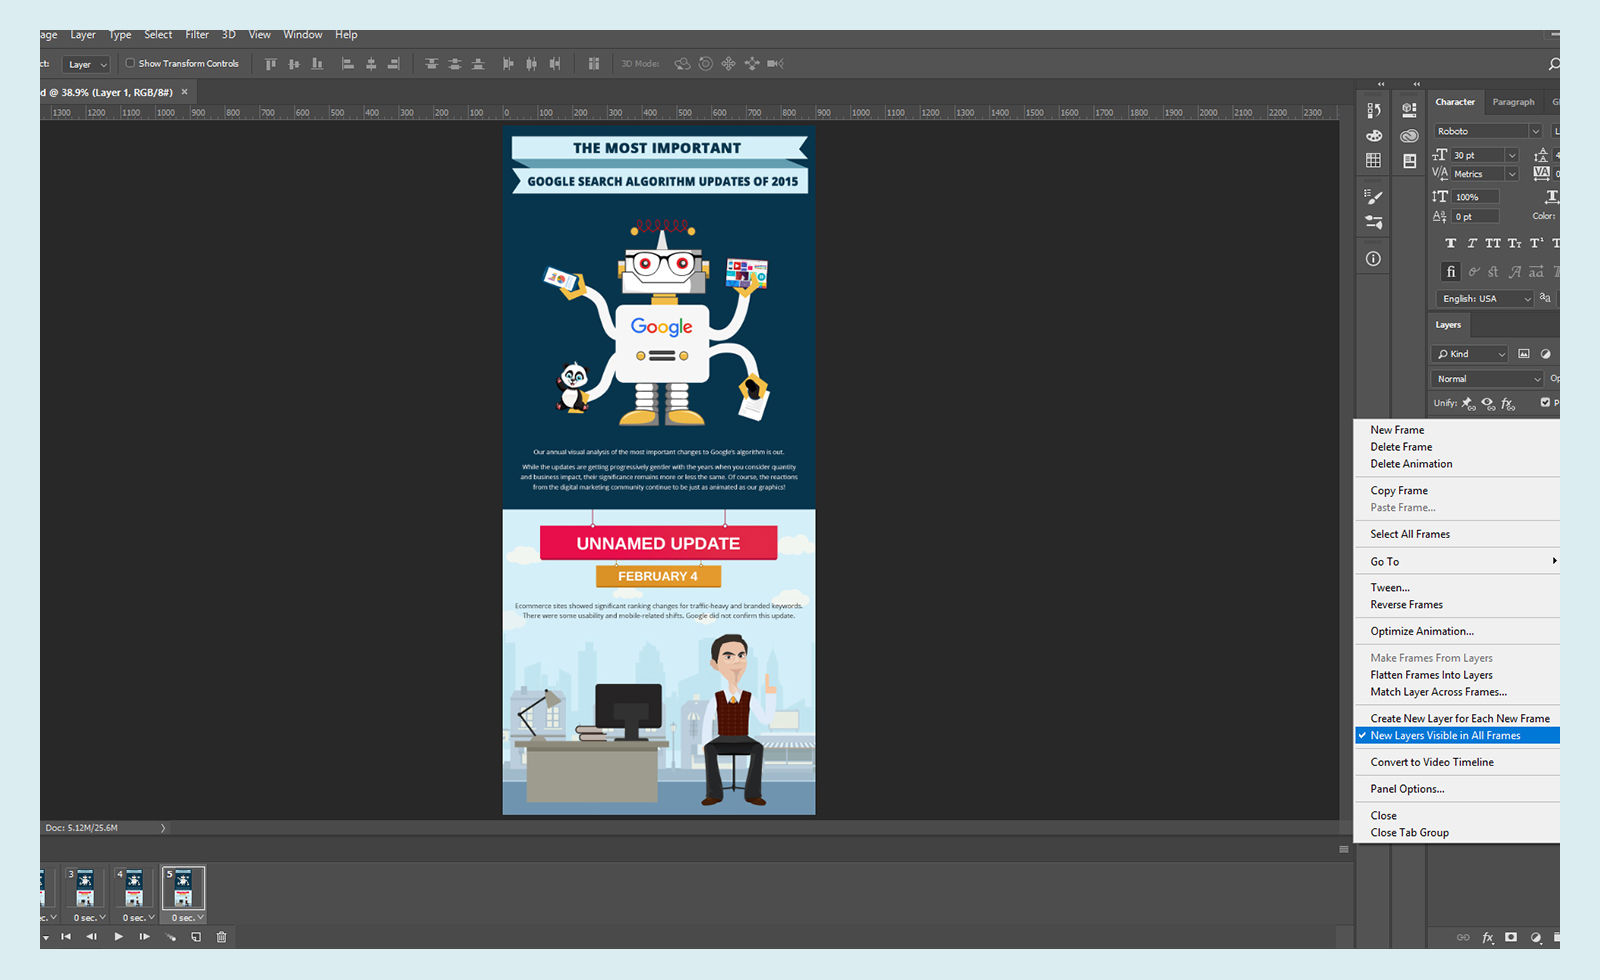
Adding New Layers
Open the “Timeline Toolbar” drop-down menu and select the “New Layers Visible in all Frames” option. It will help tune your animation without any hiccups.
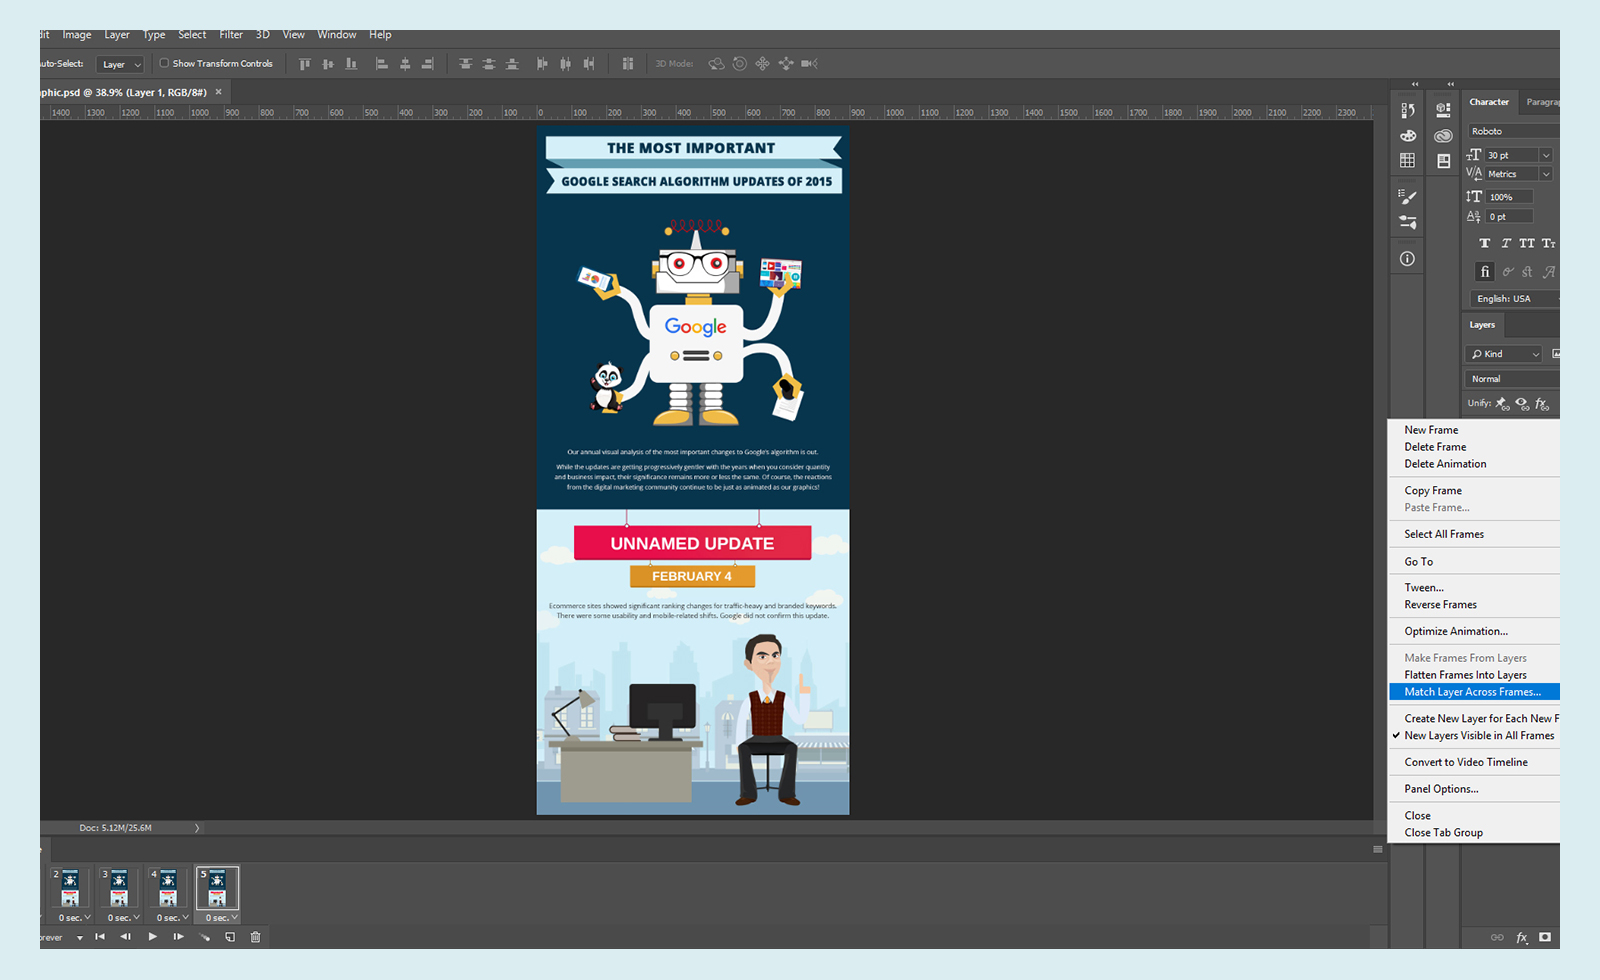
Layers Positioning
Sometimes, you may end up putting layers in the wrong frames. To fix this, you can select the same layer in a fresh frame and select “Match Layer Across Frames” option.
Gifographic Examples
Before wrapping this up, I would like to share a few good examples of gifographics. Hopefully, they will inspire you just as they did me.
- Google’s Biggest Search Algorithm Updates Of 2016
This one is my personal favorite. Incorporating Google algorithm updates in a gifographic is difficult owing to its complexity. But, with the use of the right animations and some to-the-point text, you can turn a seemingly complicated subject into an engaging piece of content. - Virtual Reality: A Fresh Perspective For Marketers
This one turns a seemingly descriptive topic into a smashing gifographic. The gifographic breaks up the Virtual Reality topic into easy-to-understand numbers, graphs, and short paragraphs with perfect use of animation. - How Google Works
I enjoy reading blog posts by Neil Patel. Just like his post, this gifographic is also comprehensive. The only difference is Neil conveys the essential message through accurately placed GIFs instead of short paragraphs. He uses only the colors that Google’s logo comprises. - The Author Rank Building Machine
This one lists different tips to help you become an authoritative writer. The animation is simple with a motion backdrop of content creation factory. Everything else is broken down into static graphs, images, and short text paragraphs. But, the simple design works, resulting in a lucid gifographic. - How Car Engines Work
Beautifully illustrated examples of how car engines work (petrol internal combustion engines and hybrid gas/electric engines). Btw, it’s worth noting that in some articles, Wikipedia is also using animated GIFs for some very similar purposes.
Wrapping Things Up
As you can see, turning your static infographic into an animated one is not very complicated. Armed with Adobe Photoshop and some creative ideas, you can create engaging and entertaining animations, even from scratch.
Of course, your gifographic can have multiple animated parts and you’ll need to work on them individually, which, in turn, will require more planning ahead and more time. (Again, a good example of a rather complex gifographic would be the one shown in “How Car Engines Work?” where different parts of the engine are explained in a series of connected animated images.) But if you plan well, sketch, create, and test, you will succeed and you will be able to make your own cool gifographics.
If you have any questions, ask me in the comments and I’ll be happy to help.
Other Resources
- “What Is An Infographic,” Customer Magnetism
An infographic about infographics - “How To Create Outstanding Modern Infographics In Illustrator,” Jonathan Patterson, EnvatoTuts
- “Build Expert Infographics For Your Next Presentation,” Adobe Creative Cloud blog
- “What’s In A GIF: Animation And Transparency,” Mike Flickinger, SourceForge
- “What Are Gifographics & 10 Ways To Use Them in Your Visual Content,” Julia McCoy, ExpressWriters
- “A Picture Is Worth A Thousand Words,” Wikipedia
- “Improve Animated GIF Performance With HTML5 Video,” Ayo Isaiah, Smashing Magazine
- “Building An Interactive Infographic With Vue.js,” Krutie Patel, Smashing Magazine
- “How To Convert A Video File Into An Animated GIF In Photoshop,” Graphic Design Stack Exchange
- “SEO Made Simple: A Step-by-Step Guide,” Neil Patel
- “Using Photoshop To Create GIFs (Gifographic),” Shane Barker, Gifographics
Further Reading
- Infinite-Scrolling Logos In Flat HTML And Pure CSS
- Sliding 3D Image Frames In CSS
- Iconography In Design Systems: Easy Troubleshooting And Maintenance
- Mid-Century Modern Illustration: Creating A Cover Book With Illustrator And InDesign


