Build A PWA With Webpack And Workbox

Email Newsletter
Weekly tips on front-end & UX.
Trusted by 182,000+ folks.


 Custom Web Forms for Angular, React, & Vue. Your backend.

 Celebrating 10 million developers
A Progressive Web App (PWA) is a site that uses modern technology to deliver app-like experiences on the web. It’s an umbrella term for new technologies such as the ‘web app manifest’, ‘service worker’, and more. When joined together, these technologies allow you to deliver fast and engaging user experiences with your website.
This article is a step-by-step tutorial for adding a service worker to an existing one-page website. The service worker will allow you to make your website work offline while also notifying your users of updates to your site. Please note that this is based on a small project that is bundled with Webpack, so we’ll be using the Workbox Webpack plugin (Workbox v4).
Using a tool to generate your service worker is the recommended approach as it lets you manage your cache efficiently. We will be using Workbox — a set of libraries that make it easy to generate your service worker code — to generate our service worker in this tutorial.
Depending on your project, you can use Workbox in three different ways:
- A command-line interface is available which lets you integrate workbox into any application you have;
- A Node.js module is available which lets you integrate workbox into any Node build tool such as gulp or grunt;
- A webpack plugin is available which lets you easily integrate with a project that is built with Webpack.
Webpack is a module bundler. To simplify, you can think of it as a tool that manages your JavaScript dependencies. It allows you to import JavaScript code from libraries and bundles your JavaScript together into one or many files.
To get started, clone the following repository on your computer:
git clone git@github.com:jadjoubran/workbox-tutorial-v4.git
cd workbox-tutorial-v4
npm install
npm run dev
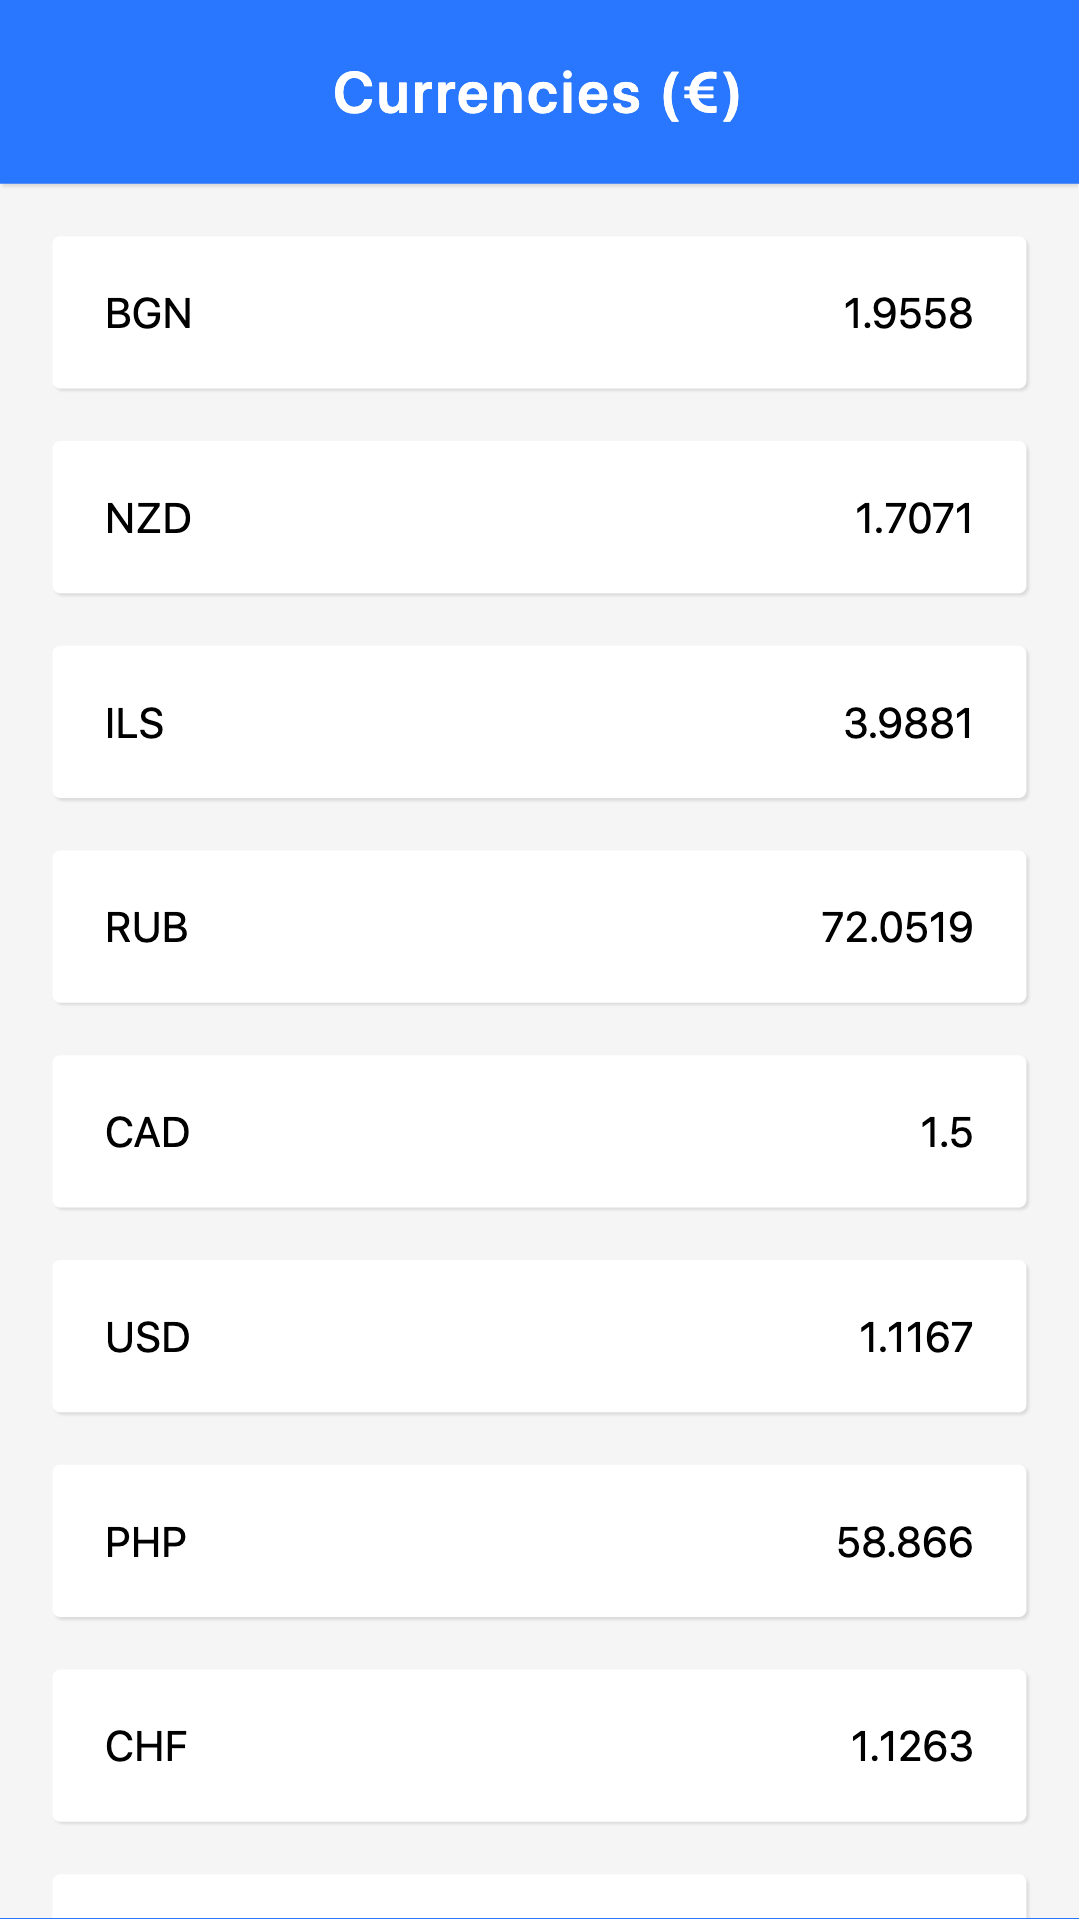
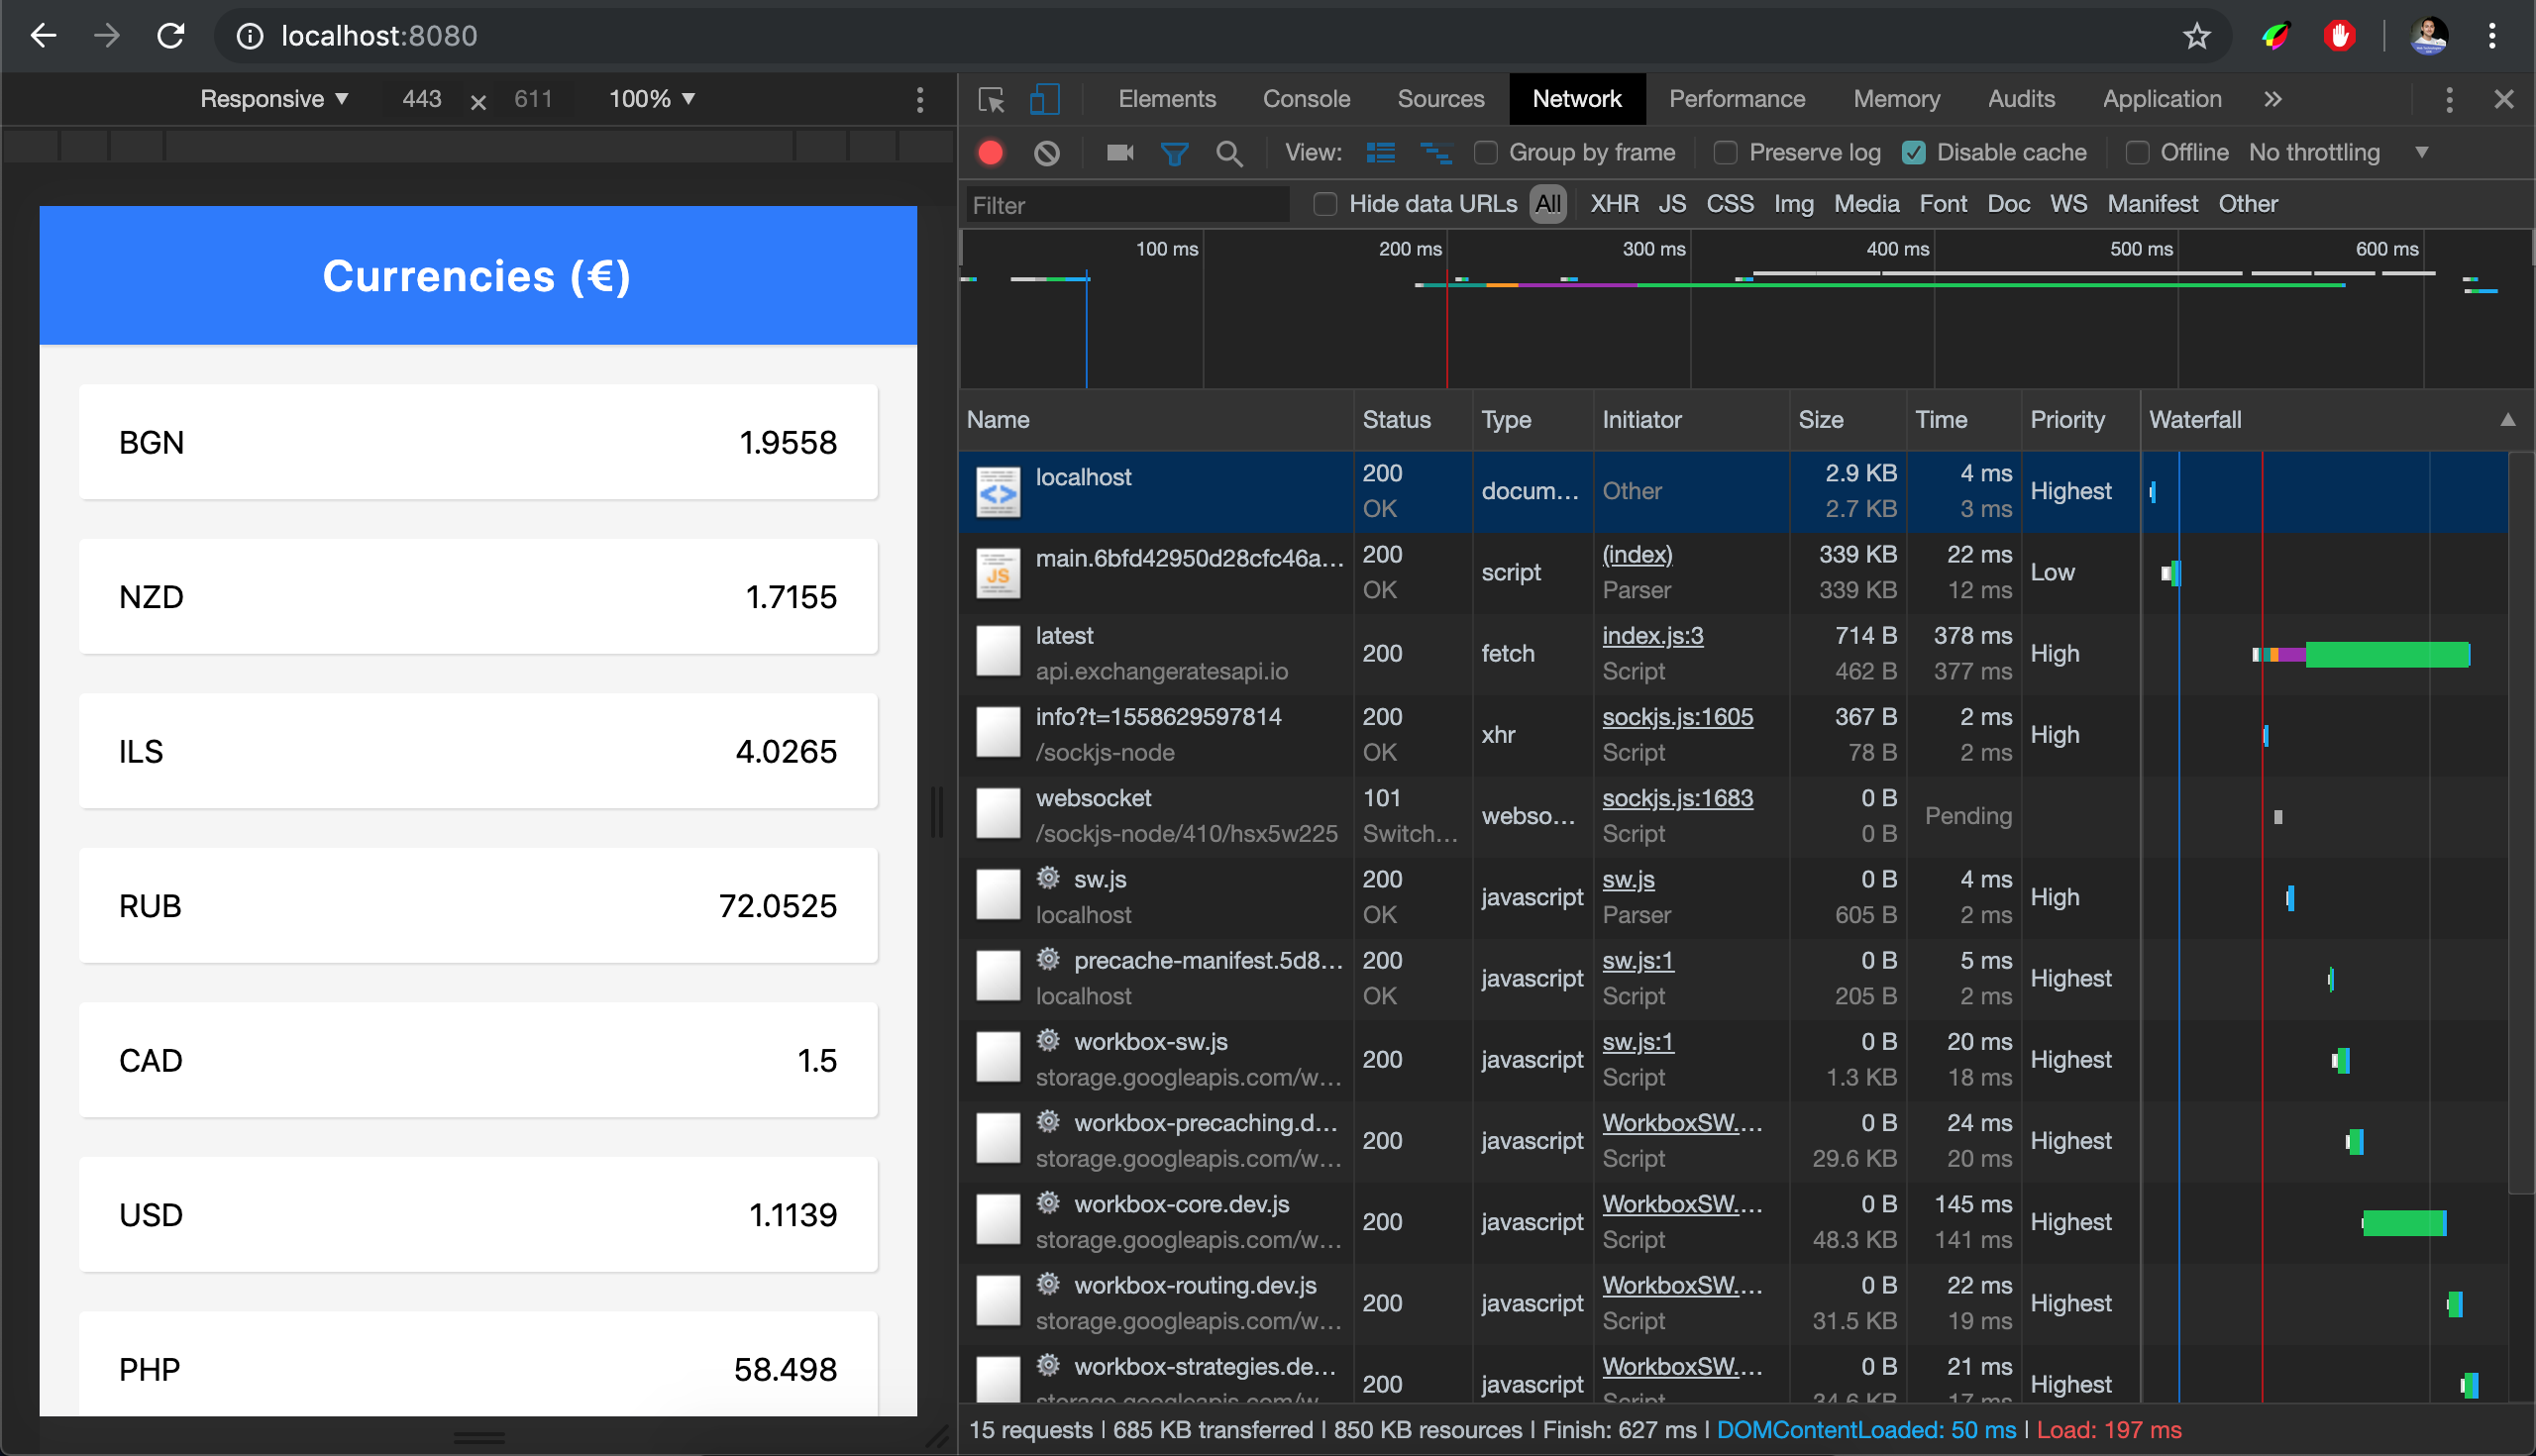
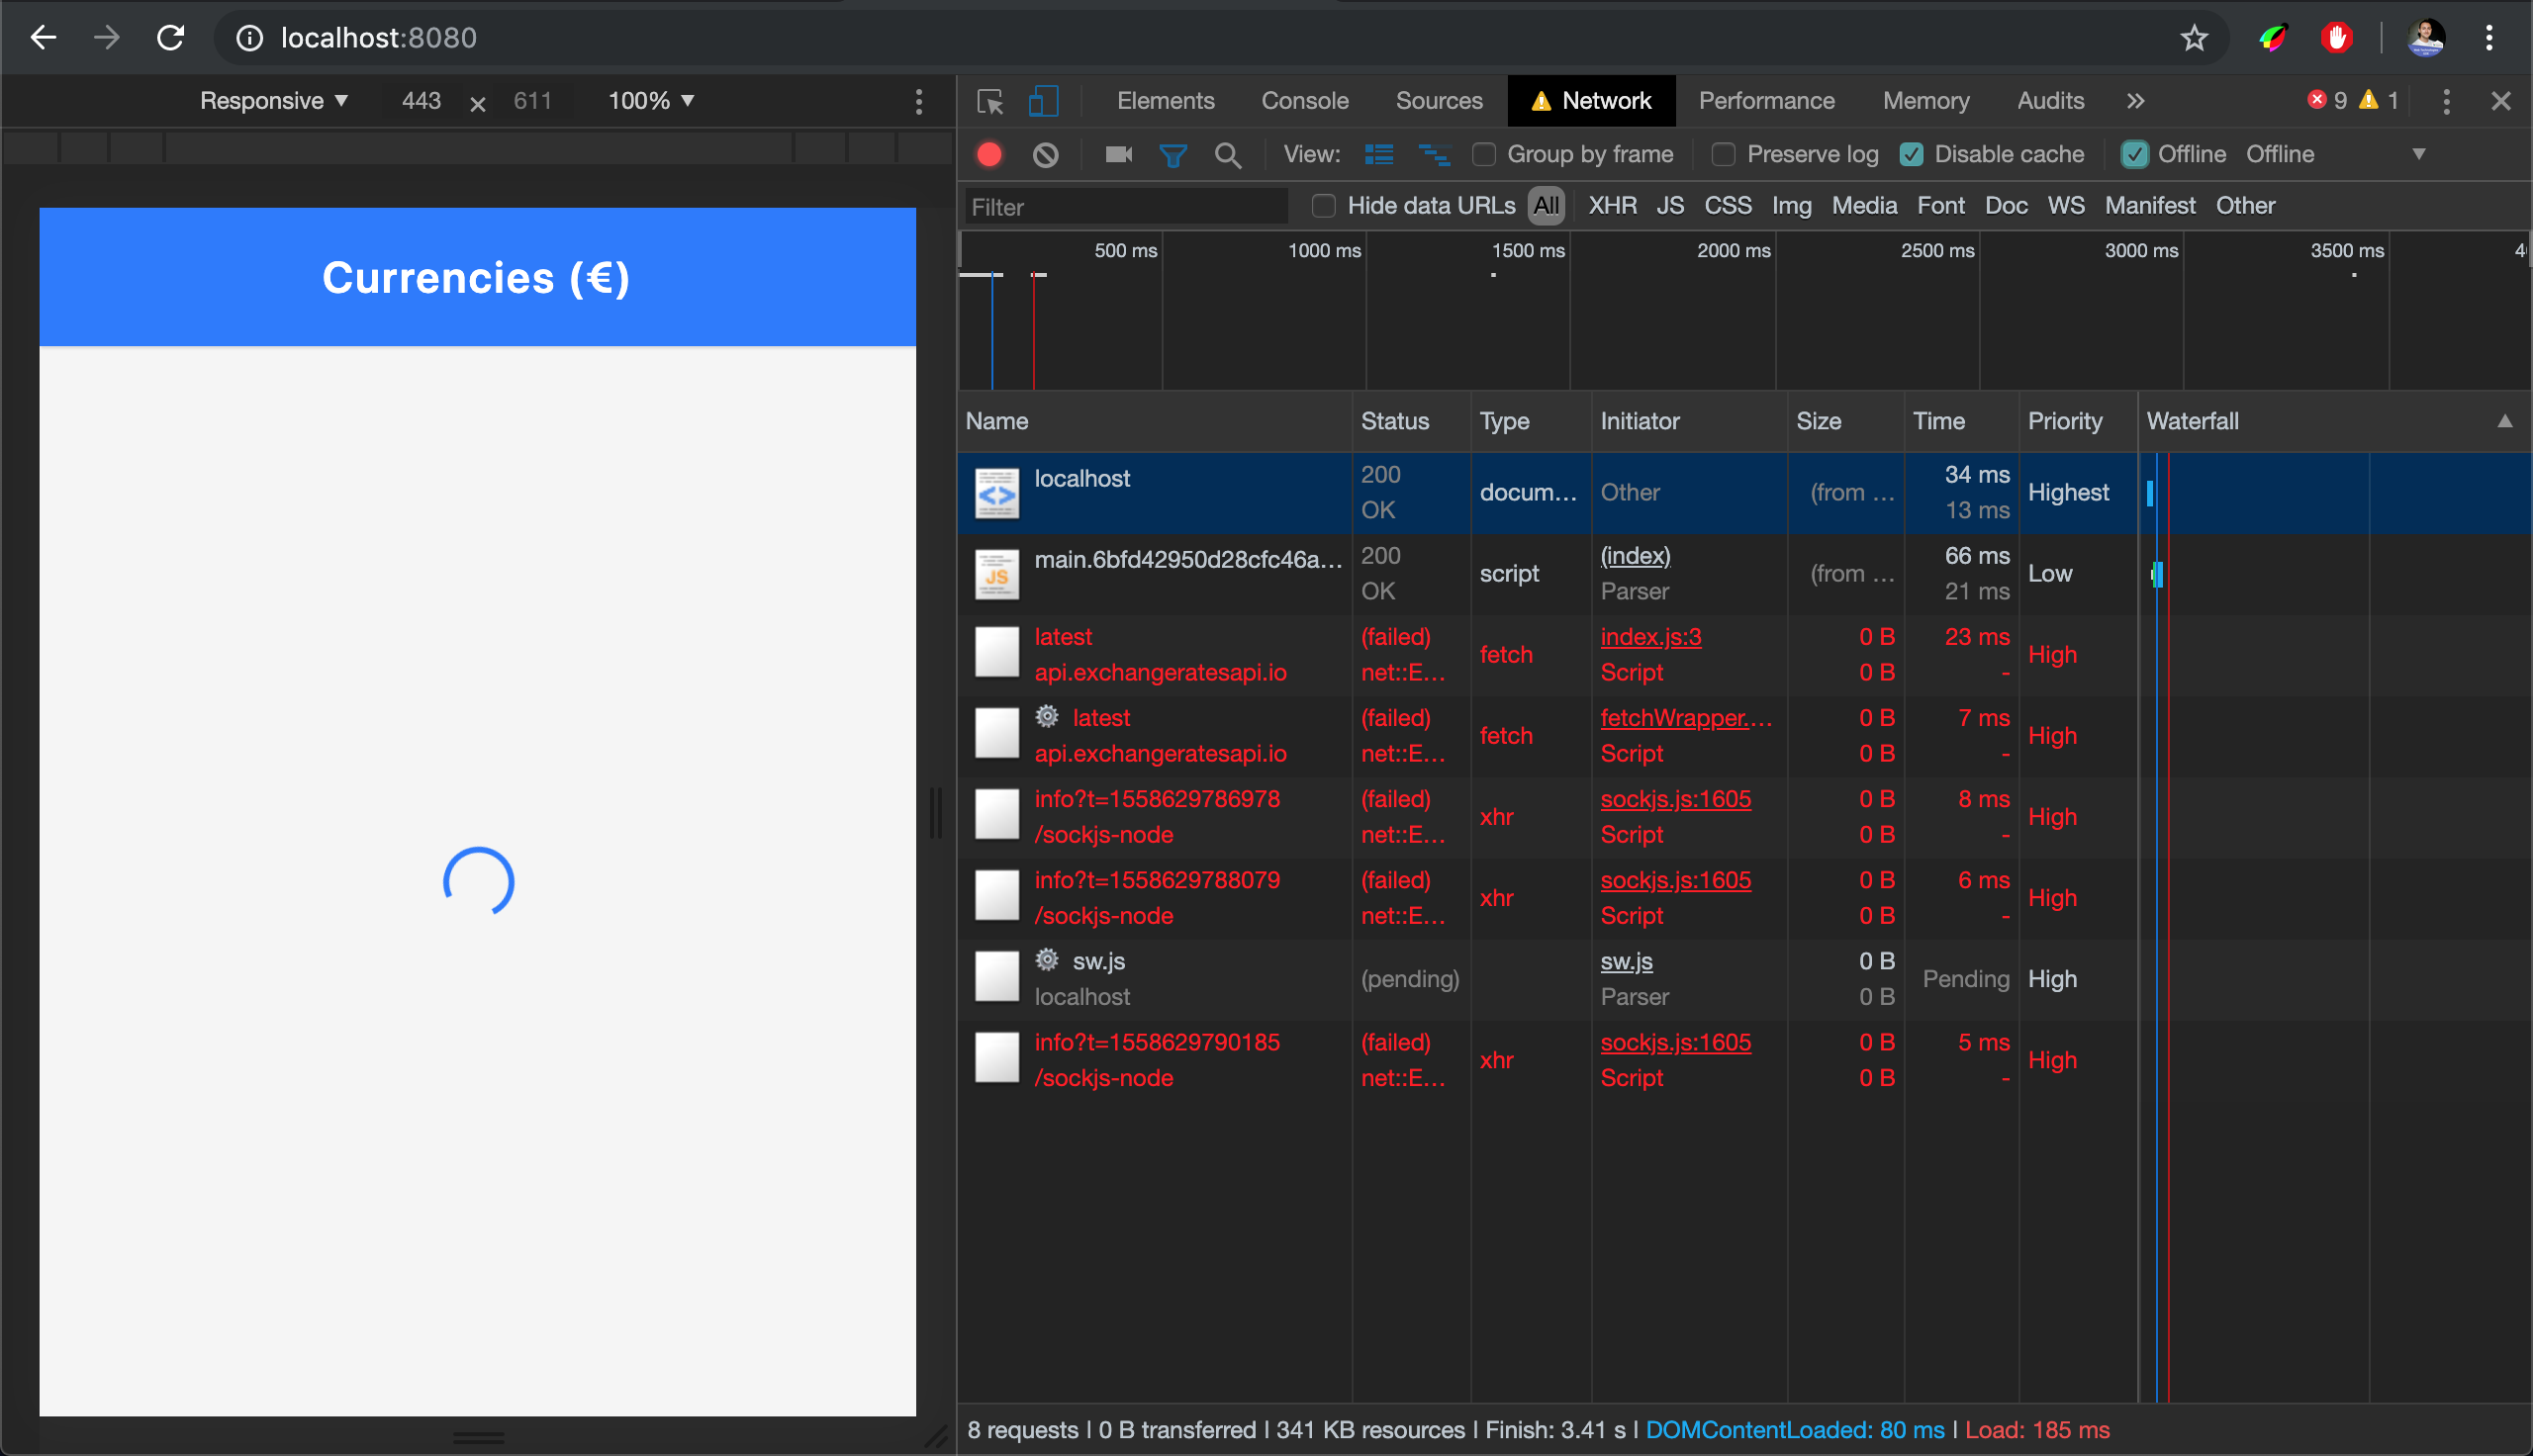
Next, navigate to https://localhost:8080/. You should be able to see the currency app we’ll be using throughout this tutorial:
Start With An App Shell
The application shell (or ‘app shell’) is a pattern inspired from Native Apps. It will help give your app a more native look. It simply provides the app with a layout and structure without any data — a transitional screen that is aimed to improve the loading experience of your web app.
Here are some examples of app shells from native apps:

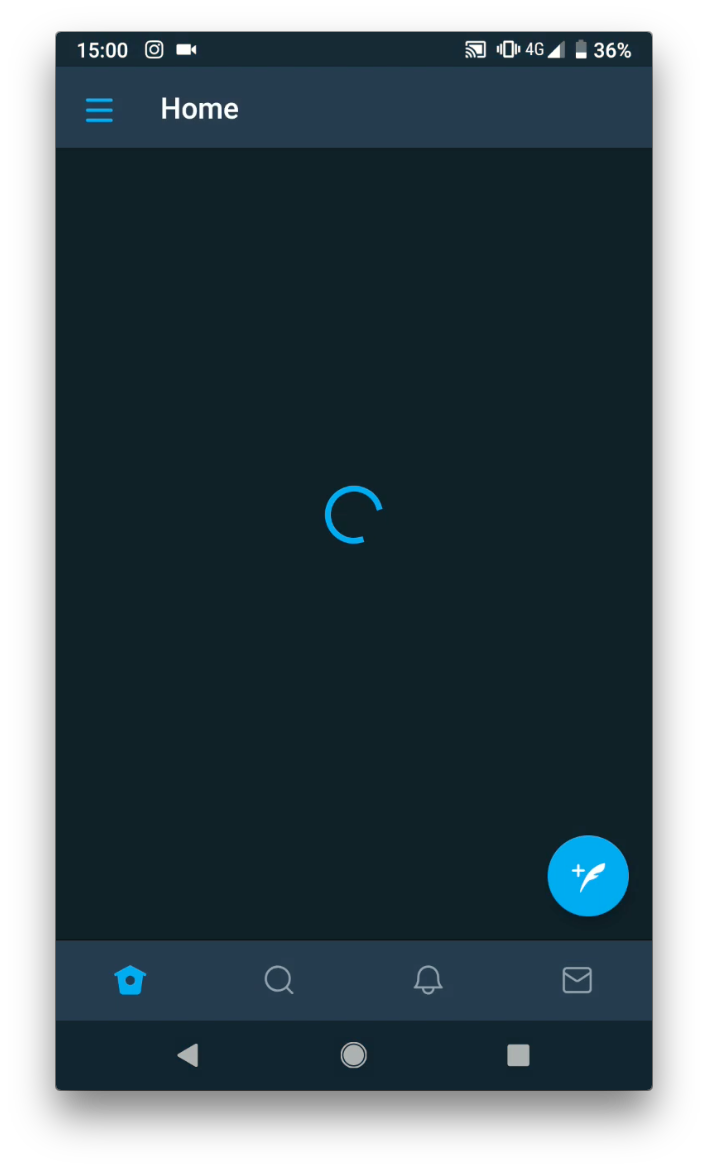
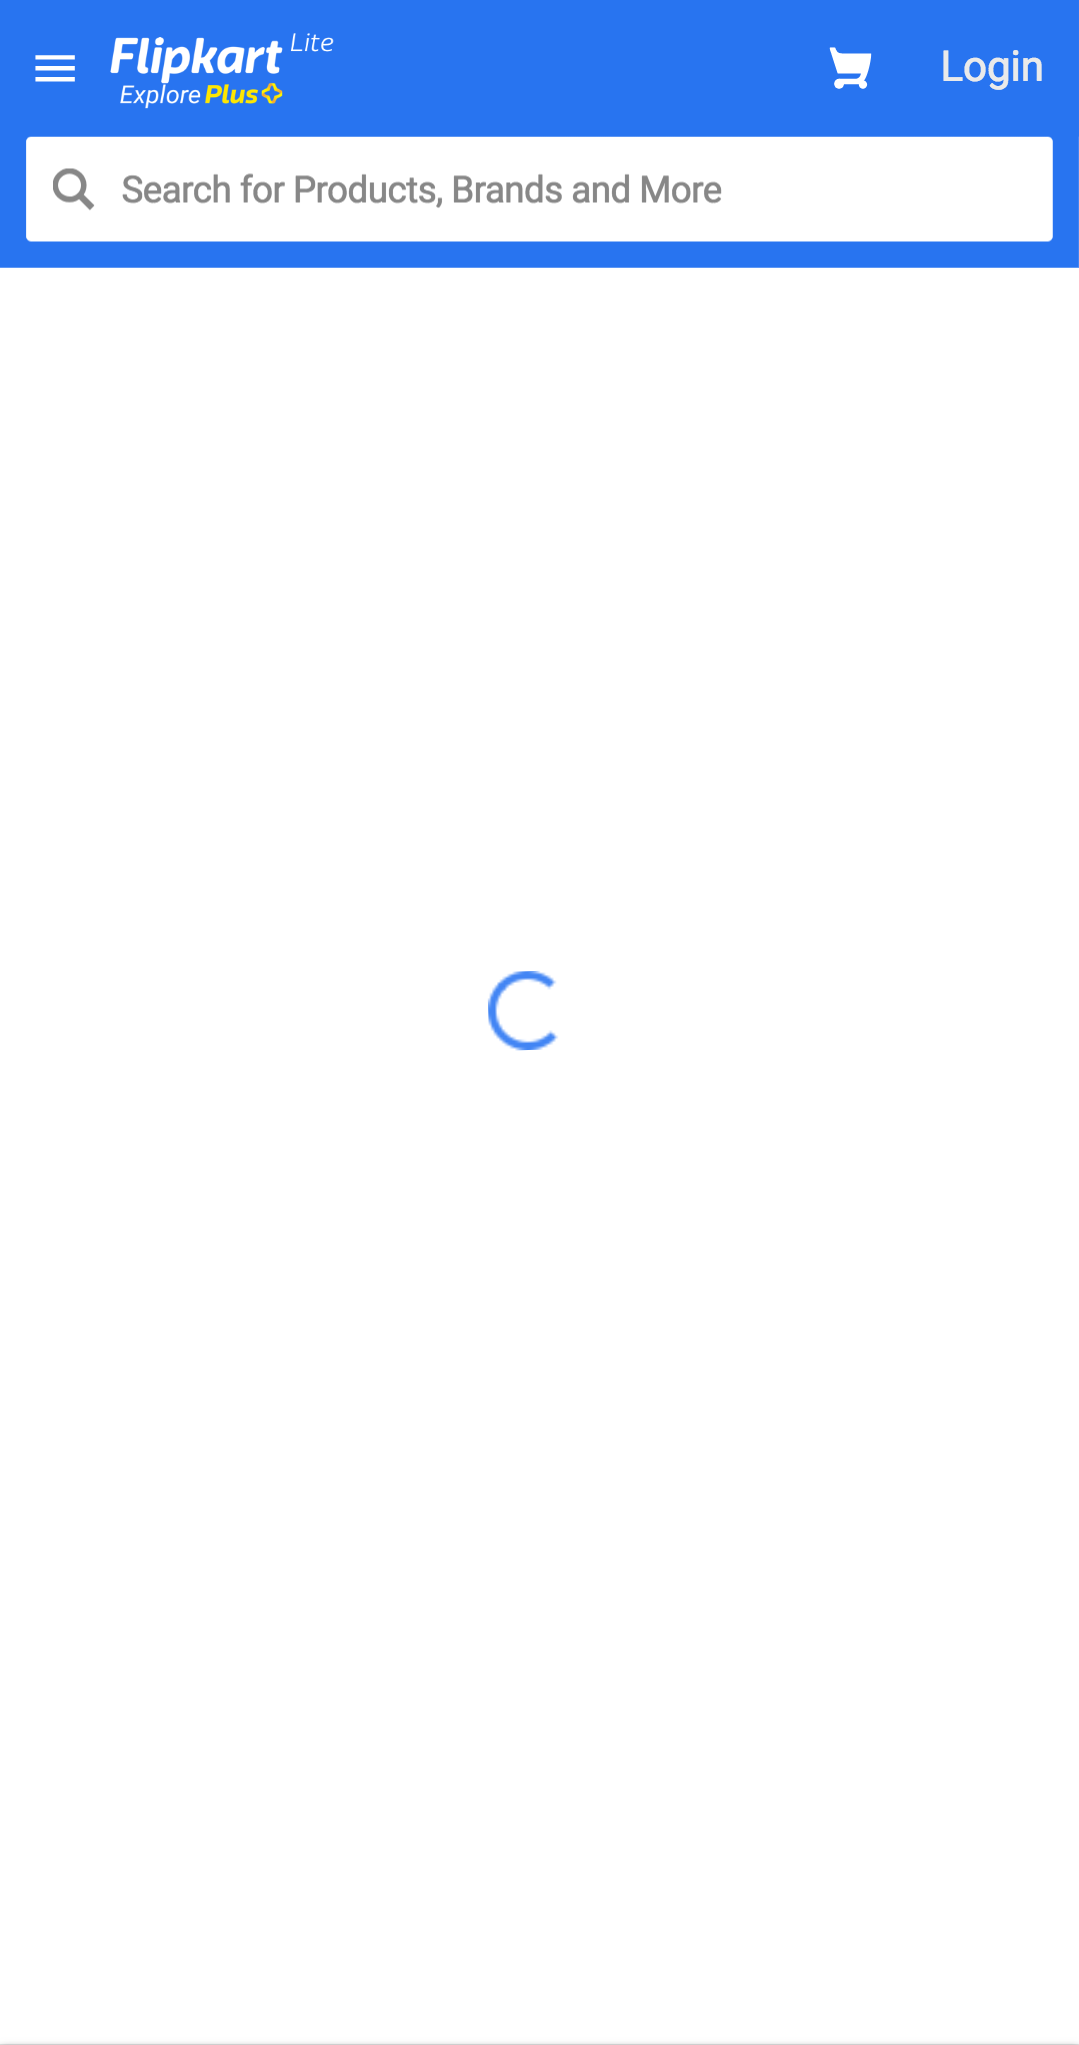
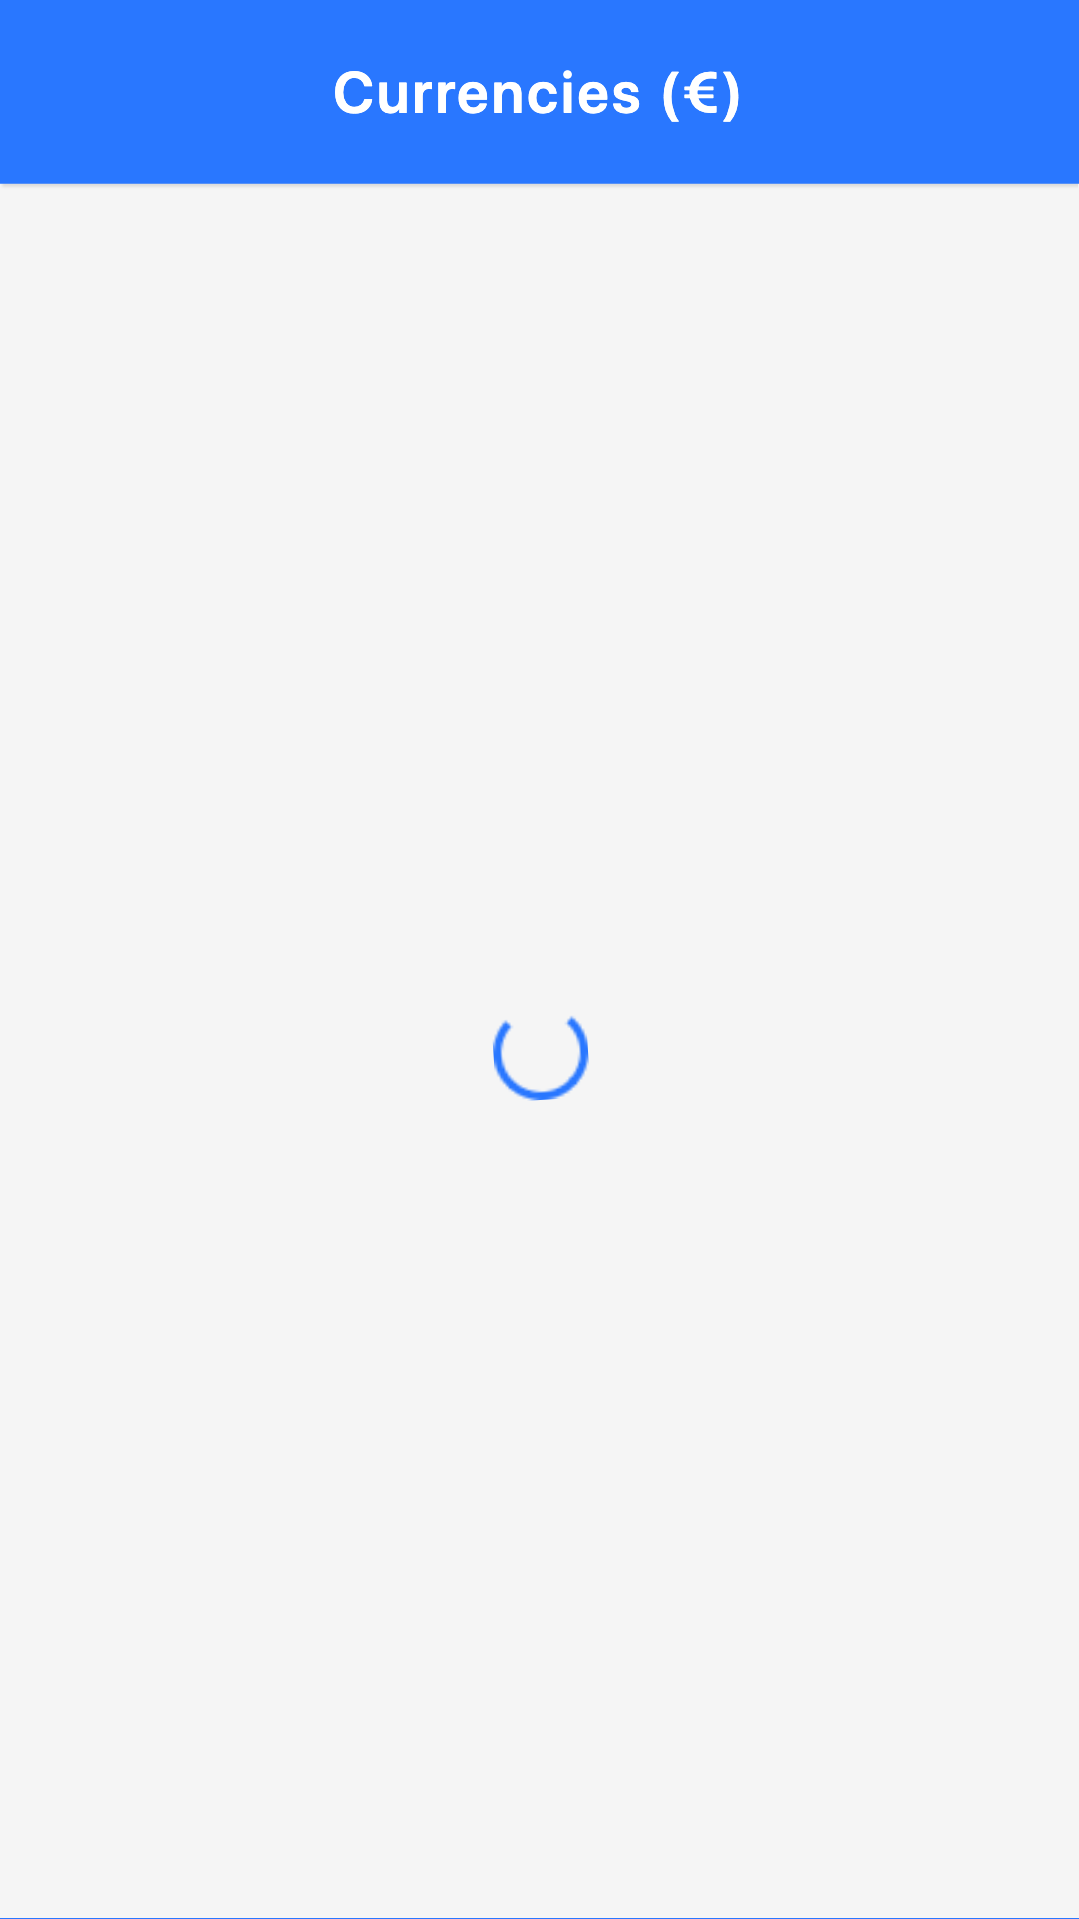
And here are examples of app shells from PWAs:

Users like the loading experience of app shells because they despise blank screens. A blank screen makes the user feel that the website is not loading. It makes them feel as if the website were stuck.
App shells attempt to paint the navigational structure of the app as soon as possible, such as the navbar, the tab bar as well as a loader signifying that the content you’ve requested is being loaded.
So How Do You Build An App Shell?
The app shell pattern prioritizes the loading of the HTML, CSS and JavaScript that will render first. This means that we need to give those resources full priority, hence you have to inline those assets. So to build an app shell, you simply have to inline the HTML, CSS and JavaScript that are responsible for the app shell. Of course, you should not inline everything but rather stay within a limit of around 30 to 40KB total.
You can see the inlined app shell in the index.html. You can inspect the source code by checking out the index.html file, and you can preview it in the browser by deleting the `
Does It Work Offline?
Let’s simulate going offline! Open DevTools, navigate to the network tab and tick the ‘Offline’ checkbox. When you reload the page, you will see that we will get the browser’s offline page.
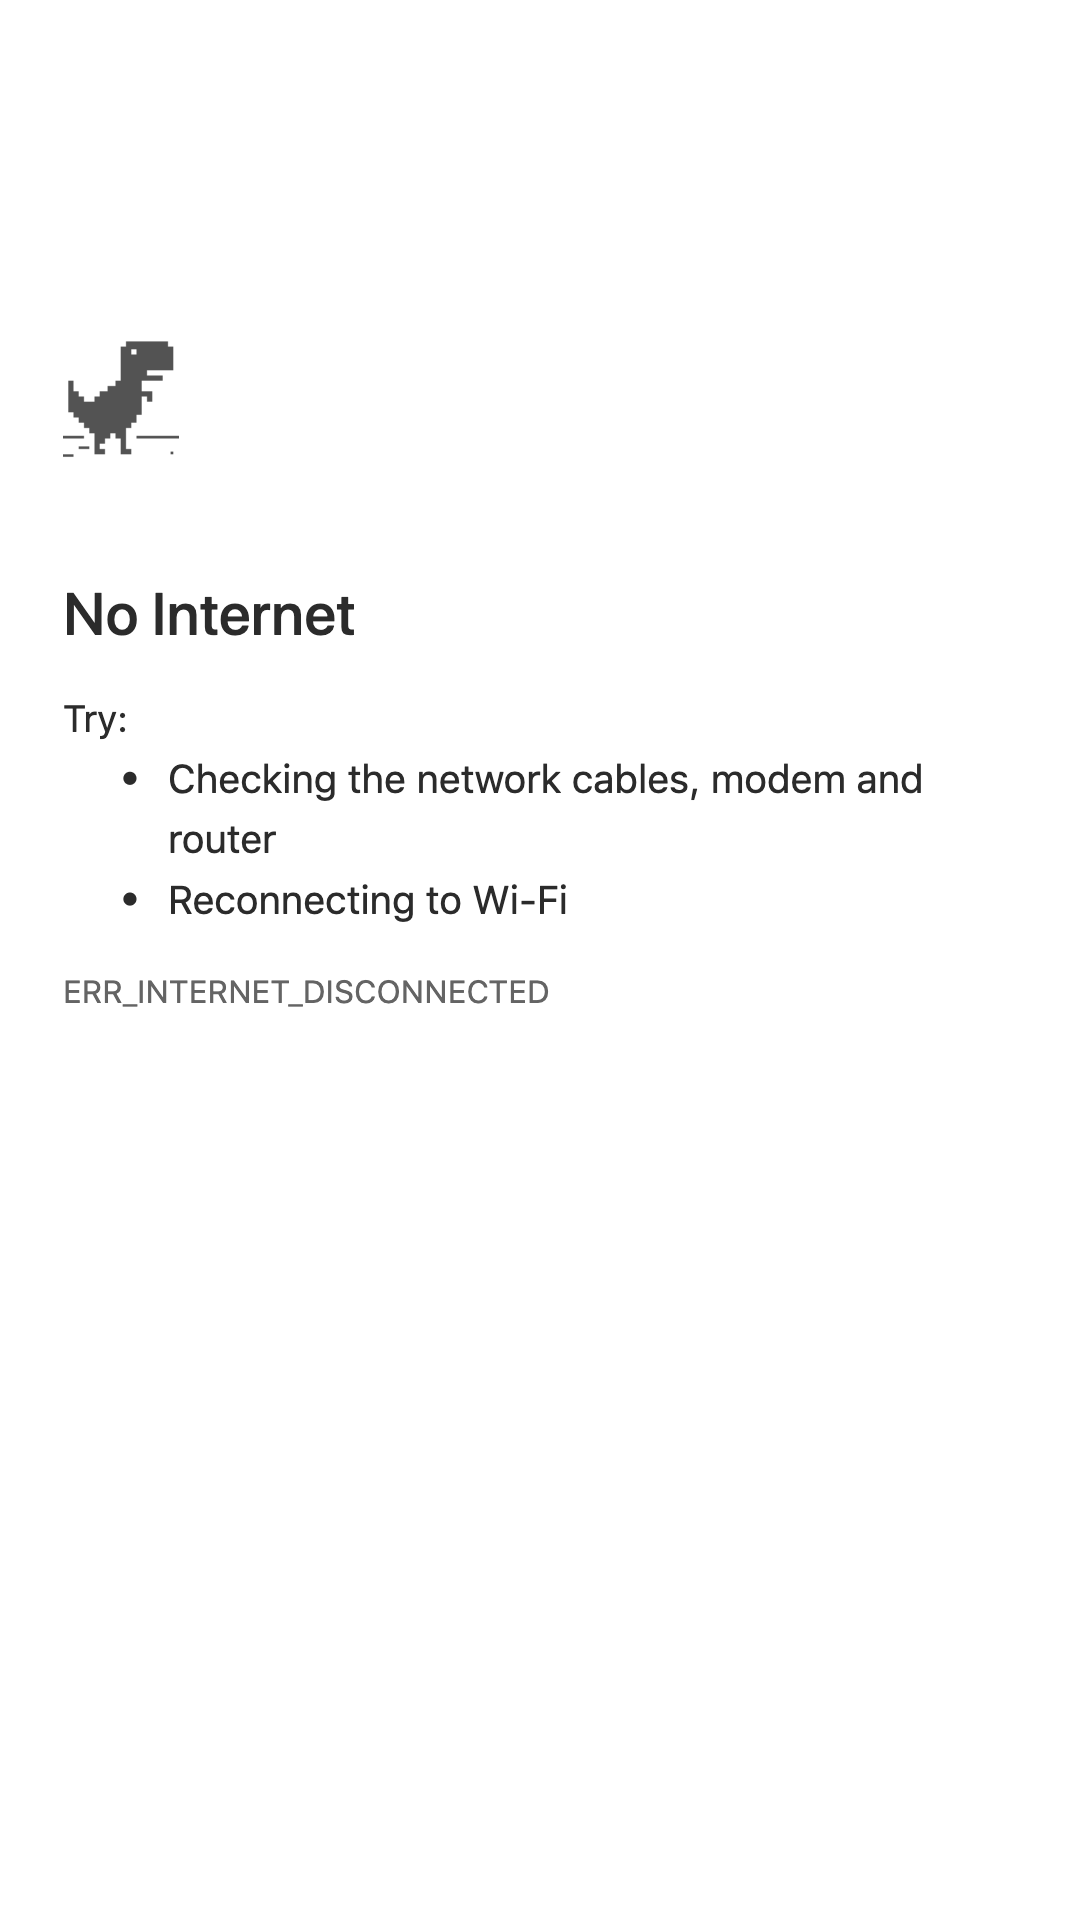
That’s because the initial request to / (which will load the index.html file) will fail because the Internet is offline. The only way for us to recover from that request failure is by having a service worker.
Let’s visualize the request without a service worker:

A service worker is a programmable network proxy, which means it sits in between your web page and the Internet. This lets you control incoming and outgoing network requests.
This is beneficial because we can now re-route this failed request to the cache (assuming we have the content in the cache).
A service worker is also a type of Web Worker, meaning that it runs separately from your main page and doesn’t have access to either the window or document object.
Precache The App Shell
In order to make our app work offline, we’re going to start by precaching the app shell.
So let’s start by installing the Webpack Workbox plugin:
npm install --save-dev workbox-webpack-plugin
Then we’re going to open our index.js file and register the service worker:
if ("serviceWorker" in navigator){
window.addEventListener("load", () => {
navigator.serviceWorker.register("/sw.js");
})
}
Next, open the webpack.config.js file and let’s configure the Workbox webpack plugin:
//add at the top
const WorkboxWebpackPlugin = require("workbox-webpack-plugin");

//add inside the plugins array:
plugins: [
…
, new WorkboxWebpackPlugin.InjectManifest({
  swSrc: "./src/src-sw.js",
  swDest: "sw.js"
})
]
This will instruct Workbox to use our ./src/src-sw.js file as a base. The generated file will be called sw.js and will be in the dist folder.
Then create a ./src/src-sw.js file at the root level and write the following inside of it:
workbox.precaching.precacheAndRoute(self.__precacheManifest);
Note: The self.__precacheManifest variable will be imported from a file that will be dynamically generated by workbox.
Now you’re ready to build your code with npm run build and Workbox will generate two files inside the dist folder:
- precache-manifest.66cf63077c7e4a70ba741ee9e6a8da29.js
- sw.js
The sw.js imports workbox from CDN as well as the precache-manifest.[chunkhash].js.
//precache-manifest.[chunkhash].js file
self.__precacheManifest = (self.__precacheManifest || []).concat([

    "revision": "ba8f7488757693a5a5b1e712ac29cc28",
    "url": "index.html"
  },

    "url": "main.49467c51ac5e0cb2b58e.js"

]);
The precache manifest lists the names of the files that were processed by webpack and that end up in your dist folder. We will use these files to precache them in the browser. This means that when your website loads the first time and registers the service worker, it will cache these assets so that they can be used the next time.
You can also notice that some entries have a ‘revision’ whereas others don’t. That’s because the revision can sometimes be inferred from the chunkhash from the file name. For example, let’s take a closer look at the file name main.49467c51ac5e0cb2b58e.js. It has a revision is in the filename, which is the chunkhash 49467c51ac5e0cb2b58e.
This allows Workbox to understand when your files change so that it only cleans up or updates the files that were changed, rather than dumping all the cache every time you publish a new version of your service worker.
The first time you load the page, the service worker will install. You can see that in DevTools. First, the sw.js file is requested which then requests all the other files. They are clearly marked with the gear icon.
So Workbox will initialize and it will precache all the files that are in the precache-manifest. It is important to double check that you don’t have any unnecessary files in the precache-manifest file such as .map files or files that are not part of the app shell.
In the network tab, we can see the requests coming from the service worker. And now if you try to go offline, the app shell is already precached so it works even if we’re offline!
Cache Dynamic Routes
Did you notice that when we went offline, the app shell works but not our data? That’s because these API calls are not part of the precached app shell. When there’s no Internet connection, these requests will fail and the user won’t be able to see the currency information.
However, these requests cannot be precached because their value comes from an API. Moreover, when you start having multiple pages, you don’t want to cache all API request in one go. Instead, you want to cache them when the user visits that page.
We call these ‘dynamic data’. They often include API calls as well as images and other assets that are requested when a user does a certain action on your website (e.g. when they browse to a new page).
You can cache these using Workbox’s routing module. Here’s how:
//add in src/src-sw.js
workbox.routing.registerRoute(
  /https:\/\/api\.exchangeratesapi\.io\/latest/,
  new workbox.strategies.NetworkFirst({
    cacheName: "currencies",
    plugins: [
      new workbox.expiration.Plugin({
        maxAgeSeconds: 10 * 60 // 10 minutes
      })
    ]
  })
);
This will set up dynamic caching for any request URL that matches the URL https://api.exchangeratesapi.io/latest.
The caching strategy that we used here is called NetworkFirst; there are two other ones that are often used:
CacheFirstStaleWhileRevalidate
CacheFirst will look for it in the cache first. If it’s not found, then it will get it from the network. StaleWhileRevalidate will go to the network and the cache at the same time. Return the cache’s response to the page (while in the background) it will use the new network response to update the cache for the next time it’s used.
For our use case, we had to go with NetworkFirst because we’re dealing with currency rates that change very often. However, when the user goes offline, we can at least show them the rates as they were 10 minutes ago — that’s why we used the expiration plugin with the maxAgeSeconds set to 10 * 60 seconds.
Manage App Updates
Everytime a user loads your page, the browser will run the navigator.serviceWorker.register code even though the service worker is already installed and running. This allows the browser to detect if there’s a new version of the service worker. When the browser notices that the file has not changed, it just skips the registration call. Once that file changes, the browser understands that there’s a new version of the service worker, thus it installs the new service worker parallel to the currently running service worker.
However, it pauses at the installed/waiting phase because only one service worker can be activated at the same time.

Only when all the browser windows controlled by the previous service worker are closed, then it becomes safe for the new service worker to activate.
You can also manually control that by calling skipWaiting() (or self.skipWaiting() since self is the global execution context in the service worker). However, most of the time you should only do that after asking the user if they want to get the latest update.
Thankfully, workbox-window helps us achieve this. It’s a new window library introduced in Workbox v4 that aims at simplifying common tasks on the window’s side.
Let’s start by installing it with the following:
npm install workbox-window
Next, import Workbox at the top of the file index.js:
import { Workbox } from "workbox-window";
Then we’ll replace our registration code with the below:
if ("serviceWorker" in navigator) {
  window.addEventListener("load", () => {
      const wb = new Workbox("/sw.js");

wb.register();
  });

}
We’ll then find the update button which has the ID workbox-waiting event:
//add before the wb.register()
const updateButton = document.querySelector("#app-update");
// Fires when the registered service worker has installed but is waiting to activate.
wb.addEventListener("waiting", event => {
    updateButton.classList.add("show");
    updateButton.addEventListener("click", () => {
    // Set up a listener that will reload the page as soon as the previously waiting service worker has taken control.
    wb.addEventListener("controlling", event => {
        window.location.reload();
    });

    // Send a message telling the service worker to skip waiting.
    // This will trigger the `controlling` event handler above.
    wb.messageSW({ type: "SKIP_WAITING" });
    });
});
This code will show the update button when there’s a new update (so when the service worker is in a waiting state) and will send a SKIP_WAITING message to the service worker.
We’ll need update the service worker file and handle the SKIP_WAITING event such that it calls the skipWaiting:
//add in src-sw.js
addEventListener("message", event => {
  if (event.data && event.data.type === "SKIP_WAITING") {
    skipWaiting();

});
Now run npm run dev then reload the page. Go into your code and update the navbar title to “Navbar v2”. Reload the page again, and you should be able to see the update icon.
Wrapping Up
Our website now works offline and is able to tell the user about new updates. Please keep in mind though, that the most important factor when building a PWA is the user experience. Always focus on building experiences that are easy to use by your users. We, as developers, tend to get too excited about technology and often end up forgetting about our users.
If you’d like to take this a step further, you can add a web app manifest which will allow your users to add the site to their home screen. And if you’d like to know more about Workbox, you can find the official documentation on the Workbox website.
Further Reading
- Can You Make More Money With A Mobile App Or A PWA?
- An Extensive Guide To Progressive Web Applications
- Native And PWA: Choices, Not Challengers!
- Building A PWA Using Angular 6


