CSS Lists, Markers, And Counters

Email Newsletter
Weekly tips on front-end & UX.
Trusted by 200,000+ folks.


Lists in CSS have particular properties which give us the standard list styling we expect. An unordered list gains a list bullet, of the type disc, and ordered lists are numbered. My interest in exploring lists in more detail came from some work I did to document the ::marker pseudo-element for MDN. This pseudo-element ships in Firefox 68 and is being released today. With the ::marker pseudo element available to us, we can start to do some interesting things with lists, and in this article, I’ll explain more.
Deconstructing A List
You may not have thought much about lists, although we use them frequently in our markup. Many things can be marked up quite logically as a list. While step-by-step instructions or ranked elements may naturally be described by an ordered list <ol>, many things in a design can be described using an unordered list <ul>. A very common usage of the element, for example, is to mark up navigation, as it is a list of destinations on the site. For our exploration, let’s start by finding out exactly what a list is in CSS.
As with many things in CSS, lists have some initial values applied to them. These values make them look like a list. These special values begin with the information that a list item has the display property with a value of list-item. This creates a block-level box, with an additional marker box. The marker box is where the list bullet or number is added.
Lists were defined early on in CSS, and much of the definition of lists as we use them today is from CSS2. The CSS2 specification describes a list item as follows:
“An element withdisplay: list-itemgenerates a principal block box for the element’s content and, depending on the values oflist-style-typeandlist-style-image, possibly also a marker box as a visual indication that the element is a list item.”
The principal block box is the main box of the element and contains all of the children as a list item can contain other markup. The marker box is then placed in respect to this principal box. The specification goes on to detail the fact that any background color will be only behind this principal box, and not the marker. Also that the marker can be set to one of a range of pre-defined values:
disccirclesquaredecimaldecimal-leading-zerolower-romanupper-romanlower-greeklower-latinupper-latinarmeniangeorgianlower-alphaupper-alphanoneinherit
The Level 3 display specification defines display: list-item along with the other possible values for the display property. It refers back to CSS 2.1 — as do many CSS properties and values which come from CSS2 — but describes the list-item keyword as, “causing the element to generate a ::marker pseudo-element”.
The Level 3 specification also introduces the ability to create an inline list item with the two value syntax being used display: inline list-item. This is as yet unimplemented by browsers.
Creating Marker Boxes On Non-List Items
As with other values of display, it is perfectly valid to give any HTML element a display type of list-item (should you wish to generate a ::marker pseudo-element on the item). This will not cause the element to become a list item semantically, but instead it will only visually display as a list item, and therefore be able to have a ::marker. When we discuss the ::marker pseudo-element below, you will discover some cases where giving other elements display: list-item can be useful.
The CSS Lists Level 3 Specification: ::marker And Counters
The display specification expands and clarifies the definition of lists that we find in CSS2, however, there is also a specification which defines list behavior in detail: the CSS Lists Specification Level 3. As the basic behavior of list items is defined in display, this specification details the marker box generated when something has display: list-item along with the counters which are used by default whenever you create an ordered list. There is some potentially useful functionality accessed via these features.
The ::marker Pseudo-Element
The ::marker pseudo-element allows you to target the list marker — separately from the content of the list item. This was not possible in previous versions of CSS, therefore, if you changed the color or font size of the ul or li, this would also change the color and font size of the markers. In order to do something as seemingly simple as having different color list bullets than text, would involve either wrapping the content of the list item in a span (or using an image for the marker).
ul {
  color: #00b7a8;
}

ul span {
  color #333;
}
With the ::marker pseudo element, the simplest thing you might want to try is having a different bullet to text color, which means that instead of the code in the example above you can use:
ul {
    color: #333;
}

ul ::marker {
    color: #00b7a8;
}
You might also want to use a different size and font-family for the numbering on an ordered list.
ol ::marker {
  font-size: 200%;
  color: #00b7a8;
  font-family: "Comic Sans MS", cursive, sans-serif;
}
You can see all of these in a supporting browser by using my CodePen example:
See the Pen [Colored bullets with and without marker](https://codepen.io/rachelandrew/pen/VJQyoR) by Rachel Andrew.
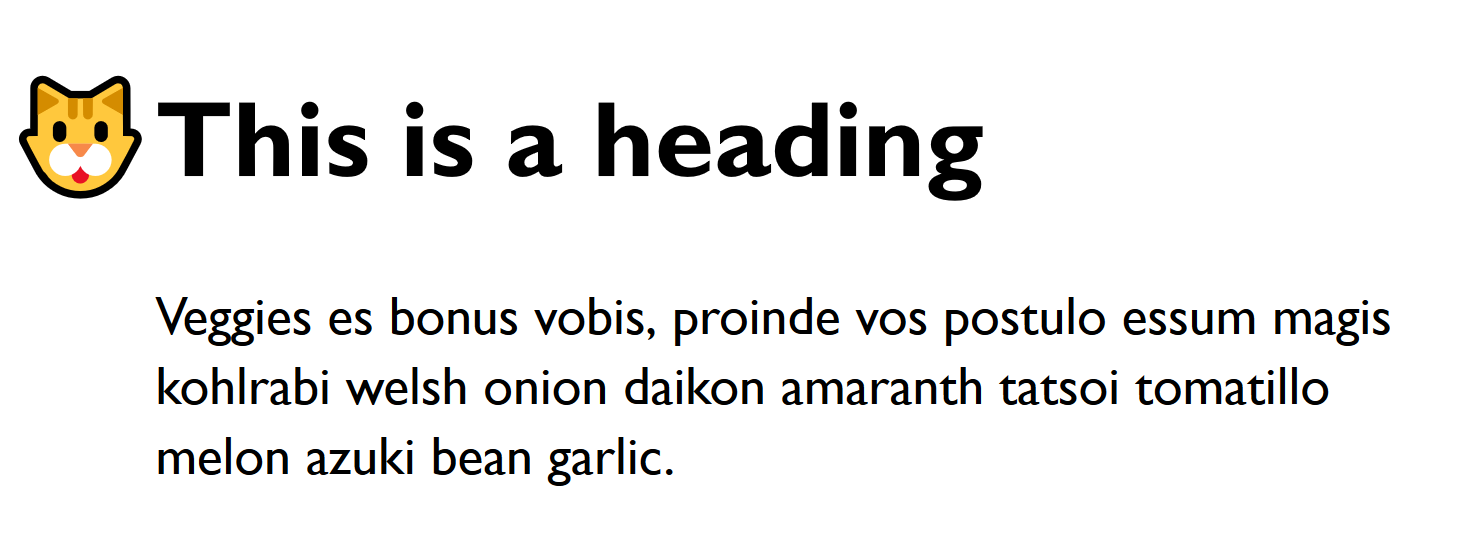
You could use the ::marker pseudo-element on non-list items. In the code below, I have set a heading to display: list-item. This gives it a bullet and therefore a ::marker box to target.
I have changed the bullet to use an emoji:
h1 {
  display: list-item;
}

h1::marker {
  content: "🐱";
}
See the Pen [Heading and marker](https://codepen.io/rachelandrew/pen/wLyyMG) by Rachel Andrew.
In the above example, I have used generated content in the rules for the marker. Only a small subset of CSS properties is available for use on ::marker. These include font properties and color, however, they also include the content property, for including generated content.
The addition of content as an allowed property for ::marker is recent, however, it is included in the Firefox implementation. The inclusion means that you can do things like include a string of text in a ::marker. It also raises additional possibilities for formatting of markers when you combine the use of counters with ::marker.
Browser Support And Fallbacks
For browsers that do not support the ::marker pseudo-element, the fallback is the regular marker that would have been displayed anyway. Unfortunately, we can’t currently use Feature Queries to detect support for selectors such as this pseudo-element right now, although there has been an issue raised about adding this to the specification. This means that you can’t fork your code to do one thing when you have support and something else if you do not. In most cases, falling back to the regular marker will be a reasonable solution.
Counters
Ordered lists have list numbering — something which is achieved by way of a CSS Counter. The CSS Lists specification therefore also describes these counters. We can access and create counters ourselves which, combined with the ::marker pseudo-element can give us some useful functionality. These counters can also be used in regular (non ::marker) generated content.
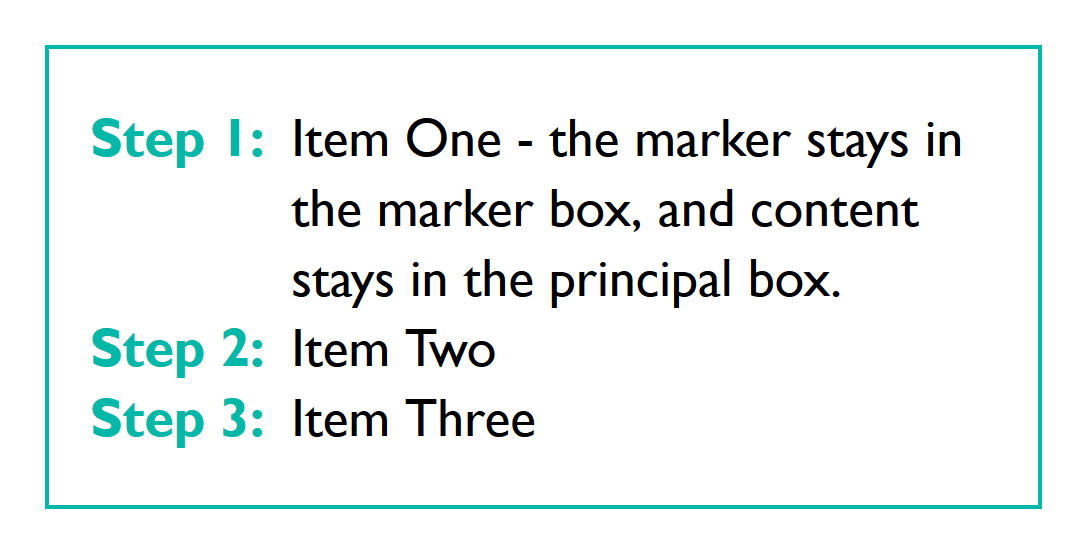
If I have a numbered list of steps (and I would like to write out “Step 1”, “Step 2”, and so on), I can do this by using generated content in my marker and appending the list-item counter, this represents the built-in counter:
::marker {
  content: "Step " counter(list-item) ": ";
}
See the Pen [Counters and marker](https://codepen.io/rachelandrew/pen/BgRaoz) by Rachel Andrew.
Nested Counters
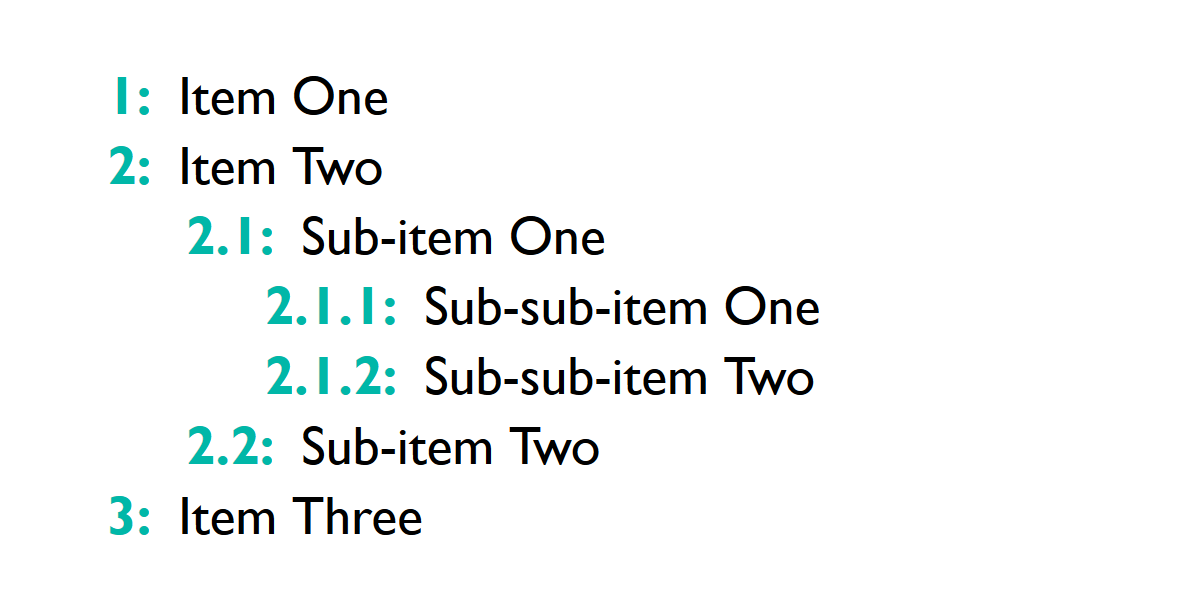
If you have nested lists, a common way to number them is to have the top-level item a whole number, (1), then child items as (1.1, 1.2) and their children (1.1.1, 1.1.2), and so on. You can achieve this by using more functionality of counters.
When you nest HTML lists, you will end up with multiple counters of the same name — nested inside each other. The nest of counters can be accessed using the counters() function.
In the code below, I am using counters() to format my list markers as described above. The first argument for counters() is the name of the counter to use. I’m using the built-in list-item counter. The second argument is a string — this is what will be concatenated between output counters (I’m using a .). Finally, I add a : outside of the counter function but inside the value of content so that my counter output will be separated from the content by a colon.
::marker {
  content: counters(list-item,'.') ':';
  color: #00b7a8;
  font-weight: bold;
}
This gives me the output as in the image. If you are using a browser which supports ::marker and counters, then you can see it working in the CodePen example — try changing the string from a . to something else to see how that changes the output.
See the Pen [Nested counters](https://codepen.io/rachelandrew/pen/VJbwxL) by Rachel Andrew.
What’s The Difference Between counter() And counters()?
The counter() function we used in the first example to write out our steps uses the innermost counter only. Therefore, in the situation where you have a set of nested lists, you will write out the counter which related to the level you are currently on.
The counters() function essentially writes out that whole branch and gives you the opportunity to concatenate a string between counters in the branch. So if you have a list item with a counter of 2 (which is part of a list nested inside a list item with a counter of 4), then the branch contains:
42
You can output this as 4.2 in the marker by using:
::marker {
  content: counters(list-item,'.');
}
Counters On Other Elements
Counters can be used on things which are not lists — either to output a marker — in which case the element will need to have display: list-item — or to output regular generated content. Counters are used extensively in book production, in order to enable chapter and figure numbering amount other things. There is no reason not to take a similar approach on the web, in particular for longer articles.
The CSS properties defined in the CSS Lists specification which deal with these counters are:
counter-setcounter-resetcounter-increment
To see how these work outside of lists we can look at an example of using counters to number the headings in a document.
The first thing I need to do is to create a counter for headers on the body element — ready for use. I’m using the counter-reset property to do this. The counter-reset and counter-set properties are very similar. The counter-reset property will create a new counter if a counter of the specified name does not already exist, but will also create nested counters as described above if a counter of that name does exist. The counter-set property will only create a new counter if there is no counter of that name. For this, use either property would work just fine, however, counter-set does not have as good browser support as counter-reset, so I am taking the practical route:
body {
  counter-reset: heading-counter;
}
Now that I have a counter, I can then use the counter-increment property on the selector for the headers; this should increment the counter every time the selector matches.
h2 {
  counter-increment: heading-counter;
}
To see the value, I need to output it to the document. I can do this by using Generated Content and adding it before the heading as shown in the following CodePen example:
h2::before {
  content: counter(heading-counter) ": ";
  color: #00b7a8;
  font-weight: bold;
}
See the Pen [Headings and counters](https://codepen.io/rachelandrew/pen/gNGjxq) by Rachel Andrew.
Alternatively, I could make the h2 element into a list-item and then use ::marker, as demonstrated below. As already detailed, using the ::marker element has limited browser support. In Firefox, you should see the counter used as the marker for the heading, while other browsers will show the default bullet.
h2 {
  display: list-item;
}

h2::marker {
  content: counter(heading-counter)  ": ";
  color: #00b7a8;
  font-weight: bold;
}
See the Pen [Headings, markers, and counters](https://codepen.io/rachelandrew/pen/pXWZay) by Rachel Andrew.
Counters On Form Elements
There is also a little bit of interactivity that you can achieve using CSS Counters — something that you might think you need JavaScript to do.
I have a form which has a number of required fields. The required status can be selected in CSS with a :required pseudo-class, and the fact that a field has not been completed can be detected by way of the :invalid pseudo class. This means that we can check for fields which are both required and invalid, and increment a counter. Then output that as generated content.
See the Pen [Counting required form fields](https://codepen.io/rachelandrew/pen/vqpJdM) by Rachel Andrew.
How useful this is in reality is debatable — given that we can’t really do anything with that value other than stick it into generated content. There are also concerns with regard to generated content being inaccessible to certain screen readers, therefore any usage that is more than decorative would need to ensure other ways of accessing that information. Read, “Accessibility Support For CSS Generated Content” and the more recent information, “CSS Content Property Screen Reader Compatibility” for more details regarding accessibility and generated content.
However, it demonstrates that counters can achieve more useful things than simply numbering lists. It may be that one day that knowledge does come in handy to solve some problem you are working on.
Find Out More
This article ended up rather a long way from styling lists, despite the fact that everything I have described is found in the CSS Lists specification. You can find more information about the things described in the links below. If you have found an interesting use for CSS Counters, or can think of things you could use ::marker for, add a note in the comments.
::markercounter-setcounter-resetcounter-increment- “Using CSS Counters,” MDN web docs
- “Counting With CSS Counters And CSS Grid,” CSS-Tricks
Further Reading
- Modern CSS Layouts: You Might Not Need A Framework For That
- Useful DevTools Tips and Tricks
- Level Up Your CSS Skills With The :has() Selector
- Infinite-Scrolling Logos In Flat HTML And Pure CSS


