Yarn Workspaces: Organize Your Project’s Codebase Like A Pro

Email Newsletter
Weekly tips on front-end & UX.
Trusted by 182,000+ folks.


 Register Free Now
 Celebrating 10 million developers
 SurveyJS: White-Label Survey Solution for Your JS App

Any time I start working on a new project, I ask myself, “Should I use separate git repositories for my back-end server and my front-end client(s)? What’s the best way to organize the codebase?”
I had this same question after a few months working on my personal website. I originally had all the code in the same repository: the back end used Node.js and the front end used ES6 with Pug. I adopted this organization for convenience, since having both projects in the same repo made it easy to search for functions and classes, and facilitated refactors. However, I found some downsides:
- No independent deployments.
Both apps were using the same package.json, and there was no clear separation on both projects. - Unclear boundaries.
Since I rely on a global package.json, I didn’t have a mechanism to set specific versions for the back end and front end. - Shared utilities and code without versioning.
After some research, I found that Yarn workspaces was a great tool to solve those cons, and it was a helpful tool to create a monorepo project (more to come later!).
In this article, I share an intro to Yarn workspaces. We’ll run through a tutorial together on how to create your first project with it, and we’ll finish with a recap and next steps.
What Are Yarn Workspaces?
Yarn is a package manager by the folks at Facebook, and it has a great feature called Yarn workspaces. Yarn workspaces let you organize your project codebase using a monolithic repository (monorepo). The idea is that a single repository would contain multiple packages. Packages are isolated and could live independent of the larger project.

As an alternative, we could place all of these packages into separate repositories. Unfortunately, this approach affects the shareability, efficiency, and developer experience when developing on the packages and their dependent projects. Furthermore, when we work in a single repository we can move more swiftly and build more specific tooling to improve processes for the entire development life cycle.
“
React is a good example of an open-source project that is monorepo. Also, React uses Yarn workspaces to achieve that purpose. In the next section we will learn how to create our first monorepo project with Yarn.
Creating A Monorepo Project With React And Express Using Yarn Workspaces In Six Steps
So far, we have learned what Yarn is, what a monorepo is, and why Yarn is a great tool to create a monorepo. Now let’s learn from scratch how to set up a new project using Yarn workspaces. To follow along, you’ll need a working environment with an up-to-date npm install. Download the source code.
Prerequisites
To fully complete this tutorial, you will need to have Yarn installed on your machine. If you haven’t installed Yarn before, please follow these instructions.
These are the steps we’ll be following in this tutorial:
- Create Your Project And Root Workspace
- Create A React Project And Add It To The Workspace List
- Create An Express Project And Add It To The Workspace
- Install All The Dependencies And Say Hello To yarn.lock
- Using A Wildcard (*) To Import All Your Packages
- Add A Script To Run Both Packages
1. Create Your Project And Root Workspace
In your local machine terminal, create a new folder called example-monorepo:
$ mkdir example-monorepo
Inside the folder, create a new package.json with our root workspace.
$ cd example-monorepo
$ touch package.json
This package should be private in order to prevent accidentally publishing the root workspace. Add the following code to your new package.json file to make the package private:
{
   "private": true,
   "name": "example-monorepo",
   "workspaces": [],
   "scripts": {}
}
2. Create A React Project And Add It To The Workspace List
In this step, we will create a new React project and add it to the list of packages inside the root workspace.
First, let’s create a folder called packages where we will add the different projects we will create in the tutorial:
$ mkdir packages
Facebook has a command to create new React projects: create-react-app. We’ll use it to create a new React app with all the required configuration and scripts. We are creating this new project with the name “client” inside the packages folder that we created in step 1.
$ yarn create react-app packages/client
Once we have created our new React project, we need to tell Yarn to treat that project as a workspace. To do that, we simply need to add “client” (the name we used earlier) inside the “workspaces” list in the root package.json. Be sure to use the same name you used when running the create-react-app command.
{
   "private": true,
   "name": "example-monorepo",
   "workspaces": ["client"],
   "scripts": {}
}
3. Create An Express Project And Add It To The Workspace
Now it’s time to add a back-end app! We use express-generator to create an Express skeleton with all the required configuration and scripts.
Make sure you have express-generator installed on your computer. You can install it using Yarn with the following command:
$ yarn global add express-generator --prefix /usr/local
Using express-generator, we create a new Express app with the name “server” inside the packages folder.
$ express --view=pug packages/server
Finally, add the new package “server” into the workspaces list inside the root package.json.
{
   "private": true,
   "name": "example-monorepo",
   "workspaces": ["client", "server"],
   "scripts": {}
}
Note: This tutorial is simplified with only two packages (server and client). In a project, you might typically have as many packages as you need, and by convention the open-source community use this naming pattern: @your-project-name/package-name. For example: I use @ferreiro/server on my website.
4. Install All The Dependencies And Say Hello To yarn.lock
Once we have added our React app, as well as our Express server, we need to install all the dependencies. Yarn workspaces simplifies this process and we no longer need to go to every single application and install their dependencies manually. Instead, we execute one command — yarn install — and Yarn does the magic to install all the dependencies for every package, and optimize and cache them.
Run the following command:
$ yarn install
This command generates a yarn.lock file (similar to this example). It contains all the dependencies for your project, as well as the version numbers for each dependency. Yarn generates this file automatically, and you should not modify it.
5. Using A Wildcard (*) To Import All Your Packages
Until now, for every new package we have added, we were forced to also update the root package.json to include the new package to the workspaces:[] list.
We can avoid this manual step using a wildcard (*) that tells Yarn to include all the packages inside the packages folder.
Inside the root package.json, update the file content with the following line: "workspaces": ["packages/*"]
{
   "private": true,
   "name": "example-monorepo",
   "workspaces": ["packages/*"],
   "scripts": {}
}
6. Add A Script To Run Both Packages
Last step! We need to have a way to run both packages — the React client and the Express client — simultaneously. For this example, we will use concurrently. This package let us run multiple commands in parallel.
Add concurrently to the root package.json:
$ yarn add -W concurrently
Add three new scripts inside the root workspace package.json. Two scripts initialize the React and Express clients independently; the other one uses concurrently to run both scripts in parallel. See this code for reference.
{
   "private": true,
   "name": "example-monorepo",
   "workspaces": ["packages/*"],
   "scripts": {
       "client": "yarn workspace client start",
       "server": "yarn workspace server start",
       "start": "concurrently --kill-others-on-fail \"yarn server\"  \"yarn client\"
   }
}
Note: We will not need to write our start scripts into the “server” and “client” packages because the tools we used to generate those packages (create-react-app and express-generator) already add those scripts for us. So we are good to go!
Finally, make sure you update the Express boot-up script to run the Express server on port 4000. Otherwise, the client and server will try to use the same port (3000).
Go to packages/server/bin/www and change the default port in line 15.
var port = normalizePort(process.env.PORT || '4000');
Now we are ready to run our packages!
$ yarn start
Where To Go From Here
Let’s recap what we’ve covered. First, we learned about Yarn workspaces and why it’s a great tool to create a monorepo project. Then, we created our first JavaScript monorepo project using Yarn, and we divided the logic of our app into multiple packages: client and server. Also, we created our first basic npm scripts and added the required dependencies for each app.
From this point, I’d suggest you review open-source projects in detail to see how they use Yarn workspaces to split the project logic into many packages. React is a good one.
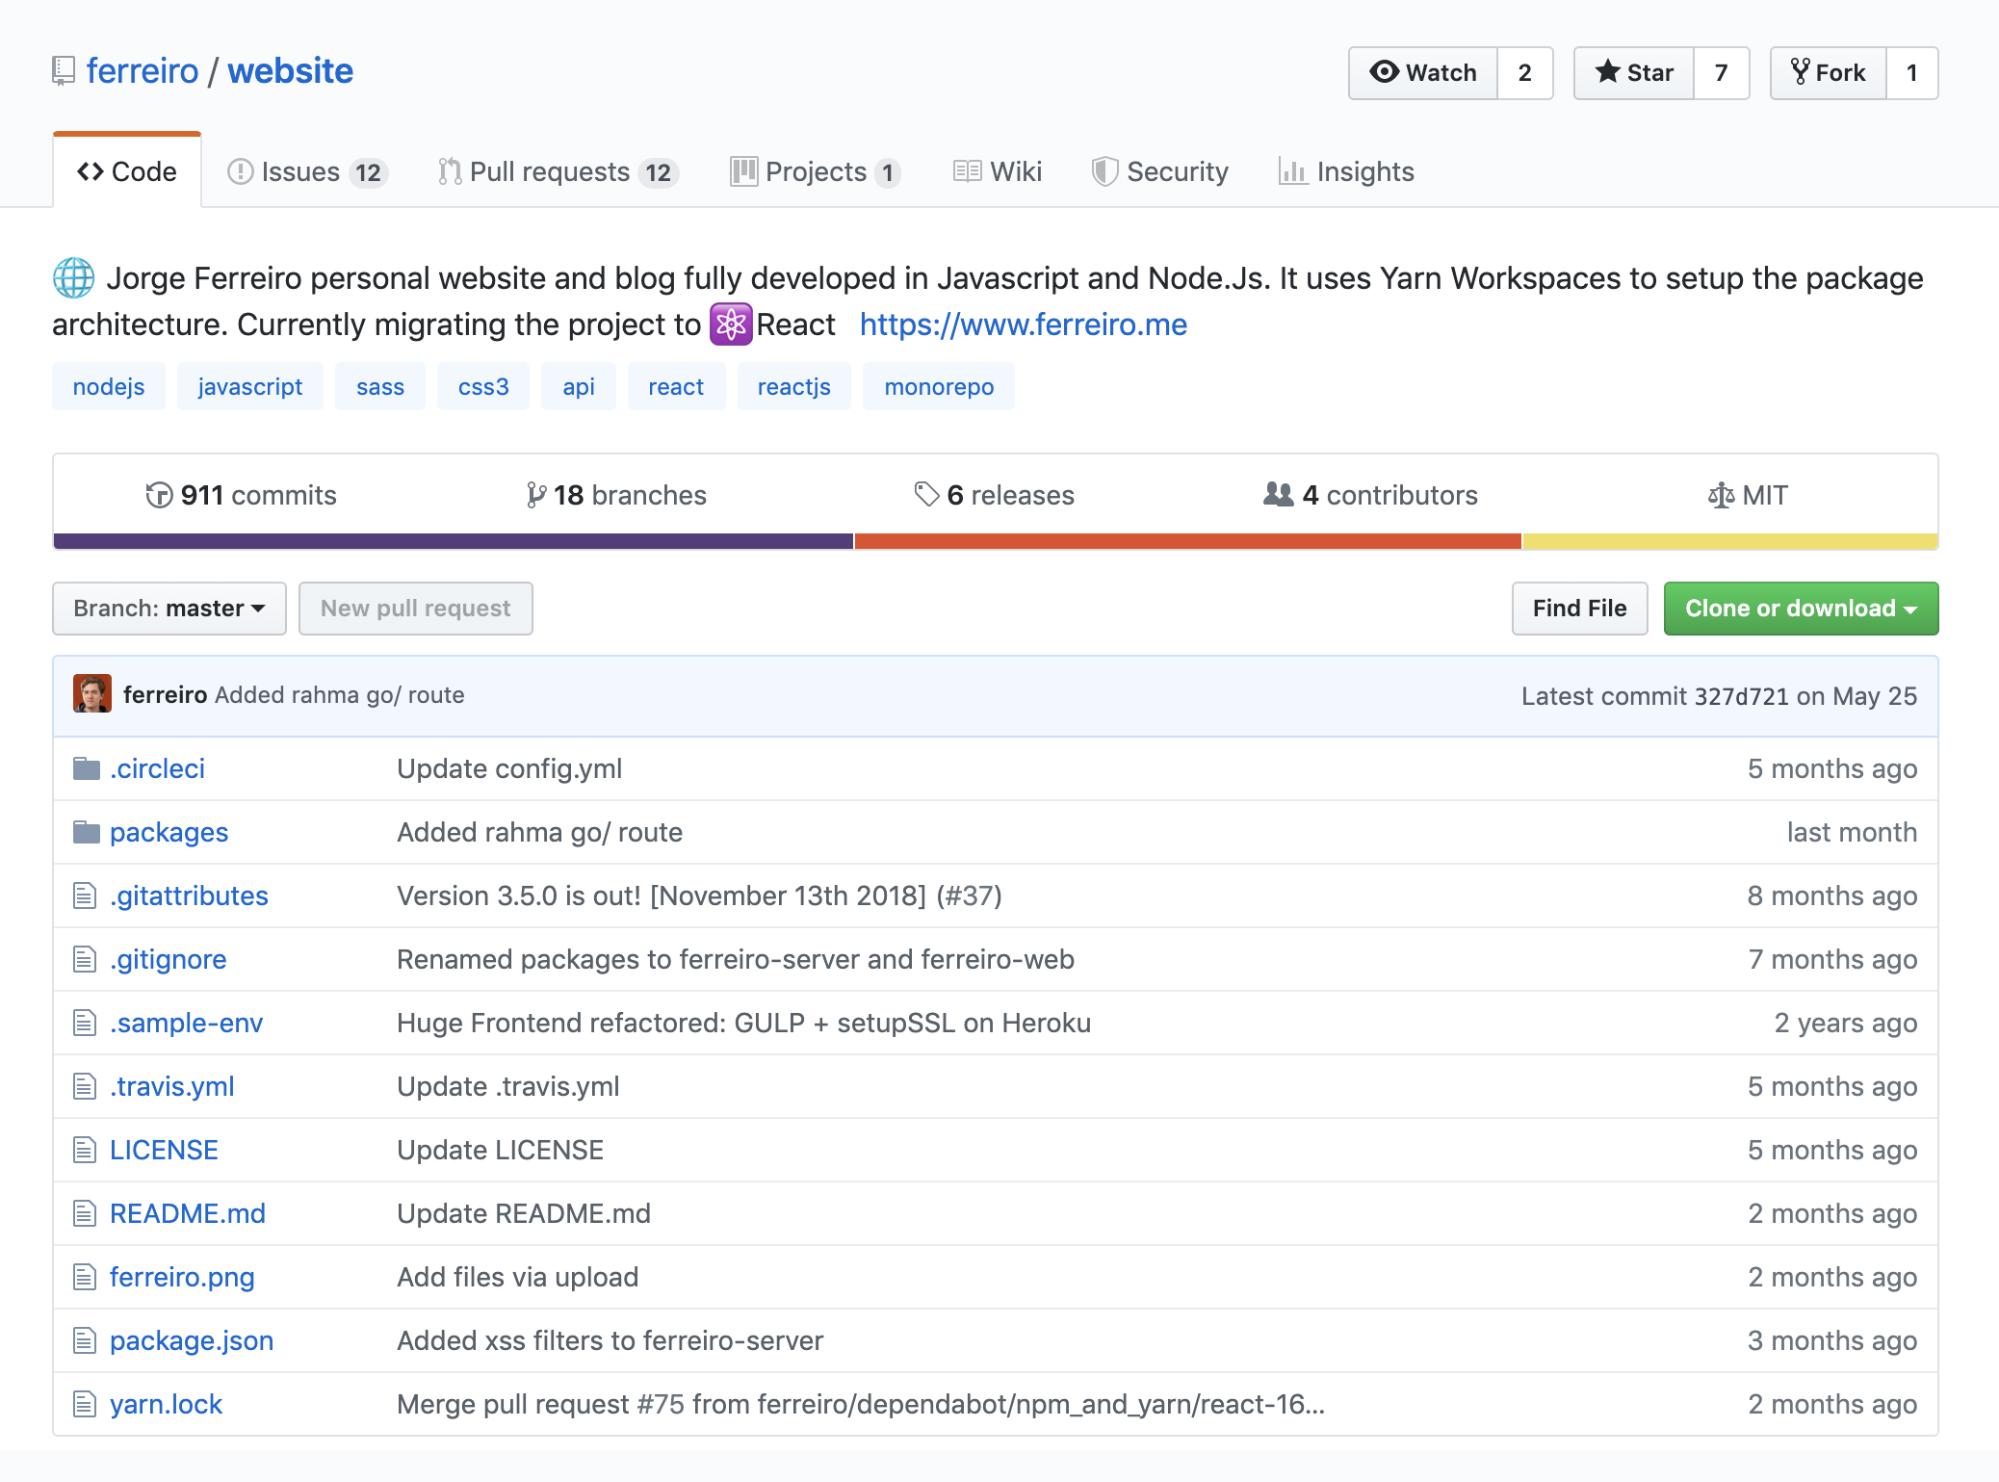
Also, if you want to see a production website using this approach to separate back-end and front-end apps into independent packages, you can check the source of my website, that also includes a blog admin. When I migrated the codebase to use Yarn workspaces, I created a pull request with Kyle Wetch.
Moreover, I set up the infrastructure for a hackathon project that uses React, webpack, Node.js, and Yarn workspaces, and you can check the source code over here.
Finally, it would be really interesting for you to learn how to publish your independent packages to become familiar with the development life cycle. There are a couple of tutorials that are interesting to check: yarn publish or npm publish.
For any comments or questions, don’t hesitate to reach out to me on Twitter. Also, in the following months, I’ll publish more content about this in my blog, so you can subscribe there as well. Happy coding!
Further Reading
- A Guide To Redux Toolkit With TypeScript
- An Introduction To Full Stack Composability
- Switching It Up With HTML’s Latest Control
- Modern CSS Layouts: You Might Not Need A Framework For That


