Developing A Custom Plugin For October CMS

Email Newsletter
Weekly tips on front-end & UX.
Trusted by 182,000+ folks.
 Register for Free
 Celebrating 10 million developers

 Custom Web Forms for Angular, React, & Vue. Your backend.
Last year, I did some research about new CMS systems in PHP in order to find a good alternative to WordPress. Ideally, it had to be an open-source solution with a clean and modern codebase.
One of them caught my interest: October CMS. I tried it and almost instantly liked it. The code structure was really nice and it was easy to write custom plugins.
This article aims to give you an overview of what to expect from the platform and give you a taste of it before you decide to commit to using it.
Why Choose October As Your CMS Platform?
There are a few main reasons why I have personally decided to use it for my projects.
Powered By Laravel
October is built on top of the most powerful PHP framework for creating modern web apps: Laravel. I can say with great confidence that it’s the best. It is very easy to use and understand, and has all the features that a modern framework needs, from routing, object-relational mapping (ORM), authorization, caching, and many others that provide a nice and clear MVC structure. As it is powered by Laravel, October has inherited all those features from its big brother.
Clean Code And Documentation
Unlike many other CMS solutions, October has a very clean and well-documented codebase. It’s written in using an objectoriented paradigm. Instead of plain old PHP, October uses Twig as its templating engine, which simplifies things for developers. Technical documentation is also well written, and helps you quickly find answers to most of your questions.
Great Community
Even though October’s community is not yet that big, it’s very helpful and responsive. There is a public Slack channel you can join, where you’ll find developers happy to assist you in fixing your issue.
Big Marketplace
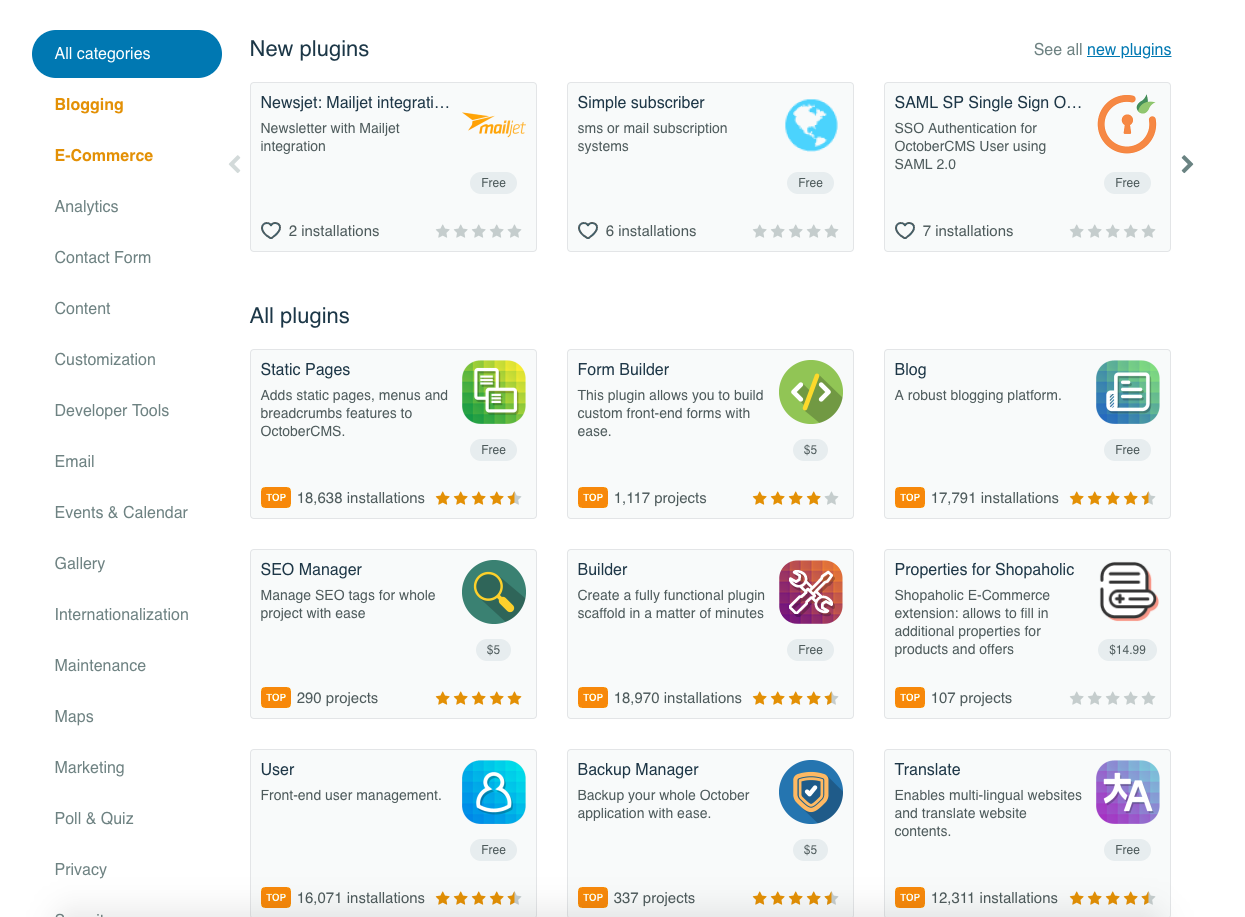
Like WordPress and other CMSes, October has a marketplace for themes and plugins. Even though there aren’t that many good themes to choose from, there are over 700 plugins right now, so it’s very likely you’ll be able to add functionality by simply searching for and installing one of them. A great feature of plugins is that they can be easily synchronized between all your projects if you just add your project ID in the admin dashboard.
PlugIns And Components
Plugins are a foundation of adding new functionality to October. A plugin can consist of multiple files and directories that are responsible for registering custom components, models, updating database structure, or adding translations.
A plugin is usually created in the plugins/ directory of the project. Since many plugins are submitted to the marketplace for others to use, each plugin should have a custom namespace, which usually starts with the name of the company or developer that created the plug-in. So, for instance, if your name is Acme and you’ve created an awesome plugin called Blog, your plugin will live under the namespace of Acme\Blog.
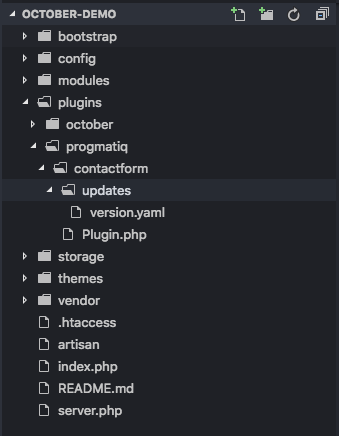
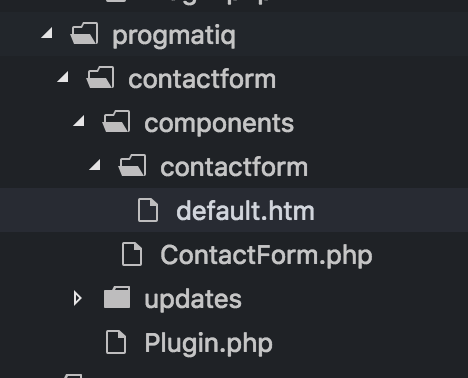
Let me show you how a plugin directory structure might look like:
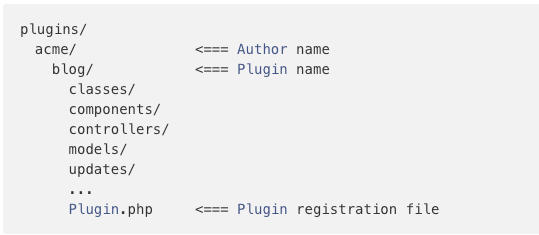
As you can see, there is also a file called plugin.php that is responsible for registering a plugin and all of its components in October CMS.
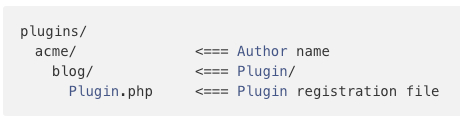
Another important thing to mention is that not all directories listed above are necessary for a plugin to run. Your plugin could have the following structure and still work perfectly well:
Most often, one plugin is built to add only one piece of functionality. For example, the ‘Translate’ plugin is designed to help you translate content on your website into different languages, and provide the multi-language support for the users.
October CMS has a great marketplace where you can find for your needs.
Unlike WordPress and other popular CMSes, October plugins can also have components. According to October’s documentation, components are “configurable building elements that can be attached to any page, partial or layout.” Examples might include: a contact form, navigation, a list of FAQs and their answers; basically anything that it makes sense to bundle together as one building block that can be reused on multiple pages.
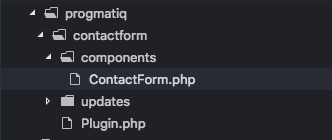
Components are created as a part of a plugin and they exist in the components/ subdirectory:
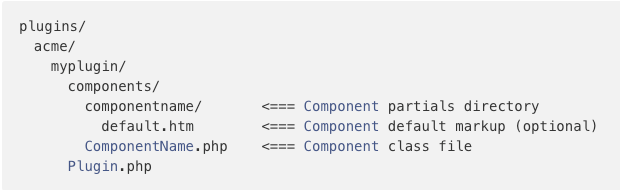
Each component has a PHP file like componentName.php that defines the component, as well as an optional subdirectory for component partials. A component partials folder must have the same name in lowercase as the component itself.
To demonstrate how a component functions, let’s assume that our component is responsible for showing blog posts.
namespace Acme\Blog\Components;

class BlogPosts extends \Cms\Classes\ComponentBase
{
    public function componentDetails()
    {
        return [
            'name' => 'Blog Posts',
            'description' => 'Displays a collection of blog posts.'
        ];
    }

    // This array becomes available on the page as {{ component.posts }}
    public function posts()
    {
        return ['First Post', 'Second Post', 'Third Post'];
    }
}
As we can see, the component has two main functions. The first one, componentDetails(), provides information about the component to the administrator who will add and use components on their web pages.
The second function, posts(), returns dummy posts that can then be used inside a component partial (blogposts/default.htm file) like this:
url = "/blog"

[blogPosts]
==
{% for post in blogPosts.posts %}
    {{ post }}
{% endfor %}
For October CMS to know our component exists, we must register it using our main plugin file inside a function named registerComponents():
public function registerComponents()
{
    return [
        'October\Demo\Components\Todo' => 'demoTodo'
    ];
}
Creating A Custom Contact Form plugin
We’re going to create a custom contact form plug-in. Here are the assumptions about how the plugin should work:
- The form will have the following fields: First Name, Last Name, Email, Message.
- Data will be submitted to the server using Ajax.
- After data is submitted, the admin will receive an email with the message sent by the user.
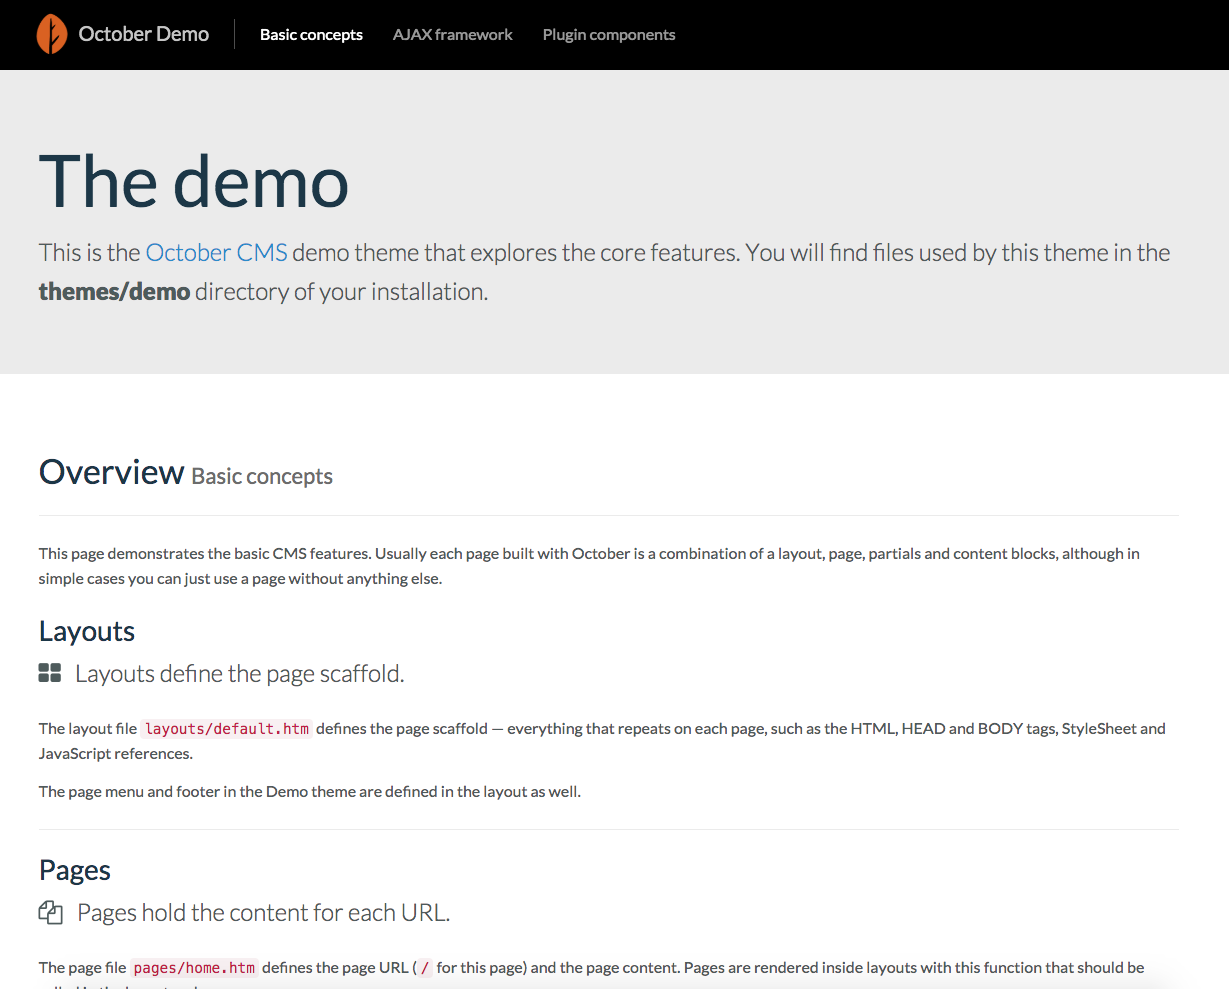
For the purpose of this tutorial we will use a fresh installation of October CMS:
Let’s start creating our plugin by running a command in a terminal that will generate the plugin structure: php artisan create:plugin progmatiq.contactform
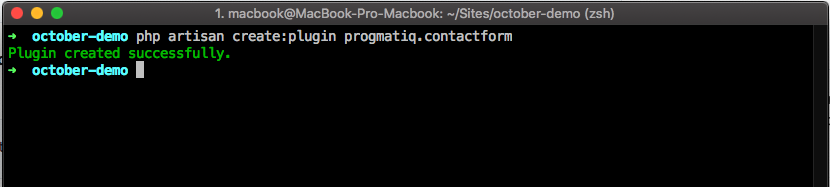
The progmatiq.contactform argument contains the name of the author (progmatiq) and the name of the plugin (contactform).
Now we need to open our plugin.php file and modify the plugin details in the following method:
public function pluginDetails()
   {
        return [
            'name'        => 'Contact Form',
            'description' => 'A simple contact form plug-in',
            'author'      => 'progmatiq',
            'icon'        => 'icon-leaf'
        ];
    }
Here are a few other methods that you should take a look at:
registerComponents()
Here you can define an array of components that your plugin provides.registerPermissions()
You can register custom permissions that you can then use later in other areas of the application.registerNavigation()
You can add a custom menu item with a URL to your admin dashboard menu.
Now let’s create our ContactForm component:
- Make a new folder named components/ inside your plug-in’s root directory.
- Create a file named contactForm.php inside the components/ folder.
- Paste the following code that will tell October what our component does. We can do it by creating a method inside our component called
componentDetails().
<?php

namespace Progmatiq\Contactform\Components;

use Cms\Classes\ComponentBase;

class ContactForm extends ComponentBase
{
    public function componentDetails()
    {
        return [
            'name' => 'Contact Form',
            'description' => 'A simple contact form'
        ];
    }
}
Now we need to register our component inside the plug-in. To do that, we modify the registerComponents() method:
    public function registerComponents()
    {
        return [
            'Progmatiq\Contactform\Components\ContactForm' => 'contactForm',
        ];
    }
This function returns an array of components that our plugin provides. The component’s full class name is a key in this method, and a value is an alias that we’ll use to reference our component inside our Twig templates.
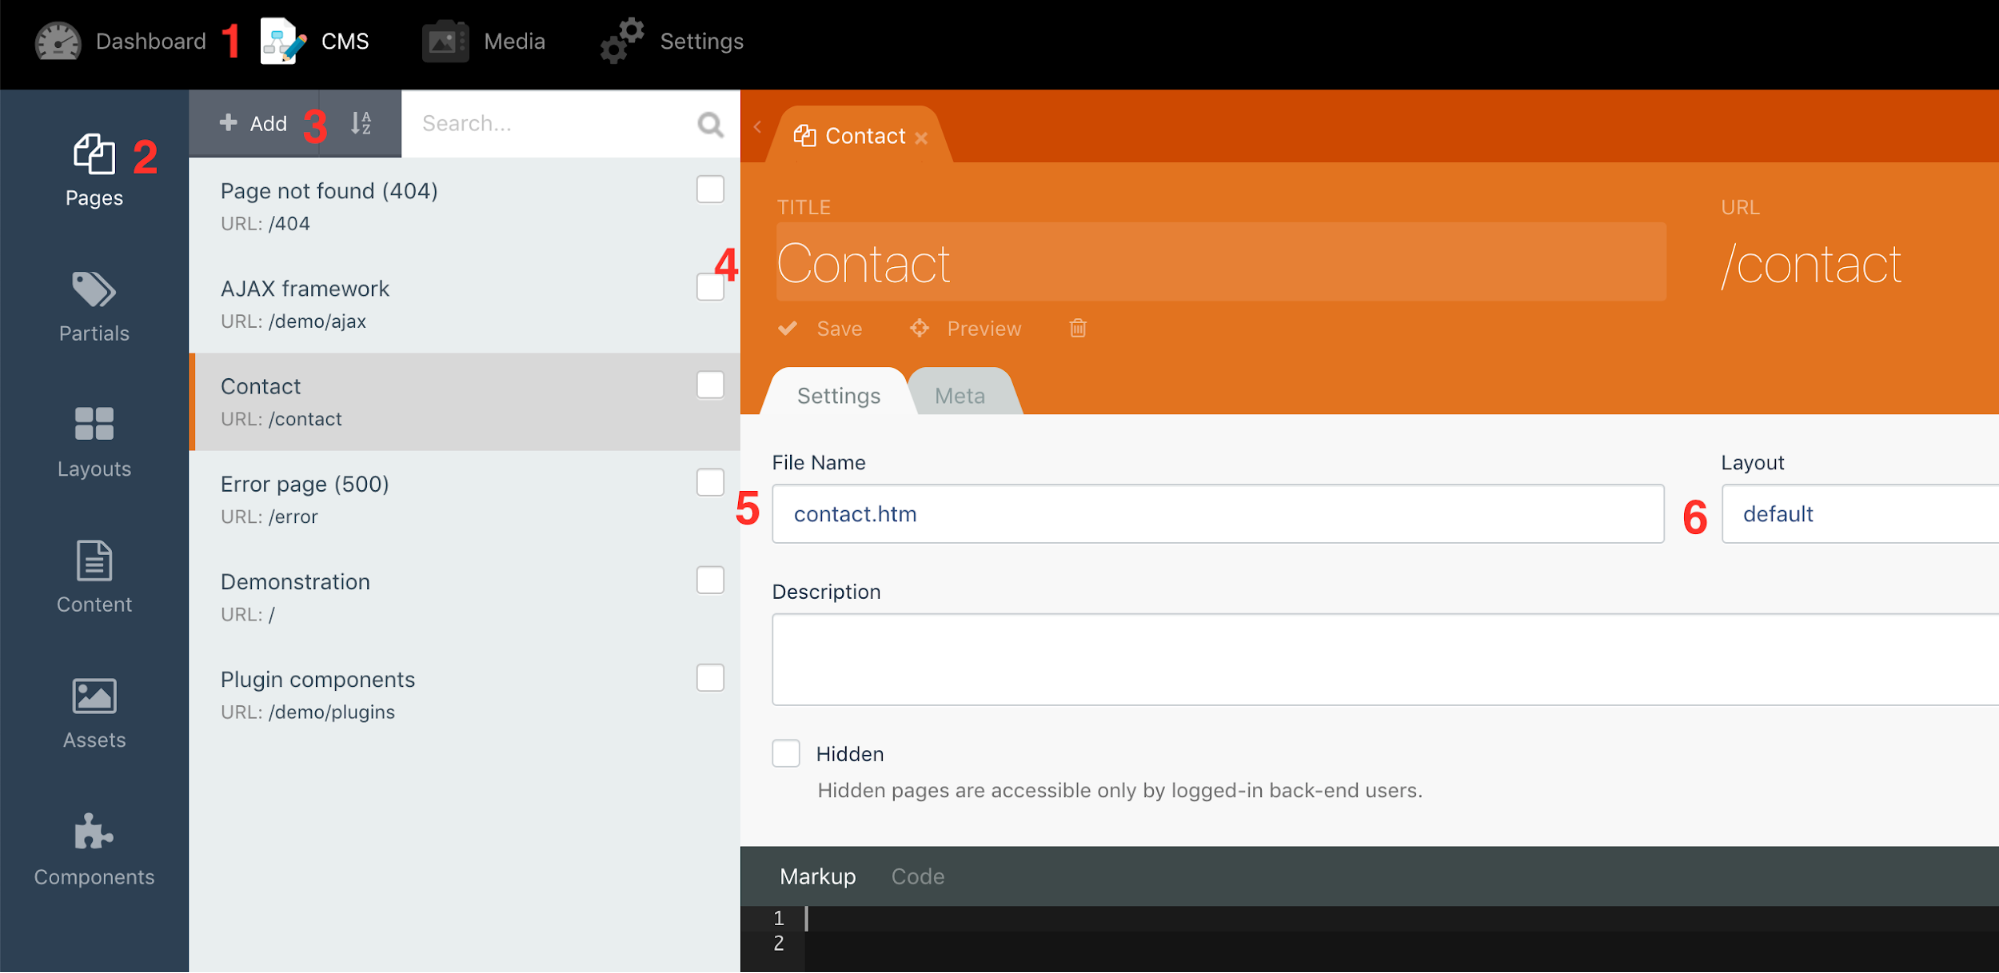
Once we have registered the component, we can create a new contact page and add our component (numbers in the steps refer to the screenshot):
- In your admin dashboard go to CMS (1) > Pages (2) and click on + Add (3).
- Give your page a name and a URL (4).
- Name your file (5) and select the default layout (6).
Let’s add our new component to the page:
- Click on Components in the left menu (1) and then select our “Contact Form” component. Once you click on it (2), it should be added to the page.
- We need to place a piece of code that would give our page a headline as well as render the component using the
{% component ‘contactForm’ %}Twig directive:
<div class="container">
    <h1> Contact </h1>
    {% component 'contactForm' %}
</div>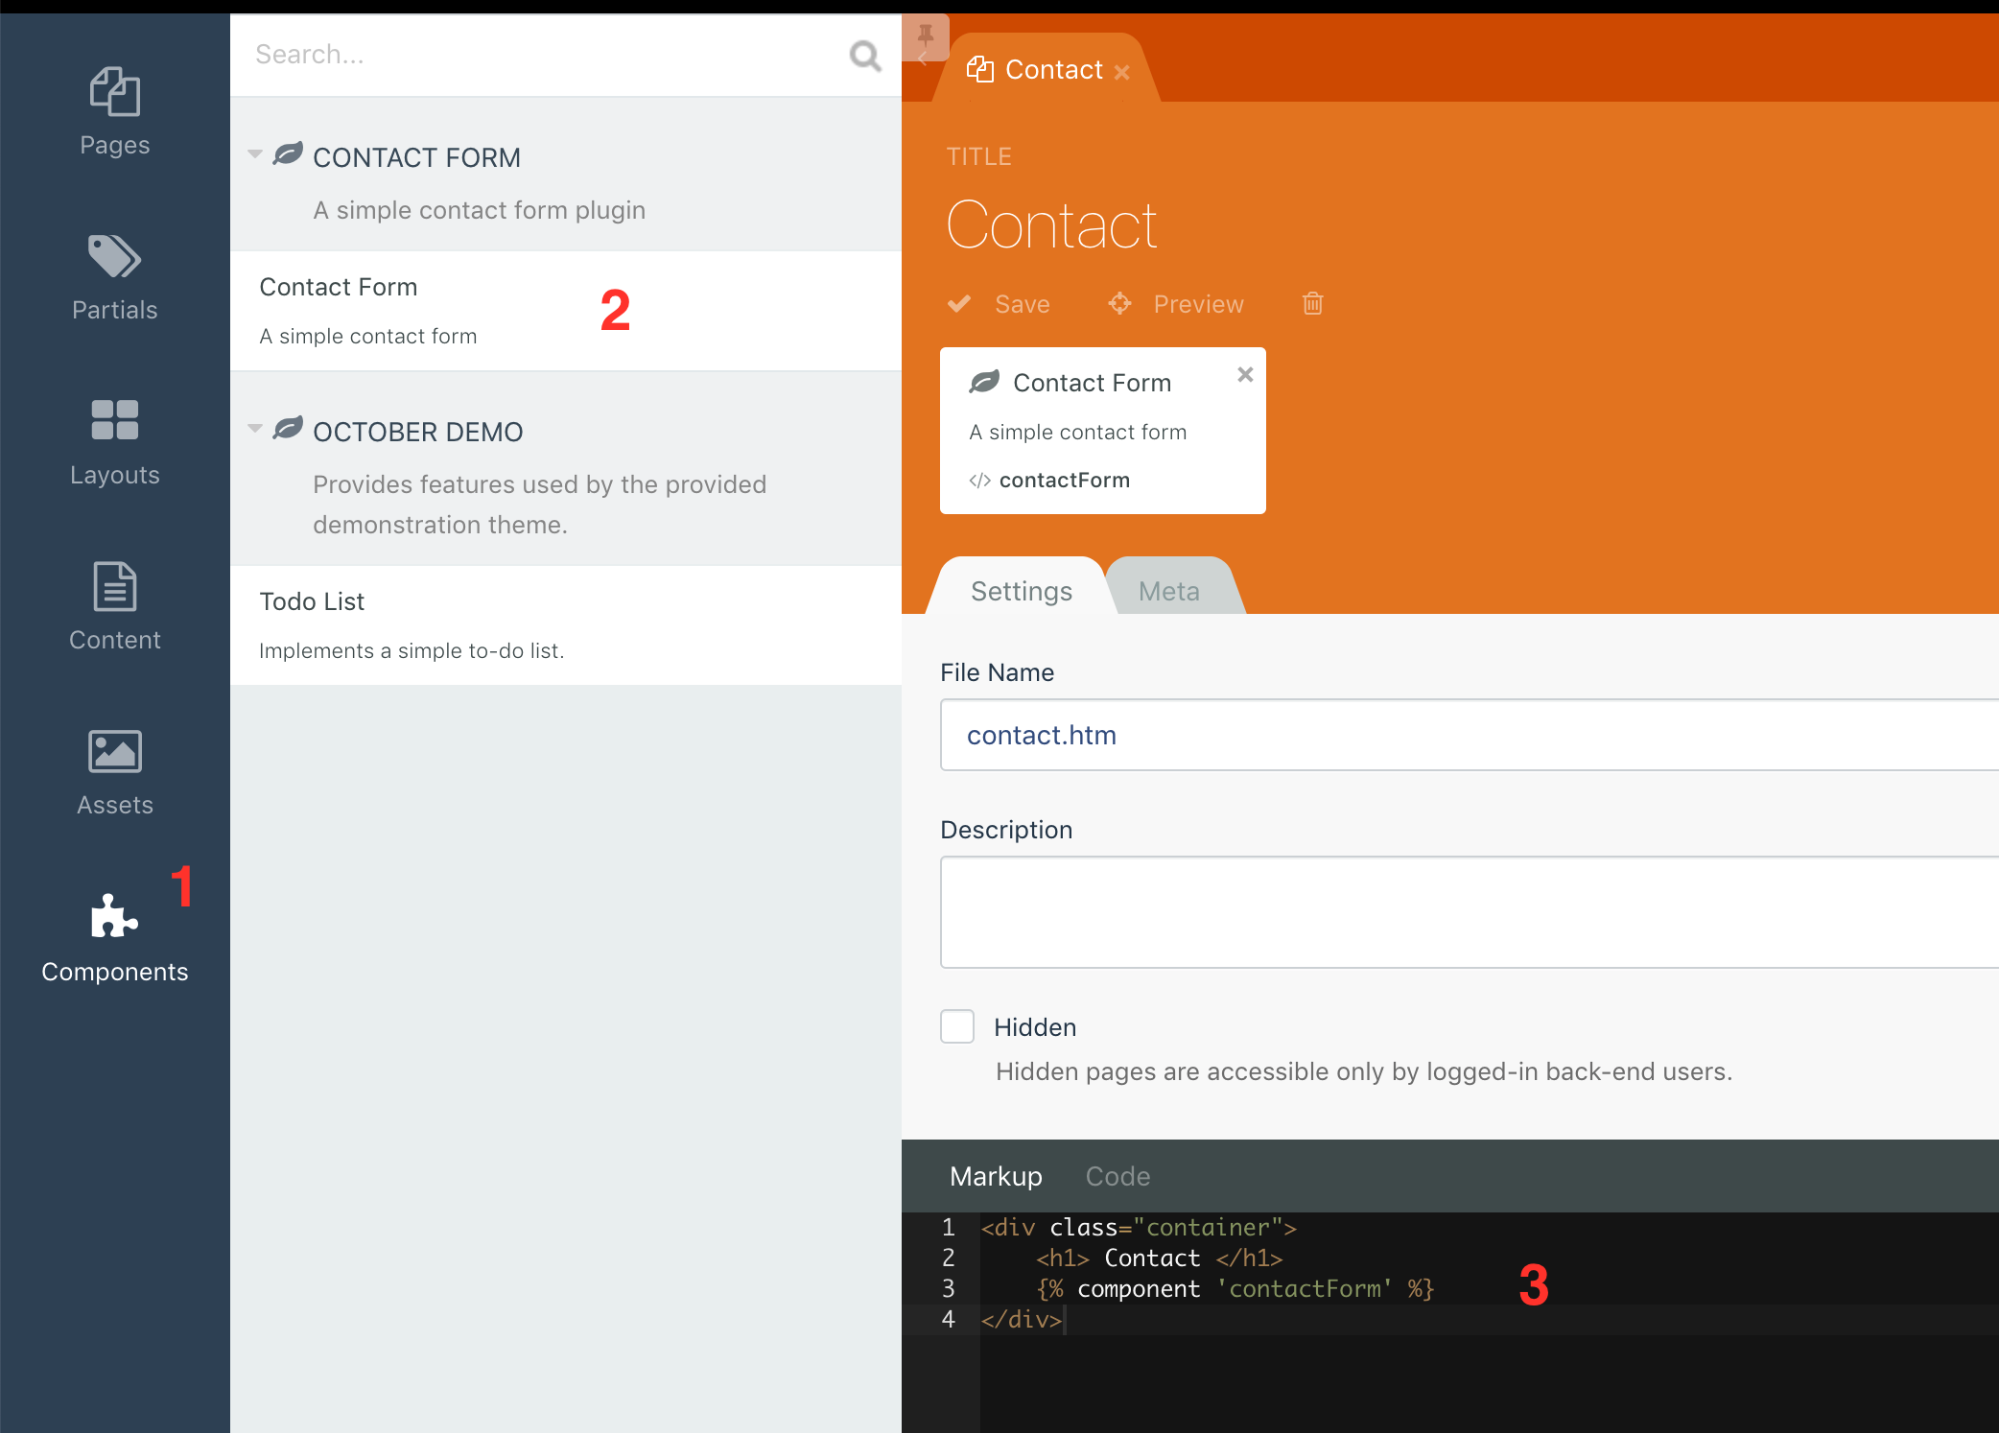
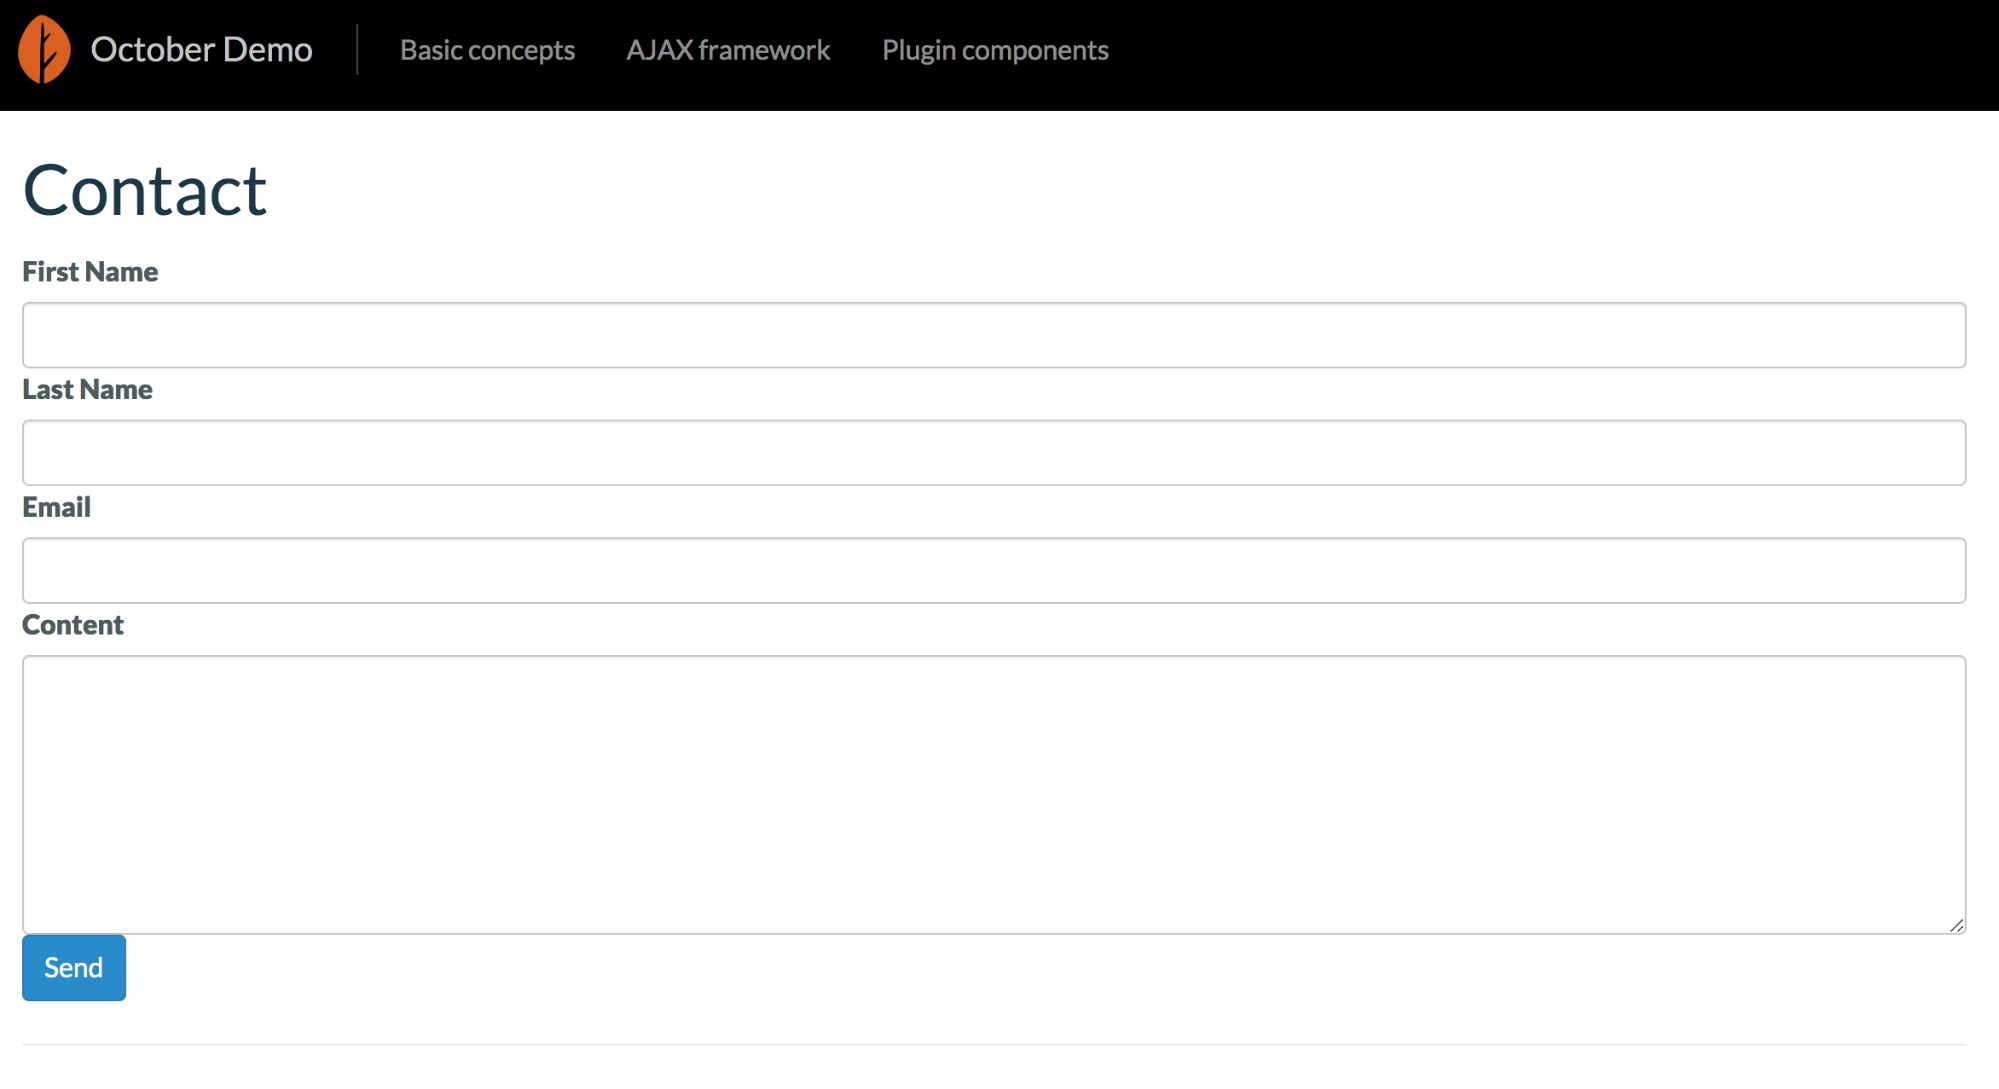
If you open your contact page right now, you will see the headline saying “Contact” and nothing else.
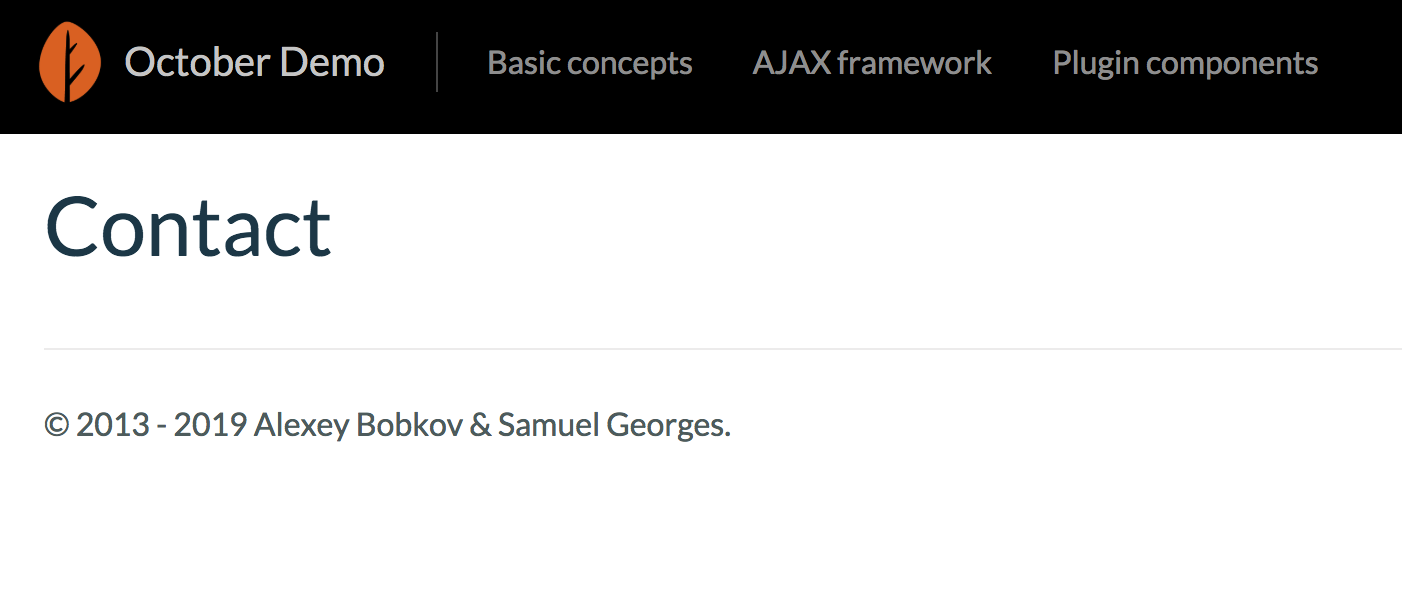
That’s because our contact form doesn’t have any HTML to render.
We need to create a contactform/default.htm file inside our components/ folder.
And add the following HTML code to the file:
<form method="POST"
    data-request="onSend"
    data-request-validate
    data-request-success="this.reset(); alert('Thank you for submitting your inquiry')"
>
    <div>

        <label for="first_name">First Name</label>
        <input type="text" name="first_name" class="form-control">
        <p data-validate-for="first_name" class="text-danger"></p>
    </div>

    <div>
        <label for="last_name">Last Name</label>
        <input type="text" name="last_name" class="form-control">

        <p data-validate-for="last_name" class="text-danger"></p>
    </div>

    <div>
        <label for="email">Email</label>
        <input type="text" name="email" class="form-control">
        <p data-validate-for="email" class="text-danger"></p>
    </div>

    <div>
        <label for="content">Content</label>
        <textarea rows="6" cols="20" name="content" class="form-control"></textarea>
        <p data-validate-for="content"  class="text-danger"></p>
    </div>

    <div>
        <button type="submit" class="btn btn-primary" data-attach-loading>Send</button>
    </div>
</form>
Most of this code is pretty straightforward. However, it is flavored with special data-* attributes that October allows us to use:
- `
- Every input has a following block that is responsible for displaying validation errors returned by the server for that given input:
- The submit button has the
data-attach-loadingattribute, which will add a spinner and disable the button while the request is being processed by the server. This is done in order to prevent the user submitting a form again until the previous request is complete.
<p data-validate-for="content" class="text-danger"></p>And here is how our page looks now:
Let’s go back to our contactForm.php component and create the onSend() as well as validate() helper method that will be responsible for handling form submission:
public function onSend()
    {
        // Get request data
        $data = \Input::only([
            'first_name',
            'last_name',
            'email',
            'content'
        ]);

        // Validate request
        $this->validate($data);

        // Send email
        $receiver = 'admin@gmail.com';

        \Mail::send('progmatiq.contact::contact', $data, function ($message) use ($receiver) {
            $message->to($receiver);
        });
    }

    protected function validate(array $data)
    {
        // Validate request
        $rules = [
            'first_name' => 'required|min:3|max:255',
            'last_name' => 'required|min:3|max:255',
            'email' => 'required|email',
            'content' => 'required',
        ];

        $validator = \Validator::make($data, $rules);

        if ($validator->fails()) {
            throw new ValidationException($validator);
        }
    }
The first thing we’re doing is getting data from the request and validating it using the validate() helper method. (All the available validation rules you can use can be found in the documentation.) If validation fails, the validate() method will throw the ValidationException an exception and code execution will stop, and the server will respond with status code 406 and with validation messages.
If validation succeeds, then we will send an email to our admin.
Note: For simplicity, I’ve assumed that the email we want to send the submission to is admin@gmail.com. Make sure to use your own email!
Here is the full code of your contactForm.php plug-in:
<?php

namespace Progmatiq\Contactform\Components;

use Cms\Classes\ComponentBase;
use October\Rain\Exception\ValidationException;

class ContactForm extends ComponentBase
{
    public function componentDetails()
    {
        return [
            'name' => 'Contact Form',
            'description' => 'A simple contact form'
        ];
    }

    public function onSend()
    {
        // Get request data
        $data = \Input::only([
            'first_name',
            'last_name',
            'email',
            'content'
        ]);

        // Validate request
        $this->validate($data);

        // Send email
        $receiver = 'admin@gmail.com';

        \Mail::send('progmatiq.contact::contact', $data, function ($message) use ($receiver) {
            $message->to($receiver);
        });
    }

    protected function validate(array $data)
    {
        // Validate request
        $rules = [
            'first_name' => 'required|min:3|max:255',
            'last_name' => 'required|min:3|max:255',
            'email' => 'required|email',
            'content' => 'required',
        ];

        $validator = \Validator::make($data, $rules);

        if ($validator->fails()) {
            throw new ValidationException($validator);
        }
    }
}
As you can see, the first argument that the Mail::send() function accepts is the name of the email template that will be rendered for the email body. We need to create it in the admin panel. Go to Settings > Mail Templates and click on the New Template button. Then fill out the form as it is shown on the screen below:
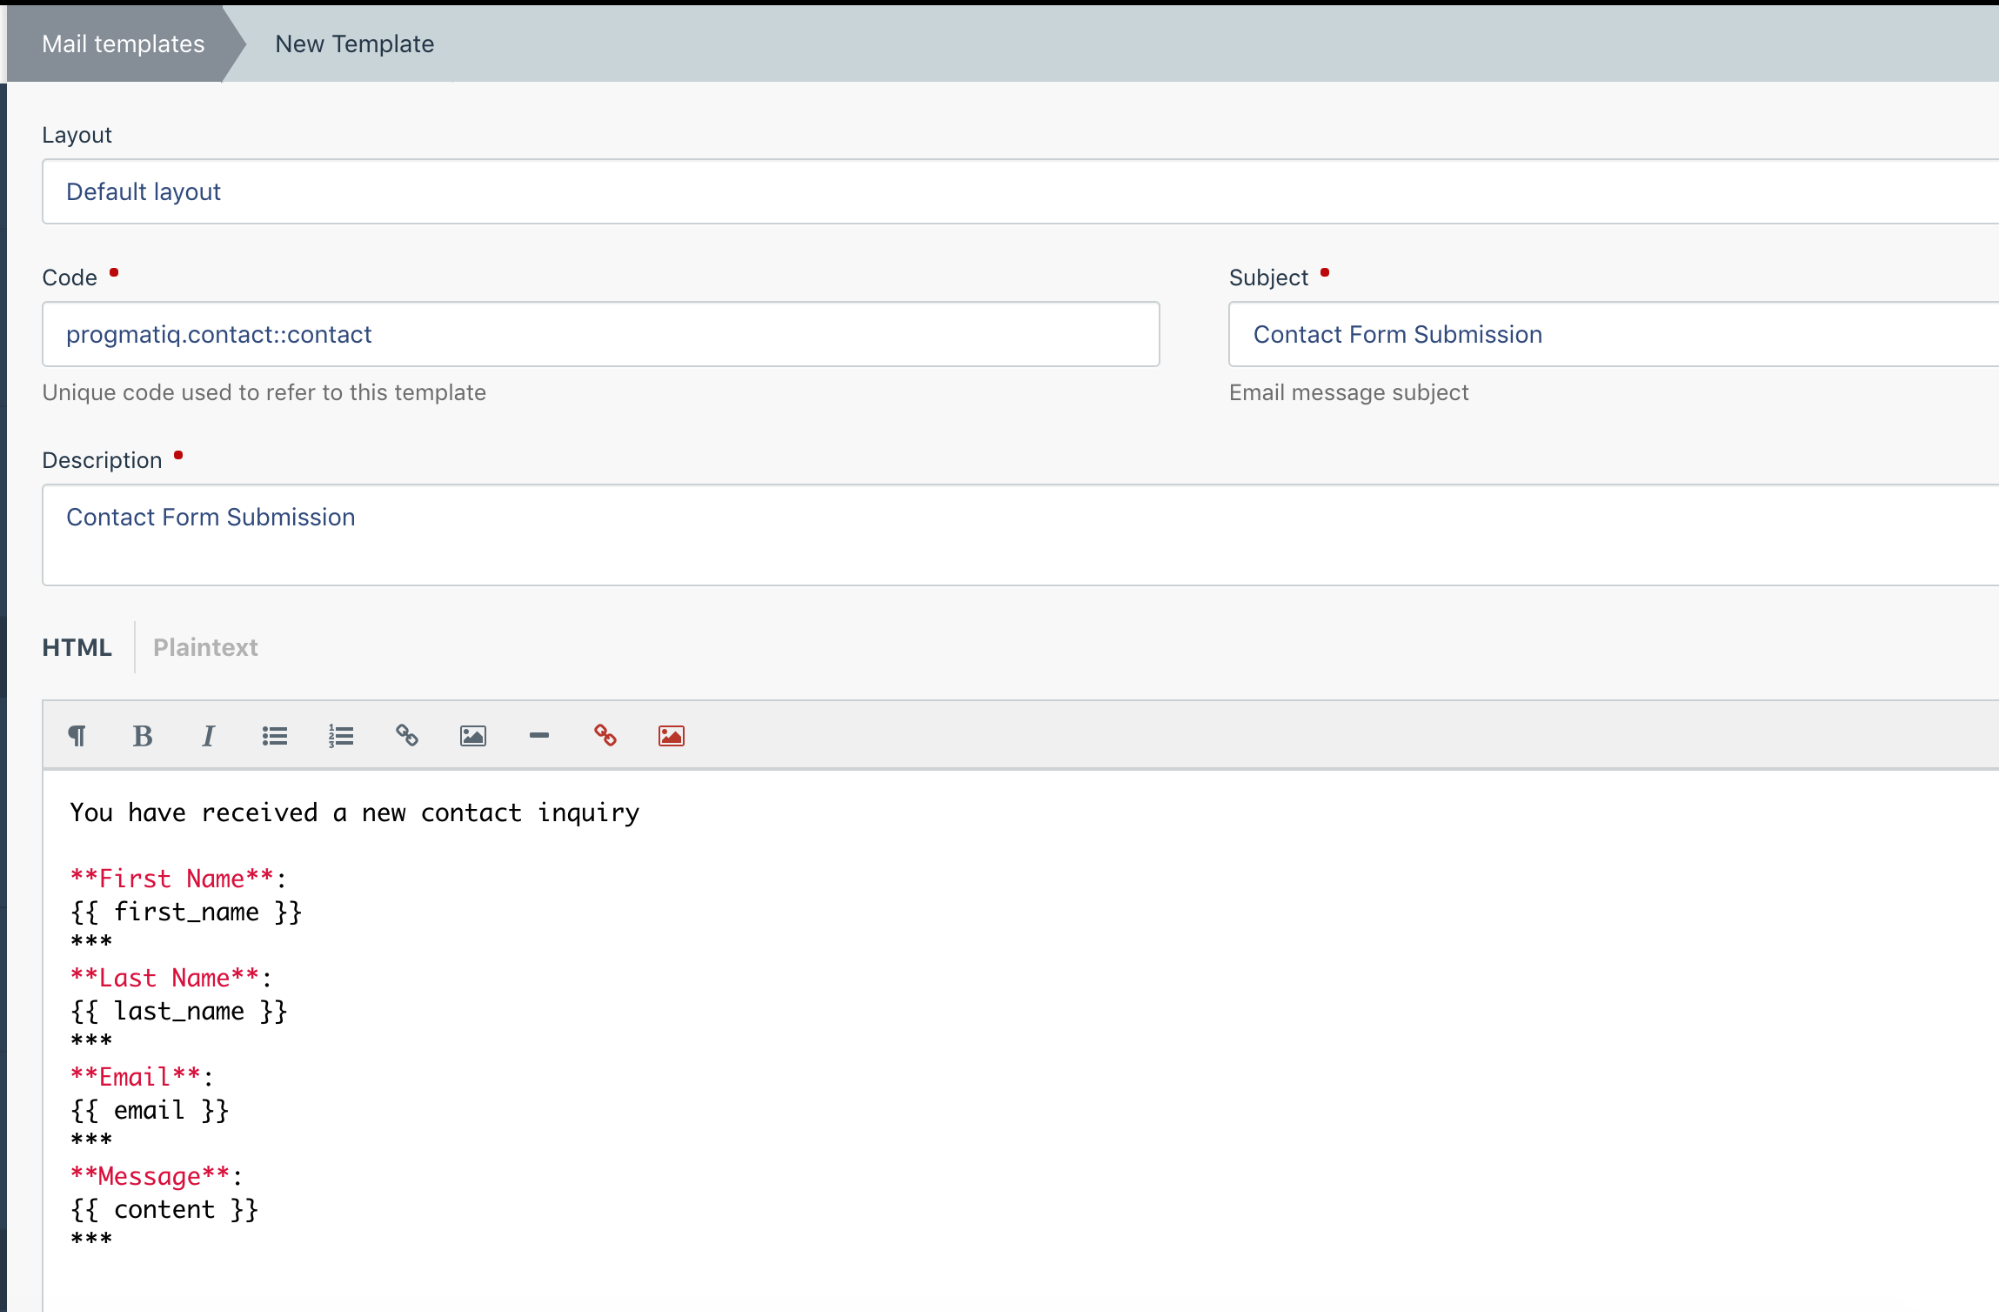
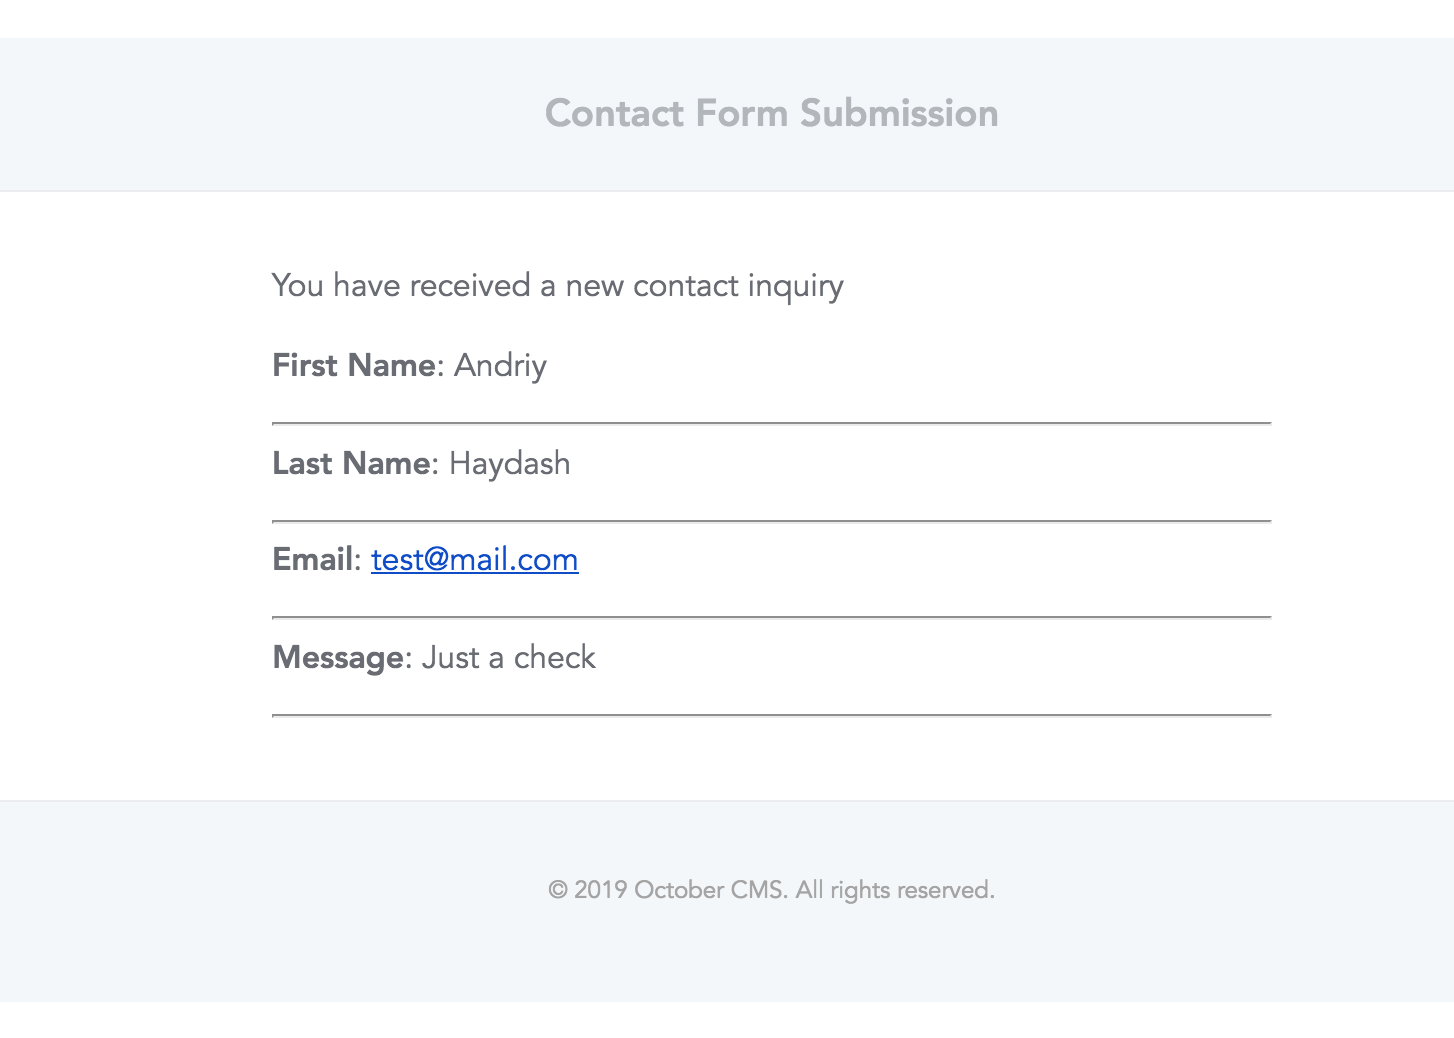
Here is the body of the email that we’re going to be using:
You have received a new contact inquiry

**First Name**:
{{ first_name }}
***
**Last Name**:
{{ last_name }}
***
**Email**:
{{ email }}
***
**Message**:
{{ content }}
***
Now save the email template. The next thing we need to do is configure the SMTP server that will send emails.
Go to Settings > Mail Configuration and fill out all the settings.
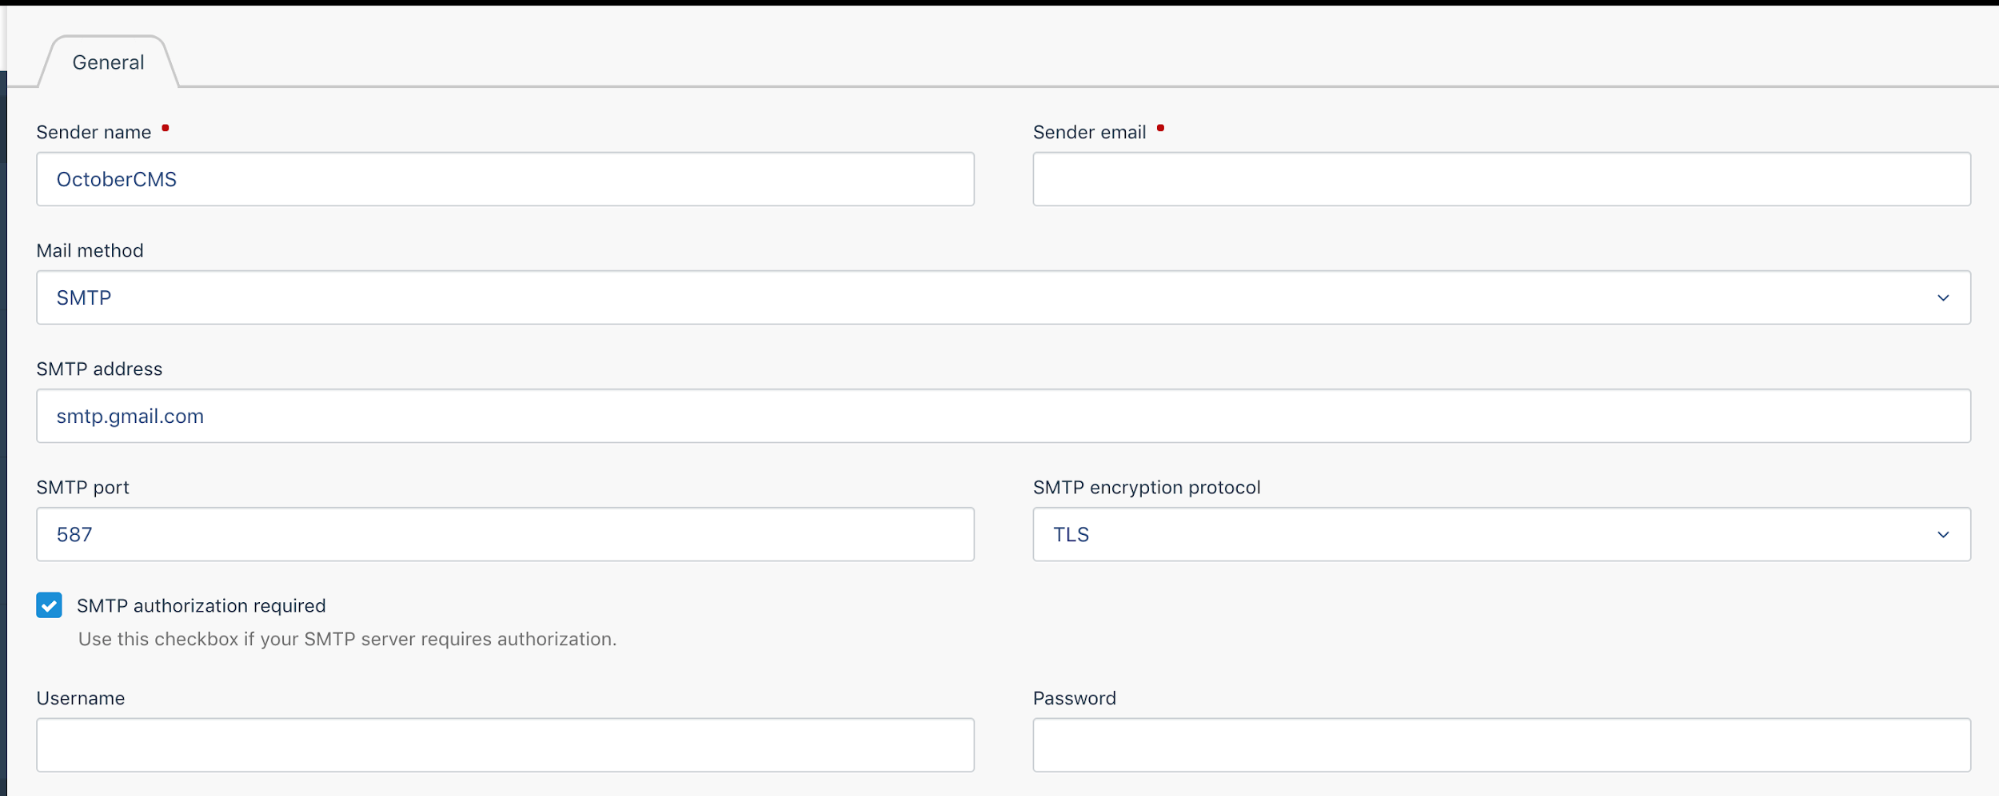
Obviously, I won’t share my personal configuration. Use your own settings. 😉
At this stage we have everything ready to start testing our contact form component.
First, let’s check if validation works when we leave the “Content” field empty and input an invalid email:
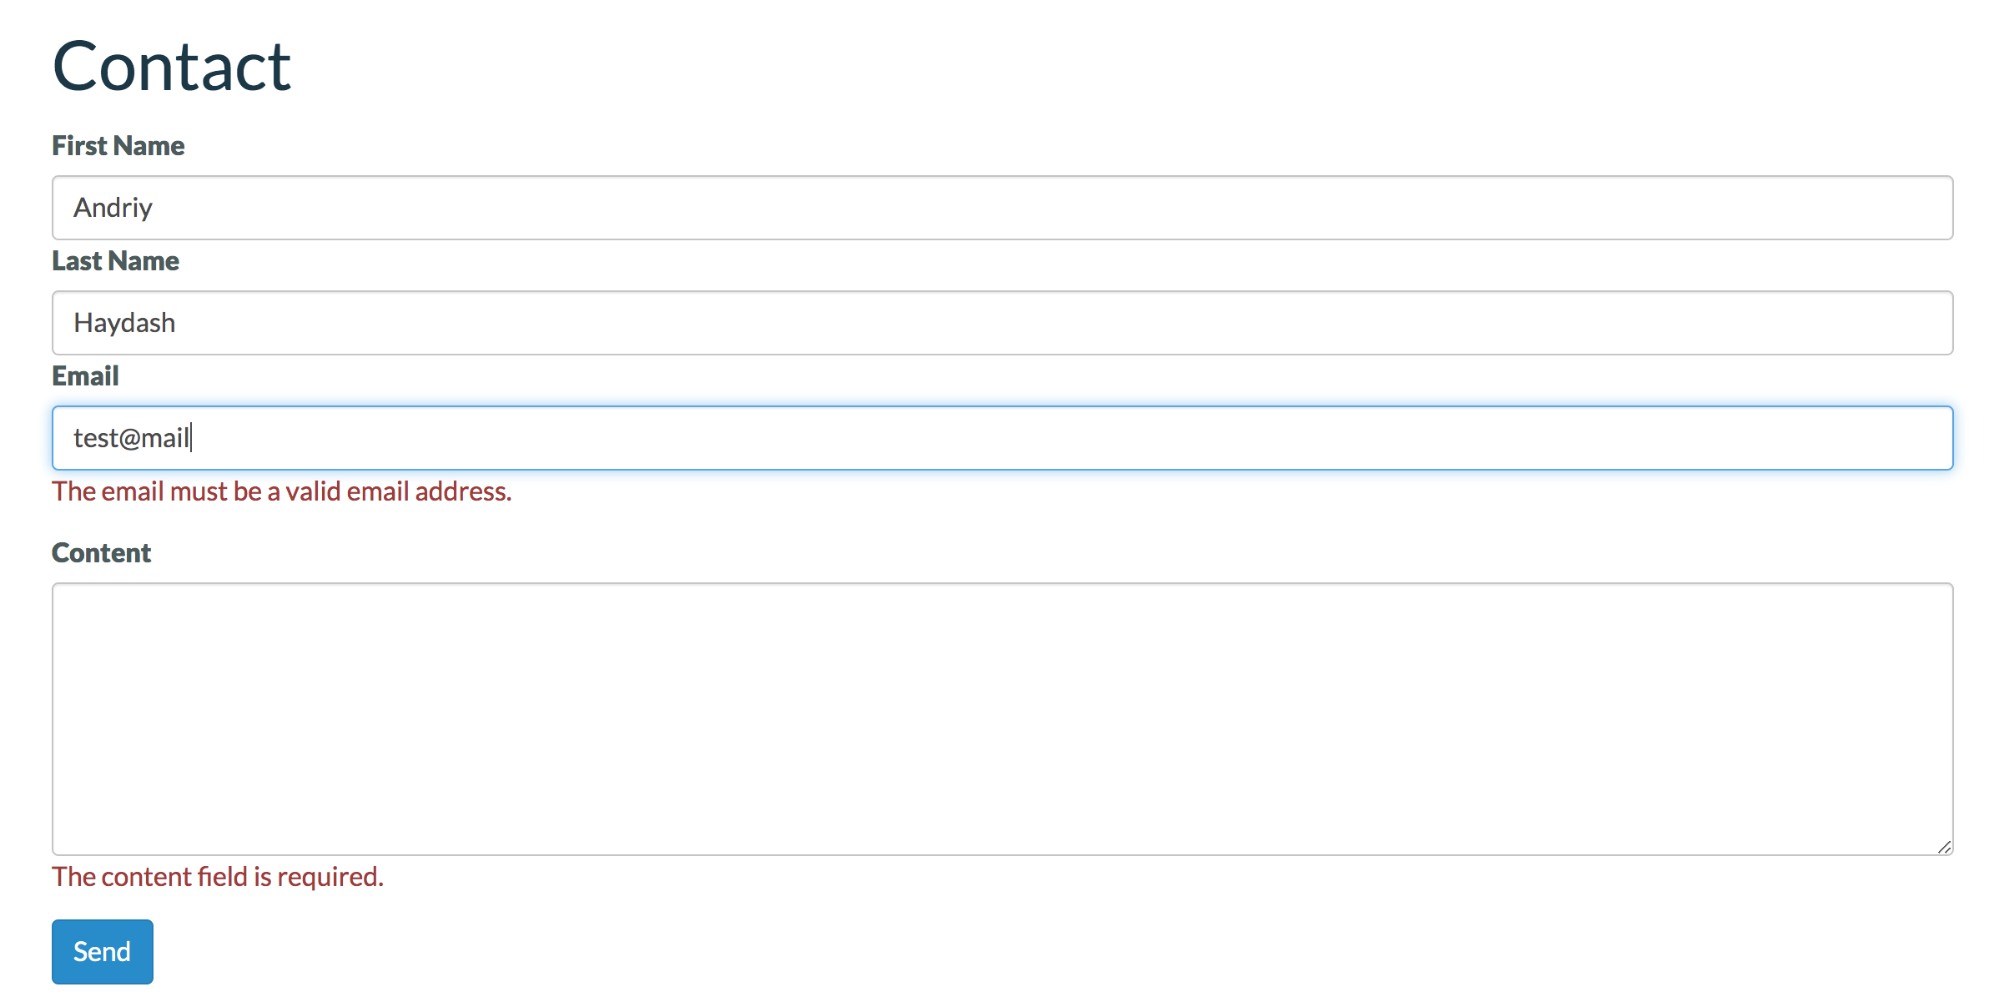
Validation works as expected. Let’s now input correct data and see if the email will be sent successfully to our admin.
Here is the email that admin@gmail.com will receive:
After the form is submitted successfully, the user will see an alert message informing him that the operation was successful:

Conclusion
In this tutorial, we’ve covered what a plugin and a component are and how to use them with October CMS.
Don’t be afraid to create a custom plugin for your project if you can’t find an existing one that fits your needs. It’s not that difficult and you have full control over it, and you can update or extend it at any time. Even creating a simple contact form plugin like we’ve done today can be useful if you want to then integrate it with other services like Mailchimp or HubSpot.
I hope this tutorial was helpful to you. If you have any questions, don’t hesitate to ask in the comments section below.
Further Reading
- Useful Figma Plugins And Tools
- How To Host A WordPress Site On Amazon Lightsail
- Modern Methods For Improving Drupal’s Largest Contentful Paint Core Web Vital
- Be Watchful: PHP And WordPress Functions That Can Make Your Site Insecure


