How To Build A Vue Survey App Using Firebase Authentication And Database

Email Newsletter
Weekly tips on front-end & UX.
Trusted by 182,000+ folks.


 Celebrating 10 million developers
 Custom Web Forms for Angular, React, & Vue. Your backend.
In this tutorial, you’ll be building a Survey App, where we’ll learn to validate our users form data, implement Authentication in Vue, and be able to receive survey data using Vue and Firebase (a BaaS platform).
As we build this app, we’ll be learning how to handle form validation for different kinds of data, including reaching out to the backend to check if an email is already taken, even before the user submits the form during sign up.
Also, the app would handle logging in of the user with restful APIs. It’ll make use of Authguard in Vue router to prevent users that are not logged in from getting access to the survey form, and successfully send the survey data of logged-in users to a secure database.
Just so we’re on the same page, let’s clarify what Firebase is, and what it’ll be doing in this tutorial. Firebase is a toolset to “build, improve, and grow your app”, it gives you access to a large portion of the services that developers would normally have to build themselves, but don’t really want to build, because they’d rather be focusing on the app experience itself. This includes things like analytics, authentication, databases, file storage, and the list goes on.
This is different than traditional app development, which typically involves writing both frontend and backend software. The frontend code just invokes API endpoints exposed by the backend, and the backend code actually does the work. However, with Firebase products, the traditional backend is bypassed, putting the work into the client. This technically allows front-end engineers like myself to build full-stack applications writing just front end code.
The bottom line is that Firebase would act as our backend in this project by providing us with the necessary API endpoints to handle both our authentication and database needs. In the end, you’ll have built a functional survey app using Vue+ Firebase. After that, you can go ahead and build any web app of your choice using these same processes, even with a custom backend.
To follow along, you need to have Node and npm/yarn installed on your machine. If you do not have that done already, follow these quick guides to install yarn or npm on your machine. You also need to have a basic understanding of Vue, Vuex and Vue router syntax for this tutorial.
The starter files for this tutorial are right here, which contains the base files for this project, and here is the repo for the completed demo. You can clone or download the repos and run npm install in your terminal.
After installing the starter file, you’ll see a welcome page, which has the options to sign up and sign in. After getting logged in you can then have access to the survey.

Feel free to create a new project if you’ll like to build this project entirely on your own, just make sure to install Vuex, Vue router, Vuelidate and axios into your Vue project. So let’s jump right in:
First, we’ll need a Firebase account to set up this project which is very much like creating a container for our app, giving us access to the database, various means of authentication, hosting, etc. It’s straight forward to set up once you’re on the Firebase site.

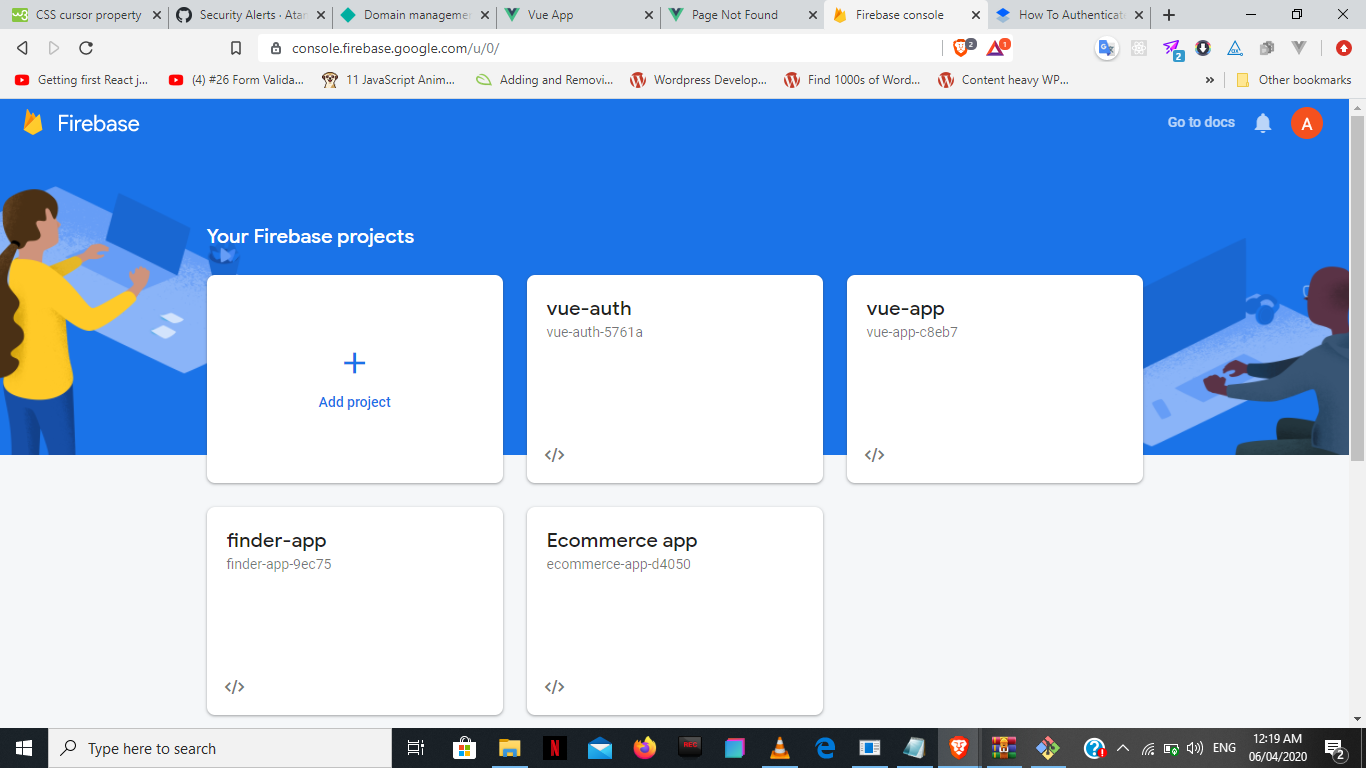
Now that we have our project, the next thing is to set up both our authentication system and database (Realtime database) on Firebase.
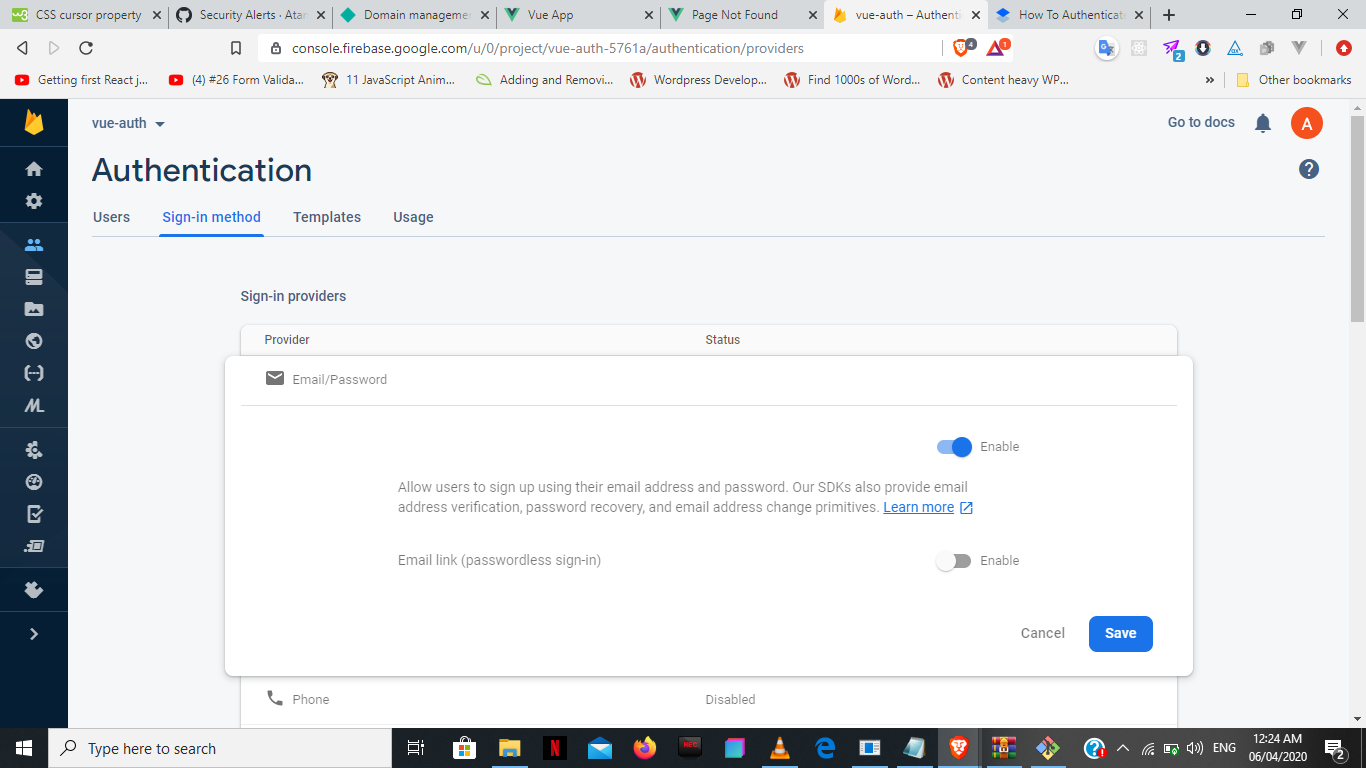
- Click on the “authentication” option;
- Set up the “sign-in method” we want (in this case email/password).
- Click on “database”.
- Choose “Realtime database” and copy this link that’s right on top.
It’ll be very useful as the API endpoint when we want to send the data to our firebase database.
We’ll refer to this API as the database API. To use it, you’ll have to add the name of the database of your choice when sending it. For example, to send to a database called user. You simply add user.json at the end:
{databaseAPI}/user.json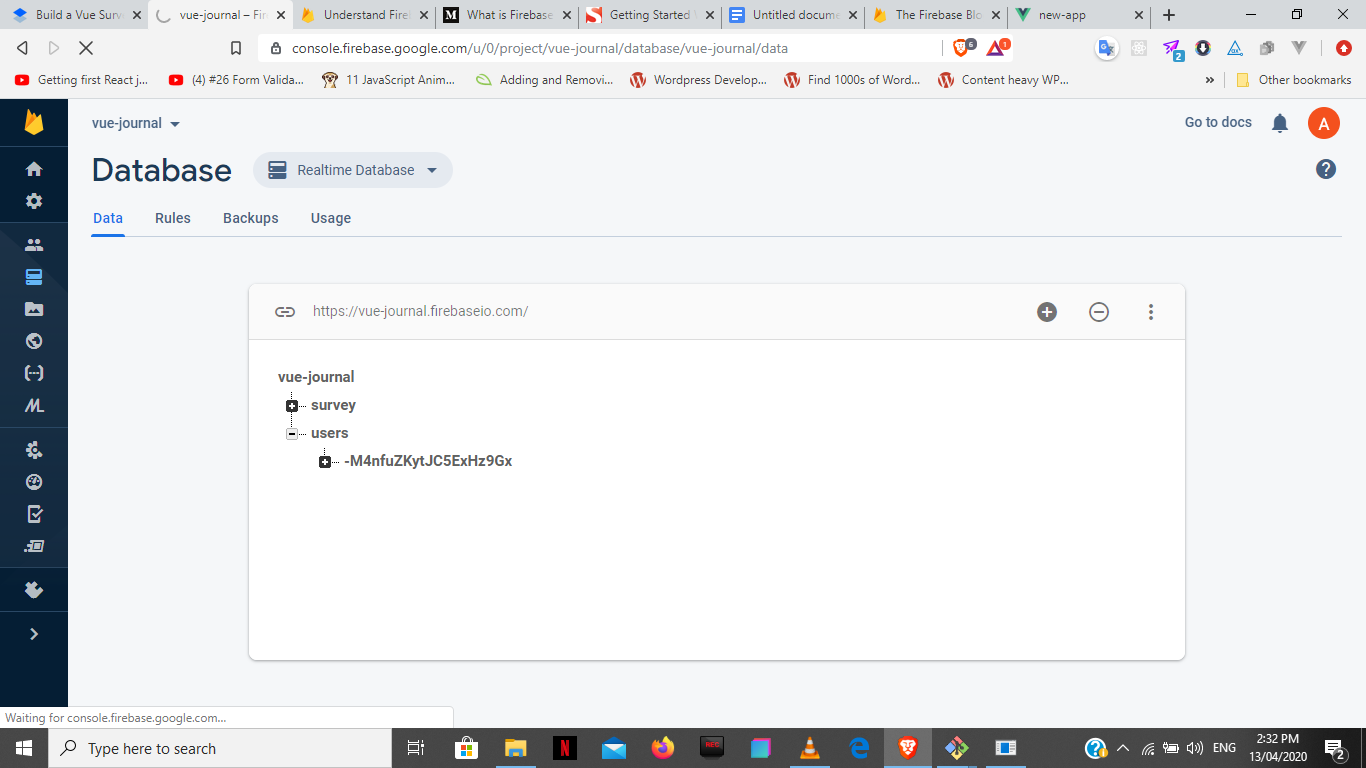
After this, we’ll then go to Firebase auth rest API documentation to get our sign up and sign in API endpoints. Within these endpoints, there will be a need for our project’s API key, which can be found in our project settings.
Validation
Back to our code, there’ll be a validation of the signup data before been sent to the server, just to make sure the user is sending appropriate information. We’ll be using Vuelidate which is a cool library that makes validation easier in Vue. First of all, install Vuelidate into the project:
npm i vuelidateGo to src/components/auth/signup.vue and within the script tag import vuelidate and all the necessary events that we’ll need from the library as seen below.
Note: You can check the docs for a full overview of the library and all available events.
import { required, email, numeric, minValue, minLength, sameAs } from 'vuelidate/lib/validators'A quick explanation:
| Value | Description|
|---|---|
required | The value is compulsory |
email | Value must be an email |
numeric | Must be a number |
minValue | Least numerical value the user can input. |
sameAs | Used to compare between two values to make sure they’re the same |
import axios from 'axios'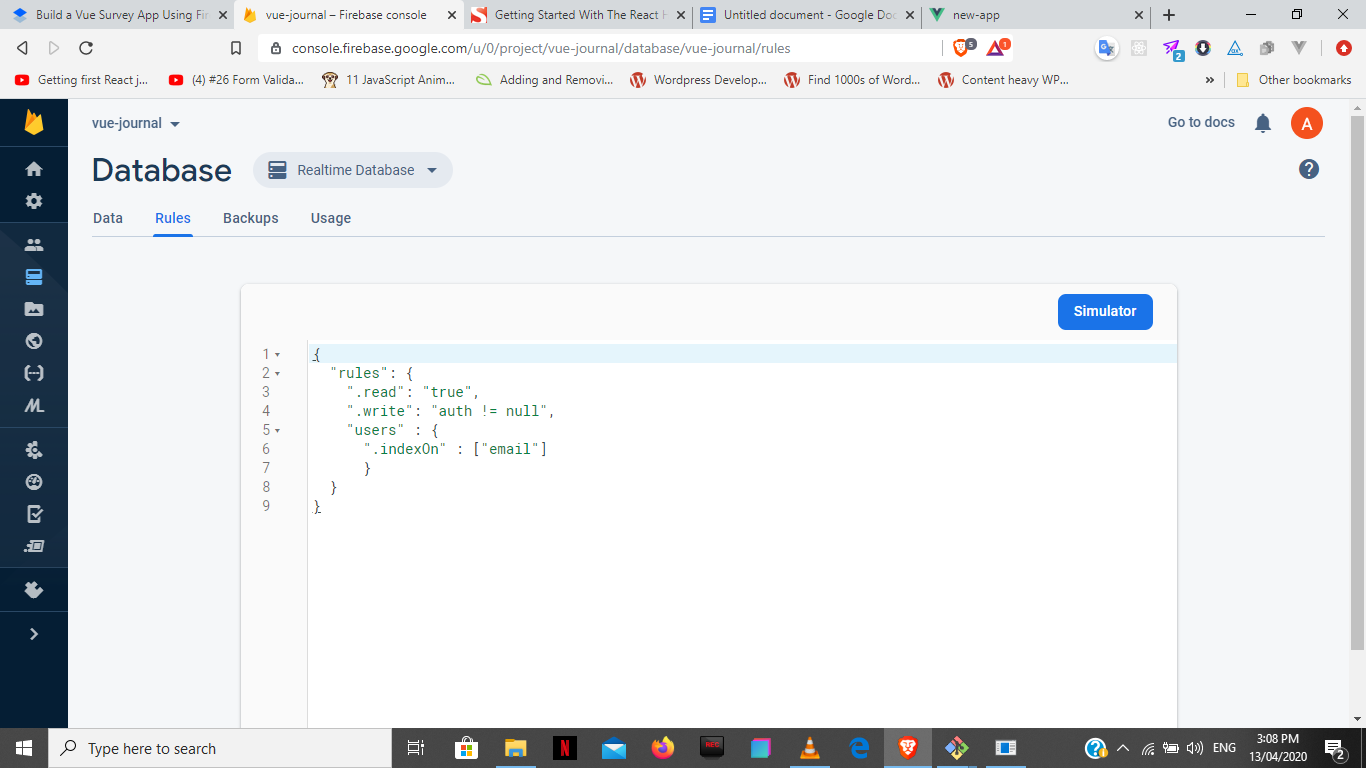
"read" = "true""write" = "auth" !== null"Users" = {
"onIndex" : ["email"]
}
    validations : {
      email: {
        required,
        email,
        unique: val => {
          if (val === '') return true
          return axios.get('https://vue-journal.firebaseio.com/users.json?orderBy="email"&equalTo="' + val + '"')
            .then(res => {
              return Object.keys(res.data).length === 0
            })
        }
      }
}age: {
required,
numeric,
minVal: minValue(18)
}password: {
required,
minLen: minLength(6)
}confirmPassword: {
sameAs: sameAs(vm => {
return vm.password
})
}<div class="input" :class="{invalid: $v.email.$error}">
<h6 v-if="!$v.email.email">Please provide a valid email address.</h6>
<h6 v-if="!$v.email.unique">This email address has been taken.</h6>
<input
type="email"
placeholder="Email"
id="email"
@blur="$v.email.$touch()"
v-model="email">
</div><button type="submit" :disabled="$v.$invalid">create</button>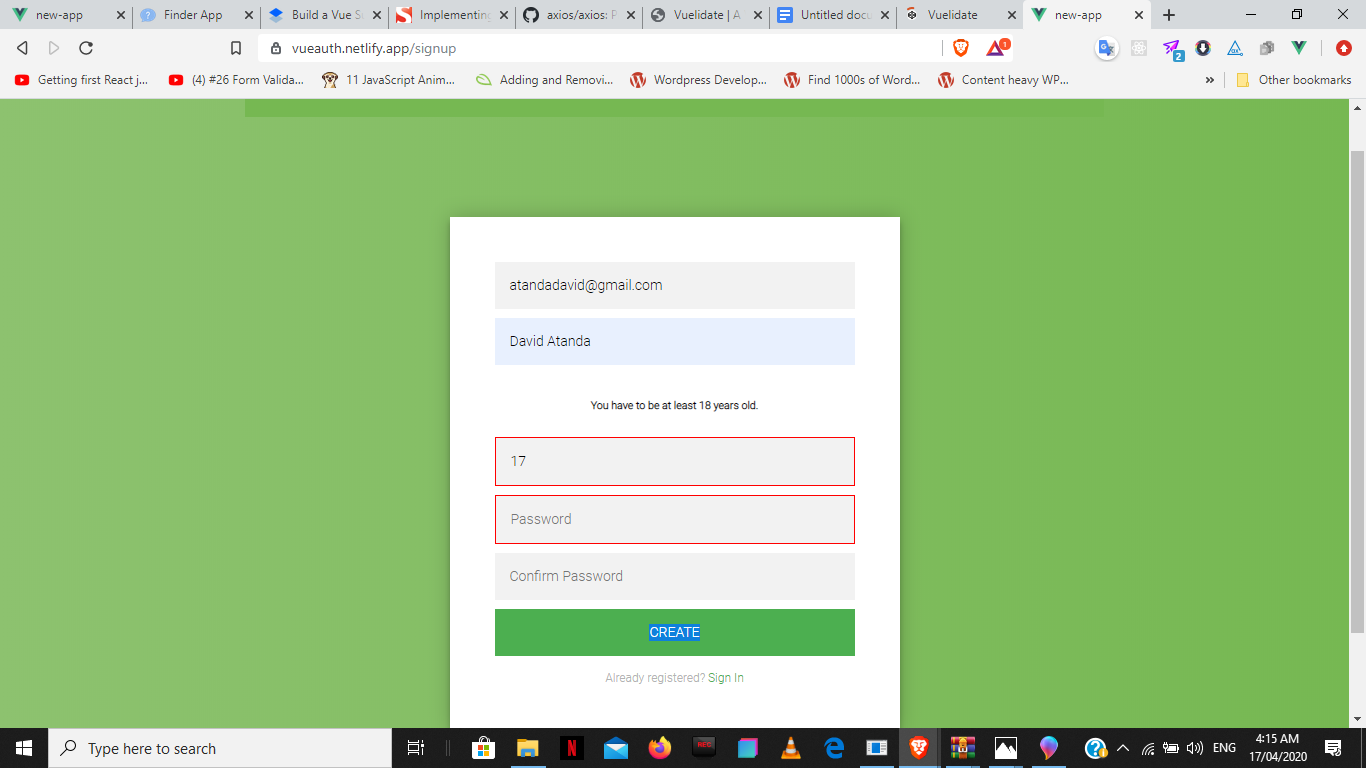
state: {
  idToken: null,
  userId: null,
  user: null
}authUser | Saves the token and userId |
storeUser | Stores the user info |
clearAuthData | Erases the data back to the initial state |
mutations: {
  authUser (state, userData) {
    state.idToken = userData.token
    state.userId = userData.userId
  },
  storeUser (state, user) {
    state.user = user
  },
  clearAuthData (state) {
    state.idToken = null
    state.userId = null
    state.user = null
  }
}signup ({commit, dispatch}, authData) {
axios.post('https://www.googleapis.com/identitytoolkit/v3/relyingparty/signupNewUser?key=***', {
email: authData.email,
password: authData.password,
returnSecureToken: true
})
.then(res => {
console.log(res)
commit('authUser', {
token: res.data.idToken,
userId: res.data.localId
})
localStorage.setItem('token', res.data.idToken)
localStorage.setItem('userId', res.data.localId)
localStorage.setItem('email', res.data.email)
dispatch('storeUser', authData)
setTimeout(function () {
router.push('/dashboard')
}, 3000)
})
.catch(error => console.log(error))
}login ({commit}, authData) {
axios.post('https://www.googleapis.com/identitytoolkit/v3/relyingparty/verifyPassword?key=***', {
email: authData.email,
password: authData.password,
returnSecureToken: true
})
.then(res => {
console.log(res)
localStorage.setItem('token', res.data.idToken)
localStorage.setItem('userId', res.data.localId)
localStorage.setItem('email', res.data.email)
commit('authUser', {
token: res.data.idToken,
userId: res.data.localId
})
router.push('/dashboard')
})
.catch(error => console.log(error.message))
}storeUser ({ state}, userData) {
if (!state.idToken) {
return
}
axios.post('https://vue-journal.firebaseio.com/users.json' + '?auth=' + state.idToken, userData)
.then(res => console.log(res))
.catch(error => console.log(error))
}
}“write” = “auth” !== nullmethods : {
onSubmit () {
const signupData = {
email : this.email,
name : this.name,
age : this.age,
password : this.password,
confirmPassword : this.co
nfirmPassword
}
this.$store.dispatch('signup', signupData)
}
}
}methods : {
onSubmit = {
const formData = {
email : this.email,
password : this.password
}
this.$store.dispatch('login', {email: formData.email, password: formData.password})
}
}import store from './store'const routes = [
{ path: '/', component: WelcomePage },
{ path: '/signup', component: SignupPage },
{ path: '/signin', component: SigninPage },
{
path: '/dashboard',
component: DashboardPage,
beforeEnter (to, from, next) {
if (store.state.idToken) {
next()
} else {
next('/signin')
}
}
}
]actions: {
logout ({commit}) {
commit('clearAuth')
localStorage.removeItem('token')
localStorage.removeItem('userId')
router.replace('/')
}
}methods: {
onLogout() {
this.$store.dispatch('logout')
}
}<ul @click="onLogout">Log Out</ul>getters: {
isAuthenticated (state) {
return state.idToken !== null
}
}computed: {
auth () {
return this.$store.getters.ifAuthenticated
}
}<li v-if='auth'>
<router-link to="/dashboard">Dashboard</router-link>
</li>
<li v-if='!auth'>
<router-link to="/signup">Register</router-link>
</li>
<li v-if='!auth'>
<router-link to="/signin">Log In</router-link>
</li>
AutoLogin
When we reload our app we lose the data and are signed out, having to start all over. This is because our token and Id are stored in Vuex, which is javascript, and this means that our app gets reloaded with the browser when refreshed.
And so finally, what we’ll be doing is to retrieve the token within our local storage. By so doing, we can have the user’s token on the browser regardless of when we refresh the window, and have a method auto log-in our user in as much as the token is still valid.
A new actions method called AutoLogin is created, where we’ll get the token and userId from the local storage, and commit our data to the authUser method in the mutations.
actions : {
  AutoLogin ({commit}) {
      const token = localStorage.getItem('token')
      if (!token) {
        return
      }
      const userId = localStorage.getItem('userId')
      const token = localStorage.getItem('token')
      commit('authUser', {
        idToken: token,
        userId: userId
      })
  }
}
We then go to our App.vue and write a created method, that’ll dispatch the autoLogin from our store every time the app is loaded.
created () {
    this.$store.dispatch('AutoLogin')
  }
Fetch_User_Data
We want to welcome the user on the dashboard by displaying the user’s name. And so, another action called fetchUser is created which first checks if there’s a token as usual. Then, it goes on to get the email from local storage and queries the database as done earlier with the email validation.
This returns an object containing the user’s data initially submitted during sign-up. We then convert this object into an array and commit it to the storeUser mutation initially created.
fetchUser ({ commit, state}) {
  if (!state.idToken) {
    return
  }
  const email = localStorage.getItem('email')
  axios.get('https://vue-journal.firebaseio.com/users.json?orderBy="email"&equalTo="' + email + '"')
    .then(res => {
      console.log(res)

     // const users = []
      console.log(res.data)
      const data = res.data
      const users = []
      for (let key in data) {
        const user = data[key]
        user.id = key
        users.push(user)
        console.log(users)
      }
     commit('storeUser', users[0])
    })
    .catch(error => console.log(error))
}
After which we create another getter called user which returns the state.user already committed through storeUser.
getters: {
  user (state) {
    return state.user
  },
  isAuthenticated (state) {
    return state.idToken !== null
  }
}
Back to the dashboard, we create a new computed method called name that returns state.user.name only if the user exists.
computed: {
  name () {
      return !this.$store.getters.user ? false : this.$store.getters.user.name
    }
  },
  created () {
    this.$store.dispatch('fetchUser')
  }
}
And we’ll also add the created computed property to dispatch the fetchUser action once the page is loaded. We then use the v-if in our HTML in order to display the name if the name exists.
<p v-if="name">Welcome, {{ name }} </p>Send_Survey
To send the survey, we’ll create a postData action that sends the data to the database using the database API, with the token to show the server that the user is logged in.
postData ({state}, surveyData) {
  if (!state.idToken) {
    return
  }
  axios.post('https://vue-journal.firebaseio.com/survey.json' + '?auth=' + state.idToken , surveyData)
    .then(res => {
     console.log(res)
    })
    .catch(error => console.log(error))
}
We come back to the dashboard component and dispatch the data to our postData action in the store.
methods : {
  onSubmit () {
    const postData = {
      price: this.price,
      long: this.long,
      comment: this.comment
    }
    console.log(postData)
    this.$store.dispatch('postData', postData)
  }
}
There we have it, we’ve got a lot of useful features implemented into our demo application while communicating with our Firebase server. Hopefully, you’ll be using these powerful features in your next project as they’re very critical to building modern web apps today.
If you have any questions, you can leave them in the comments section and I’ll be happy to answer every single one of them!
- The demo for the tutorial is live here.

Other resources that may prove useful includes:
- To understand more about Firebase and the other services it offers, check out Chris Esplin’s article, “What Is Firebase?”
- Vuelidate is a really nice library you should really dig into. You should read through its documentation to gain full insight.https://vuelidate.js.org/.
- You can also explore axios on its own, especially if you want to use it in bigger projects.


