Building Desktop Apps With Electron And Vue

Email Newsletter
Weekly tips on front-end & UX.
Trusted by 182,000+ folks.
 Celebrating 10 million developers


 Custom Web Forms for Angular, React, & Vue. Your backend.
JavaScript used to be known as the language for building websites and web applications especially with some of its frameworks such as React, Vue, and Angular but over time (as early as 2009), it became possible for JavaScript to run outside the browser with the emergence of Node.js, an open-source, cross-platform, JavaScript runtime environment that executes JavaScript code outside a web browser. This has led to the ability to use JavaScript for a whole lot more than just web applications, and one of which is building desktop applications using Electron.js.
Electron enables you to create desktop applications with pure JavaScript by providing a runtime with rich native (operating system) APIs. You can see it as a variant of the Node.js runtime that is focused on desktop applications instead of web servers.
In this tutorial, we’re going to learn how to build desktop applications using Electron, we’re also going to learn how to use Vuejs to build Electron applications.
Note: Basic knowledge of Vue.js and the Vue CLI is required to follow this tutorial. All of the code used in this tutorial can be found on my GitHub. Feel free to clone and play around with it!
What Are Desktop Applications?
Desktop applications are applications that run stand-alone in desktop or laptop computers. They are applications that perform specific tasks and are installed solely for this purpose.
An example of a desktop application is your Microsoft Word, which is used for creating and typing documents. Other examples of common desktop applications are web browsers, Visual Studio Code, and Adobe Photoshop. Desktop applications are different from web applications because you have to install the desktop application in order for you to access and make use of it, and they sometimes do not need internet access for them to work. Web apps, on the other hand, can be accessed by simply visiting the URL that such an app is hosted on and always need internet access before you can access them.
Examples of frameworks used in building desktop apps include:
- Java
Java is a general-purpose programming language that is class-based, object-oriented, and designed to have as few implementation dependencies as possible. It is intended to let application developers write once, run anywhere (WORA), meaning that compiled Java code can run on all platforms that support Java without the need for recompilation. - Java FX
According to their official documentation, it is an open-source, next-generation client application platform for desktop, mobile, and embedded systems built on Java. - C#
C# is a general-purpose, multi-paradigm programming language encompassing strong typing, lexically scoped, imperative, declarative, functional, generic, object-oriented, and component-oriented programming disciplines. - .NET
.NET is a free, cross-platform, open-source developer platform for building many different types of applications. With .NET, you can use multiple languages, editors, and libraries to build for web, mobile, desktop, gaming, and IoT.
What Is Electron?
Electron is an open-source framework for building desktop applications. It was formerly known as ‘Atom shell’ and is developed and maintained by GitHub. It lets you write cross-platform desktop applications using HTML, CSS, and JavaScript. This means that you can build desktop applications for Windows, MacOS and other platforms using one code base. It is based on Node.js and Chromium. Examples of applications built with Electron include the popular Atom editior, Visual Studio Code, Wordpress for desktop, and Slack.
Installation
You can install Electron in your project using NPM:
npm install electron --save-devYou can also install it globally if you’re going to be working with electron apps a lot using this command:
npm install electron -gBuilding Vuejs Apps For Desktop With Electron
If you’re familiar with building web applications using Vuejs, it is possible to build desktop applications using Vuejs. All you need for this is the Vue CLI Plugin Electron Builder.
The Vue CLI Plugin Electron Builder
This tool allows you to build Vue apps for desktop with Electron, this means that it makes your Vue application work as an electron app. This means that your Vue application which possibly is a web application can be extended to work in desktop environments without the need to build a separate desktop application in another framework. This gives Vue developers the option and power to go beyond the web. Going forward, you can work on that idea you have and give users a desktop application option — one that can run on Windows, macOS, and Linux.
To see this in action, we’re going to be building a News app using the News API. The application will provide breaking news headlines and allow you to search for articles from news sources and blogs all over the web with their API. All you need to get started with them is your personal API key which can be gotten from here.
We’ll be building a simple app that offers the following:
- A page that displays top and breaking headlines from a selected country with the option to choose a country using their
/top-headlinesendpoint. News API provides news from a list of countries that they support, find the list here. - News from a selected category using a combination of their
/everythingendpoint and a query parameterqwith which we’ll specify our category.
After getting your API Key, we can create our application using the Vue CLI. Ensure you have the Vue CLI installed on your system, if you do not, install it using this command:
npm install -g @vue/cli
# OR
yarn global add @vue/cli
Once this is done, create your News app using the CLI:
vue create news-appWe’ll fetch the data from the News API by using Axios for this tutorial, but you can use any alternative you’re more comfortable with. You can install Axios by using any of the following commands:
//NPM
npm install axios
// YARN
yarn add axios
The next step would be to set up an Axios instance for global config in our application. We’re going to be creating a plugins folder in the src folder where we’ll create this axios.js file. After creating the file, add the following lines of code:
import axios from "axios";
let baseURL = `https://newsapi.org/v2`;
let apiKey = process.env.VUE_APP_APIKEY;
const instance = axios.create({
    baseURL: baseURL,
    timeout: 30000,
    headers: {
        "X-Api-Key": apiKey,
    },
});
export default instance;
Here, we define our baseURL and apiKey which we got from News API and pass it to a new instance of Axios. This instance accepts the baseURL and apiKey together with a timeout property. News API requires you to add your API Key when making a request to their API and offers 3 ways to attach it to your request but here, we’re adding it to the header X-Api-Key property after which we export instance. Once this is done, we can now use this config for all our Axios requests in our app.
When this is done, you can add the Plugin Electron builder with the CLI using this command:
vue add electron-builderYou’ll be prompted to select your preferred Electron version, I selected version 9.0.0 because it is the latest version of Electron (at the time of writing).
When this is done, you can now serve your application using this command:
Using Yarn(strongly recommended)
yarn electron:serve
OR NPM
npm run electron:serve
This will take some time to compile and serve your app. When that is done, your application will pop open on your system, this should look like this:
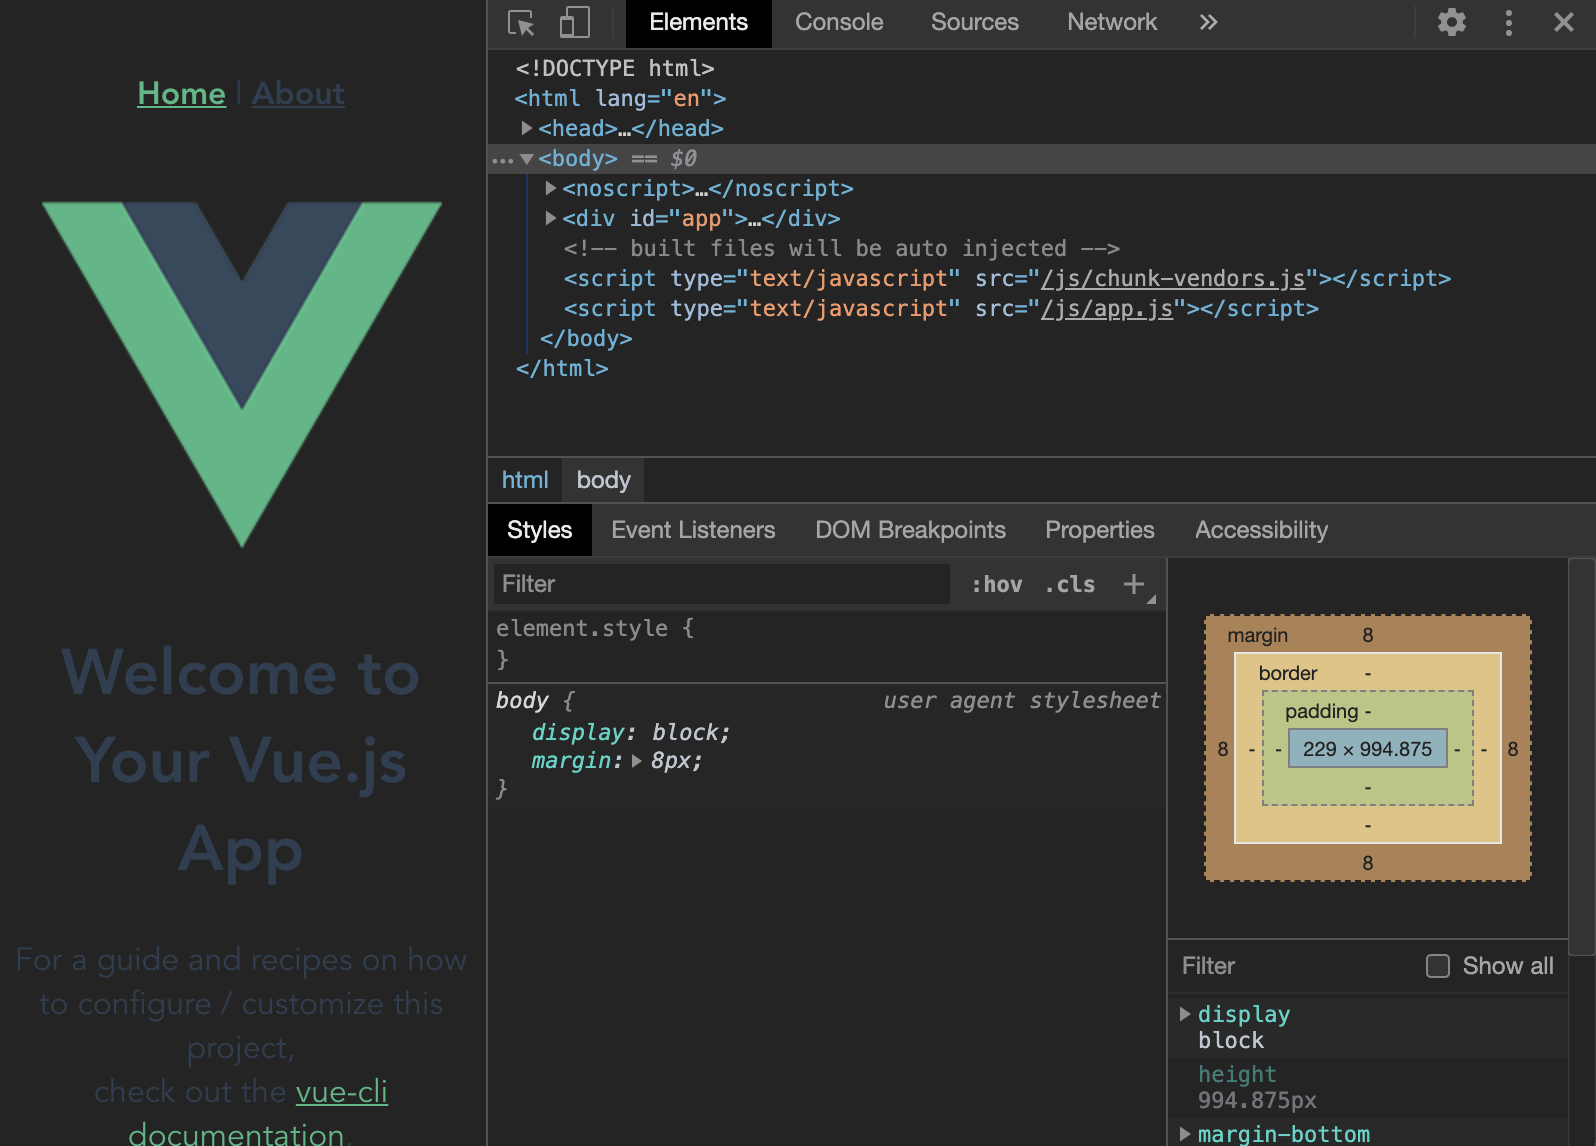
If you close the devtools of your app, it should look like this:
This electron plugin is super helpful and easy to use because every part of the development of this app works the same way as a Vue app. This means you can have one codebase for both your web application and desktop app. Our app will have three parts:
- A landing page that renders top news from a country chosen at random.
- A page for rendering top news from the user’s country of choice.
- A page that renders top news from a category of the user’s selection.
For this, we’re going to be needing a header component for all our nav links. So let us create a file in the components folder and name it header.vue, and afterward add the following lines of code to it:
<template>
    <header class="header">
        <div class="logo">
            <div class="logo__container">
                <img src="../assets/logo.png" alt="News app logo" class="logo__image" />
            </div>
            <h1>News App</h1>
        </div>
        <nav class="nav">
            <h4 class="nav__link">
                <router-link to="/home">Home</router-link>
            </h4>
            <h4 class="nav__link">
                <router-link to="/top-news">Top News</router-link>
            </h4>
            <h4 class="nav__link">
                <router-link to="/categories">News By Category</router-link>
            </h4>
        </nav>
    </header>
</template>
<script>
    export default {
        name: "app-header",
    };
</script>
<style>
    .header {
        display: flex;
        flex-wrap: wrap;
        justify-content: space-between;
    }
    .logo {
        display: flex;
        flex-wrap: nowrap;
        justify-content: space-between;
        align-items: center;
        height: 50px;
    }
    .logo__container {
        width: 50px;
        height: 50px;
    }
    .logo__image {
        max-width: 100%;
        max-height: 100%;
    }
    .nav {
        display: flex;
        flex-wrap: wrap;
        width: 350px;
        justify-content: space-between;
    }
</style>
Here, we create a header component that has our app name and logo (image can be found on my GitHub) together with a nav section that contains links to the other parts of our application. The next thing would be to import this page on our layout page — App.vue so we can see our header on every page.
<template>
    <div id="app">
        <app-header />
        <router-view />
    </div>
</template>
<script>
    import appHeader from "@/components/Header.vue";
    export default {
        name: "layout",
        components: {
            appHeader,
        },
    };
</script>
<style>
    @import url("https://fonts.googleapis.com/css2?family=Abel&family=Staatliches&display=swap");
    html,
    #app {
        min-height: 100vh;
    }
    #app {
        font-family: "Abel", sans-serif;
        -webkit-font-smoothing: antialiased;
        -moz-osx-font-smoothing: grayscale;
        text-align: center;
        color: #2c3e50;
        background-color: #fff;
    }
    #app h1 {
        font-family: "Staatliches", cursive;
    }
    a {
        font-weight: bold;
        color: #2c3e50;
        text-decoration: none;
    }
    a:hover {
        text-decoration: underline;
    }
    a.router-link-exact-active {
        color: #42b983;
    }
</style>
Here, we replace the default content in the template section with our newly created header component after we have imported and declared it in the script section. Finally, we add some styling for the whole app in the style section.
Now if we try to view our app, it should look like this:

The next step would be to add content to our Home.vue file. This page would host the first section of our app; Top news from a country selected at random. Update your Home.vue file with the following lines of code:
<template>
  <section class="home">
    <h1>Welcome to News App</h1>
    <h4>Displaying Top News from {{ countryInfo.name }}</h4>
    <div class="articles__div" v-if="articles">
      <news-card
        v-for="(article, index) in articles"
        :key="index"
        :article="article"
      ></news-card>
    </div>
  </section>
</template>
<script>
  import { mapActions, mapState } from "vuex";
  import NewsCard from "../components/NewsCard";
  export default {
    data() {
      return {
        articles: "",
        countryInfo: "",
      };
    },
    components: {
      NewsCard,
    },
    mounted() {
      this.fetchTopNews();
    },
    computed: {
      ...mapState(["countries"]),
    },
    methods: {
      ...mapActions(["getTopNews"]),
      async fetchTopNews() {
        let countriesLength = this.countries.length;
        let countryIndex = Math.floor(
          Math.random() * (countriesLength - 1) + 1
        );
        this.countryInfo = this.countries[countryIndex];
        let { data } = await this.getTopNews(
          this.countries[countryIndex].value
        );
        this.articles = data.articles;
      },
    },
  };
</script>
<style>
  .articles__div {
    display: flex;
    flex-wrap: wrap;
    justify-content: center;
  }
</style>
In the script section of this file, we import mapState and mapActions from Vuex, which we’ll be using later on in this file. We also import a NewsCard component (we’ll create this next) that would render all news headlines on this page. We then make use of the fetchTopNews method to fetch the latest news from a country selected at random from the array of countries in our store. This country is passed to our getTopNews action, this would be appended to the baseURL as a query for a country like so baseURL/top-news?country=${randomCountry}. Once this is done, we loop through this data and pass it to the article prop of our Newscard component in the template section. We also have a paragraph that indicates which country the top news is from.
The next thing would be to set up our NewsCard component that will display this news. Create a new file inside your components folder, name it NewsCard.vue, and add the following lines of code to it:
<template>
  <section class="news">
    <div class="news__section">
      <h1 class="news__title">
        <a class="article__link" :href="article.url" target="_blank">
          {{ article.title }}
        </a>
      </h1>
      <h3 class="news__author" v-if="article.author">{{ article.author }}</h3>
      <!-- <p class="article__paragraph">{{ article.description }}</p> -->
      <h5 class="article__published">{{ new Date(article.publishedAt) }}</h5>
    </div>
    <div class="image__container">
      <img
        class="news__img"
        src="../assets/logo.png"
        :data-src="article.urlToImage"
        :alt="article.title"
      />
    </div>
  </section>
</template>
<script>
  export default {
    name: "news-card",
    props: {
      article: Object,
    },
    mounted() {
      this.lazyLoadImages();
    },
    methods: {
      lazyLoadImages() {
        const images = document.querySelectorAll(".news__img");
        const options = {
          // If the image gets within 50px in the Y axis, start the download.
          root: null, // Page as root
          rootMargin: "0px",
          threshold: 0.1,
        };
        const fetchImage = (url) => {
          return new Promise((resolve, reject) => {
            const image = new Image();
            image.src = url;
            image.onload = resolve;
            image.onerror = reject;
          });
        };
        const loadImage = (image) => {
          const src = image.dataset.src;
          fetchImage(src).then(() => {
            image.src = src;
          });
        };
        const handleIntersection = (entries) => {
          entries.forEach((entry) => {
            if (entry.intersectionRatio > 0) {
              loadImage(entry.target);
            }
          });
        };
        // The observer for the images on the page
        const observer = new IntersectionObserver(handleIntersection, options);
        images.forEach((img) => {
          observer.observe(img);
        });
      },
    },
  };
</script>
<style>
  .news {
    width: 100%;
    display: flex;
    flex-direction: row;
    align-items: flex-start;
    max-width: 550px;
    box-shadow: 2px 1px 7px 1px #eee;
    padding: 20px 5px;
    box-sizing: border-box;
    margin: 15px 5px;
    border-radius: 4px;
  }
  .news__section {
    width: 100%;
    max-width: 350px;
    margin-right: 5px;
  }
  .news__title {
    font-size: 15px;
    text-align: left;
    margin-top: 0;
  }
  .news__author {
    font-size: 14px;
    text-align: left;
    font-weight: normal;
  }
  .article__published {
    text-align: left;
  }
  .image__container {
    width: 100%;
    max-width: 180px;
    max-height: 180px;
  }
  .news__img {
    transition: max-width 300ms cubic-bezier(0.4, 0, 1, 1),
      max-height 300ms cubic-bezier(0.4, 0, 1, 1);
    max-width: 150px;
    max-height: 150px;
  }
  .news__img:hover {
    max-width: 180px;
    max-height: 180px;
  }
  .article__link {
    text-decoration: none;
    color: inherit;
  }
</style>
Here, we display data passed into this component using the article object prop. We also have a method that lazy loads the images attached to each article. This method loops through the number of article images we have and lazy loads them when they become visible. Finally, we have styles targeted at this component in the style section.
The next thing will be to set up our store so we can start getting the latest news. Add the following lines of code to your index.js file:
import Vue from "vue";
import Vuex from "vuex";
import axios from "../plugins/axios";
Vue.use(Vuex);
const store = new Vuex.Store({
    state: {
        countries: [{
                name: "United States of America",
                value: "us",
            },
            {
                name: "Nigeria",
                value: "ng",
            },
            {
                name: "Argentina",
                value: "ar",
            },
            {
                name: "Canada",
                value: "ca",
            },
            {
                name: "South Africa",
                value: "za",
            },
        ],
        categories: [
            "entertainment",
            "general",
            "health",
            "science",
            "business",
            "sports",
            "technology",
        ],
    },
    mutations: {},
    actions: {
        async getTopNews(context, country) {
            let res = await axios({
                url: `/top-headlines?country=${country}`,
                method: "GET",
            });
            return res;
        },
    },
});
export default store;
We are adding two properties to our store, one of these properties is countries. This property contains an array of countries’ object. We also have the categories property; this contains an array of available categories on the News API. The reader will like the freedom to view the top news from specific countries and categories; this will also be needed in more than one part of the app and that is why we’re making use of the store. In the actions section of our store, we have a getTopNews method that fetches top news from a country(this country was passed from the component that called this action).
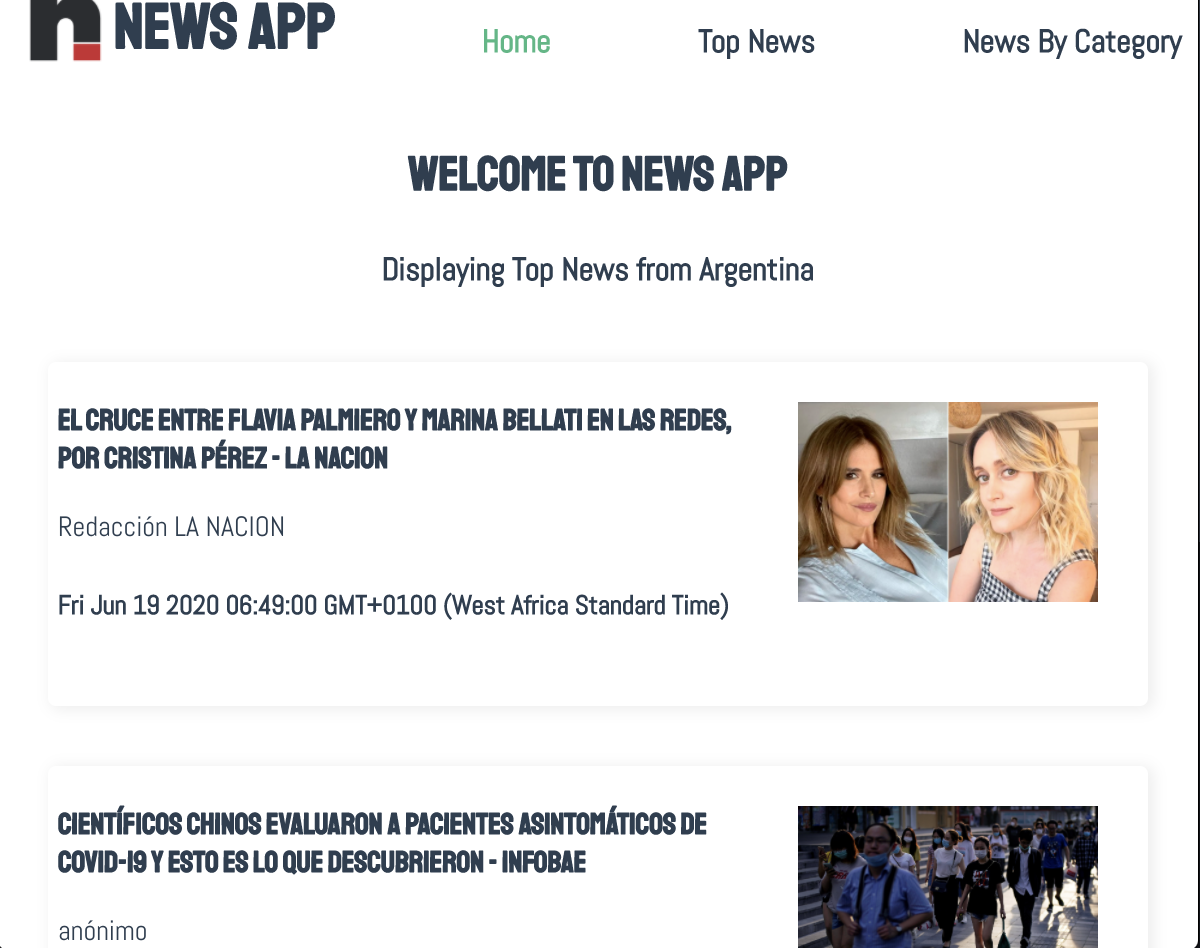
At this point, if we open our app, we should see our landing page that looks like this:
The background.js File
This file is the entry point for Electron into your app. It controls all the Desktop app-like settings for this app. The default state of this file can be found on my GitHub.
In this file, we have some predefined configurations set for the app such as the default height and width for your app. Let’s take a look at some of the things you can do in this file.
Enabling The Vuejs Devtools
By default, you have access to dev tools in Electron but it is not enabled after installation. This is as a result of an existing bug on windows 10, so if you open you background.js file, you will find some commented out code with comments that state why they’re commented out:
// Install Vue Devtools
// Devtools extensions are broken in Electron 6.0.0 and greater
// See https://github.com/nklayman/vue-cli-plugin-electron-builder/issues/378 for more info
// Electron will not launch with Devtools extensions installed on Windows 10 with dark mode
// If you are not using Windows 10 dark mode, you may uncomment these lines
// In addition, if the linked issue is closed, you can upgrade electron and uncomment these lines
// try {
//   await installVueDevtools()
// } catch (e) {
//   console.error('Vue Devtools failed to install:', e.toString())
// }
So if you’re not affected by this bug, you can uncomment the try/catch block and also search for installVueDevtools in this same file(line 5) and also uncomment it. Once this is done, your app will automatically restart, and when you check your dev tools, you should see the Vuejs Devtools.
Selecting A Custom Icon For Your App
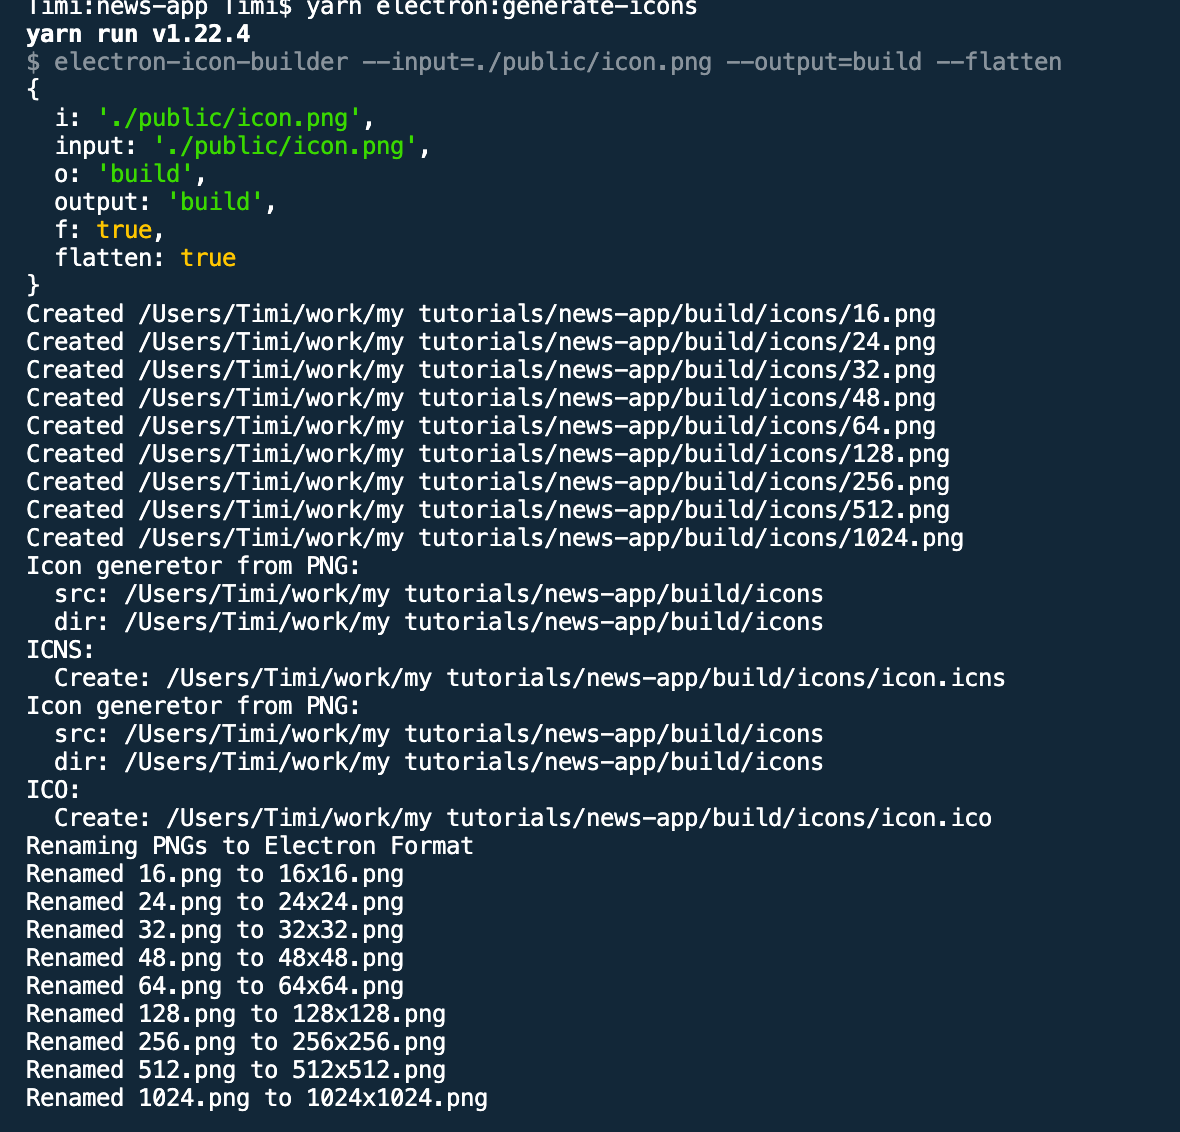
By default, the Electron icon is set as the default icon for your app, and most of the time, you probably would like to set your own custom icon. To do this, move your icon into your public folder, and rename it to be icon.png. The next thing to do would be to add the required dependency, electron-icon-builder.
You can install it using any of the following commands:
// With Yarn:
yarn add --dev electron-icon-builder
// or with NPM:
npm install --save-dev electron-icon-builder
Once this is done, you can run this next command. It will convert your icon into Electron format and print the following in your console when this done.
The next thing would be to set the icon option in background.js file. This option goes inside the BrowserWindow option that is imported from Electron. To do this, update BrowserWindow to look like this:
// Add this to the top of your file
/* global __static */
// import path
import path from 'path'

// Replace
win = new BrowserWindow({ width: 800, height: 600 })
// With
win = new BrowserWindow({
  width: 800,
  height: 600,
  icon: path.join(__static, 'icon.png')
})
Now if we run yarn run electron:build and view our app, we should see the updated icon being used as the app icon but it doesn’t change in development. This issue helps address a manual fix for it on macOS.
Setting Title For Your App
You will notice the title of your app is set to the app name (news-app in this case) and we’ll need to change it. To do that, we have to add a title property to the BrowserWindow method in our background.js file like this:
win = new BrowserWindow({
        width: 600,
        height: 500,
        title: "News App",
        icon: path.join(__static, "icon.png"),
        webPreferences: {
            // Use pluginOptions.nodeIntegration, leave this alone
            // See nklayman.github.io/vue-cli-plugin-electron-builder/guide/security.html#node-integration for more info
            nodeIntegration: process.env.ELECTRON_NODE_INTEGRATION,
        },
    });
Here, we’re setting the title of our app to ‘News App’. But if your index.html file has a title selected or your title doesn’t change to this, try adding this code to your file:
win.on("page-title-updated", (event) => event.preventDefault());We’re listening for an event that gets fired when our title is updated from BrowserWindow. When this event is fired, we’re telling Electron not to update the title with the one found in index.html file.
Another thing that might be worth changing is the productName, this controls what name appears when you hover on your app’s icon or what your computer recognizes the app as. Right now, the name of our app is Electron. To change this name in production, create a vue.config.js file and add the following lines of code to it:
module.exports = {
    pluginOptions: {
        electronBuilder: {
            builderOptions: {
                productName: "News App",
            },
        },
    },
};
Here, we define productName to be ‘News App’ so that when we run the build command for our app, the name changes from ‘Electron’ to ‘News App’.
Multi Platform Build
By default, when you run the build command, the app that gets created is dependent on the platform that it is being run on. This means if you run the build command on Linux, the app that gets created would be a Linux desktop app. The same also applies to other platforms(macOS and windows). But Electron comes with the option to specify a platform (or two platforms) you want to generate. The available options are:
macwinlinux
So in order to build the Windows version of your app, run the following command:
// NPM
npm electron:build -- --win nsis
// YARN
yarn electron:build --win nsis
Conclusion
The completed application can be found on my GitHub. The official Electron documentation provides information and a guide that helps you customize your desktop app whichever way you want. Some of the things I tried out but aren’t included in this tutorial are:
- Customizing your dock on macOS — https://www.electronjs.org/docs/tutorial/macos-dock.
- Setting resizeable, maximizable, and many more — https://github.com/electron/electron/blob/master/docs/api/browser-window.md#new-browserwindowoptions.
So if you’re looking to do much more with your Electron application, their official docs is a good place to start.
Related Resources
- Node.js
- [Java (programming language)](https://en.wikipedia.org/wiki/Java_(programming_language)
- [Electron (software framework)](https://en.wikipedia.org/wiki/Electron_(software_framework)
- JavaFX 14
- electronjs
- Electron Documentation
- Vue CLI Plugin Electron Builder
- Lazy Loading Images for Performance Using Intersection Observer
- axios
- Getting Started With Axios In Nuxt by Timi Omoyeni
Further Reading
- Optimizing A Vue App
- Long Live The Test Pyramid
- A Simple Guide To Retrieval Augmented Generation Language Models
- How To Boost Your Design Workflow With Setapp


