How Redux Reducers Work

Email Newsletter
Weekly tips on front-end & UX.
Trusted by 182,000+ folks.


 Celebrating 10 million developers
 Custom Web Forms for Angular, React, & Vue. Your backend.

state, you will most definitely have come across reducers. In this tutorial, Fortune Ikechi will show you the concept of reducers and how they work, specifically in React applications. In order to understand and better use Redux, a solid understanding of reducers is essential. Reducers provide a way to update an application’s state using an action. It is an integral part of the Redux library.In this tutorial, we’re going to learn the concept of reducers and how they work, specifically in React applications. In order to understand and better use Redux, a solid understanding of reducers is essential. Reducers provide a way to update an application’s state using an action. It is an integral part of the Redux library.
This tutorial is for developers who want to learn more about Redux Reducers. An understanding of React and Redux would be beneficial. At the end of the tutorial, you should have a better understanding of the role Reducers play in Redux. We’ll be writing code demos and an application to better understand Reducers and how it affects the state in an application.
What Is A Reducer
A Reducer is a pure function that takes the state of an application and action as arguments and returns a new state. For example, an authentication reducer can take an initial state of an application in form of an empty object and an action that tells it that a user has logged in and returned a new application state with a logged-in user.
Pure functions are functions that do not have any side effects and will return the same results if the same arguments are passed in.
Below is an example of a pure function:
const add = (x, y) => x + y;

add(2, 5);
The example above returns a value based on the inputs, if you pass 2 and 5 then you’d always get 7, as long as it’s the same input nothing else affects the output you get, that’s an example of a pure function.
Below is an example of a reducer function that takes in a state and an action.
const initialState = {};
const cartReducer = (state = initialState, action) => {
  // Do something here
}
Let’s define the two parameters that a reducer takes in, state and action.
State
A state is the data that your component(s) is working with — it holds the data that a component requires and it dictates what a component renders. Once a state object changes, the component re-renders. If an application state is managed by Redux, then the reducer is where state changes happen.
Action
An action, is an object that contains the payload of information. They are the only source of information for the Redux store to be updated. Reducers update store based on the value of the action.type. Here we will define the action.type as ADD_TO_CART.
According to the official Redux documentation, actions are the only things that trigger changes in a Redux application, they contain the payload for changes to an application store. Actions are JavaScript objects that tell Redux the type of action to be performed, usually they’re defined as functions like the one below:
const action = {
  type: 'ADD_TO_CART',
  payload: {
    product: 'margarine',
    quantity: 4
  }
}
The code above is a typical payload value that contains what a user is sending and it will be used to update the state of the application. As you can see from above, the action object contains the type of action and a payload object that would be necessary for this particular action to be performed.
Updating State Using Reducers
To show how reducers work, let’s look at the number counter below:
const increaseAction = {
  type: 'INCREASE',
};

const decreaseAction = {
  type: 'DECREASE'
};


const countReducer = (state = 0, action) => {
  switch(action.type){
  case INCREASE:
    return state + 1;

  case DECREASE :
    return state -1;

  default:
 return state;

  }
};
In the code above, increaseAction and decreaseAction are actions used in the reducer to determine what the state is updated to. Next, we have a reducer function called countReducer, which takes in an action and an initial state whose value is 0. If the value of action.type is INCREASE, we return a new state that is incremented by 1, else if it is DECREASE a new state that is decremented by 1 is returned. In cases where none of those conditions are meant, we return state.
Updating State Using Reducers: The Spread Operator
State can’t be directly changed, to create or update state, we can use the JavaScript spread operator to make sure we don’t change the value of the state directly but instead to return a new object that contains a state passed to it and the payload of the user.
const contactAction = {
  type: 'GET_CONTACT',
  payload: ['0801234567', '0901234567']
};

const initialState = {
  contacts: [],
  contact: {},
};

export default function (state = initialState, action) {
  switch (action.type) {
    case GET_CONTACTS:
      return {
        ...state,
        contacts: action.payload,
    };
  default:
    return state;
  }
In the code above, we are using a spread operator to make sure we don’t change the state value directly, this way we can return a new object that is filled with the state that is passed to it and the payload that’s sent by the user. By using a spread operator, we can make sure that the state stays the same as we add all new items to it and also replace the contacts field in the state if it was present before.
Redux Reducers In Action — A Demo
To better understand Redux Reducers and how they work, we will be implementing a simple Movie details finder app, the code and working version can be found here on Codesandbox. To get started, go to your terminal and initialize a react app using the command below:
create-react-app movie-detail-finderOnce our project initialized, next let’s install the packages we’d need for our application.
npm i axios reactstrap react-redux redux redux-thunkOnce, the packages are installed, let’s start our development server using the command:
npm startThe above command should start our project development server in our browser. Next let’s open our project in our text editor of choice, inside our project src folder, delete the following files: App.css, App.test.js, serviceWorker.js and setupTests.js. Next, let’s delete all code that references the deleted files on our App.js.
For this project, we will be using Open Movie Database API to get our movie information, content and images for our application, here is a link to the API, you’d need to register and get access keys in order to use it for this application, Once you’re done, let’s proceed with our application by building components.
Building App Components
First, inside of our src folder in our project directory, create a folder called components and inside the folder, let’s create two folders called Movie and Searchbar, our component should look like the image below:

Building Movie Component
Let’s build the Movies component, which will outline the structure of the movie details we will be getting from our API. To do this, inside the Movies folder of our component, create a new file Movie.js, next create a class based component for the API results, let’s do that below.
import React, { Component } from 'react';
import { Card, CardImg, CardText, CardBody, ListGroup, ListGroupItem, Badge } from 'reactstrap';
import styles from './Movie.module.css';

class Movie extends Component{
    render(){
        if(this.props.movie){
            return (
                <div className={styles.Movie}>
                    <h3 className="text-center my-4">
                      Movie Name: {this.props.movie.Title}
                    </h3>
                    <Card className="text-primary bg-dark">
                        <CardImg className={styles.Img}
                          top src={this.props.movie.Poster}
                          alt={this.props.movie.Title}/>
                        <CardBody>
                            <ListGroup className="bg-dark">
                              <ListGroupItem>
                                <Badge color="primary">Actors:</Badge>
                                  {this.props.movie.Actors}
                                  </ListGroupItem>
                          <ListGroupItem>
                            <Badge color="primary">Genre:</Badge>
                            {this.props.movie.Genre}
                          </ListGroupItem>
                          <ListGroupItem>
                            <Badge color="primary">Year:</Badge>
                            {this.props.movie.Year}
                          </ListGroupItem>
                          <ListGroupItem>
                            <Badge color="primary">Writer(s):</Badge>
                            {this.props.movie.Writer}
                          </ListGroupItem>
                        <ListGroupItem>
                          <Badge color="primary">IMDB Rating:</Badge>
                            {this.props.movie.imdbRating}/10
                        </ListGroupItem>
                    </ListGroup>
                      <CardText className="mt-3 text-white">
                        <Badge color="secondary">Plot:</Badge>
                          {this.props.movie.Plot}
                        </CardText>
                      </CardBody>
                    </Card>
                </div>
            )
        }
        return null
    }
}
export default Movie;
In the code above, Using components from the package reactstrap, you can check out the documentation here. We built a Card component that includes the movie name, Image, genre, actor, year, movie writer, rating, and plot. To make it easier to pass data from this component, we built data to be as props to other components. Next, let’s build our Searchbar component.
Building Our Searchbar Component
Our Searchbar component will feature a search bar and a button component for searching movie components, let’s do this below:
import React from 'react';
import styles from './Searchbar.module.css';
import { connect } from 'react-redux';
import { fetchMovie } from '../../actions';
import Movie from '../Movie/Movie';

class Searchbar extends React.Component{
render(){
        return(
            <div className={styles.Form}>
                <div>
                    <form onSubmit={this.formHandler}>
                        <input
                            type="text"
                            placeholder="Movie Title"
                            onChange={e => this.setState({title: e.target.value})}
                            value={this.state.title}/>
                        <button type="submit">Search</button>
                    </form>
                </div>
                <Movie movie={this.props.movie}/>
            </div>
        )
    }
}
In the code above, we are importing connect from react-redux which is used to connect a React component to the Redux store, provides the component with information from the store and also provides functions used to dispatch actions to the store. Next, we imported the Movie component and a function fetchMovie from actions.
Next, we have a form tag with an input box for entering our movie titles, using the setState hook from React, we added an onChange event and value that will set the state of title to the value entered in the input box. We have a button tag to search for movie titles and using the Movie component that we imported, we passed the properties of the component as props to the result of the search.
Next for us is to write a function to submit our movie title to the API in order to send results to us, we also need to set the initial state of the application. let’s do that below.
class Searchbar extends React.Component{

    state = {
        title: ''
    }
    formHandler = (event) => {
        event.preventDefault();
        this.props.fetchMovie(this.state.title);
        this.setState({title: ''});
    }
Here, we set the initial state of the application to empty strings, we created a function formHandler that takes in an event parameter and passes the fetchMovie function from action and setting the title as the new state of the application. To complete our application, let’s export this component using the connect property from react-redux, to do this we’d use the react redux mapToStateProps property to select the part of the data our component would need, you can learn more about mapToStateProps here.
const mapStateToProps = (state) => {
    return { movie: state.movie }
}
export default connect(mapStateToProps, { fetchMovie })(Searchbar)
Let’s add styles to our form by creating a file Searchbar.module.css and adding the styles below:
.Form{
  margin: 3rem auto;
  width: 80%;
  height: 100%;
}
input{
  display: block;
  height: 45px;
  border: none;
  width: 100%;
  border-radius: 0.5rem;
  outline: none;
  padding: 0 1rem;
}
input:focus, select:focus{
  border: 2px rgb(16, 204, 179) solid;
}

.Form button{
  display: block;
  background: rgb(16, 204, 179);
  padding: 0.7rem;
  border-radius: 0.5rem;
  width: 20%;
  margin-top: 0.7rem;
  color: #FFF;
  border: none;
  text-decoration: none;
  transition: all 0.5s;
}
button:hover{
  opacity: 0.6;
}
@media(max-width: 700px){
  input{
      height: 40px;
      padding: 0 1rem;
  }
  .Form button{
      width: 40%;
      padding: 0.6rem;
  }
}
Once we’ve done the above, our search bar component should look similar to the image below:
Creating Actions For Application
In this component, we will be setting up Redux actions for our application, First, inside the src directory, create a folder named actions and inside the folder, we’d create an index.js file. Here we’d create a function fetchMovie that takes in a title parameter, and fetches movie from the API using Axios. Let’s do this below:
import axios from 'axios';

export const fetchMovie = (title) =>
    async (dispatch) => {
        const response = await
          axios.get(
            `https://cors-anywhere.herokuapp.com/https://www.omdbapi.com/?t=${title}&apikey=APIKEY`);
        dispatch({
            type: 'FETCH_MOVIE',
            payload: response.data
        })
    }
In the code above, we imported axios and created a function called fetchMovie which takes in a title parameter by using async/await so that we can make a request to the API server. We have a dispatch function that dispatches to the Redux the action object that is passed to it. From what we have above, we’re dispatching an action with the type FETCH_MOVIE and the payload that contains the response we got from the API.
NOTE: The apikey in the request will be replaced with your own apikey after registering at OmdbAPI.
Creating App Reducers
In this section, we are going to create reducers for our application.
const fetchMovieReducer = (state = null, action) => {
    switch(action.type){
        case 'FETCH_MOVIE':
            return action.payload;
        default:
            return state;
    }
}
const rootReducer = (state, action) => {
    return {
        movie: fetchMovieReducer(state, action)
    }
}
export default rootReducer;
In the code above, we created a fetchMovieReducer that takes in a default state of null and an action parameter, using a switch operator, for case FETCH_MOVIE we will return the value of the action.payload which is the movie we got from the API. If the action we tried performing isn’t in the reducer, then we return our default state.
Next, we created a rootReducer function that will accept the current state and an action as input and returns the fetchMovieReducer.
Putting It Together
In this section, we’d finish our app by creating our redux store in the index.js, let’s do that below:
import React from 'react';
import ReactDOM from 'react-dom';
import { Provider } from 'react-redux';
import { createStore, applyMiddleware } from 'redux';
import thunk from 'redux-thunk';
import App from './App';
import 'bootstrap/dist/css/bootstrap.min.css';
import './index.css';
import reducers from './reducers';

const store = createStore(reducers, applyMiddleware(thunk))
ReactDOM.render(
    <Provider store={store}>
        <>
          <App/>
        </>
    </Provider>,
    document.getElementById('root')
)
In the code above, we created the application store using the createStore method by passing the reducer we created and a middleware. Middlewares are addons that allow us to enhance the functionalities of Redux. Here we are making use of the Redux Thunk middleware using applyMiddleware. The Redux Thunk middleware is necessary for our store to do asynchronous updates. This is needed because by default, Redux updates the store synchronously.
To make sure our application knows the exact store to use, we wrapped our application in a Provider component and passed the store as a prop, by doing this, other components in our application can connect and share information with the store.
Let’s add a bit of style to our index.css file.
*{
  margin: 0;
  padding: 0;
  box-sizing: border-box;
}
body{
  background: rgb(15, 10, 34);
  color: #FFF;
  height: 100vh;
  max-width: 100%;
}
Rendering And Testing A Movie Detail Finder
In this section, we are going to conclude our application by rendering our application in our App.js, to do this, let’s create a class-based component named App and initialize our Searchbar and input field.
import React from 'react';
import Searchbar from './components/Searchbar/Searchbar';
import styles from './App.module.css';
class App extends React.Component{
render(){
return(
<div className={styles.App}>
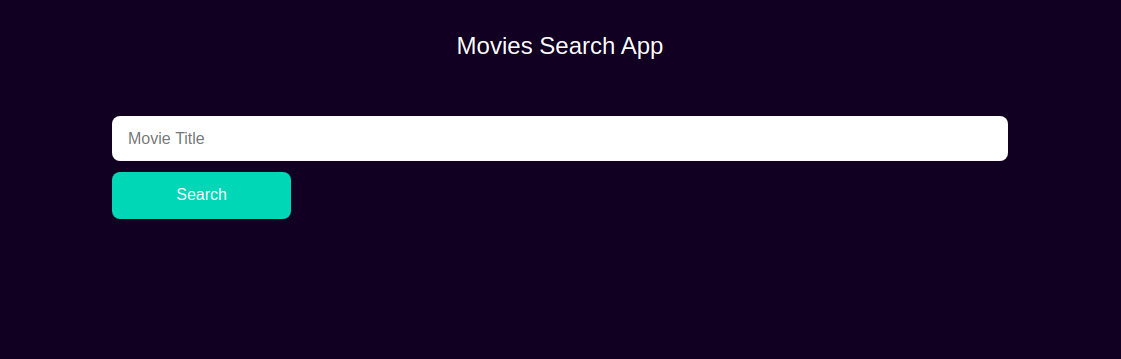
<h1 className={styles.Title}>Movies Search App</h1>
<Searchbar/>
</div>
)
}
}
export default App;Here, we created an App class based component with a h1 that says Movie Search App and added our Searchbar component. Our application should look like the image below:
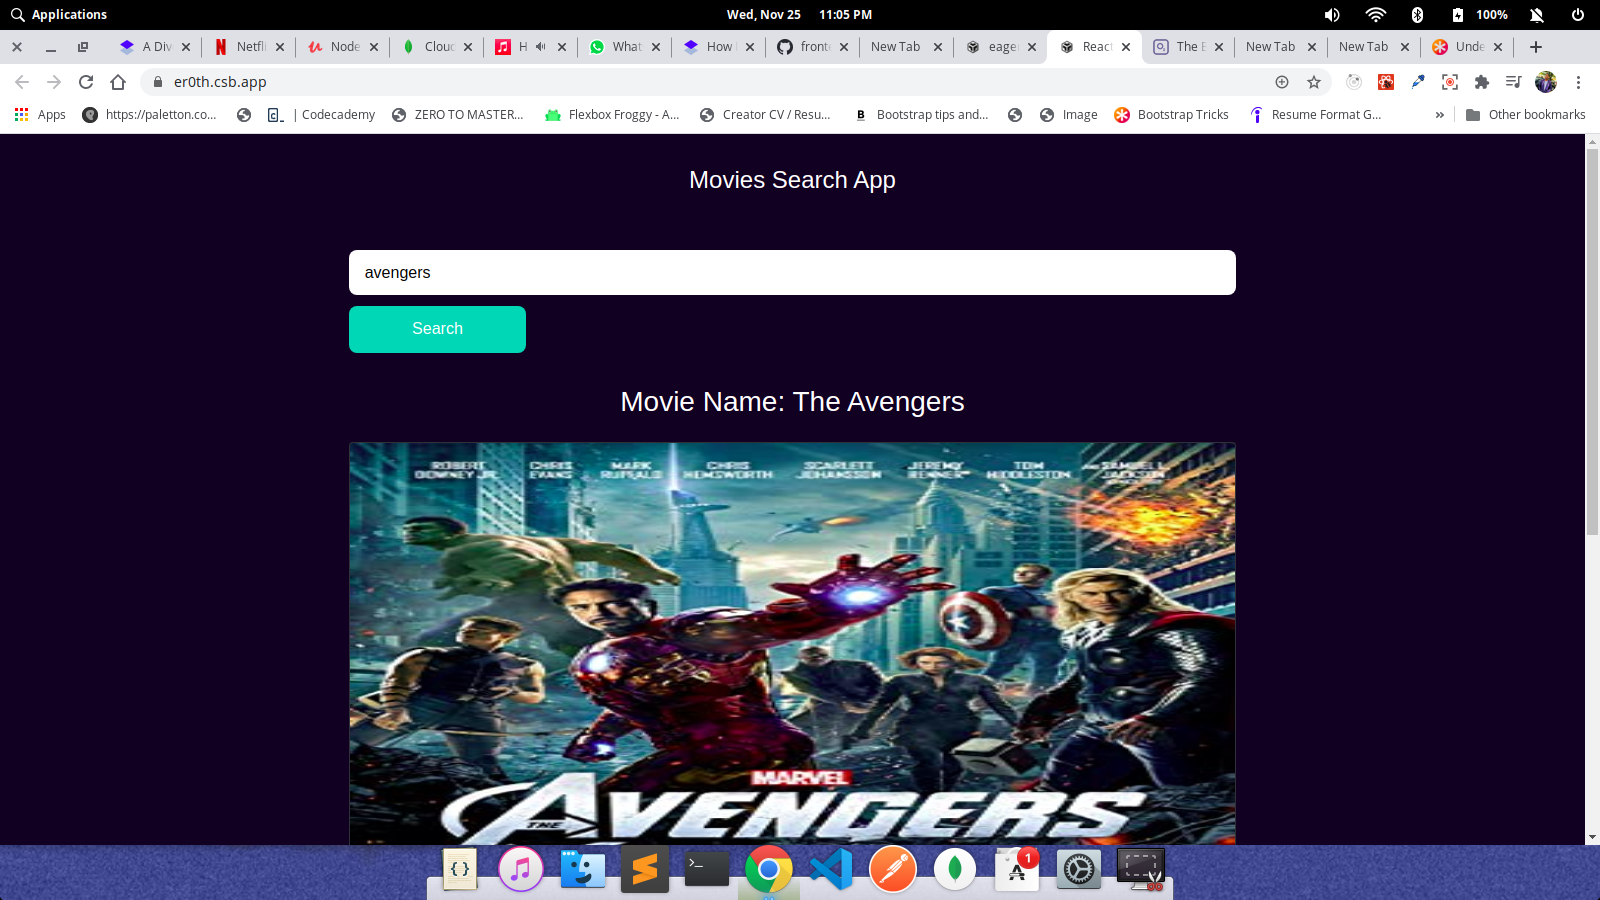
A working demo is available on Codesandbox.
Conclusion
Reducers are an important part of Redux state management, with reducers we can write pure functions to update specific areas of our Redux applications without side effects. We’ve learned the basics of Redux reducers, their uses, and the core concept of reducers, state, and arguments.
You can take this further by seeing the documentation on Redux reducers here. You can take this further and build more on Redux reducers, let me know what you build.
Resources
Further Reading
- An Introduction To Full Stack Composability
- Better Reducers With Immer
- How To Hack Your Google Lighthouse Scores In 2024
- Sticky Headers And Full-Height Elements: A Tricky Combination


