The Power Of Pen And Paper Sketching

Email Newsletter
Weekly tips on front-end & UX.
Trusted by 200,000+ folks.


Need to design something? It can be tempting to start with a computer-based tool, e.g. wireframing software like Balsamiq, or design tools like Photoshop or Figma. These have their place, but I would recommend stepping back and starting with the humble pen and paper.
Sketching by hand can feel unfamiliar and uncomfortable to those who don’t feel artistically inclined, but the flexibility of hand-sketches combined with our imagination means we can work through more ideas and form a better design direction faster than we could than if we started with a more concrete, computer-based solution.
Admittedly, I struggle with it myself at times; while I spent my childhood with a sketchbook perpetually in my hand and graduated university with an Arts degree, the paper sketchbook was briefly forgotten when I started my web design career. It took years of muddling through uninspiring concepts and feeling like I wasn’t pushing my limits before I realized how powerful idea generation via quick physical sketches could be.
This process is recommended even if we aren’t designing something big or in the capacity of a designer. Everyone needs to be a “designer” from time to time; from creating a quick personal homepage, a landing page for a new open-source project, or creating nice-looking slides for their next presentation.
Grab a piece of paper and a pen, and let’s get started!
Why To Start With Paper
As we’re always on a computer (and I think most of us are, nowadays), sometimes it doesn’t even occur to us to step away and try designing something off-screen.
Paper sketching can feel like something solely associated with visual art or graphic design (for instance, the legendary logo designer Saul Bass is well known for his advocacy of drawing), but even the earliest ideas for computer interfaces started with paper. Susan Kare, the designer of the icons for the Macintosh’s graphical user interface, used graph paper to design her initial ideas for the iconic early pixel art.
The power in paper sketching is the sketch’s ephemerality and how they feel less “real” than anything we create quickly on a computer. Start moving words and buttons around on a computer screen, and it’s tempting to fall into a certain direction and never explore alternate paths. Paper sketches force our imagination to fill in the gaps — far more quickly than if we added those details to a computer mockup.
We want to try a lot of different ideas when working on a new design. While the first few ideas may feel good enough, our fifth, seventh, or tenth idea might be even better. Working fast and loose helps us to get through many ideas quickly. Ideas flow faster, and we might surprise ourselves with what appears on the page when we work without restrictions.
If you’re not already familiar with design tools like Photoshop, Sketch or Figma, it can be overwhelming just getting started and learning your way around a tool. Rather than working through many ideas, we end up spending our time figuring out which button does what.
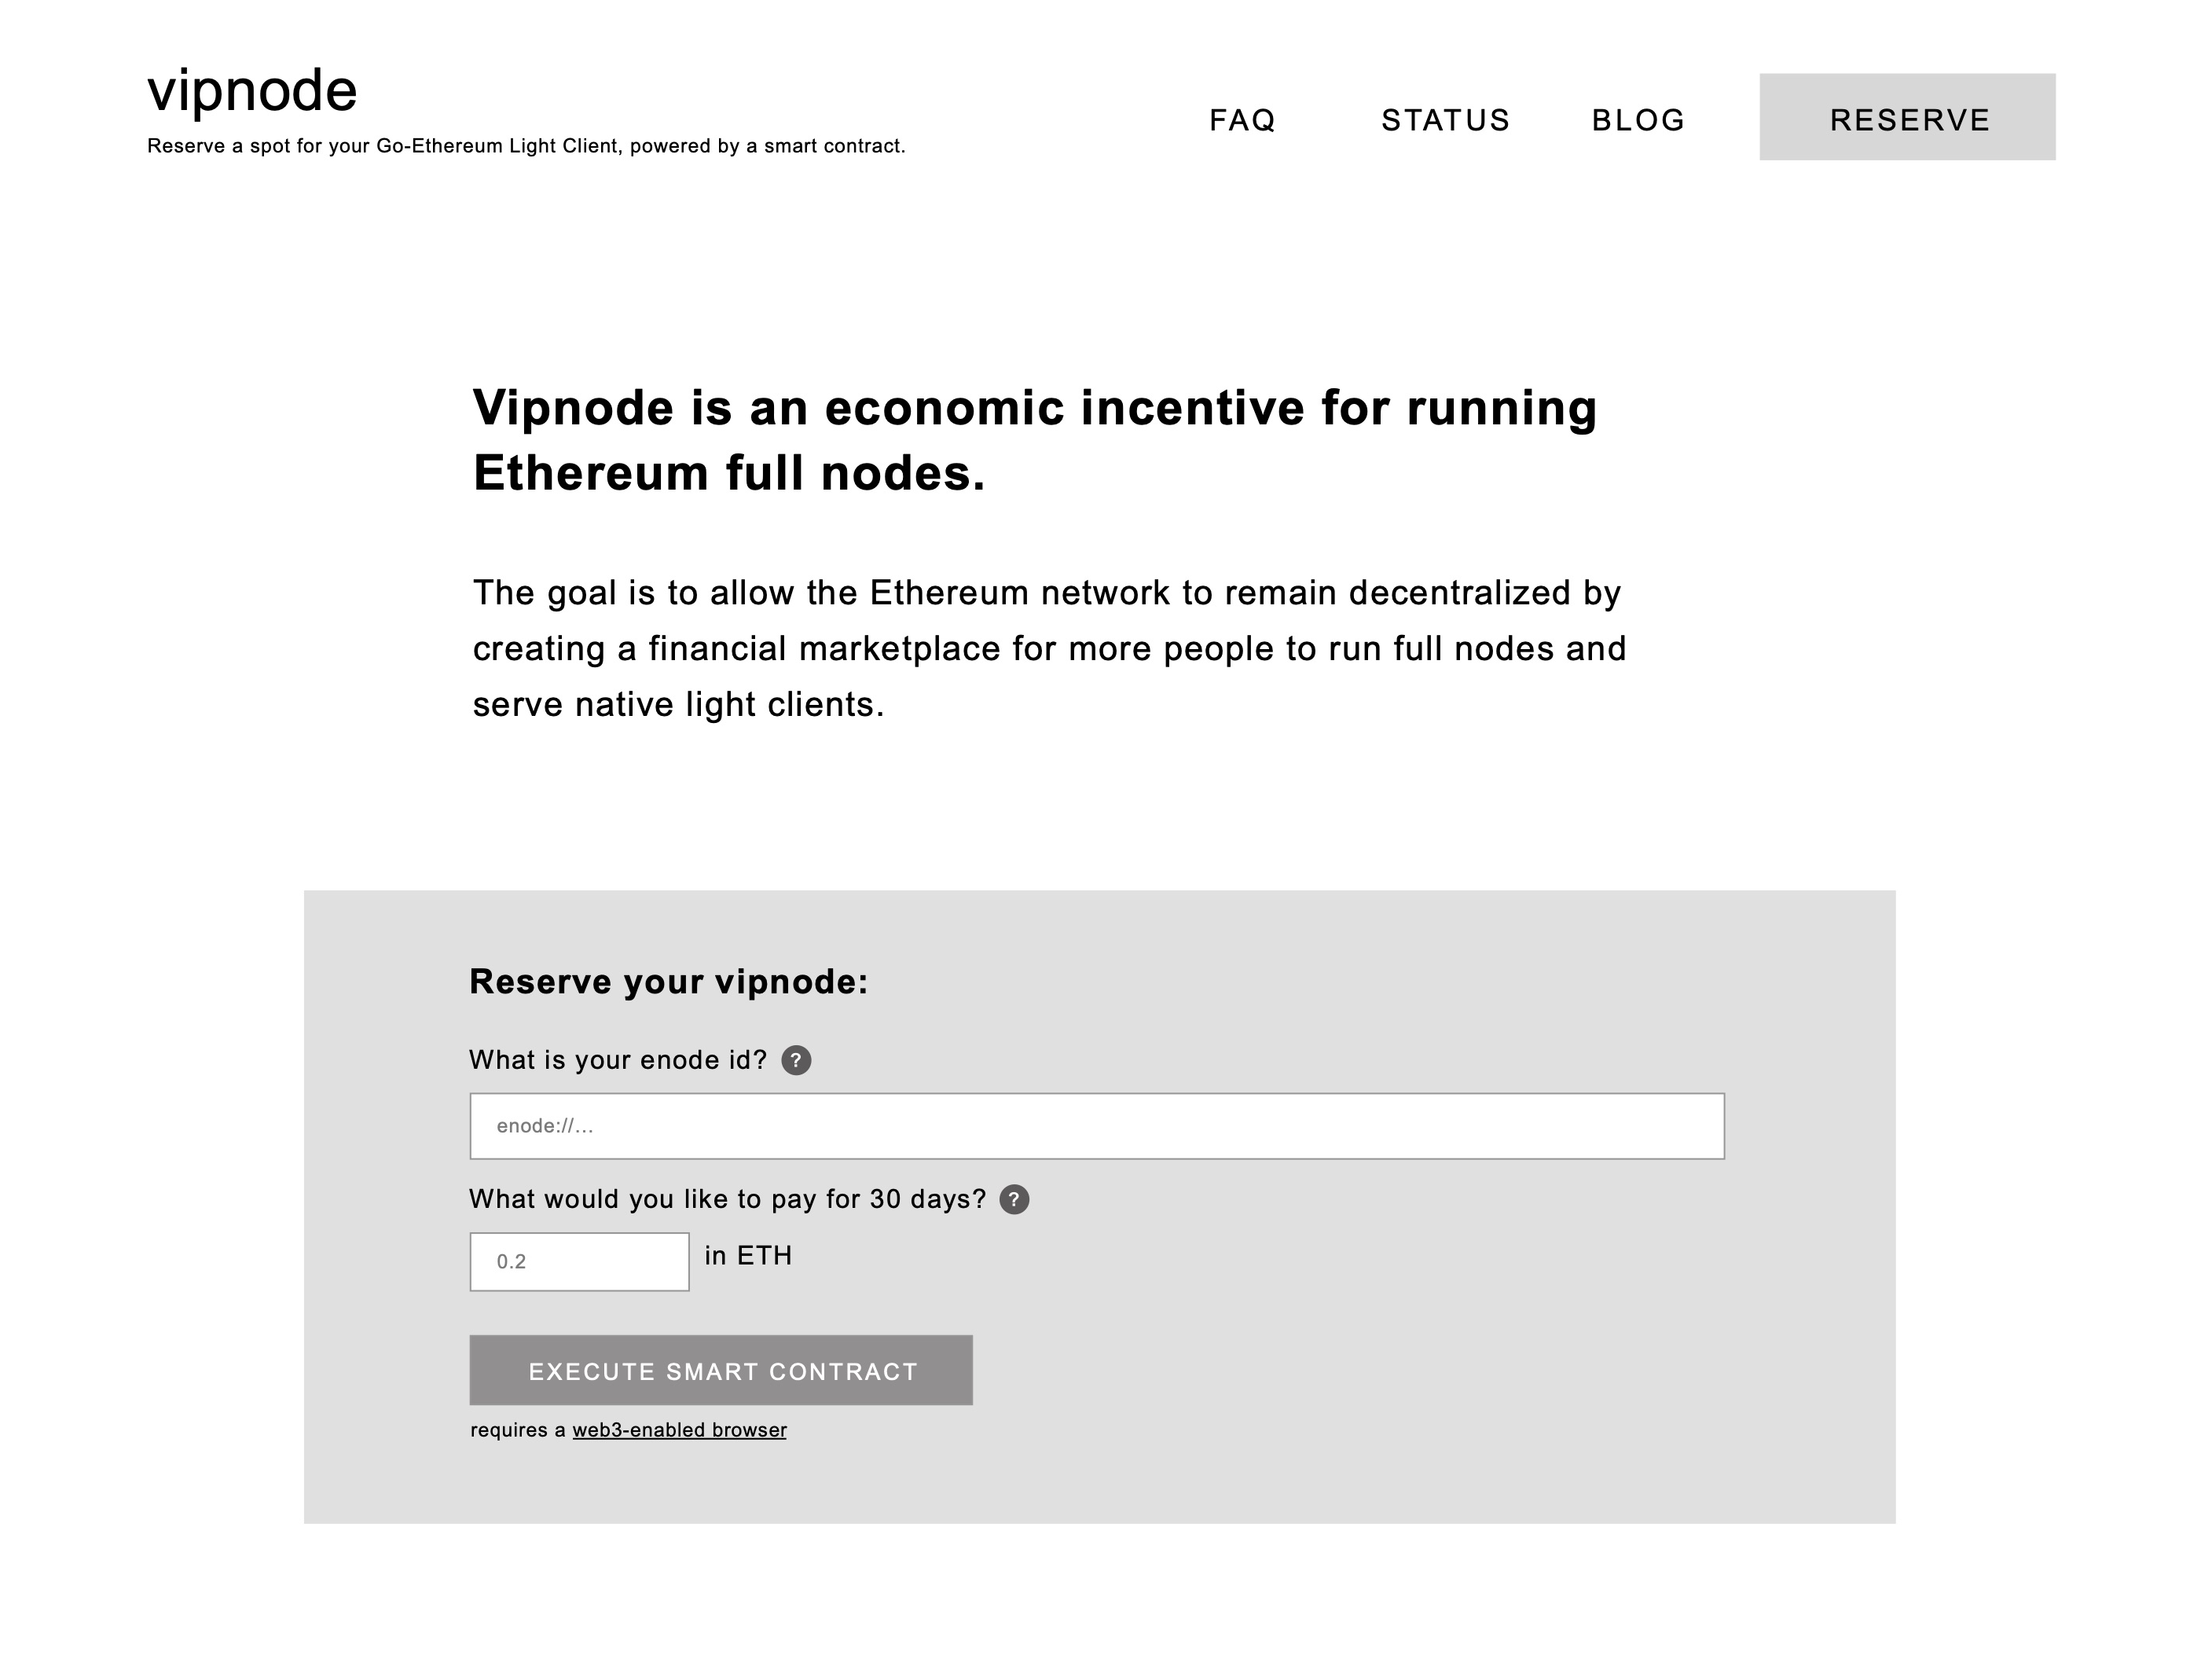
And wireframing tools like Balsamiq? They produce ideas that look like sketches — squiggly lines, imperfect boxes — but they still point us in the direction of working on one single idea and messing with it until it’s perfect rather than trying out many different ideas first. It’s quicker to start with pen and paper. Wireframing tools can be the next step in the process (rather than the first.)
“Sketchy” mockups also do a better job at expressing the kind of feedback we’re looking for when presenting to reviewers. A mockup that is too pixel-perfect will often prompt nit-picking about irrelevant details, but a rough sketch will result in higher-level conversations about layout.
Repeat To Yourself: Loose, Quick, Doesn’t Have To Be Perfect
We’ve all seen those “designery” sketches that look gorgeous and detailed. Those are not the standard to measure yourself against. Ignore them. Our sketches should be quick without much detail.
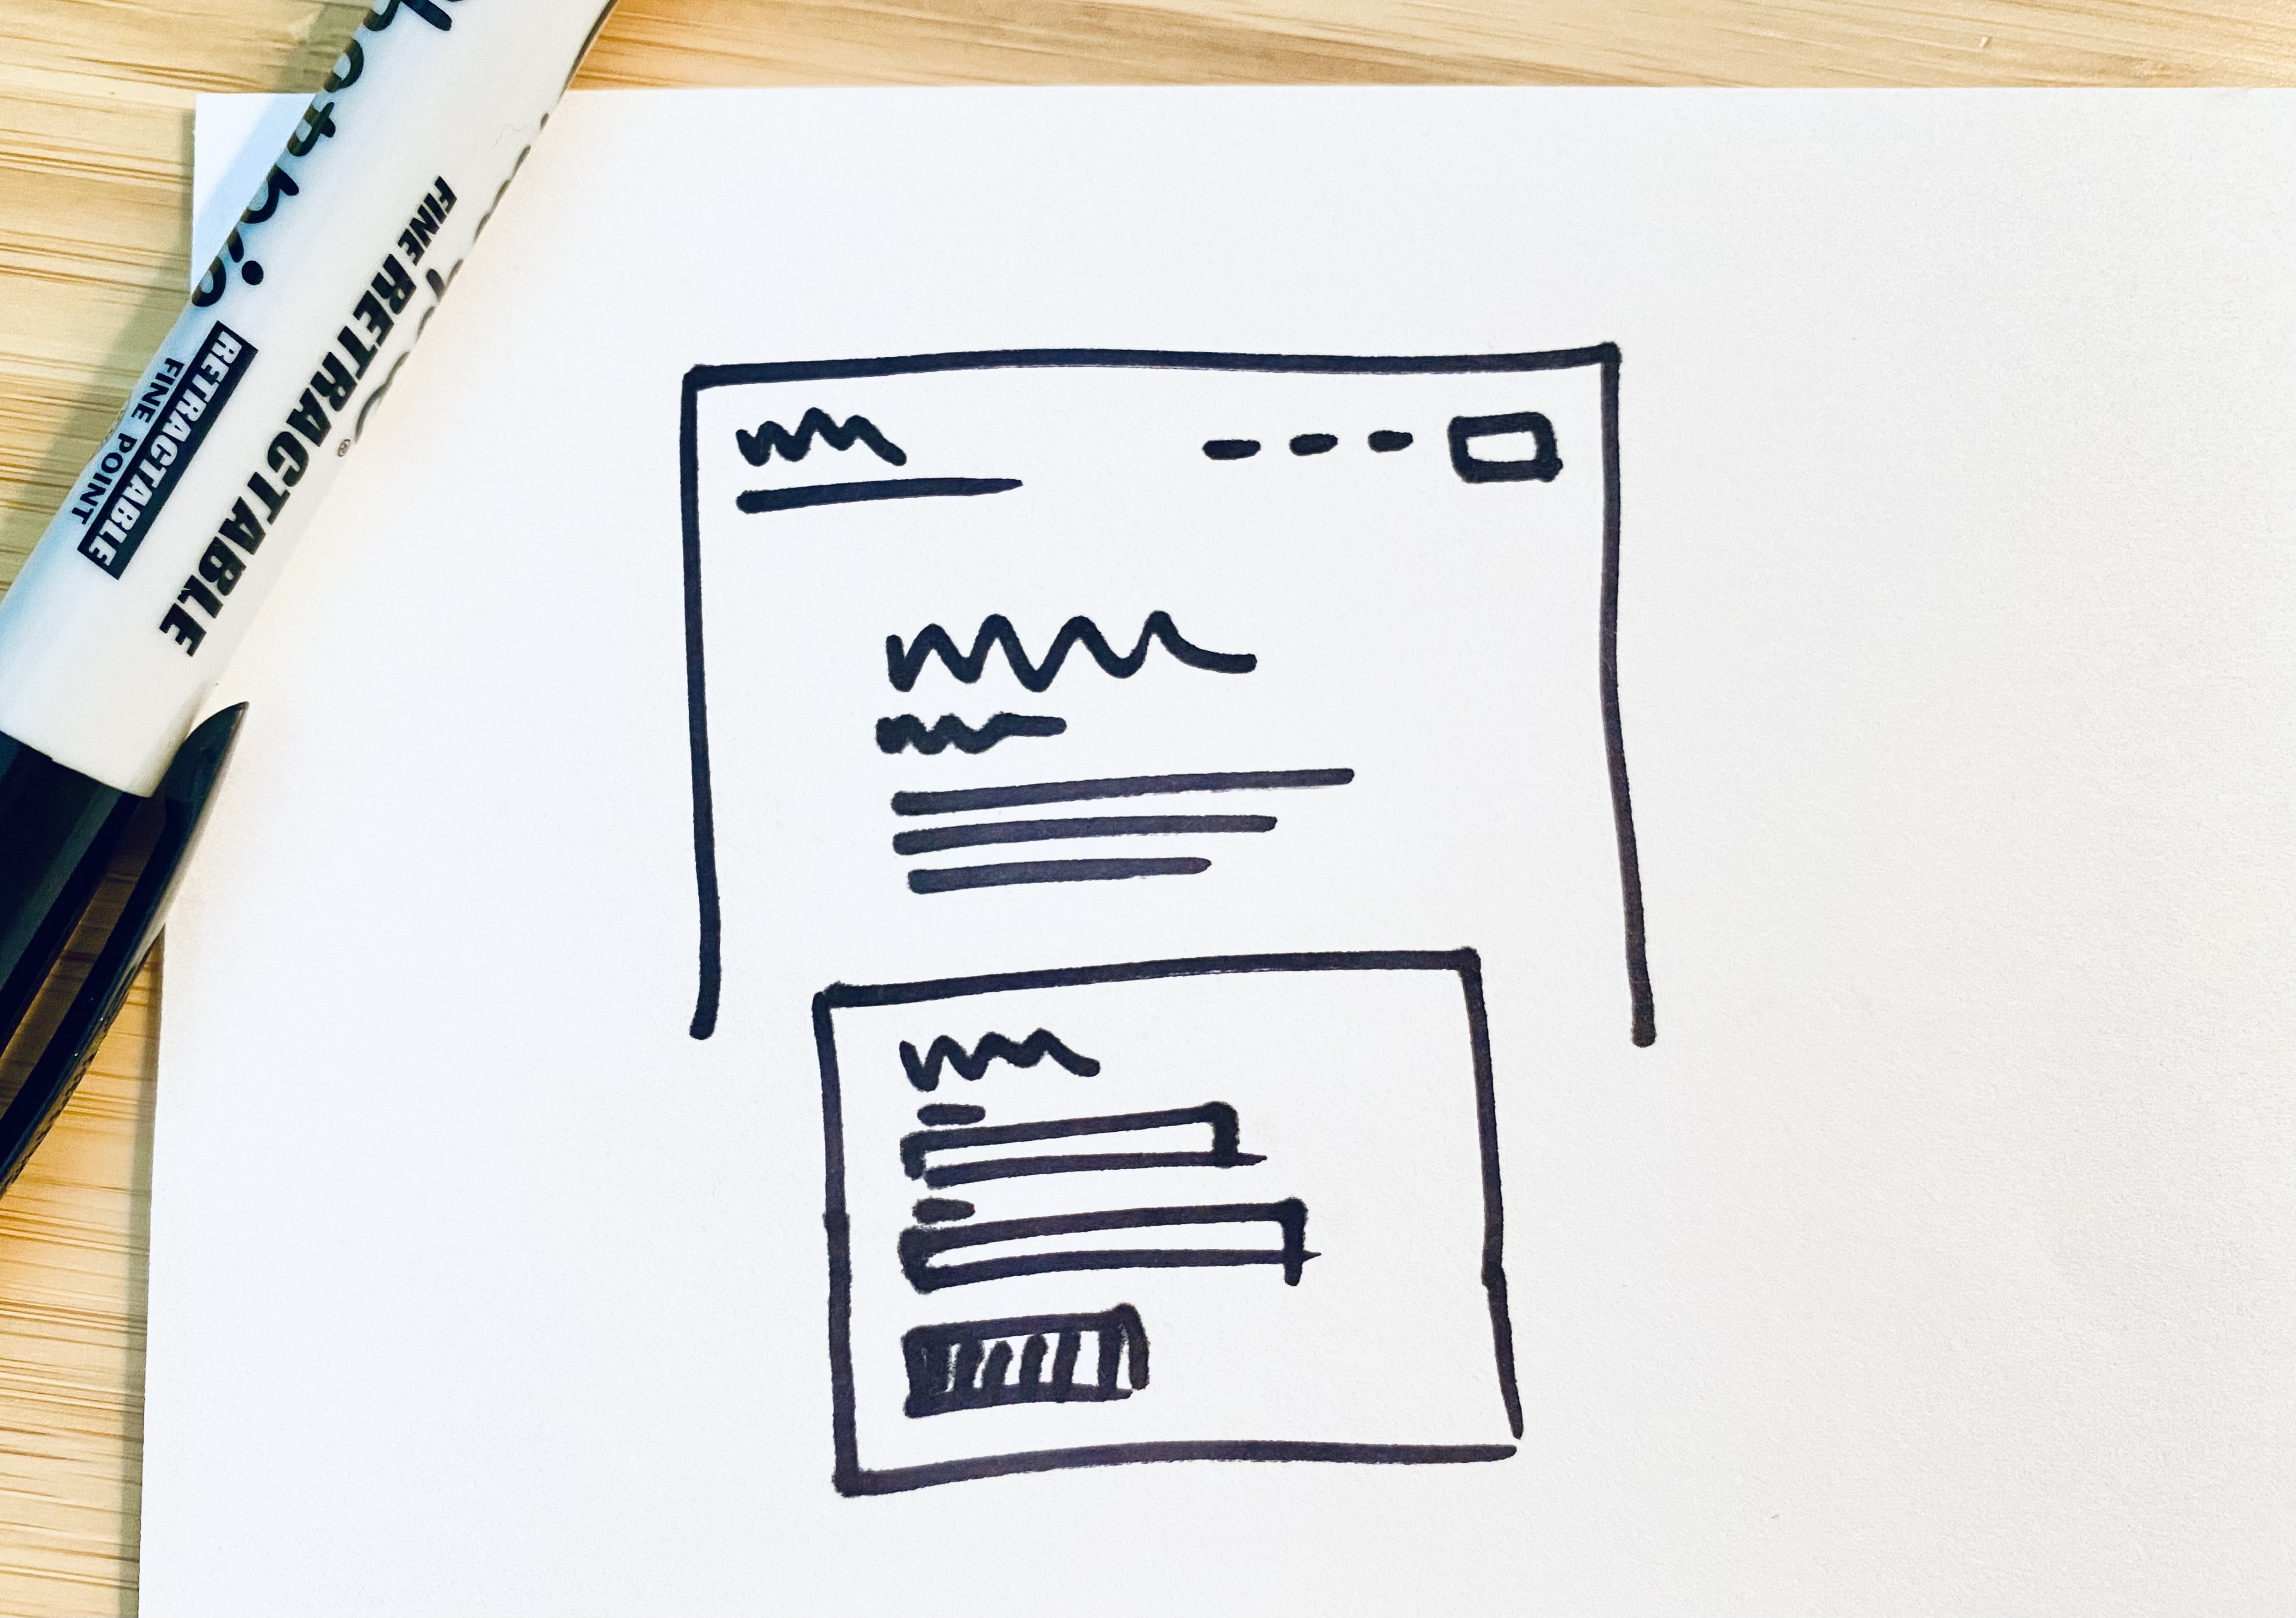
Rather, we’ll use really quick lines and boxes, keeping our sketches small and fast.
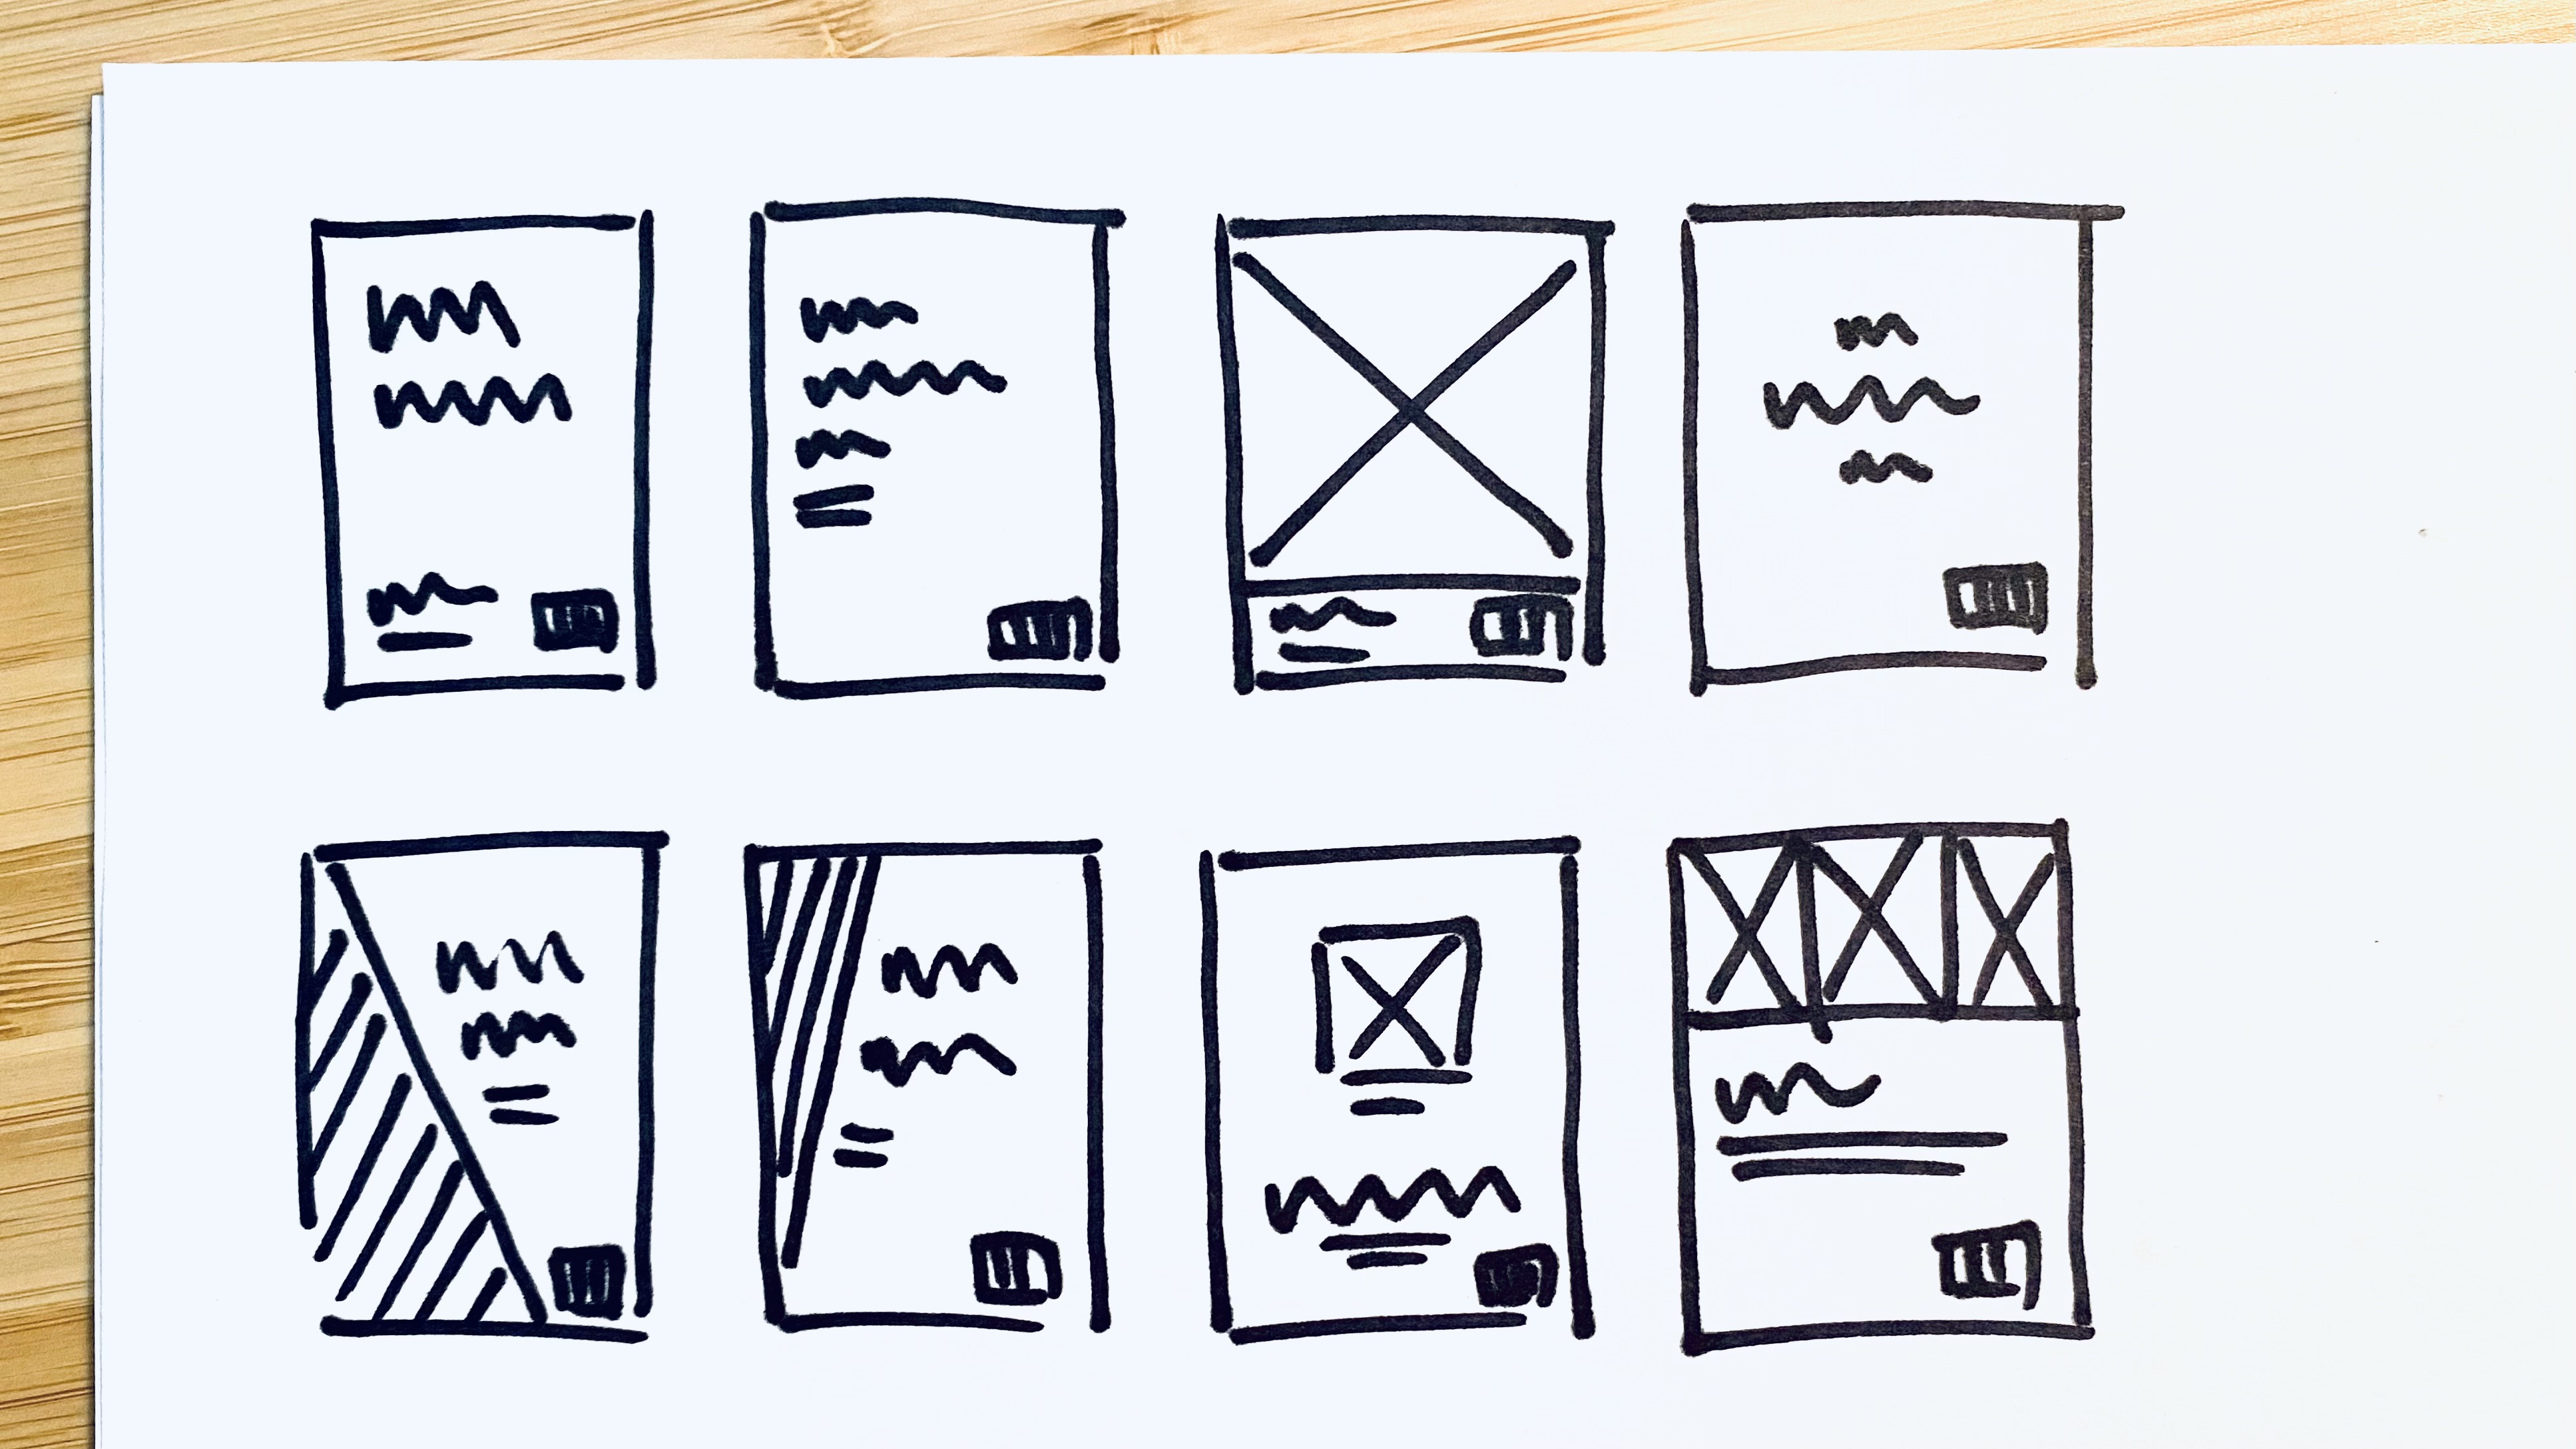
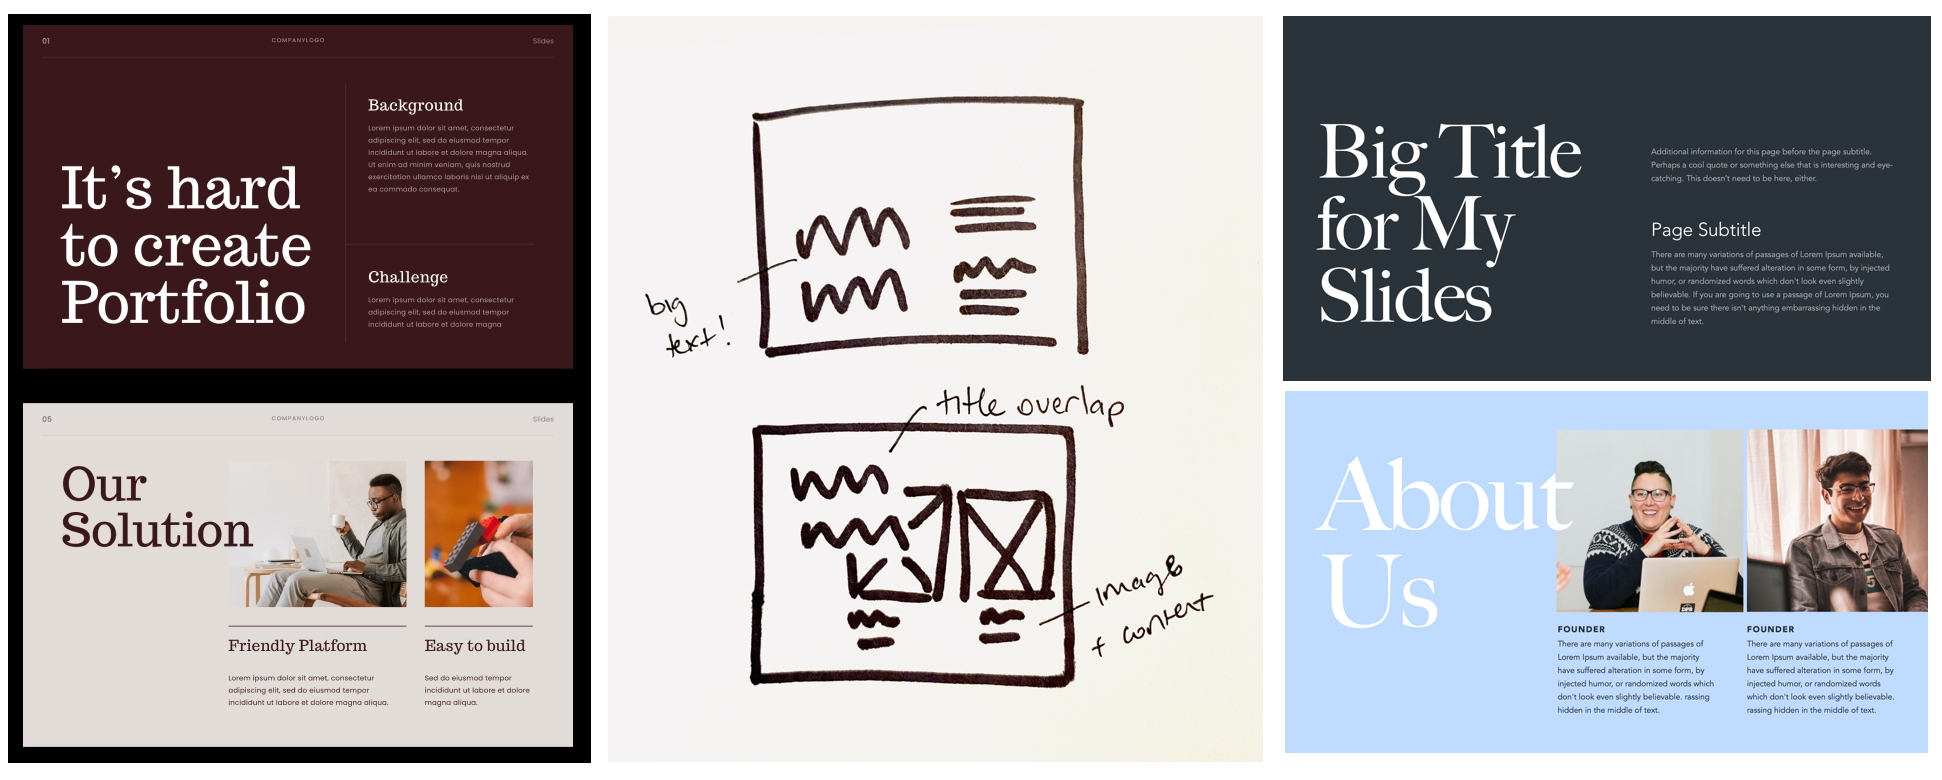
We can use these little sketches to try out multiple versions of a homepage layout:
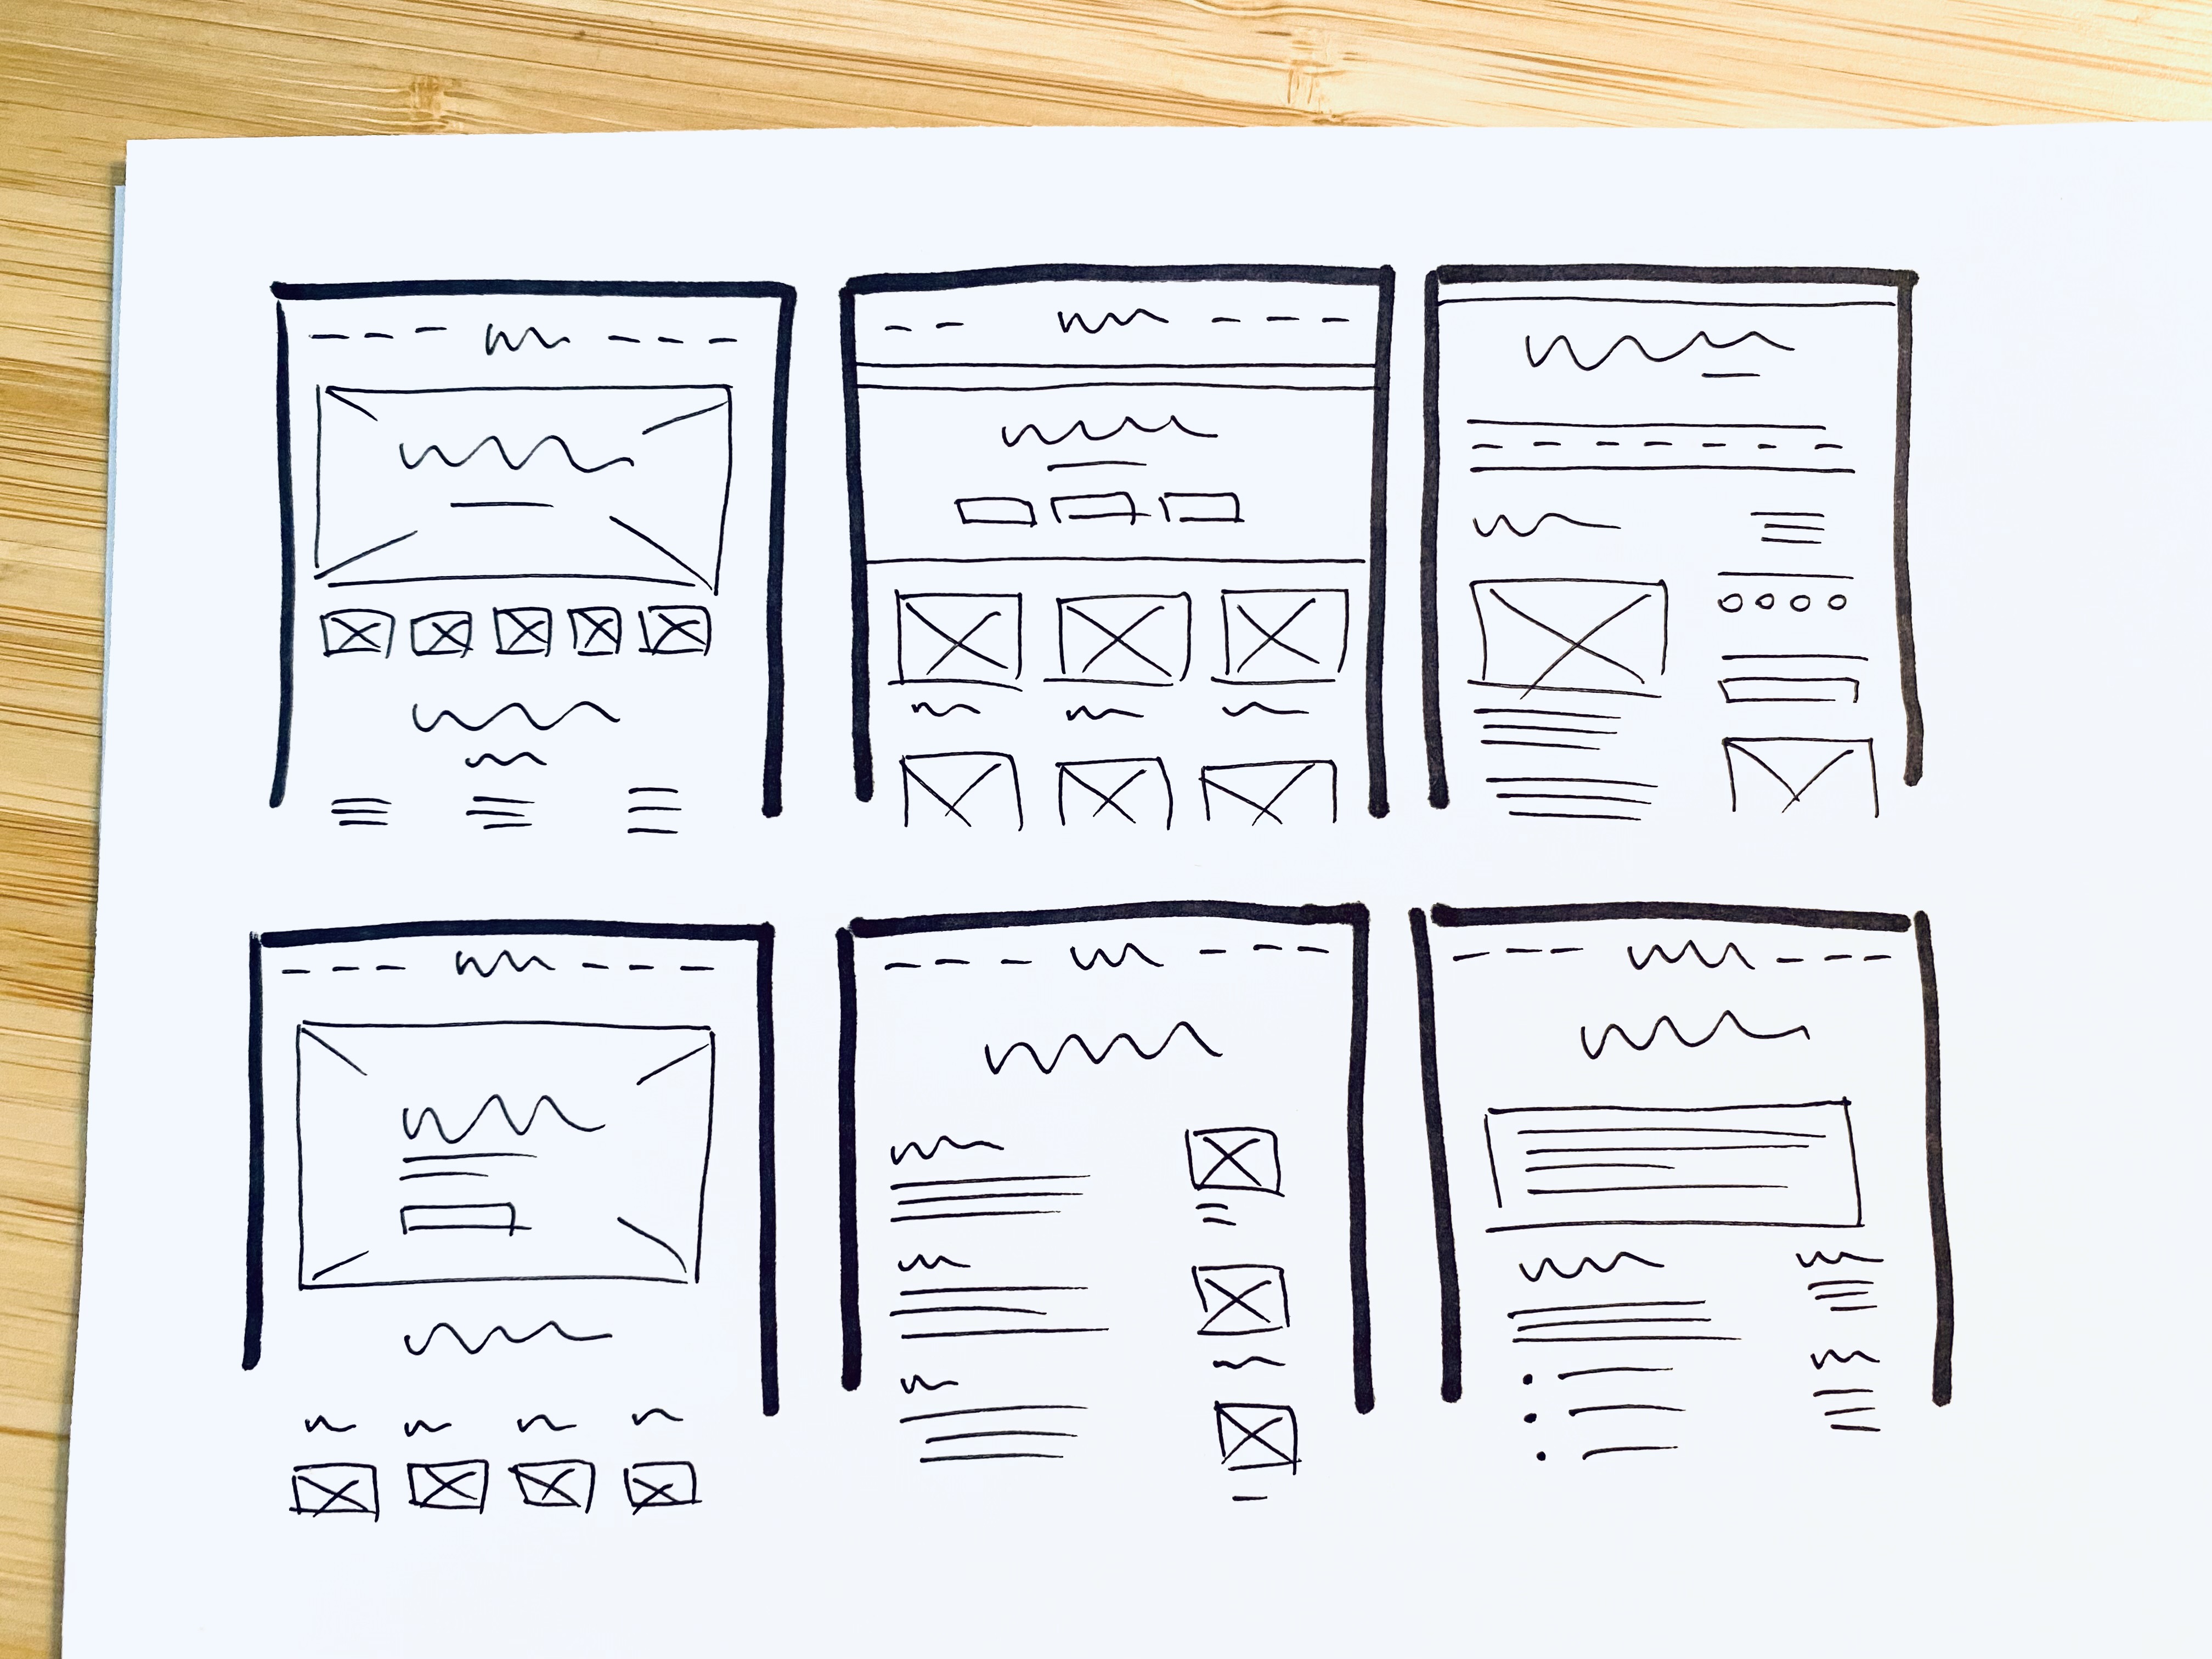
Sketching is useful for just about any kind of design task: newsletters, logos, presentations, widgets — anything where working you need to quickly think of many visual ideas. As an example, how about we explore a few ideas for an ebook cover?
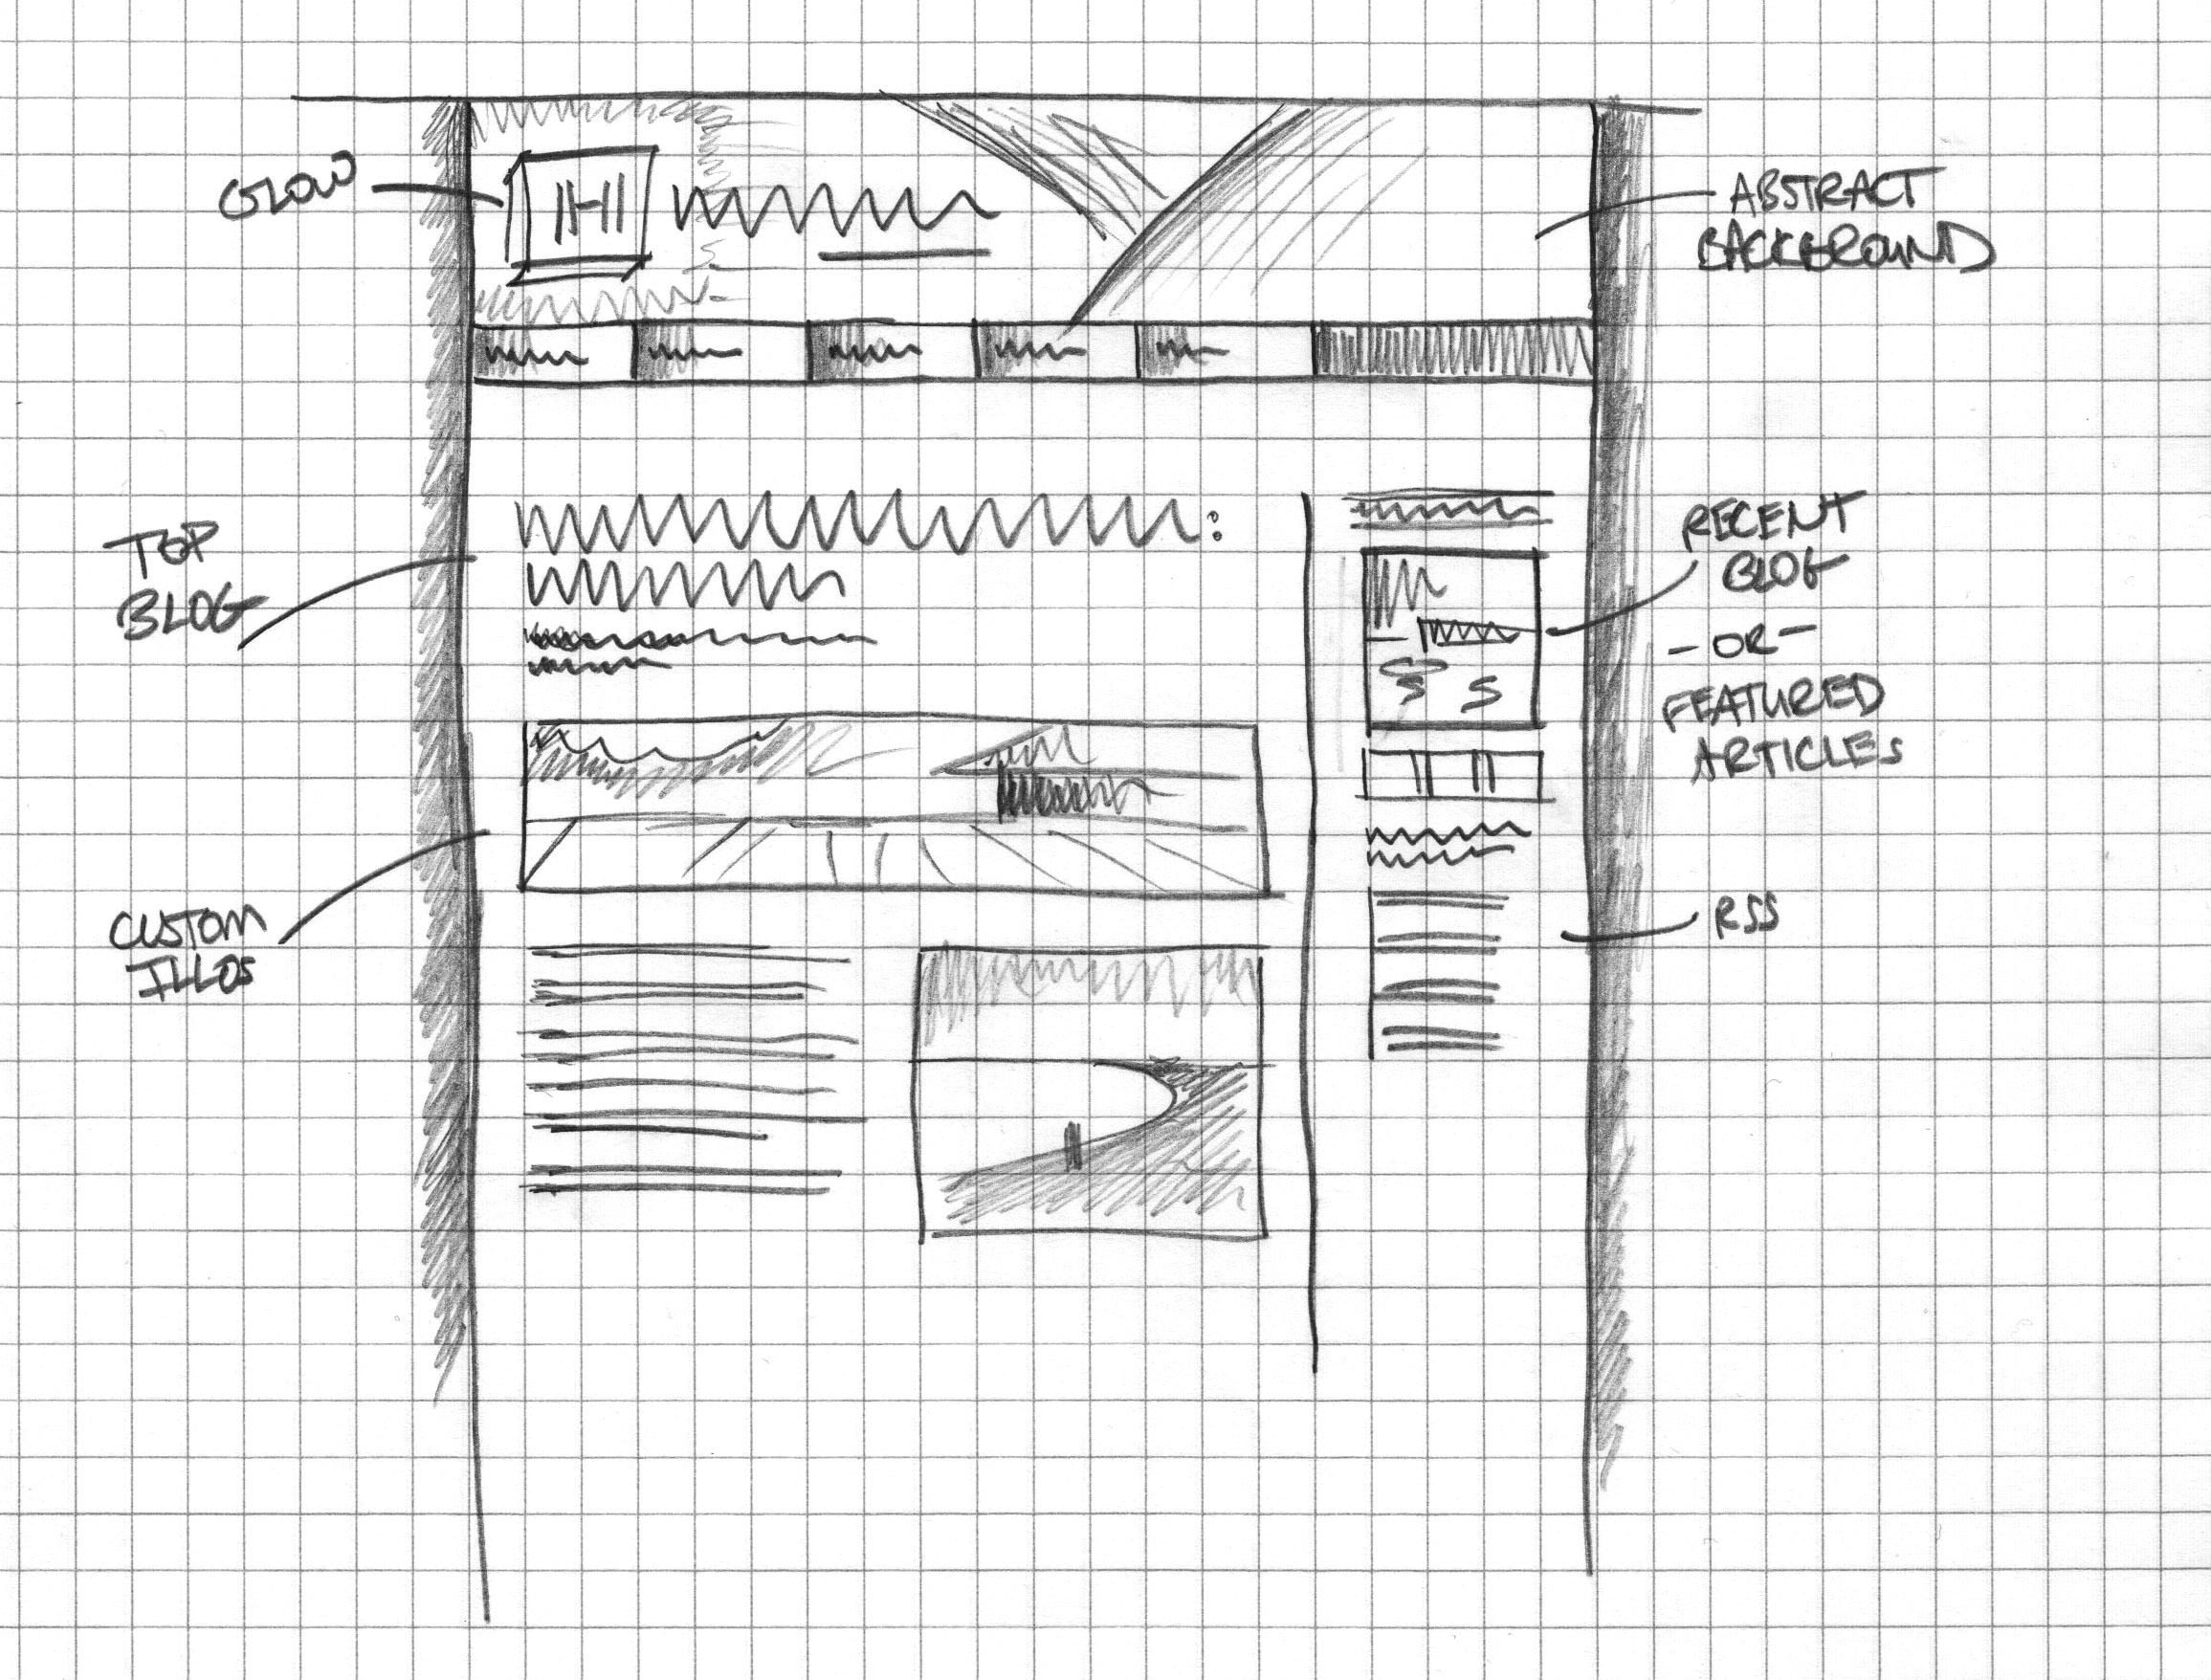
A good way to start practicing this kind of sketching technique is to take an existing website and reverse engineer the sketch. Not only does this help get you comfortable with the act of drawing, but you also start getting a feel for different design patterns.
Whichever approach you take, fill your page with ideas! Don’t stop even if you hit on an idea that really excites you that you want to move forward with. When you fill a page, go to the next. Explore alternate ideas just in case you find something you love more.
Once you have many options, take a break to let your mind rest, then come back to circle your favorites, refine, and maybe then move onto making a mockup. You’ll have more confidence in the direction you choose since you know you’ve tried and discarded many other ideas.
Use Inspiration To Aid Your Sketching And Idea Generation
Sketches should go hand-in-hand with inspiration, so bring that computer back out! Fuel your own design process by researching other designs and look for details you think would work on your own.
If you’re unsure where to start, look for inspiration in related areas to what you’re working on. For a personal homepage, it’s great to start looking at the homepages of peers in your industry. If you’re stuck or want more general inspiration, check out these resources:
- Dribbble, which is particularly good for researching design ideas for elements, like a login form.
- SiteInspire, to see what the current trends in modern design are.
- Land-book, for landing page design inspiration.
- Commerce Cream, for e-commerce website design inspiration.
- Pttrns, for mobile app design inspiration.
As you research, note what elements you’d like to pull into your own design (and remember not to copy exactly!). For example, a nice layout, a particular way that the inspiration pairs content with images, a contact form that seems particularly easy to use. Trying multiple different navigation ideas on paper sketches is much faster than creating full mockups or coding it all up.
As you find elements and ideas that you’d like to remember, sketch them out! Continue to add ideas to your sketch sheet and fill your page with all your potential ideas. Remember, work on many different options and ideas to start, and narrow down your favorite ideas afterwards.
Remember To Practice!
Any new skill is going to feel awkward the first few times. It’s normal. Don’t let it discourage you. The more you practice your sketching and utilize this skill when designing, the more natural it will feel.
For your next design project, put that keyboard away and let your imagination and creativity flow by starting with pen and paper sketches.
Let’s review what we’ve covered:
- Paper sketches are the fastest way to explore design options.
We can do so much more in less time by stepping away from the mouse. - Utilize inspiration when you’re sketching to boost idea generation.
Don’t start with a blank page; get your ideas flowing by looking at design work you’d like to emulate. - Make more sketches and try more ideas than you think you should.
Sometimes the fifth idea might feel like a good direction, but then you’ll find a later idea is even better. - Practice makes perfect.
The more sketching you do, the faster it’ll go, the easier it’ll feel, and the better you’ll get.
Have other inspiration resources? What do your sketches look like? Would love to hear from you in the comments!
Further Reading
- “Drawing Pictures All Day,” Alma Hoffmann
- “Hand Sketches: Things You Didn’t Know Your Doodles Could Accomplish,” Laura Busche
- “How To Create A Porsche 911 With Sketch,” Nikola Lazarevic
- “Moving From Photoshop And Illustrator To Sketch: A Few Tips For UI Designers,” Lachezar Petkov
- “Brush Lettering: It Only Gets Better After Practice,” Alma Hoffmann
- “Mid-Century Modern Illustration: Creating A Cover Book With Illustrator And InDesign,” Manuela Langella
- “Live Sketching A Site Visitor Journey To Create A Sitemap With Your Client,” Matt Orley
- “Moving From Sketch To Figma: A Case Study Of Migrating Design Systems,” Buzz Usborne
- “Unleashing The Full Potential Of Symbols In Sketch,” Javier Cuello


